

Some presenters prefer just to use sound for certain slides, and others use video to reduce the number of slides needed to express an idea. PowerPoint makes it easy to add either sound or video (or both) into a presentation.
Adding Sound
Most of the objects added to a slide have so far had a button shown in an empty template when a new slide is created. Sound and video have no button in a new slide's template, so you must insert one of these objects from the main PowerPoint menu.
The "Insert" tab contains all features for adding objects to a slide including video and sound. At the far right of the menu is the "Media" section where buttons to add video and sound are located.
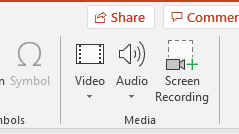
(Media section of the "Insert" tab)
Click the "Audio" button and a dropdown displays showing you two options.
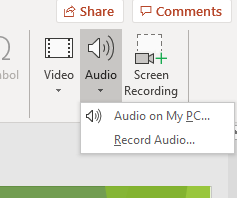
(Audio dropdown options)
As you can see from the dropdown options, you can either add audio from your PC or record a new audio file. Recording an audio file requires a mic and speakers. The mic is to record sound from your own audio, and the speakers are to listen and review sound before you publish it in your presentation. When you record new sound, a sound file is created on your local drive where you can then include it in your slide.
Recording sound doesn't require expensive equipment, but the better sound equipment that you have, the better sound quality that will be stored in your presentation. If your presentation is for a professional audience, it's best to find a mic that reduces noise from background noises. You should also record sound in a quiet room where there is no background noise to interfere with your recording.
Another issue to consider when recording your own audio is that these files can be very large. The longer you record the audio for your slideshow, the larger the file. You need enough space to store the file should you transfer your presentation to a portable storage location such as a USB drive. Many people that build presentations use them while traveling, and a USB drive is the perfect way to carry a small, lightweight storage device that can store a presentation for use on any laptop or desktop. When you record an audio file, ensure that its size is limited so that it can fit on the USB device, or you must purchase a new USB drive to store your presentation.
Click the "Record Audio" option and a window opens where you can name your audio and start the recording.
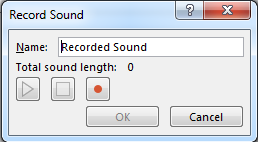
(Record audio)
The button with the red circle is the "Record" button. After you finish recording, click the button with the square icon, and it will stop. The "Play" button will replay the recording, so you can review it. After you create an audio file, it's added to your slide.
You also have the option to add a recording you've already stored on your computer. If you have a network drive mapped to your computer, you can also add it from there. Remember that the recording must be available when you present your slides, so this recording should be moved to a location where you can access the file during the live presentation.
Click the "Audio on my PC" option from the "Audio" dropdown button and a dialog window opens where you can select a file from your desktop. The most common audio files are MP3 and MP4, but PowerPoint supports several other file formats including WAV and MIDI.
After the sound is added to a slide, a prompt is shown where you can play the sound when you present it.
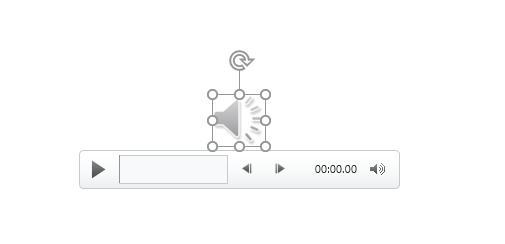
(Play a sound added to a slide)
You can play the sound manually, or you can set it to play as background music as you present your slideshow. The "Playback" tab is automatically activated when you add the sound file. One option is to play the sound in the background.
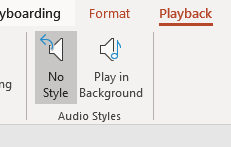
(Audio styles for a sound clip)
Click "Play in Background" and the sound file added to the slide will now play as you run the presentation.
Adding a Video
Adding a video to a slide is just like adding sound. The option to add video is also found in the "Media" section of the "Insert" tab. Click the "Video" button and two dropdown options are displayed.
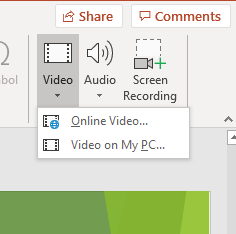
(Video options)
With video, you have the option to add content from an online website or video located on your computer's local drive. The "Online Video" option works similarly to the online image search. When you click this option, a window opens with two options to select online video.
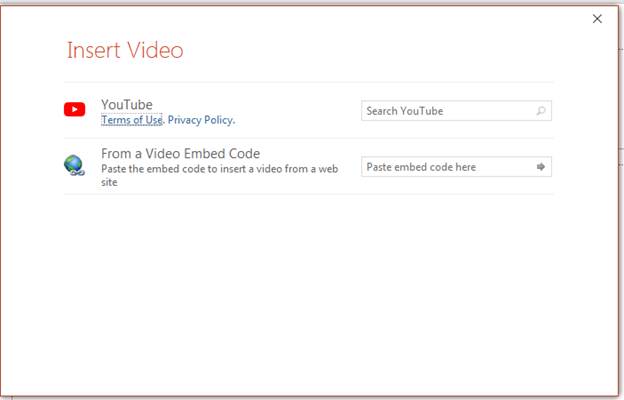
(Insert an online video)
The default option for online video is YouTube. If you have a YouTube account, you can upload a video directly to YouTube and then insert it to your slideshow. When you present your slideshow, an online video must be available when you run it. Should you run the slideshow at a remote location, this location must have Internet access for viewers to see your video. Any online video runs in the cloud, so Internet access is a must.
You aren't limited to just videos stored on YouTube. You can also embed a link to a video located on another online video platform. Vimeo is another popular site where you can store your videos. Wherever your video is stored, copy the line and paste it to the "From a Video Embed Code" text box and this is the video that will be displayed in your slide. Most video applications work similarly to YouTube, so any online video will run in your presentation as long as you supply a valid link to the content.
The "Video on My PC" option opens a dialog window where you can add a video directly stored on a local drive. This drive could be your computer's drive, or a network drive mapped to your desktop. If you can access the video from a drive on your computer, you can add it to your slide.
Like audio files, video files are also very large. Remember that the storage device where you store your presentation must be able to store the PowerPoint 2019 presentation and the audio and video files you've added to them. With online video, you only need access to an Internet connection to use them.
When you click the "Video on My PC" button, a dialog window opens where you select a file. PowerPoint 2019 supports most of the standard video file formats such as MPEG, Quicktime, and AVI formats. Any video file on your local drive can be added on your slide.
Just like audio, after you add video you have the option to play it when a slide is reached during a presentation. Click the "Play" button and the video plays
Audio and video within presentations are an effective way to add value to your slides and provide information already recorded. Just remember that these files can sometimes require large amounts of drive space when you store them, so be certain that you have enough space when you travel with them in location with limited storage space.


