
Microsoft PowerPoint is mainly a presentation tool, and any presentation has plenty of icons, images, graphics, shapes and other things to bring value to your meetings. Slideshows with only text aren't as appealing as ones that mix some images and graphics. To create effective slides, you need to add a few images, graphics or shapes.
Inserting Images
The most common element that you'll use in PowerPoint 2019 is images. PowerPoint has the option to insert images either located on your local drive, on a network drive, or from an online search. Since PowerPoint is a Microsoft application, the search engine integrated with it is Bing. Remember that many images online are copyrighted, so ensure that you have permission to use images as a part of your slide.
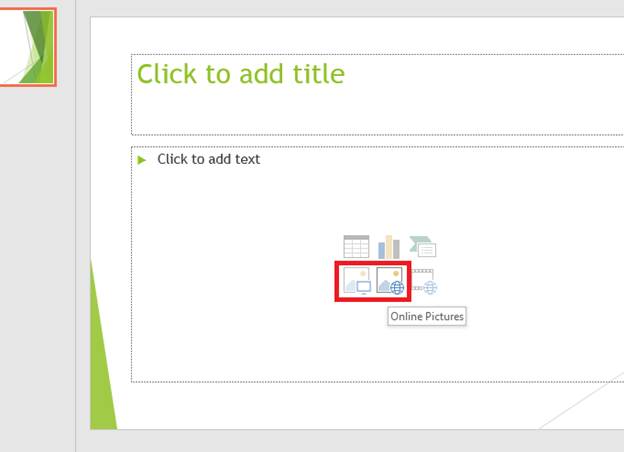
When you create a new slide, an object is created in the center of the slide where several icons display. These icons represent features that you can include in a presentation including images.
(Insert image icons)
The first icon in the second row of icons is the button to insert an image located on your local drive. If you have network drives mapped to your computer, then you can also insert images located on a network. The next icon to the right of the local image button is the icon that lets you add an online image. You can still search images from your own browser and copy and paste them to your slides, but the online search within PowerPoint 2019 makes it much simpler and faster.
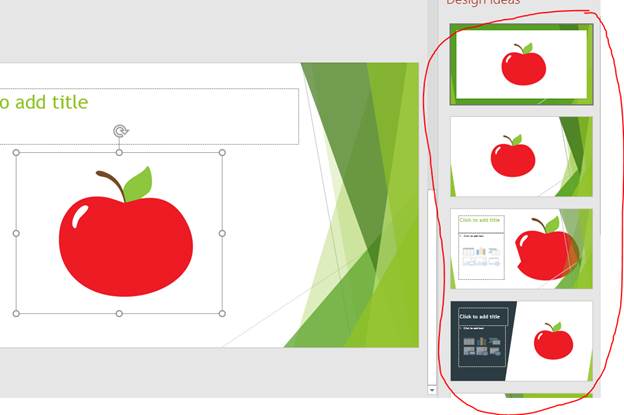
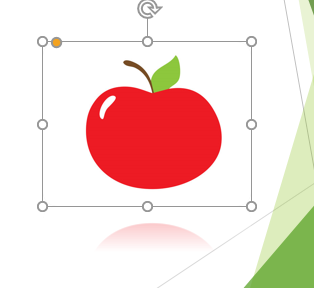
Click one of the buttons and choose an image to add to the slide. In this example, a simple apple found using a Bing search is added to a slide.
(Design ideas for an inserted image)
When you click an image, PowerPoint gives you several design ideas in the right panel. The "Design Panel" has several ideas that you can scroll through. Each design idea has a layout for the image with other objects and text boxes to help you place other content. If you click other object on a slide, other design ideas will display in the right panel. Click any of the design samples, and PowerPoint automatically adjusts the image location and adds additional elements if there are any.
After you add an image, the "Format" tab automatically opens and several options display where you can add effects and change image attributes.

(Format tab for an image)
These filters and styles can turn a plain image into something that fits much easier in your theme. The "Adjust" section works mainly with colors, brightness, artistic effects and transparency. The "Picture Styles" section adds shadow effects and borders to the image. If you have multiple objects that layer over each other in your slides, the "Arrange" section is where you can bring a layer forward or send it backward in your design.
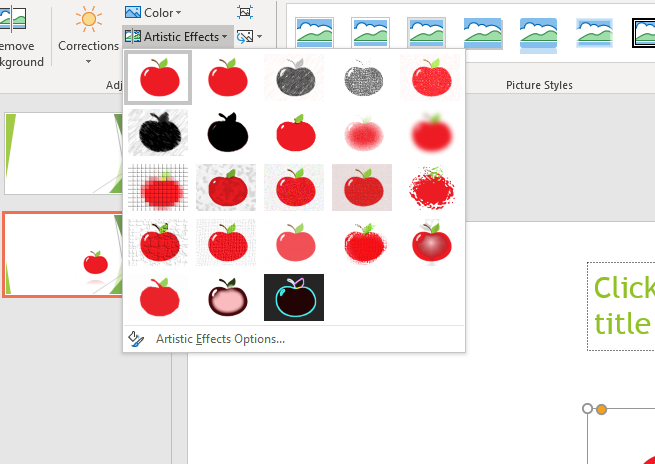
For example, with the image selected click the "Artistic Effects" button and a dropdown list of options displays.
(Artistic Effects options)
Each option that can be added to an image is shown as a thumbnail in each dropdown. In the "Artistic Effects" dropdown, PowerPoint 2019 shows what the image will look like after you add the effect. You and add multiple effects and styles on an image until you find the right look and feel for your image.
"Picture Style" options don't have a dropdown, because you can see the effects in each thumbnail. Click any style, and PowerPoint applies it to the image.
(Picture style effect)
The image takes shadow effects and any other styles included in the style. If you don't like the added effect, just choose another.
Picture borders are another style that you can add to an image. Click the "Picture Border" button, and a list of theme colors and border options displays.
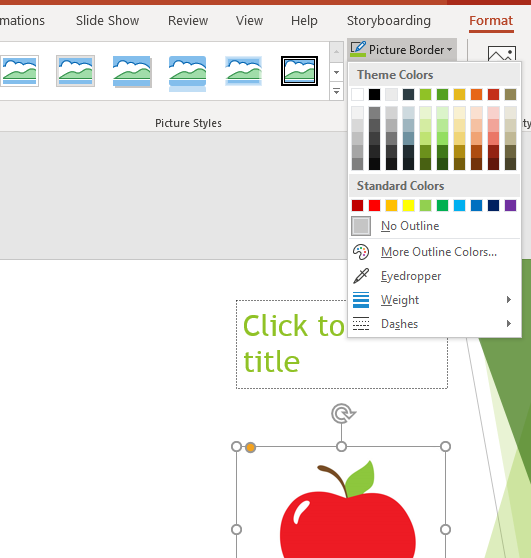
(Picture Border options)
In addition to adding a border to an image, you can also add weight and dashes. By adding a weight, you add thickness to a border. With the "Dashes" option, you add dashed lines around the picture instead of one solid line. The "Dashes" option has a submenu that allows you to choose the type of dashed border around an image.
Not every person will be able to see your images. For the visually impaired, your images could be difficult to see, but you can set alternative text. Alternative text is a part of accessibility features common with many applications that cater to people who could have difficulties seeing certain colors or other image details.
Adding alternative text is found in the "Accessibility" section of the "Format" tab. There is only one button in this section named "Alt Text." Click this button and a section for adding alternative text is displayed.
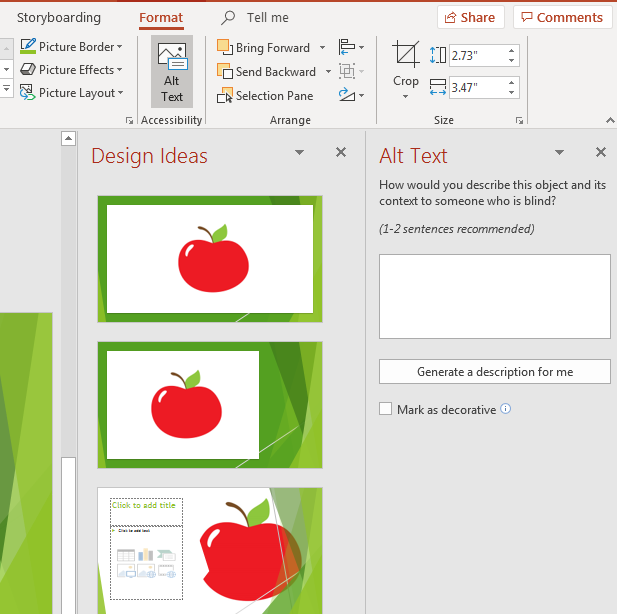
(Alt Text display)
Alternative text should describe the image to someone who is unable to see it. It should be one or two descriptive sentences to help someone who is reviewing your presentation. Click "Generate a description for me" to help with these sentences. PowerPoint 2019 will create a description for you, but it's suggested that you should create your own to ensure its accuracy.
The "Mark as decorative" is an option that tells people with screen readers to ignore this information. Decorative text is meant only to help users understand images shown in a slide, so it's separated from important information that is a part of the presentation. Usually, you check this option if alternative text is specifically for visually impaired readers.
After you click away from an image, the "Format" tab is no longer active, and the interface returns to the "Insert" tab. You can then choose to add more objects or create a new slide to add additional information.
Inserting Shapes
Shapes are more simplistic than images but useful in certain presentations. You can add shapes similarly to the way you add images. The "Illustrations" section within the "Insert" tab contains the options to add shapes to your presentation. Click the "Shapes" button in the "Illustration" section and a dropdown of options displays.
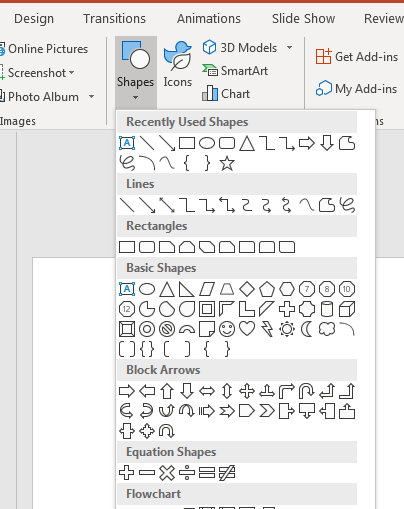
(Shapes options)
PowerPoint has several shapes options that you can see in the dropdown. Any shape can be added and resized to fit the theme and content of your slide. Click one of these shapes, and it displays in your PowerPoint slide. These shapes also display circles around them so that you can configure their vertical and horizontal size. Click the corner circles and the vertical and horizontal size is changes equally.
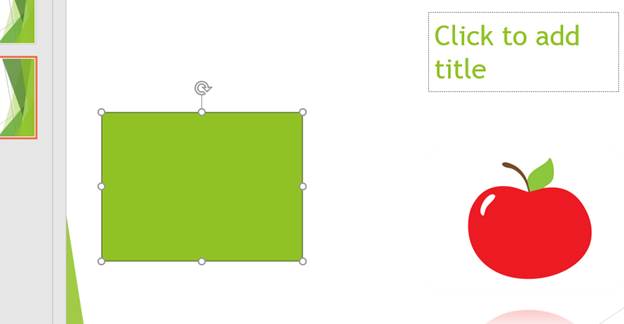
(New shape added to a slide)
Shapes are much simpler than images, but a "Format" menu still opens when you create one in a slide. Just like images, you also have a list of options after you've created an image.

(Shapes options)
With this menu, you can change the shape aesthetics and create styles based on the selected shape object. Just like images, you can add effects, styles, and even change the shape that you previously selected.
By adding shapes and images to your presentations, you can create a much more effective slideshow for viewers. While every object in a slideshow isn't the best for a presentation, styles and effects can create a much more aesthetic look that can sell many more potential clients.


