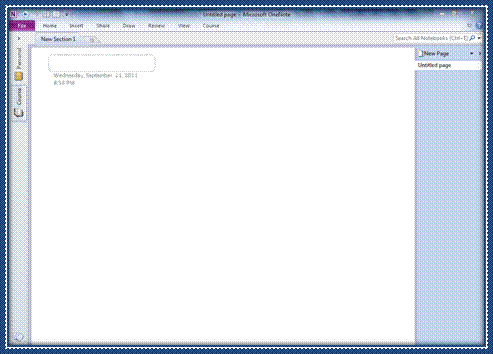
Naming a Page
To rename the page, start typing in the rectangular field on your page, as shown below.

If you look to the right, you'll see the page name is automatically updated and changed.
Adding a Page
Simply click it and a new page is added. If you look at the next snapshot, you will see the new page was added as "Untitled Page."
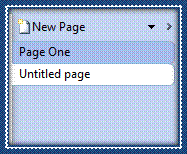
Adding a Subpage
Go to the right hand side of the window just as you did when you added a new page. Click the downward arrow beside New Page. This is what you will see:
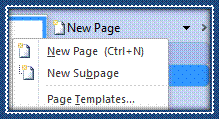
Select New Subpage

We can follow the same steps to rename it as we did with a regular page.
If we'd have wanted the subpage to be under Page One, we'd have made sure that Page One was active, or the page was showing in the workspace, before clicking the arrow beside New Page.
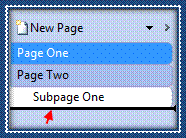
Below you see our pages:
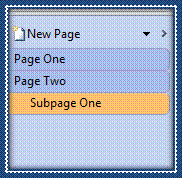
Simply drag and drop the page you want to move. For example, if we want to move Page One so it comes after Page Two, simply click on Page One. While holding your left mouse button down, drag it so it is below Page Two.
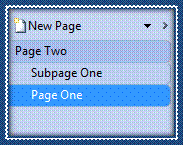
The page has now been moved.
You can also right click on a page and select Move or Copy.
Page Templates and the Template Pane
To create a page template, go to the right hand side of the window and click the downward arrow beside New Page.
Select Page Templates from the dropdown menu.
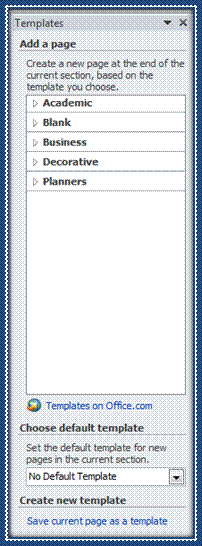
Now, we can add a new page using a template. We can select a default template that will be applied to all new pages in the current section in the Choose Default Template section. Or we can create our own new template using the current page that's open on our workspace. You might want to choose this third option if you have created framework and structure for a page, and you want to use this specific framework and structure for several other pages as well.
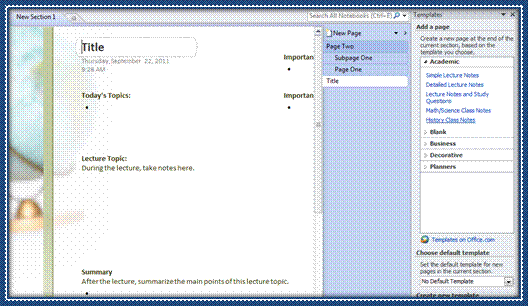
For now, let's Add a Page so we can see some of the templates OneNote provides.
Adding a Section
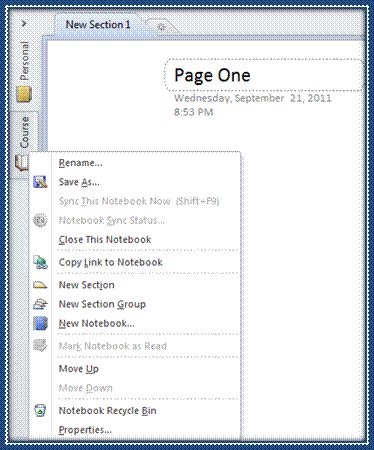
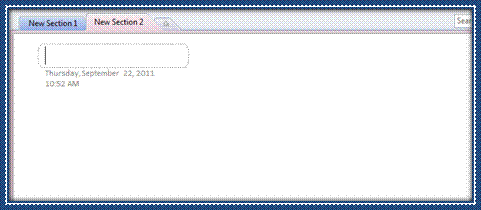
As you can see above, the new section is added. Now you can add pages to this section on the right hand side of the window.

Adding New Section Groups
Let's say, for example, that your entire notebook deals with natural products, and you have sections related to this with pages in each section. Now, let's say you have users who will just want to view sections on natural skin care products. You can create a Section Group, then put all sections that deal with natural skin care products in that group so they're easier to find. Let's learn how to do that.
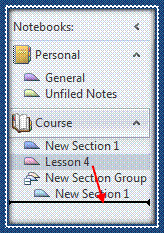
The first thing you are going to do is right click on the notebook, just like you did to add a new section. Select New Section Group.
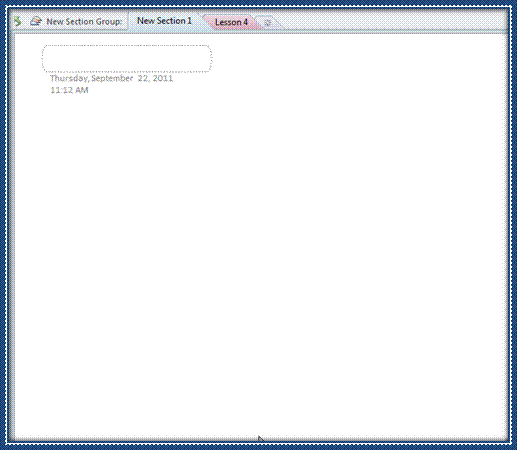
The new section group will appear as it does below.
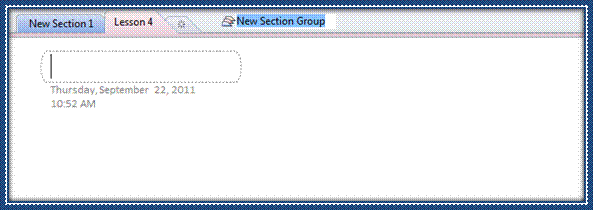
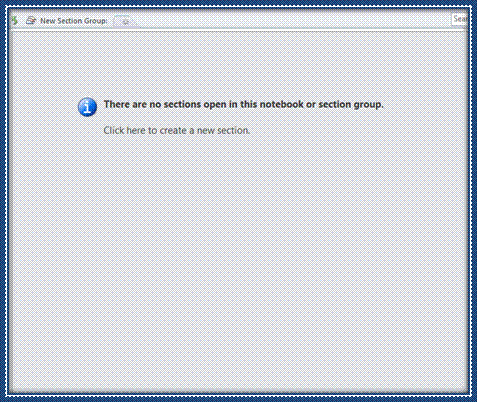
Now you can name your section group. We might name ours Natural Skin Care. For now, we're not going to give it a name. You will want to name yours however. We just want you to be clear this is a new section group, which is why we're not changing the name.
Working with Sections and Sections Groups
- Put "like" pages into the same section.
- Name the pages to represent the content of each page.
- Name the sections to represent the overall content of the pages. It is like chapters of a book.
- If you have a lot of sections, group your sections into section groups. Give the section group a topic, then place all sections related to that topic in the section group.
Adding Text and Styles
Adding Text
OneNote 2010 is nowhere near that complicated.
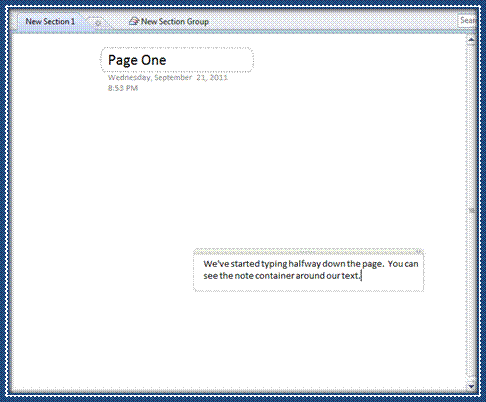
The first thing you need to know about adding text to OneNote is that you can type anywhere on the page. Just click on the area where you want to type and start typing. It doesn't have to be at the top of the page, and you do not have to hit Enter to move further down. Just click and type. It is that easy.
Now, as you type, your text will be put in what's called a note container. A note container is sort of like a text box. With your text in a note container, it will make it easier to move it around later if you want.
Formatting Text in Note Containers
To format your text, first select it so it is highlighted. Then go to the Basic Text group under the Home tab. Here you can apply formatting to your text.
 is for boldface,
 is for italics, and
  is for underline. The
  button highlights section of text, and
  will enable you to change the font color.


You can then handwrite notes anywhere on the page that you want. If you want to switch back to typing, click Select & Type on the Draw tab in the Tools group, as pictured above.
To copy, first select the text that you want to copy. We're going to copy this paragraph and paste it into your notebook.
After you've selected the text, right click and select Copy. If you are copying from a page in your notebook, you can also go to the Home tab and click in the Clipboard group.
Next, click the place on the page where you want to paste the text. Now, right click and select Paste or go to the Clipboard group and click Paste .
You will then see these options in the dropdown menu:

Let's learn what each of these buttons mean.
The first one on the left is to keep source formatting. This means if you copy something that is in Times New Roman size 12, when you paste it, it will remain in Times New Roman 12, even if the text or notes on the page you paste to are in Ariel.
The second one from the left, the one with the little blue arrow, is to merge formatting. If what you copy is Times New Roman, but the text/notes on the page that you paste to has the majority of text in Ariel, whatever you paste will be pasted in Ariel. In other words, it makes it match the majority.
The third is text which pastes it without any formatting.
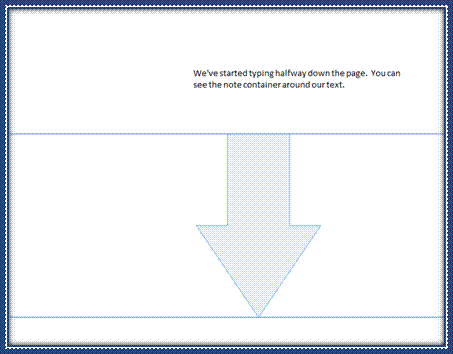
Add Extra Writing Space
Go to the Insert group under the Insert tab.

Applying Styles
You find styles by clicking on the Home tab and going to the Styles group on the ribbon. We've pictured it below.
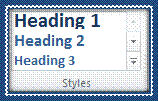
To apply a style to text, highlight the text, then click the appropriate style that you want.

Aligning Text
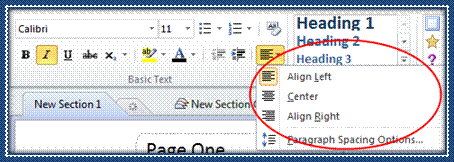
To the left margin
To the right margin
Centered between the two margins
To align text in OneNote 2010, select the text that you want to align. It should also be noted that you can select all text in a note container by clicking the gray bar at the top of the note container.
Moving Note Containers


