In newer versions of Word, Microsoft gives you the ability to compare documents and each version that you've edited. You might want to roll back to an earlier version of a document, and Microsoft Word's comparing and merging functions help you work with different versions of your file. In addition, you might also want to protect a file from further changes. You can do this natively in Word as well using password protection.
Comparing Versions of Documents
When you revise documents in Word 2019, one person creates the document, and then it can be passed around for others to make comments and revisions. These revisions are logged when a user keeps track changes turned on. When a document is passed around and revised by several different people, you now have several different versions. When you continue to create different versions, you could have an entirely different new version from the documents you stored several versions previously.
The compare feature is found in the "Review" ribbon tab. This tab has most of the features for revisions, editing and spell check. On the right side of the ribbon tab, you'll notice a "Compare" category. This category has only one button labeled "Compare."
(Compare button)
When you click this button, you then have two options in a dropdown.
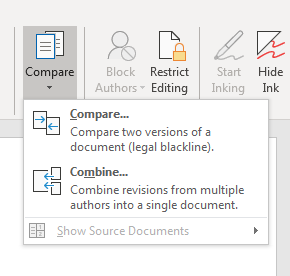
(The compare button dropdown options)
The first option is the "Compare" feature. This feature lets you look at two different versions of a document, so you can determine which one that you want to keep. This feature is useful when you have two versions that you want to choose from when the newest version is not exactly what you're looking for.
Click the "Compare" option and a window opens.
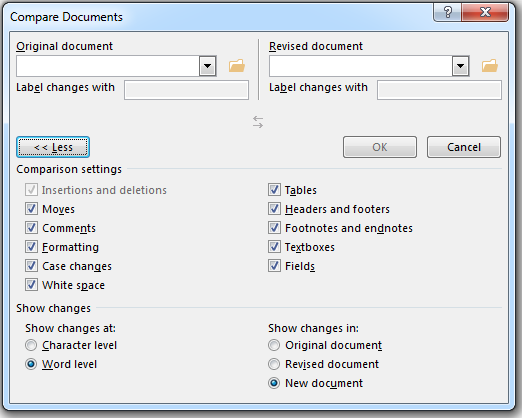
(Compare two document versions)
The left dropdown asks you to choose the original document, and the dropdown on the right asks for the revised document. You aren't limited to just the first version of your document. You can use any version of the document, and then compare it to the revised one. Consider this tool a way to see changes throughout a document so that you can see when changes were made throughout each stored version. This is much different than using the track changes tool, which only shows a version of the document where each writer made changes when the track changes mode is turned on.
The "Comparison Settings" option in the above configuration window has several options that you can check off or on. When you keep these options checked, the comparison tool picks up on any changes of these specified characters. For instance, you can see that one option is "White space." This means that if a user added just one space to a document, the comparison tool will pick this up as a revised edit and display it as a version change.
The "Show changes" section provides the option of how you want to display a comparison. You can use the original document, but this could lead to confusion between the original version and the changed on. The best option is the default one, which places the comparison in a new document for you to review. After you review the changes, you can then save the new document instead of accidentally overwriting the original or revised copy.
Combining Documents
The comparison feature shows you the difference between to document versions, but occasionally you might want to combine two documents rather than simply view a version and save the one that you choose.
The combine feature is in the same dropdown as the compare feature.
(The combine feature)
When you click the "Combine" option from the dropdown list, a configuration window opens that looks similar to the compare configuration window.
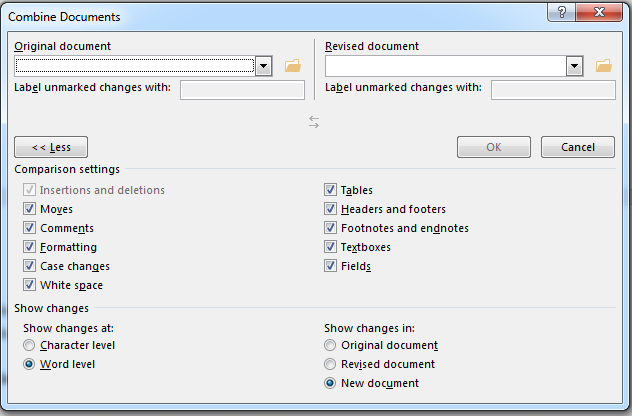
(Combine document configuration)
The first dropdown is the "Original document" option where you choose the original document before revisions. The "Revised document" is the dropdown where you choose the revised version. This can be any version where you've made changes to the original one.
Just like the comparison tool, the combine tool has options to combine several objects from a document. You might not have all of these objects in your versions, but for instance you could have an original version and then another with several comments. You could combine these two versions so that your original version has these secondary comments. If these objects don't exist in the documents, there is no harm having these options checked. No objects are ported over if they don't exist, but you should make to uncheck any options that you don't want, or your combined version will have unwanted content.
The "Comparison settings" determine where you want your final document to appear. You could use the original document or the revised one, but this setting could get confusing when you want to keep the original two documents separated from the new combined version. The most beneficial option is to use the default "New document" option, which will create a new blank document with the combined results. This option lets you create a new document with combined results, but you still have the original other versions intact should you ever need to revert back to them. If you rely heavily on versioned documents with the ability to roll back any changes, this should always be the option that you choose.
Protecting Documents from Editing
When you store documents on a network drive, you don't always want everyone editing the document. You might want to block all viewers from editing the document, or you might want to restrict only specific authors. You can do this with Word's document protection features. These features are found in the "Review" ribbon tab.
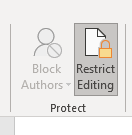
(Document protection features)
To restrict changes to your document, click the "Restrict Editing" button. A popup panel on the right side of the document window displays where you can select your restriction options.

(Restrict editing options)
The first section limits the type of formatting. For instance, you can restrict a user from changing paragraph or font style changes. When you click this check box, a list of options in a dropdown shows you the type of style restrictions that you can set when a third party edits the document.
The second restriction option provides a list of options on the type of editing that can be done. When you click this button, a dropdown similar to the first one is shown.
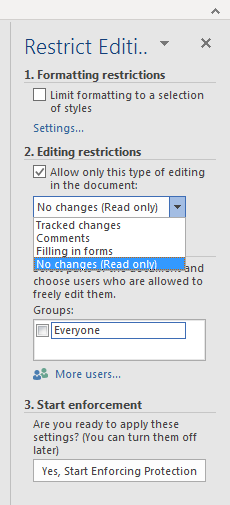
(Editing restriction options)
Comments and tracked changes can be restricted as well as filling out any form elements on a page. Notice that you can allow specific users by making an exception. You can make exceptions in the formatting options as well. In the image above, the option only shows "Everyone," which is every user who opens the file. By clicking the "More users" button, a popup opens asking for a list of users that you want to allow to freely edit.
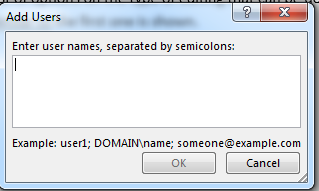
(Add users to exception list)
The names are based on users configured on the local machine, or you can use the domain notation that blocks users on a domain. Some network systems use email notation. All acceptable name formats are shown in the "Example" section located under the input back. If you don't know a user's name, then typing the wrong one won't block the specific user. Make sure that you separate each one using a semicolon, or your list of exceptions also won't work.
After you complete your protection settings, click the "Yes, Start Enforcing Protection" button, and the changes take effect.
If you have several authors that you want to block, click the "Block Authors" option to block them. This will block any recipients that are known authors who shouldn't have access to change content in your file.
Earlier versions of Microsoft Word did not have this protection, combining, and comparison functions. With these features, you can better control versions and roll back to previous ones. By protecting content, you can stop others who have access to the file from making unwanted changes.