
There are several tools on the market that provide ways for designers to create brochures, pamphlets and marketing material. These tools can be expensive for a first-time, new designer. They're also unnecessary if you only need to publish one design. As an individual, you can save money using Microsoft Word to create simple desktop publishing content. Should you need more complex designs or need to regularly create marketing content, it's better to invest in one of these other tools. However, for simple one-off designs, Word has features that will help you create content that can be published as marketing tools.
Set Margins
When working with desktop publishing content, you probably want it to align along the margin edges. However, when you create a new blank Word 2019 document, the margins are automatically set to 1". This margin setting is usually to wide for standard desktop publishing material. Most margins for this type of Word document are set to at least .5".
Margins and orientation are set from the "Layout" ribbon tab.

(Page setup buttons and controls)
The first button in the "Page Setup" category is the "Margins" option. Click the button and a dropdown menu displays. You'll see the "Narrow" option in the dropdown menu. This option sets all margins including the left, top, right and left to .5". This will give you more space to work and layout your content.
You can customize page margins but ensure that your printer supports very small margins. Small margins that allow content to span very close to the page edges might not be supported by your printer. The result is that your printer is unable to print content. You can also send any content to a print organization that can sometimes work with small margins, but you should ensure that they are able to print with very small margins as well.
Setting Columns
For brochures and pamphlets, it's common for a document to have several columns. By default, Word extends content from the left to the right of a page only stopping where the margins are set. You can, however, set columns similar to a newspaper layout. You aren't limited to just two columns. You can set three columns using the "Columns" dropdown options, but you have the option to use the "More Columns" selection to set as many columns as you need. Too many columns won't be able to support text, so you should set columns to a maximum of three or four to create good content.
The "Columns" button is found in the "Layout" ribbon tab. When you click the button, a dropdown of options displays.
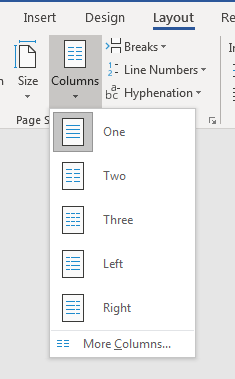
(Column dropdown options)
Notice that you also have the option to set columns left or right, but using the other three options provide columns that span evenly across the page.
Custom column settings are also available. Click the "More Columns" option and a new configuration window opens.
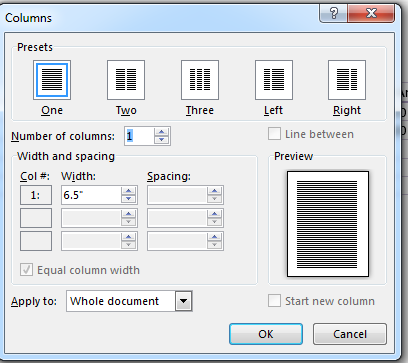
(Column settings)
In the column settings window, you can manually set column width and spacing. This lets you configure different column width settings rather than just use the default options that span columns evenly across the page. The last two settings span columns across the page but unevenly where the smaller column appears on the left or right of the page. Use this settings window to customize the way your brochure content displays for desktop publishing.
Preset Designs
For people who aren't designers, Microsoft Word provides you with preset designs that can be used to automatically set up fonts, styles and colors. You'll find these preset designs in the "Design" ribbon tab. This section even has a way for you to watermark your designs. Watermarking is a desktop publishing and general design option that places a faded image or textual content on an image so that it can't be stolen and copied. It's a way to protect your copyrighted original content from digital theft.
Microsoft Word 2019 offers themes that select colors and fonts styles for you. These styles offer fonts and stylized colors that fit a variety of preferences.
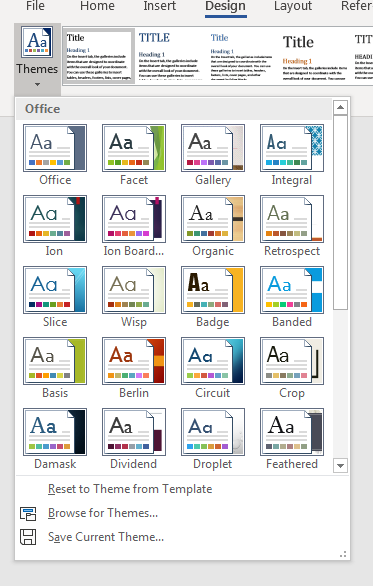
(Design themes in Word)
In the image above, notice that you get a small preview of the colors associated with each them, and you can see the font that will be used should you have textual content. You might need to test the styles by choosing it and then typing some content and using some header content. Remember that the "Home" tab has paragraph and header settings that you can choose as you create a document. Use these options to test the new them to discover if it's the right one for your desktop publishing document.
Microsoft Word also has several color themes to choose from. A color theme is a palette that works well together to make a document aesthetically pleasing. Poor color combinations make poor desktop publishing content, so you need the right color palette to work with your marketing material. The wrong choice can actually have a negative effect on your marketing campaign, but Word provides a way to choose a palette without the need to create one on your own.
The color option palette is also found in the "Design" ribbon tab.
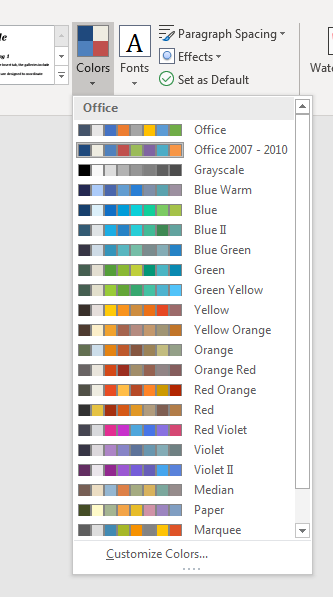
(Color palettes in Word)
Microsoft Word offers several preset color palettes, but you can also select "Customize Colors" and create your own. These palettes are mainly for people who are unable to determine the right colors for their desktop publishing material, but for those who are able to create their own color combinations, customizing colors is also an option.
Another option in the "Design" tab is special effects for images. If you're familiar with Adobe Photoshop, you know that the software has effects that can be applied to images. These effects change the images in several different ways, but usually a designer tests these changes by viewing a preview. Microsoft Word 2019 has a few effects as well that can be applied to your images. They are also available in the "Design" tab by clicking the "Effects" dropdown control.
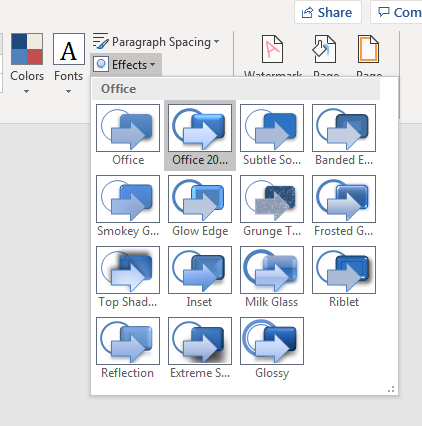
(Microsoft Word design effects)
The "Effects" dropdown gives you a slight preview so that you can understand what the changes will do to an image. These preview icons let you know what will be done to the image, but it's likely that you'll need to apply the changes to see the full effects after they are applied. Should you dislike the changes that are made, you can always use the "Undo" button at the top-right corner of the main Microsoft Word window.
Watermarking
Watermarking is a way to protect your content. When you create desktop publishing content, you might send it to a client who can opt to purchase is should it be something acceptable. You might also publish content online where users must be able to see the content before it's purchased. By placing watermarked content on an image, it can be published with an overlay that stops the client or viewer from using it within content that hasn't been authorized by the creator.
Microsoft Word has a watermarking feature that does all of the protection for you. It can also be found in the "Design" ribbon tab like the other examples in this lesson.
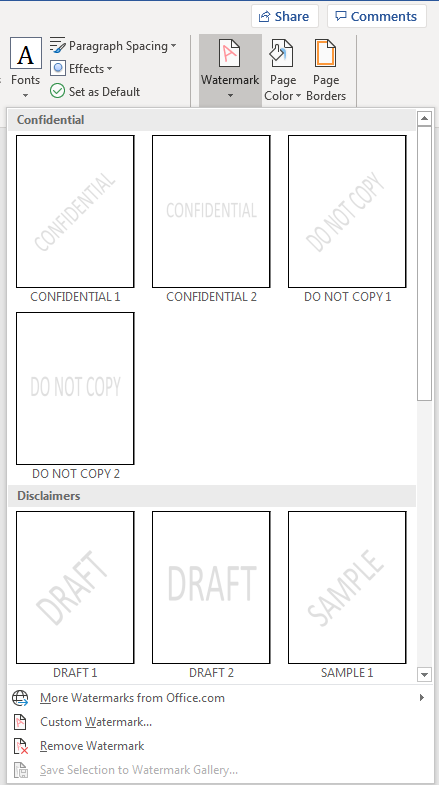
(Watermark options in Word)
Watermarking is usually accomplished using the samples in the image above. The text shown in the examples is shown in an image or desktop publishing content you've selected. When you publish your content, this text will show in the image, so a viewer will be unable to steal content without having this text display. When this text displays over your content, the reader knows that the publisher is using content that is not his own.
Use this Microsoft Word option for desktop publishing for clients. It's a benefit that Word 2019 offers that many basic word processing application do not.
In the desktop publishing world, design and layout are the most important rather than the text that you type. Microsoft Word might not bet the best in its class, but it's a useful application when you have no others to use.