
SmartArt lets you displays diagrams and models using shapes and text. PowerPoint 2019 has several predesigned SmartArt layouts, but you can also design your own using shapes, arrows and text. These diagrams display workflows for your product to help viewers understand the way process flows.
Inserting a Predesigned SmartArt Diagram
The SmartArt feature can be found in the "Design" tab. In this tab, a button for SmartArt is found in the "Illustrations" section.
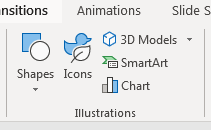
(Illustration section of the "Design" tab)
The shapes, icons and 3D models in this section can also be used to create workflows and diagrams, but the SmartArt button opens a dialog window where several predesigned diagrams can be seen. Click this button to see the diagrams.
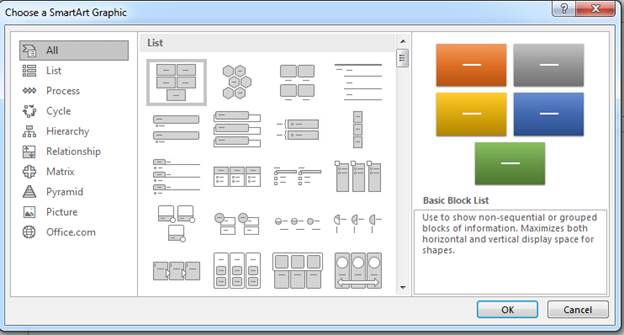
(SmartArt graphic options)
SmartArt options are separated into categories. These categories represent a type of workflow. The default selected section is "All," which displays every type of workflow in the center section. In the right panel, an example of the selected SmartArt diagram is shown. In the image above, a basic block list is selected and shown in the right panel.
Click another category and SmartArt option and a new example shows in the right panel.
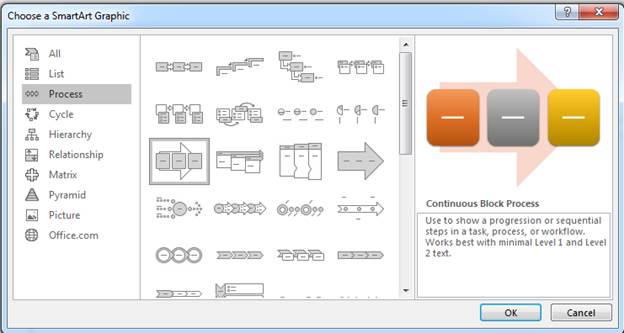
(A process SmartArt diagram)
In the image above, the "Process" category was chosen along with a new diagram. The diagram chosen is shown on the right side of the window. This right panel shows you sections of the diagram you'll fill out with text (in this example three squares with hyphens where text will be added). An explanation of the diagram is shown in the textbox underneath the diagram.
Click "OK" to add the SmartArt diagram to your selected slide.
(Configure SmartArt)
After SmartArt is added to a slide, a configuration window displays where you fill out text in the sections of the diagram where the preview displayed text that would be added. Notice that the layout for the SmartArt shapes matches the theme selected for your presentation. If you change the configured theme for your presentation, the colors and text color for the SmartArt diagram will also change.
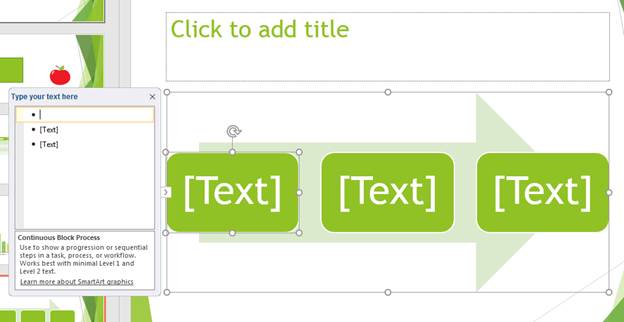
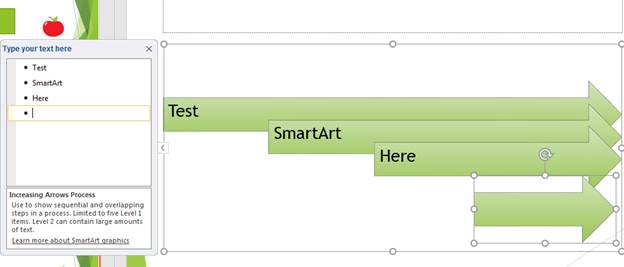
In the example, three square boxes in the diagram require text. The dialog box on the left side shows you a prompt for each text box. The default content in each textbox is "Text," and this content shows in the left dialog window. When you change the text in the content textbox, it also displays in the diagram. Should you ever decide to change content in these textboxes, you can identify the right one by matching the text in the left dialog window with the text in the diagram shape.
After you type text in the left dialog window, it immediately displays in the SmartArt diagram.
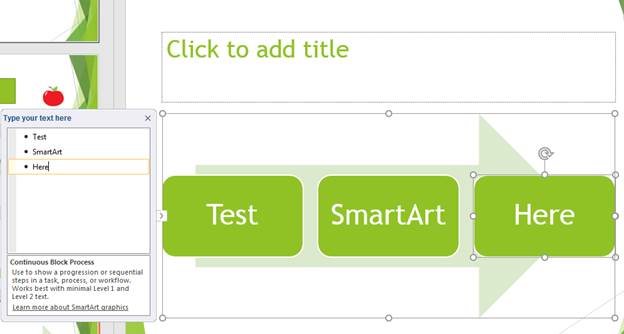
(SmartArt text entered)
After you finish entering text, click the "X" button in the top-right corner of the dialog window to close it.
After entering diagram text, you have several other options to configure SmartArt diagrams with your personal preferences. You can change the layout of a diagram. Changing the layout keeps the general workflow, but it changes the way the diagram displays in a slide. These options are found in the "Layouts" section of the "Design" menu that activates after you create SmartArt and select it in a slide.
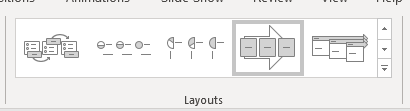
(Layouts menu section)
The default selection in the "Layouts" menu section is the chosen one added to your slide. Click an alternative layout, and the new diagram layout is applied to the SmartArt.

(Newly selected SmartArt layout)
Notice that the text is still available, but the layout has changed. In addition to changing SmartArt layouts, you also have the option of editing SmartArt styles. PowerPoint offers several predesigned styles available from the "SmartArt Styles" menu section of the "Design" tab. You can see a preview of these styles before you apply them in the icons that represent each one. The default selected style is the first one in the list, but when you click an alternative style it's automatically applied to the active SmartArt diagram.
Add Shapes and Graphics
After you add SmartArt to a slide, you can insert additional shapes and graphics to it. These objects will be added to the diagram and customize it to fit your workflow. Controls to add shapes to your SmartArt can be found in the "Create Graphic" section of the "Design" tab.
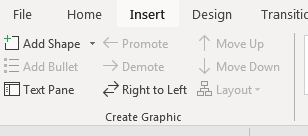
(Create Graphic menu controls)
The controls for SmartArt additions including shapes, bullet points, and text pane objects. You can add numerous different shapes. Click the "Add Shape" button to see the list of shapes available in PowerPoint.
When you click the "Add Shape" button, a new workflow object is added to the diagram.
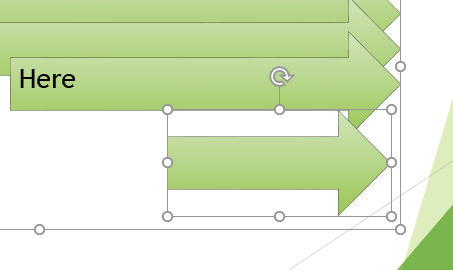
(Added arrow object)
The arrow is added, because it matches the rest of the shapes in your diagram. Click the object with your mouse, and you can move it around the diagram until it's placed in the right location. The circles on the sides and corners of the object indicates where you can resize the arrow. Any shape added to your diagram can be resized to the size that you prefer as it displays in your SmartArt.
The circular arrow lets you rotate the arrow to the left or right. Click the arrow and use your mouse to rotate it. By default, the arrow is aligned horizontally with other objects in your diagram. After you add a shape object, you can then add text to it. You add text by clicking the "Text Pane" button.
(Add text to an object)
After clicking the "Text Pane" button, the text dialog window opens again. When you have the new shape object selected in the SmartArt diagram, the text dialog window prompts you for text to add to the shape. Type the text that you want to add, and then click the "X" button in the top-right corner to close the dialog window. Any text typed into the dialog window will automatically display in the object.
After adding a shape with its text, you can add a bullet list by clicking the "Add Bullet" button. This feature adds another text box to your SmartArt diagram, except this one is a bullet list.
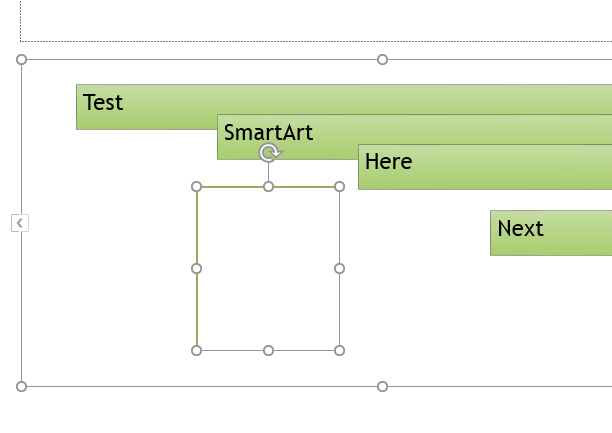
(Added bullet point list)
The bullet point list object doesn't contain any text until you decide to add it. Click the "Text Pane" button again, and the dialog window opens. You then type your bullet point text into the prompt. It's important to remember with SmartArt that each time you want to add text, you need to add a new text pane object. All text is contained within the dialog window that you see for text, so you can review and edit it at any time.
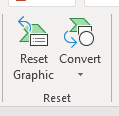
After adding several objects, you might decide that you don't like the outcome. Luckily, PowerPoint offers a way to revert the diagram back to the original version. You can find these controls in the "Reset" menu section.
(Reset options)
Click the "Reset Graphic" button to remove the last change to the diagram. This feature is similar to the "Undo" option. Any SmartArt diagram can be edited and changed reverted as you customize it to what works for you.


