

Adding Pictures to a Document
Word supports insert images from either the Internet or your local computer. If you're able to copy an image, you can paste it to your document. You can use your own images stored on your computer, or you can copy an image from the Internet and use it in your document. Before you copy an image from the Internet, ensure that the owner offers free use without attribution or payment. Some image owners require payment before you can use them either on your site or in private documents.
To copy an image from the Internet, open your browser and go to the web page that contains the image that you want to copy. Right click the image and select "Copy" (the wording in the context menu is slightly different across browsers). When you copy an image from a web page, it gets copied to your clipboard, which runs in the background of your computer and isn't visible from the desktop.
Go back to your document and click the section of the document where you want to paste the image. Right click the document and select "Paste." The image is pasted to your document, but it still must be formatted for your text. We'll discuss formatting a picture after explaining how to insert an image from Microsoft Word's long list of freely usable clipart available from Microsoft Office software.
(Illustration controls menu)
Notice from the list of options that you can add pictures located online or locally, but you can also add shapes, icons, models charts and even screenshots. Word has several options for image insertion into your documents. Inserting the different types of images and shapes is the similar for each control.
First, let's take a look at the "Picture" option. A window opens asking you to select an image. Double click the image and it displays in your document. What if you need ideas for an image or don't have one of your own? You can use Microsoft's online search for images located in the cloud.
Click the "Online Pictures" button. This time, a window opens with an online search prompt.
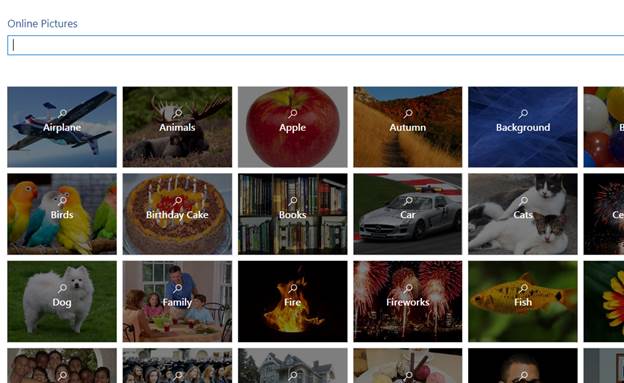
(Online picture search)
Word's online picture search is powered by Bing, so you might notice some images should you also perform a Bing search. Notice how the images are categorized. You can click one of these categories to view a list of available images related to the category. For instance, click the "Apple" category.
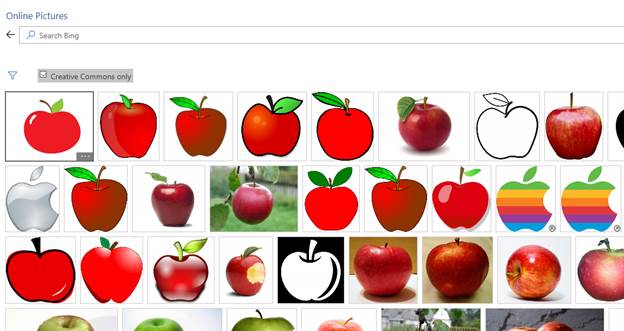
(Apple category image search)
When you click the "Apple" category, several images display. Clipart, photography and even the Apple technology company's logo is displayed. Microsoft's online image search gives you a large sample of possible images that you can use, but you aren't limited to just category searches.
At the top of the image search, you see a "Search Bing" input text box. Type any phrase into this text box and press "Enter." Word searches Bing to find images related to your search and displays them.
Double click an image that you want to include in your document, and Microsoft transfers it from the online search window to your document. In this example, an apple image is added to the document.
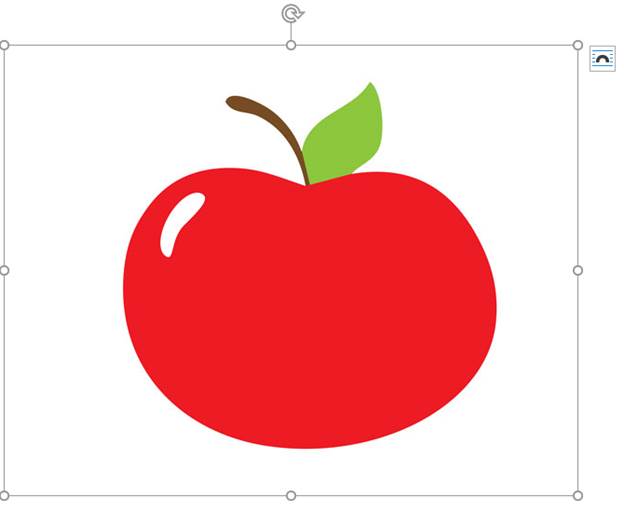
(Apple image added to document)
Notice that the image has a border around it with an arrow at the top and an icon in the upper-right corner. These prompts are significant as they provide ways to configure the way the image looks in your document.
The borders around the image with circles located on each line lets you resize the image. Using the corner circles, you can resize the image on all sizes to avoid skewing the way the image looks in the document.
The arrow at the top lets you rotate it. You can rotate it to the left or right. Click the arrow and then move your cursor in the direction that you want to set the rotation. After you rotate the image, release your hold on the mouse and it will display in your document.
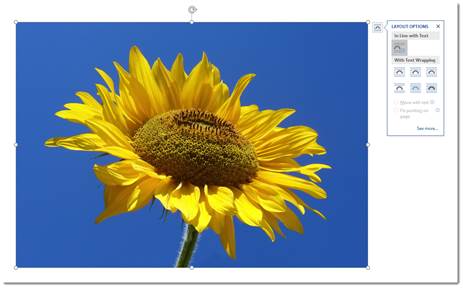
The most important part of formatting an image is setting text to flow around it. Word has several options for this style. You can get to it by clicking the "Layout Options" icon in the upper-right corner of the image. A menu opens that displays the text formatting and wrapping of content around the image.
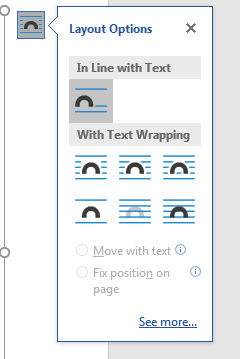
(Layout text options)
The default layout is highlighted in the image above. It's "Inline with text" sets an image to work similarly like text on the page. The text that you place in the document does not wrap around the image but rather treats it like text albeit large text within the paragraph. This default is enough for an image placed within text without the need for text wrapping, but you have other options that can be seen in the menu.
The way text wraps around an image can be seen in the icons in the Layout Options menu. You can even have text flow over or under an image. Hover your mouse over each option and review the text that displays in the popup. The text that displays indicates the way text will align with the image. For instance, select "Tight" and text will wrap and flow around the image without creating a carriage return and line feed within the document. This option will show text similarly to when you view a web page with an image that has text flow around it without creating any page breaks.
Inserting Shapes
Microsoft Word has a number of shapes that you can add to your documents. These shapes are beneficial for workflows and charts that require simple shapes. Click the "Shapes" menu option and a list of shapes that can be included in your documents is displayed.
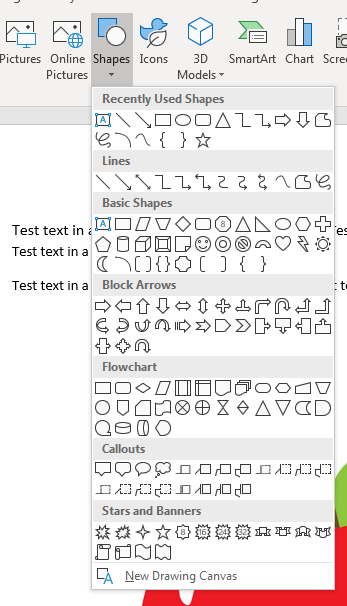
(List of shapes available in Word)
Any of these shapes can be added to your Word document by clicking the menu item. After you click the menu item, your cursor changes to prompt you to draw the same. For instance, click the rectangular icon in the "Recently Used Shapes" section. The cursor changes to a cross icon prompting you to draw the rectangle. Go to your document and draw the rectangle on your document and it's drawn once you release the cursor.
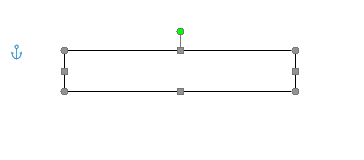
(Inserted shape)
Notice that the inserted shape also has points along each line and at the corners. These points are where you can resize and reshape the rectangle. Each shape that you add to your document can be resized by clicking these points and dragging the mouse to make the shape larger or smaller. The anchor is used to lock the object to the document and text surrounding it. In the image above, no text is surrounding the shape, but should you have text around it, you can use the anchor to determine the way text is formatted around the shape.
View the other options in the Illustrations category and you can insert these additional images and shapes. For instance, the "Icons" button will open a window similar to the "Online Pictures" button where you can search and view icon images to insert into your document. The other options in this menu list work similarly. You just need to determine what type of image that you want to add to your file.
Use these menu items to insert any images that you want to add to your documentation. You can use either Word images included with your installation or ones that you store on your local hard drive.
Crop a Picture
When you crop a picture, you cut away the outer edge of the picture to create a new version.
Let's crop the picture below.
Click on the image to select it. You will see a bounding box around the image.
Right click on the image, and you'll see the Crop option in the menu. We've highlighted it below.
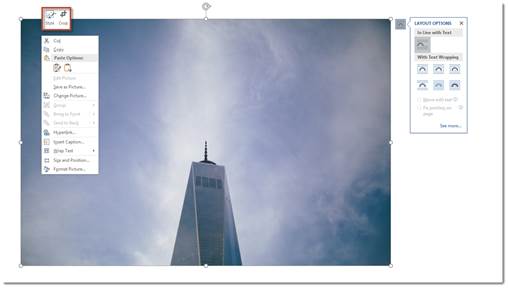
Click Crop.
You'll now see crop marks around the image � at all four corners and on each side. These are the black marks. Click and drag your mouse on any of these marks. Click and drag inward on the image until you have cropped away the area you want to get rid of in the image.
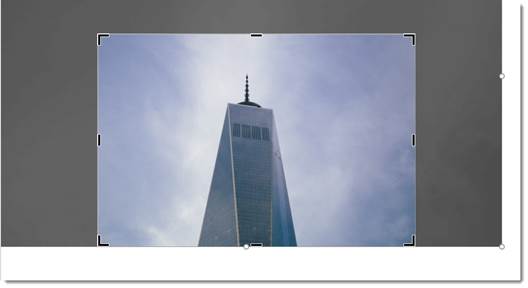
The area you're cropping away is shaded in gray.
Click outside of the image and gray area to remove the cropped area.
NOTE: You can also click on the Insert tab after you've selected the image, and go to Crop>Crop.
Color
You can easily adjust the color of any image you place in your documents.
To do this, double click on the image.
You'll then see the Picture Tools Format Tab.

Click the Color button.
Choose the color effect you want to apply to your image.
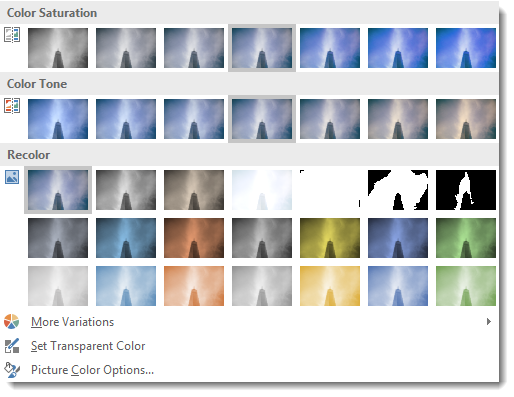
Color Correction
You can also adjust and modify the colors in your image through color correction. Once again, go to the Picture Tools Format tab by double clicking your image.
Click the Corrections button.
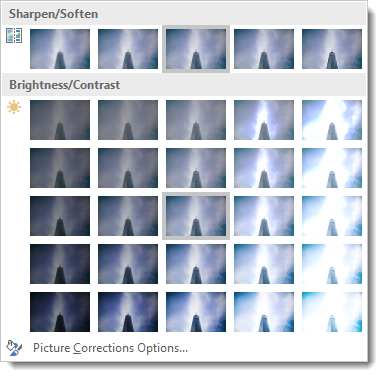
Choose a color correction.
Artistic Effects
Just as you can use Photoshop and other photo editing software programs to add effects to your images, you can also use Word for this.
Double click your picture to bring up the Format tab, then click the Artistic Effects button.

Choose the artistic effect that you want to apply to your image.
Removing Backgrounds from Images
Although Microsoft Word is a word processing program, it also offers some photo editing tools, as we've already seen in this lesson. Perhaps one of the most useful photo editing tools found in Word is the background removal tool. This tool allows you to remove backgrounds from your images.
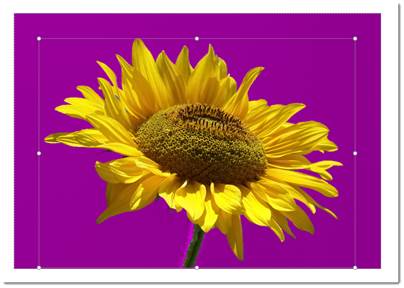
We are going to remove the background from our image:
To use this tool, double click on the image for which you want to remove the background. Click on the Remove Background button in the Adjust group under the Picture Tools Format tab.
When you click the Remove Background button, you will see the Background Removal tab appear on the Ribbon. Your image's background � and possibly your image � will also change colors. Don't worry. This is temporary.
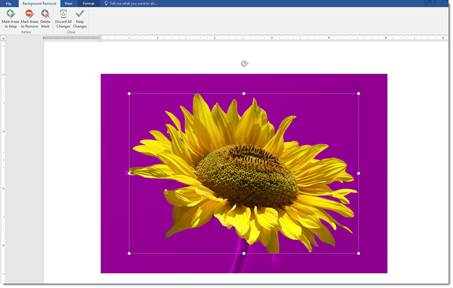
The areas that appear in purple are the areas that Word has determined are background areas that it needs to remove. If there is purple on any areas of your image that you want to keep, you can drag the handles of the bounding box that appears over the image. Drag the handles outward to keep more of the image.
In the snapshot above, you can see that the stem of the flower and part of a petal appear purple. If we leave them purple, they will be removed from the image. We can drag the hands of the bounding box to fix this, as pictured below.
After you adjust the bounding box, if there are still areas of your image that are purple that are not supposed to be purple, go to the Background Removal tab in the Ribbon. Remember, any areas that are purple are considered background areas by Word.
Click the Mark Areas to Keep button.
Your cursor will turn into a pencil.
Simply click on an area that you want to keep.
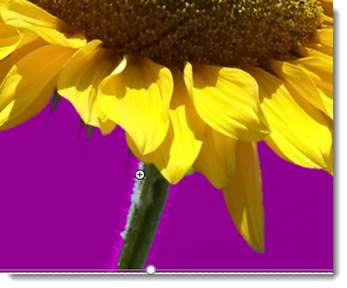
As shown in the snapshot above, a plus sign appears where you clicked. If you look at our previous snapshot, you can see this area used to be purple, but by clicking on it, it's restored to its original color.
We can now click on all areas we want to keep.
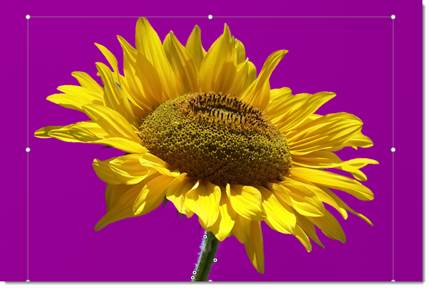
You can also mark areas of your image for removal. It's quite possible that Word will not detect all background areas, so those areas will not appear purple. To mark areas you want the tool to remove, go to the Ribbon and click Mark Areas to Remove.
Click on the areas to remove just as you clicked on the areas you wanted to keep. However, this time, those areas will turn purple.
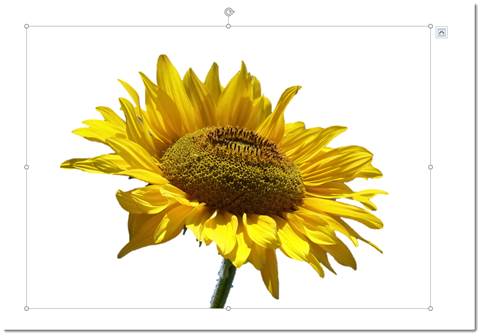
When you're finished, click the Keep Changes button in the Ribbon.
Wrap and Position Text around Images
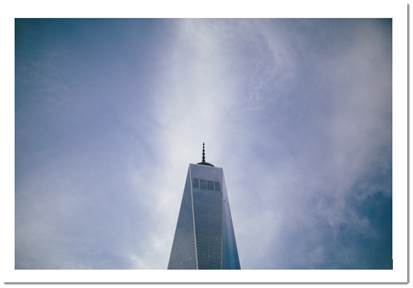
Word can also wrap paragraphs around a picture, charts and graphs as in the example below.
To wrap text around a picture or art object, double click on the image. The Format tab will appear in the Ribbon. Go to the Arrange group.
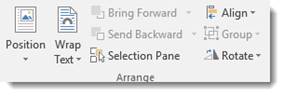
In the Arrange group, click Position to view the dropdown menu.
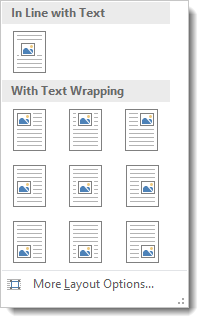
In the dropdown menu, you will see thumbnail-sized illustrations of documents with images in them. The location of the image in the illustration shows you where your image will be placed in relation to your text.
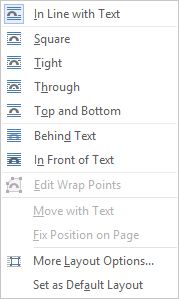
To wrap text around an image, click the Wrap Text button to wrap the text around an image. When you click the button, the following dropdown menu will appear:
-
Square means your image sits on the same plane as the text. The text flows around the image in a square pattern.
-
Tight text flows around the image, hugging its shape. If you insert a circular shape, the text will take a circular pattern around the text.
-
Through means that the text will flow around the image as best as possible.
-
Top and Bottom means text will appear on top of the image and at the bottom.
-
Behind Text means the image is behind the text. The image looks like it is part of the paper.
-
In Front of Text means the image is on top of your text. It's the same as if you printed a document and dropped a photograph on top of it.
You can lock an image to text so that if you move the text, the image moves also. To do this, click the Text Wrapping button, choose More Layout Options. Under the Position tab select Move Object with Text.
NOTE: You can also wrap text around an image as soon as you insert it into your document without having to go to the Ribbon. Look at the text wrap icon in the snapshot below. Clicking on it reveals the Layout Options menu.

WordArt
WordArt is a very popular feature in Word. To use WordArt, go to the Text group under the Insert tab.
The WordArt button looks like this:
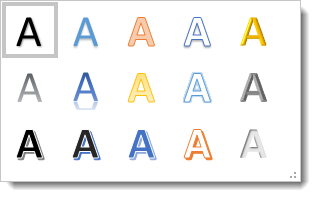
When you click the downward arrow, you'll see the WordArt menu:

Select the way you want your text to look and click on it.
You can now format WordArt the same way you did shapes and images.
Insert Video
You can insert videos into your documents just as easily as you can insert images. To insert a video, go to the Insert tab and click the Online Video button in the Media group.
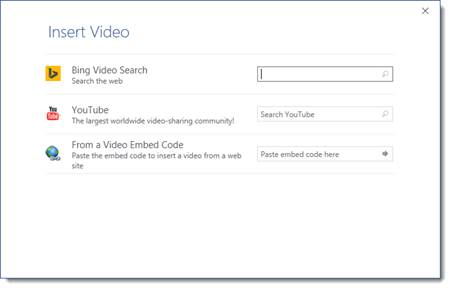
You can insert videos by searching for them on Bing, from a video embed code that you find on video webpages such as YouTube, and even from YouTube itself.
Let's search for a video of a cat on Bing.
Type "cat" into the Bing Video Search field.
You will then see the search results appear.
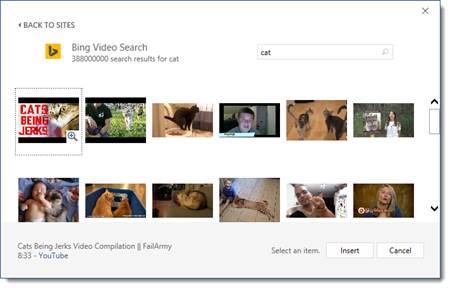
Click on a thumbnail of a video to select it, then click the Insert button.
The video is inserted into your document.
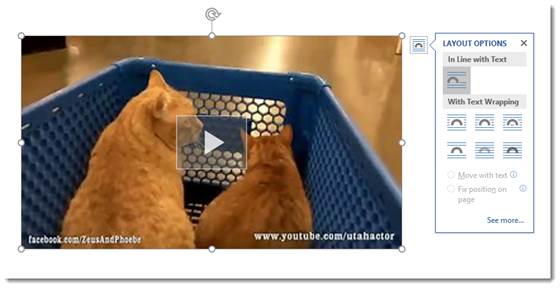
You can then rotate, resize, and position the video just as you would an image.
Formatting ClipArt and Pictures Using the Picture Tools and Format Ribbon
Whenever a picture is inserted or selected, the Format tab will automatically appear as a tab in the Ribbon. It provides you with a few of the most commonly used features available in image editing software like Photoshop. You can change the contrast, add artistic effects, remove backgrounds, or crop them. To view the Format tab, select a picture by double clicking on it.

In the center of this ribbon, you'll see styles you can add to pictures. You can add frames, drop shadows, reflections, etc.

You can also add your own formatting to your images. Remember, a style is just a chunk of formatting heaped together.
To add formatting to your picture, you can click the Picture Border, Picture Effects, or Picture Layout, as shown below. These are located in the Styles group under the Format tab.
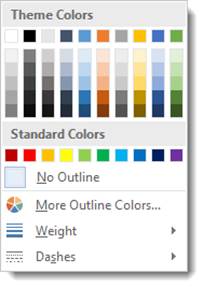
When you add a picture border, you can choose the color of the border, the weight (or thickness) of the line, and even the type of line (dashed, etc.).
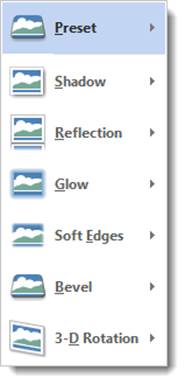
If you remember, earlier in this course you learned how to add text effects such as shadows and reflections. You can also add these to your pictures by clicking on Picture Effects.
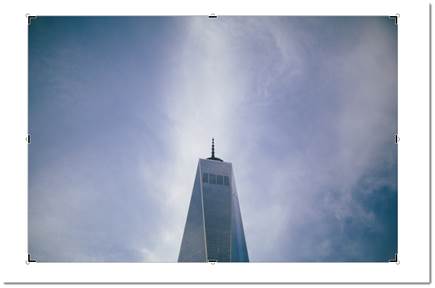
If you choose Picture Layout, you can format your picture with a caption or more information.
Here are the choices when you click Picture Layout:
Choose the layout you want to use. We chose:

Word also provides a box where we can enter the caption:
NOTE: You can also right click on an image and select Add Caption. The method above gives your image additional formatting.
Using the Screenshot Tool
The screenshot feature was new with Word 2010. It gives you the ability take a screenshot and have it appear instantly in your documents. To use this feature, position the cursor in the place you want the screenshot to appear. Select the Insert tab and click the Screenshot button. It looks like this:

Be aware though, that this feature is somewhat limited, allowing you to only take screenshots of active windows. Windows that have been minimized to the taskbar will not be available. When we click the Screenshot button, we'll see a list of the windows that are available, as in the following example.
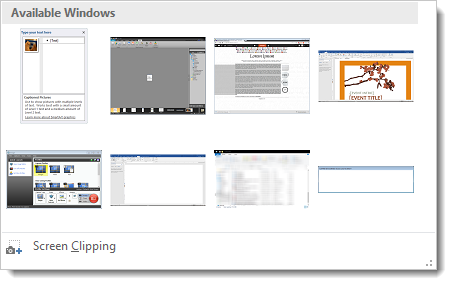
Selecting an available window will take a screenshot of the entire thing and insert it into your document. You can then use the Format ribbon to crop the screenshot or change other attributes.
If you do not want to take a screenshot of the entire window, you can select the Screen Clipping command at the bottom of the window.
When you select the Screen Clipping command, the entire window will be opaque. Click the left mouse button and drag the pointer over the area you want to capture. This selected area will become clear. Release the mouse to capture the screenshot, and it will automatically appear in your document.
Using SmartArt and SmartArt Tools
According to Microsoft, SmartArt is a quick and convenient way to create a visual representation of the information in your document. That's a mouthful, isn't it? What they really mean is it's a quick and convenient way to create flow charts. The following is an example of an available SmartArt template.
The SmartArt button is located on the Illustrations section of the Insert tab. It looks like this:

Click it and a dialogue box opens. It gives you a different categories of SmartArt to choose froom. There are lists, processes, cycles, hierarchys, etc.
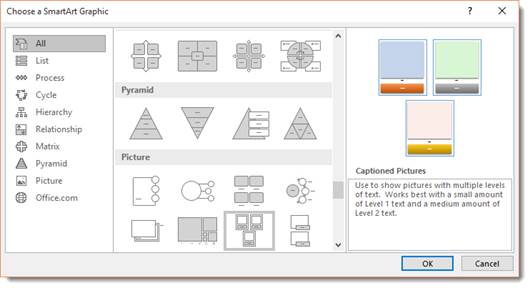
If you have access to Word, take a moment to explore the different SmartArt graphics available in each section. Seeing them all for yourself will give you the best exposure to all of the possibilities. You can even click "Office.com" and find SmartArt graphics that were created by other Office users.
When you've found a SmartArt graphic that you like, select it and click OK.
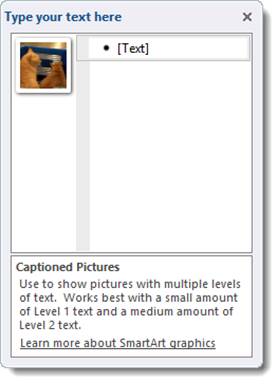
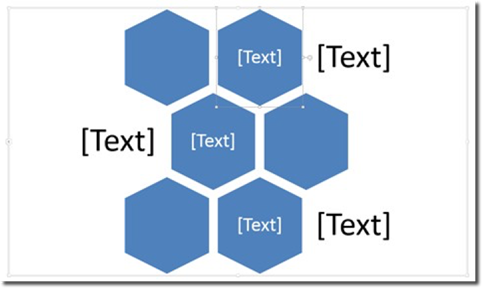
When the graphic opens in your document, or when it is selected, a pane opens up beside it. You can either click the areas marked [Text] in the graphic or in the pane. Click on these, then type your text. In some templates, you can also insert pictures.
Inserting Charts
To insert a chart, navigate to the Insert tab and click the Chart button. It looks like this:

The Insert Chart dialogue will open.

The chart types are arranged along the left side of the window.
Select the chart you want to use, then click OK.
If Microsoft Excel is installed on your computer, it will also open with your chart. You can input data into Excel which will then be conveyed by your chart.
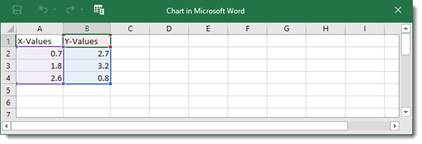
Chart Types
Word brings with it some new chart types to help you better illustrate data that you include in your documents.
These chart types include:
- Treemap. A treemap chart displays hierarchically structured data. The data appears as rectangles that contain other rectangles. A set of rectangles on the save level in the hierarchy equal a column or an expression. Individual rectangles on the same level equal a category in a column. For example, a rectangle that represents a state may contain other rectangles that represent cities in that state.
- Waterfall. As explained by Microsoft, "Waterfall charts are ideal for showing how you have arrived at a net value, by breaking down the cumulative effect of positive and negative contributions. This is very helpful for many different scenarios, from visualizing financial statements to navigating data about population, births and deaths".
- Pareto. A Pareto chart contains both bars and a line graph. Individual values are represented by bars. The cumulative total is represented by the line.
- Histogram. A histogram chart displays numerical data in bins. The bins are represented by bars. It's used for continuous data.
- Box and Whisker. A Box and Whisker chart, as explained by Microsoft, is "A box and whisker chart shows distribution of data into quartiles, highlighting the mean and outliers. The boxes may have lines extending vertically called �whiskers'. These lines indicate variability outside the upper and lower quartiles, and any point outside those lines or whiskers is considered an outlier."
- Sunburst. A sunburst chart is a pie chart that shows relational datasets. The inner rings of the chart relate to the outer rings. It's a hierarchal chart with the inner rings at the top of the hierarchy.
Using the Chart Tools
Whenever you insert a new chart into your document, the Chart Design and Chart Format tabs will open, as pictured below.
This is the Chart Design tab. By default, it's the tab you'll see.

You can also click on the chart Format tab, to the right of the Chart Design tab.

Let's take a look at the chart tools available on the Design tab.

Just like in the text ribbon, you have a choice of Chart Quick Styles. You can apply them just like you would with text, paragraphs, and pictures.
Use the Chart Layouts group on the Ribbon to add chart elements or change the layout.
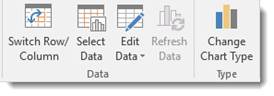
Now look at the Type and Data Sections. The data section lets us select an existing data set, or edit one.
With these, we can change the chart type, switch rows to columns or vice versa, select, and edit data. Say, for example, that after we entered our data, we realized that maybe a pie chart wasn't the right way to convey it. We've decided instead to use a graph chart. To do so, we'd click the Change Chart Type button and select a new chart.
Now let's take a look at the Format tab for charts:

Use the Current Selection group to change the formatting of the current selection.
Use the Insert Shapes group to add and insert shapes. Use the Shape Styles section to change the style of your shapes. You can also change WordArt styles that appear in your chart.
The Arrange group lets you arrange your data and images, including text wrap and position.
The Size group allows you to adjust the size of your chart (in inches).


