You can set up the Mail app in OS X Yosemite and use it to send and receive email for all your email accounts, including iCloud, Google, Yahoo!, et cetera. Just like MS Outlook, the Mail app gives you the controls you need to organize your email, as well as customize it with features such as signatures and stationery.
The Mail app can be found by going to Launchpad. The icon looks like this:

Setting up the Mail App
The first time you open the Mail app, you will be prompted to add an email account if you haven't already. You can also go to the Menu Bar, then Mail>Add Account.
You will then see this pop up window:
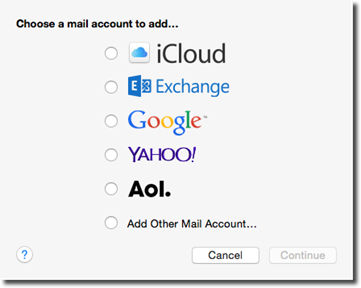
Choose the type of email account that you want to add. If you don't see yours listed, select "Add Other Email Account." If you select one of the types of email accounts listed, you will be prompted to enter your email address and password. Apple Mail will do the rest for you.
We are going to select "Add Other Email Account." When you choose this option, you may be prompted to enter more information and take additional steps.
Let's walk through using this method to set up an email account together.
After you select "Add Other Email Account," click the Continue button.
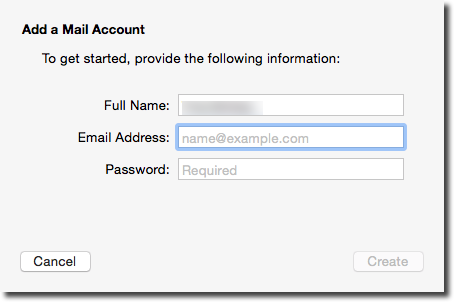
Next, enter your full name, email address, and the password you use to check your email for the account.
Click the Create button.
The Mail app will try to configure your account for you and import your server settings. Most of the time, it can do this for you without a problem. However, if, for some reason, Mail is unable to import the server settings, you will see this message:
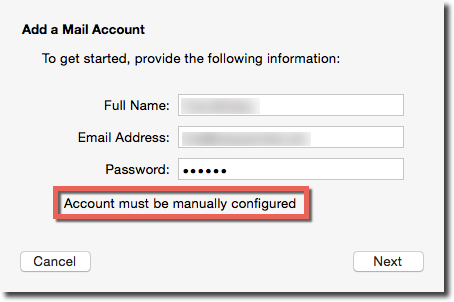
If this happens, click the Next button.
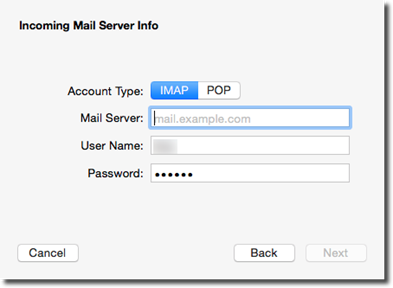
First, you will fill out the incoming mail server information, as shown above.
Select if your email is IMAP or POP, then enter the incoming mail server, and your username. Your password will already be filled in. If you do not know your incoming server information, you should be able to get this information from your email provider.
Click Next.
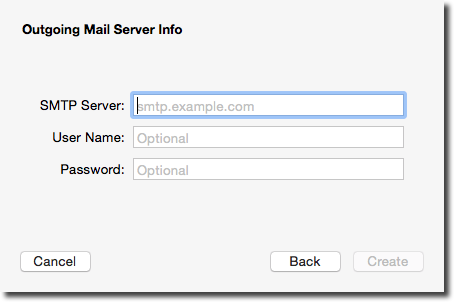
Now you will enter your outgoing mail server info. Once again, you can get this information from your email provider.
Click the Create button after you've entered the information.
Checking Email
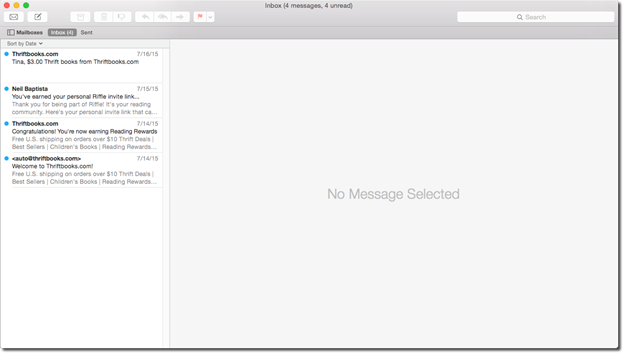
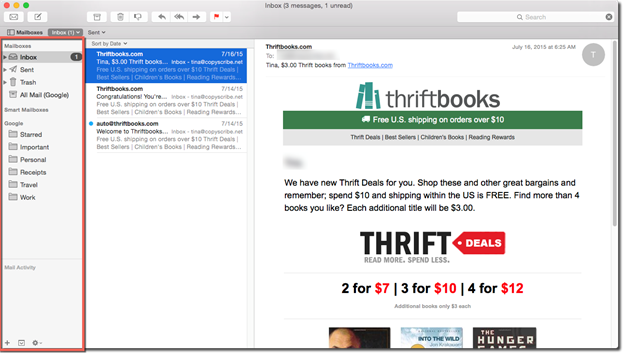
Pictured below is the Mail app window:
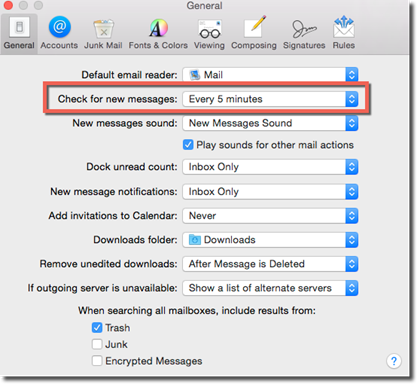
Select a time interval from the "Check for New Messages" field, as shown below.
You can also check email yourself by clicking the  in the upper left hand side of the Mail app window, as we have pointed out below, or by going to the Menu Bar and clicking Mail>Get All New Mail.

Setting the Mail App to Automatically Check for Messages
The Mail app will check your mail for you every five minutes. It will import any new messages you have directly into the app.
If you want the Mail app to check email more or less frequently, you can change the time interval for which it checks mail by going to the Menu Bar, then Mail>Preferences. Click General.
Navigating the Mail App
Let's take a quick look around the Mail app before we delve deeper into using it to send, receive, and organize email messages.
The Mail app is broken down into a toolbar and panes. The toolbar is at the top of the app, as highlighted below.
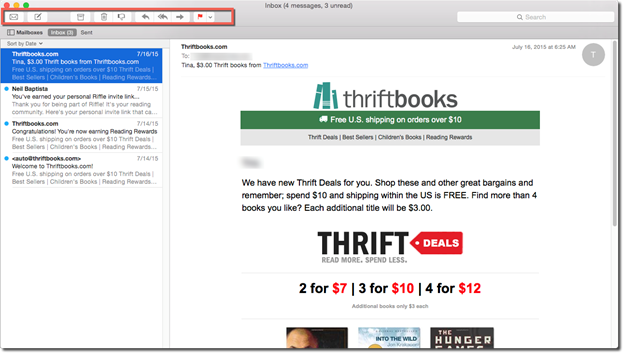
We have already learned that the first button in the toolbar ( ) is used to check email.
The Compose button is the next button to the right. This is the button you will use to compose new emails.

To the right of the Compose button is the Archive Selected Messages button.

When you archive a message, it no longer shows in your inbox, but instead is moved to the Archive folder, which we'll see in just a minute.
To the right of the Archive button is the Delete Selected Messages button. Click this to delete a selected message.
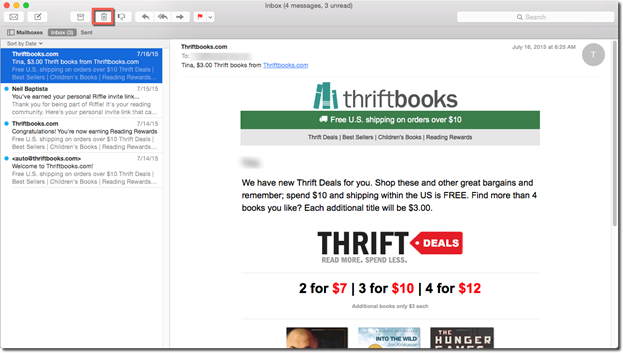
Next is the Mark Selected Messages as Junk button. Click this to mark a selected message as junk or spam.

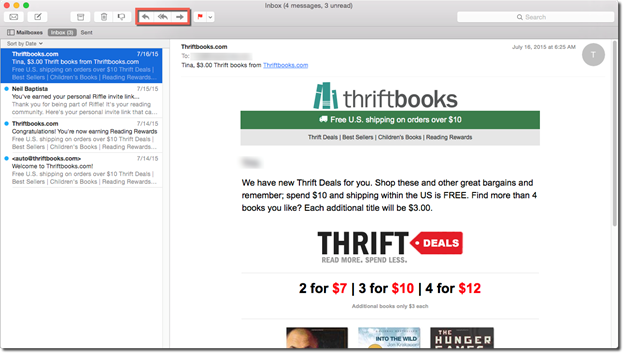
Following the Junk button, you have Reply, Reply to All, and Forward (in order as they appear). These features are standard with every email program.
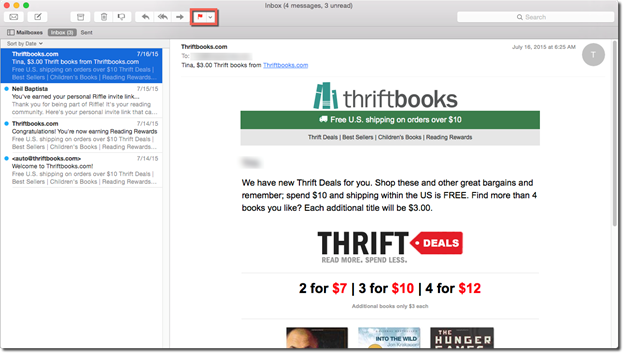
Finally, you have the Flag Selected Messages button. By clicking the downward arrow beside the Flag button, you can choose a color of flag to use to mark the message. For example, you may want to flag emails from your boss as red, from your mother as blue, et cetera.
To the far right of the toolbar, you have the search box. You can search for messages by sender, date, recipient, subject, et cetera.

Below the toolbar, you will see three tabs that represent different panes in the Mail app. These tabs are Mailboxes, Inbox, and Sent.

The Mailboxes pane does not show by default. However, if you click on the Mailboxes tab, you can see your mailboxes. These folders may include Inbox, VIP's, Drafts, Sent, Junk, Trash, Outbox, Archive, and Flagged. You can also create folders by going to Mail>New Mailbox.
You can also see your Smart Mailboxes. Smart Mailboxes display emails that are stored in other folders and meet criteria that you specify. To create a new smart folder, go to Mailbox>New Smart Mailbox.
At the bottom of this panel, you can see Mail Activity, which will show you the progress of email as it leaves for the recipient or arrives in your inbox. You can click the Mail Activity icon ( ) at the bottom of the pain to show or hide mail activity.
Now let's look at the second pane in the Mail app by clicking the Inbox tab.
The Inbox pane lists all your email messages.
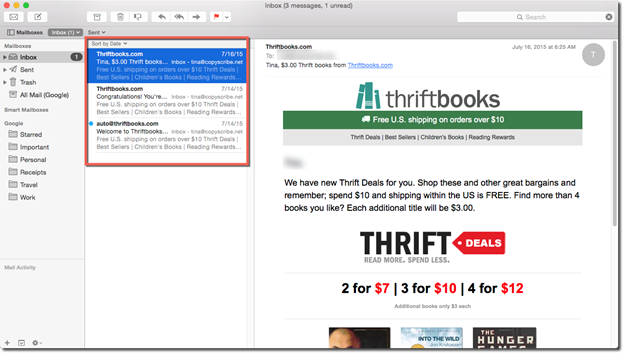
The Inbox pane shares its space with your Sent email list. Click on the Sent tab to see all the emails that you've sent will be listed here.
The third pane is the reading pane where you can read the actual email message.
Composing Email Messages
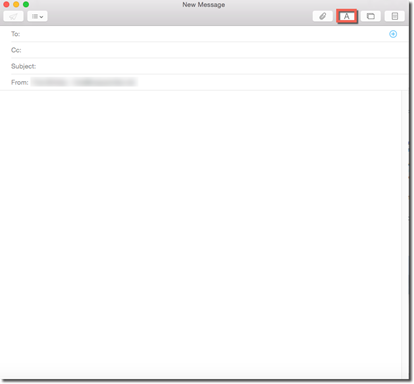
If you want to create a new email message to send to someone, click the Compose button in the Mail app window. The Compose button looks like this: 
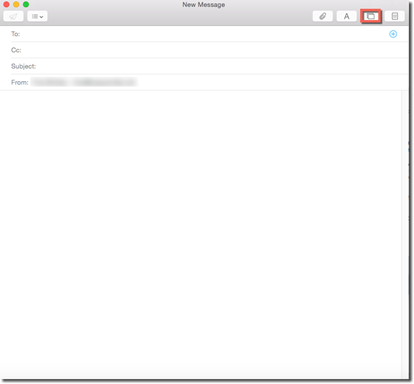
You will then see the New Message window.
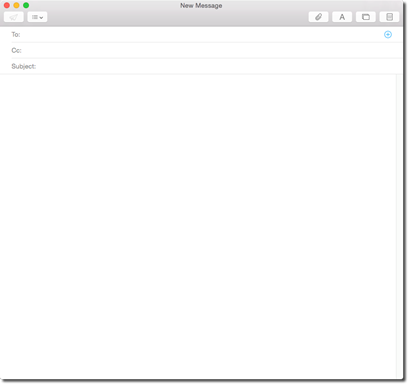
In the To field, enter the email address for the recipient. If this person is already listed in Contacts, the Mail app will complete the email address for you as you type.
If you want to send a carbon copy of the email to another recipient, enter their email address in the CC field.
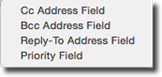
You can add additional fields by clicking the Select Visible Header fields button.
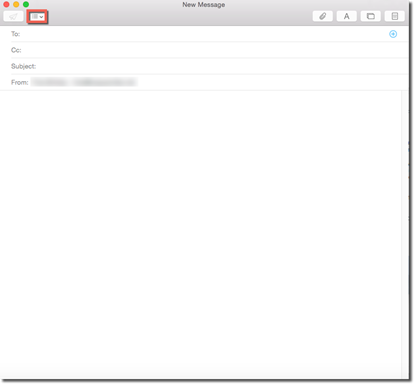
Click on a field to select it.
Next, enter a subject line for the email in the Subject field.
The big white area that you see below the Subject field is where you will type your email message.
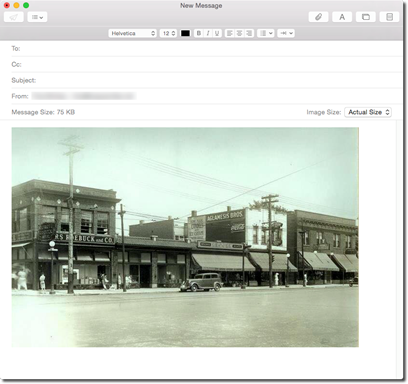
If you're sending a rich text email, you can format your message with font color, size, bold face print, italics, lists, and so forth. To format your message, click the Format Bar button.
The Format Bar is pictured below.

From left to right in the snapshot above, the format bar contains tools that allow you to:
-
Change the font type
-
Change the font size
-
Change the font color
-
Add bold face text
-
Add italics
-
Underline text
-
Align left
-
Align center
-
Align right
-
Create a list
-
Indent
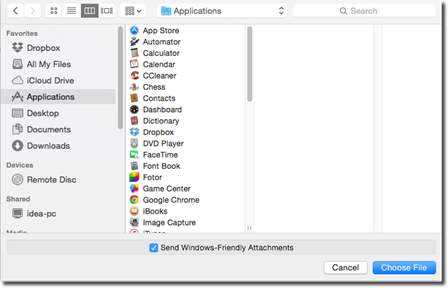
If you want to attach a file to the email message, such as an image or PDF, click the Attach button.

You will then be able to browse your Mac to locate the file.
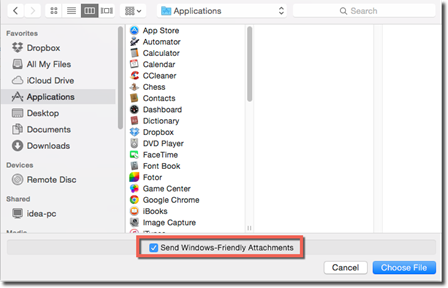
If you want to make sure that you only send attachments that Windows users can view as well, make sure the "Send Windows-Friendly Attachments" box is checked.
Select the file you want to attach, then click the Choose File button to attach the message.
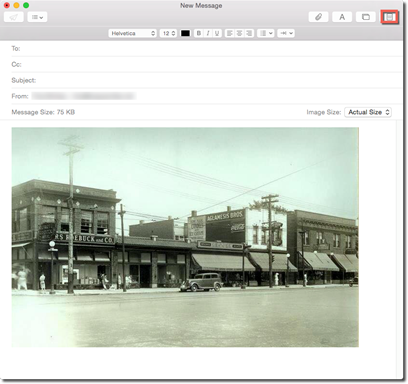
If you want to include photos from the Photos app or the Photo Booth, click the Photo Browser button.
You will then see this pop up window:
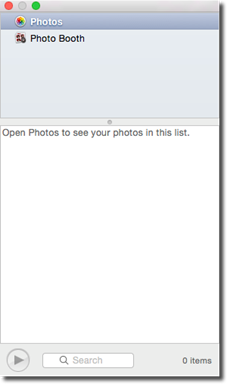
You can open Photos or Photo Booth and simply drag a photo into your message.
When you're finished composing the email message, you can either click the Send button ( ) at the top left of the New Message window to send the message, or go to the Menu Bar and select File>Save to save the message to send later.
Using Mail Drop for Attachments
If you're attaching a large file that's exceeds the size allowed by your email account provider, you can use Mail Drop. Mail Drop uploads the file to iCloud provided that you have an iCloud account and are signed in.
If the recipient is using the Apple Mail app, they will see the attachment just as if Mail Drop wasn't used. If they are not using the Mail app, they will receive a link to download the attachment.
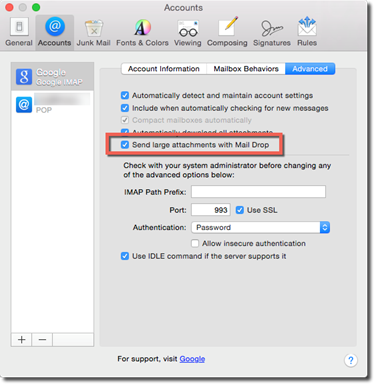
You don't have to do a thing to activate Mail Drop. The Mail app will do it for you. All you have to do is make sure that Mail Drop is activated by going to the Menu Bar, then Mail>Preferences.
Select Accounts at the top.
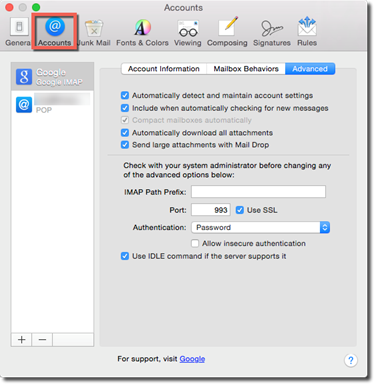
Click the Advanced tab.

Check the box before "Send large attachments using Mail Drop."
Sending Plain Text or Rich Text Emails
If you want to specify whether to send the email as a plain text or formatted message, go to the Menu Bar, then Format>Make Plain Text or Format>Make Rich Text. The Format bar in the New Message window will not be available if you choose plain text.
Adding a Signature to Email Messages
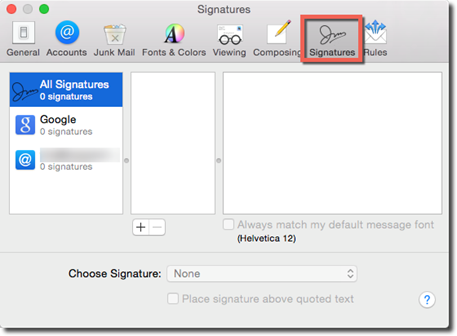
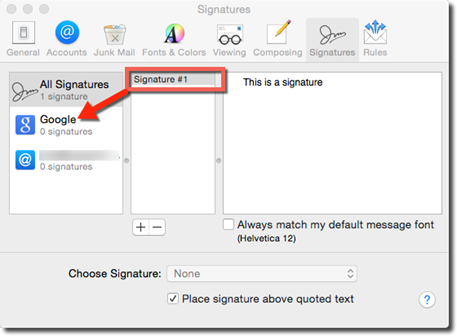
To add text to the bottom of outgoing messages � or a signature � go to the Menu Bar, then Mail>Preferences>Signatures.
Click Signatures at the top.
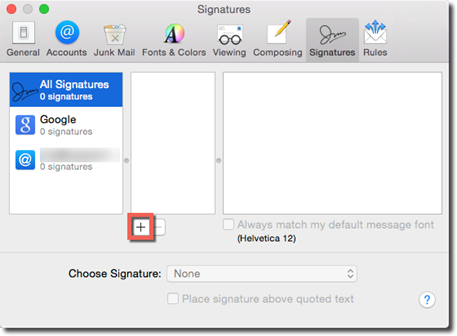
Click the plus button (+) to add a new signature.
Type the text that you want to appear at the bottom of your outgoing messages. You can also check the box beside "Always match my default message font" if you want the font of your signature to match the font of your emails.
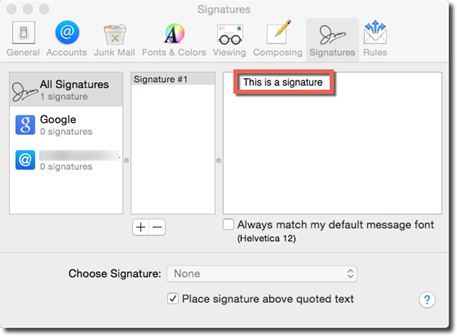
To apply a signature to an email account, drag the signatures name from the middle pane to the name of an email account.
Stationery
You can use stationery in the Mail app to dress up the messages that you send. To use stationery, click the Stationery button in the New Message window.
This opens the Stationery pane.
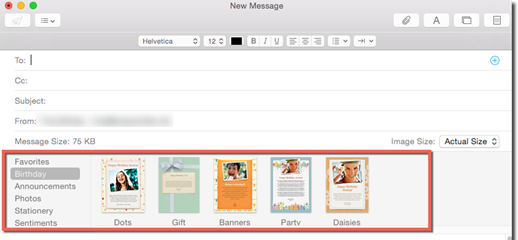
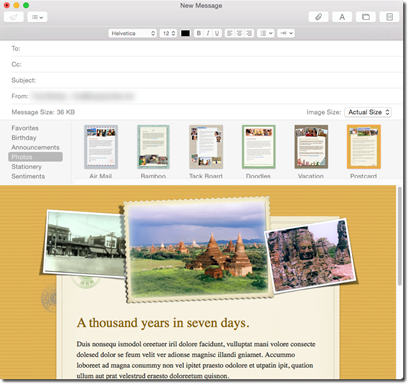
You can choose a category of stationery on the left. Thumbnails of the stationery will appear to the right.

Click on a thumbnail down to apply it to that message.
VIPs
Let's switch gears for a minute now and talk about email messages that you receive from other people. When you receive email from other people, it will show up in the Inbox, as we learned earlier in this article.
It goes without saying that some of the email messages you receive in your inbox will be more important to you than others. To put it another way, whenever you receive a batch of new messages in your inbox, there are always going to be messages from certain senders that you will always read first. For example, maybe emails from your boss always take priority over any other message. It could even be email messages from your mother.
Those messages are important, not necessarily because of the content of the messages, but because who sent them. You could say that those people are your VIPs (or very important people), because their messages always take priority.
You can designate people who send you emails as VIPs. Their messages will go to the VIP mailbox, which will show up in your Mailbox list in the Mailboxes pane. There will also be a button on your Favorites toolbar called VIPs. You can click on the downward arrow beside the button, then click on the VIP's name to see their messages. In addition, you can also choose to receive a notification whenever you receive an email from a VIP.
To make someone a VIP, open a message sent from that person by double clicking on the message in the Inbox pane. This opens a message in its own window.Now, point to the person's name with your mouse. You will see a star to the left of their name.
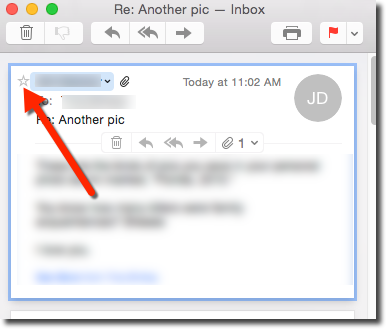
Click the star. You will notice that it darkens. That person becomes a VIP.
NOTE: You can click the star again to remove them as a VIP.
You can now see the VIP button on the Favorites bar:

You can also see the VIP mailbox in the Mailboxes pane.
Anti-Spam
The junk folder that appears in your Mailboxes pane collects spam from the emails that you receive. Some messages will be automatically marked as spam and moved to that folder. However, you can also set message rules and specify which messages you want labeled as spam and moved to the Junk folder. For example, if the subject line contains Viagra, you may want that message marked as spam.
To create message rules to help reduce on the amount of spam that makes it into your Inbox, go to the Menu Bar, then go to Mail Preferences.
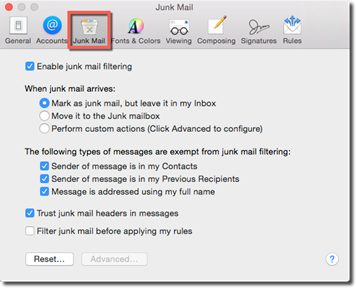
Click Junk Mail at the top.
Put a checkmark beside "Enable junk mail filtering," then specify what you want to happen with junk mail.
If you want to create your own rules to help the Mail app determine what you consider junk, check "Perform custom actions (Click Advanced to Configure."
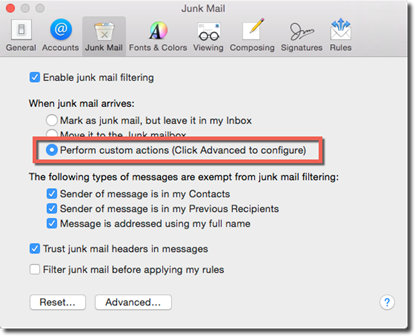
Click the Advanced button.
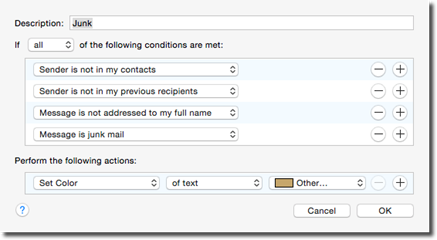
In the window above, you can see that any messages that meet the criteria we specify will be moved to the Junk folder.
In the "If ___ of the following conditions are met," we can decide if we want messages to meet all the criteria before being moved to the junk folder or any one of the criteria.
Next, we can establish the criteria.
Click the plus sign (+) to the right of any of the conditions listed to add criteria.
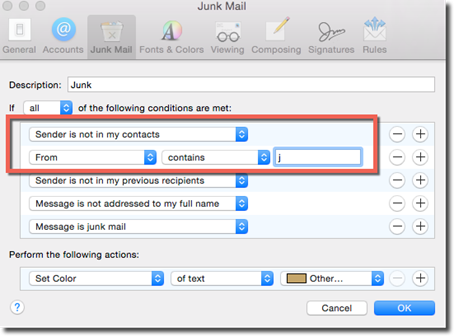
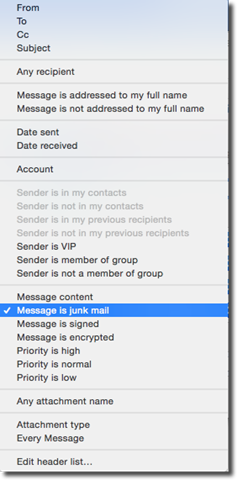
Click on any condition to see a pop up menu where you can choose another condition.
For example, we are going to click on "Message is junk mail."
We see other conditions that we can choose from.
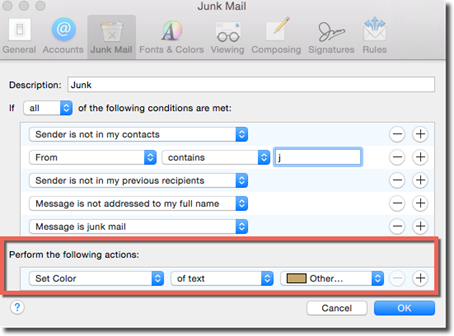
We can also change the color or text of these messages by establishing criteria.
Contacts
Contacts is the name of your address book. It contains the names, email addresses, physical addresses, phone numbers, job titles, and instant messaging names of the people you know. The Mail app, the Messages app, and other apps can use the information in Contacts to easily communicate with these people.
To add contacts, go to Launchpad and open the Contacts app.
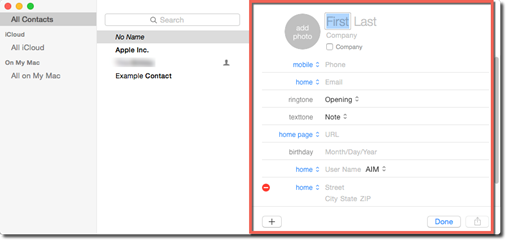
To add a contact, click the plus sign (+).
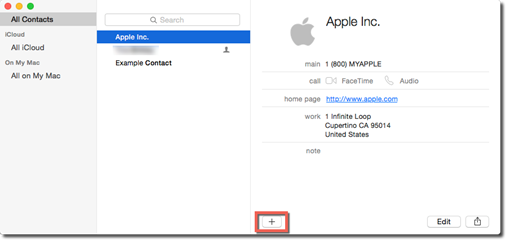
Add the contact's information, then click the Done button.