You can collaborate using an iCloud account by storing meeting notes in the cloud and sharing them. Outlook tasks are ways to collaborate with team members within an organization to complete a project. Tasks can be created along with reminders and sharing to pass around assigned work within a group of people. They're mainly used in an organization where everyone uses the same Exchange server, but even a small business using an external email service can take advantage of tasks in Outlook.
Create a Group
Tasks are normally assigned to a group of people, so you first need a content group. We showed you how to work with contacts in chapter 7, but we didn't create a group. Groups are an additional entry in your address book. A group in Outlook is a list of specific contacts that are assigned to the group.
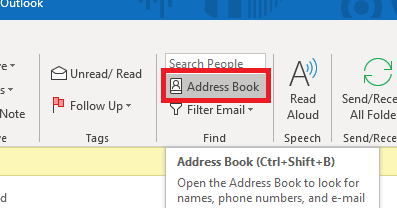
You first need to open the address book to create a group. The address book button is found in the "Home" tab in the "Find" menu category.
(Address book button)
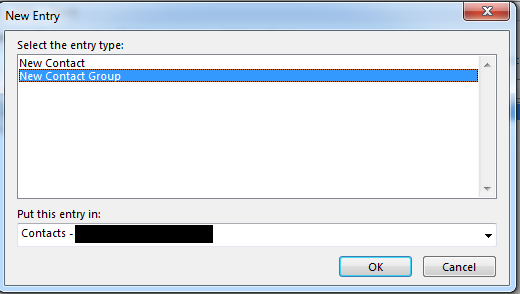
When the address book opens, click the "File" menu item and select "New Entry." If you remember from chapter 7, the window that opens asks you if you want to create a contact or a group. In chapter 7, we chose a contact. For this example, choose to create a new group.
(New entry selection options for an address book)
If you have multiple account address books configured, you can choose the one that you want to use for this new group in the "Put this entry in" dropdown.
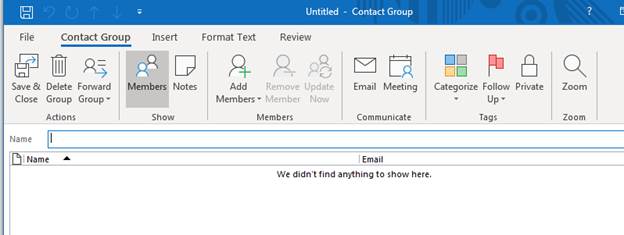
Click "OK" to create your new group. A window opens where you name your group and add members to it.
(New group entry window)
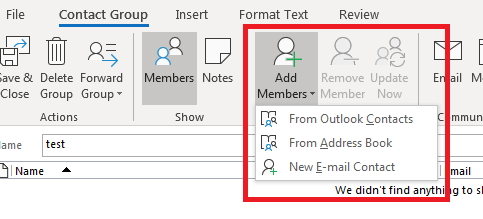
Creating a new group is similar to creating a new contact, only a new group is made up of several contacts in your address book. In the "Name" text box, type a name for your new group. To add members to the group, click the "Add Members" button to add contacts to the group.
(Add members dropdown options)
You can create a new contact while adding it to the group by choosing the "New E-mail Contact" option, but if your contacts are already stored in an address book, choose it from the dropdown and select the member that you want to add.
After you add members, they display in the list of email addresses contained in the group.
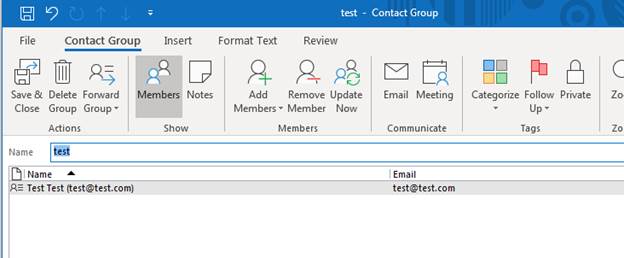
(Group member added)
After you finish creating your group, click "Save & Close" to save the group and close the window. You're returned to the main list of contacts and groups, and the new group displays among your contacts. This is how you know that the group was successfully saved.
Creating a Task
After a group is made, you can now create a task and share it among the group contacts. Similar to your calendars, tasks also have their own view where you can see a list of tasks. To switch to the view that lists tasks, click the task button at the bottom-left corner of the Outlook window.
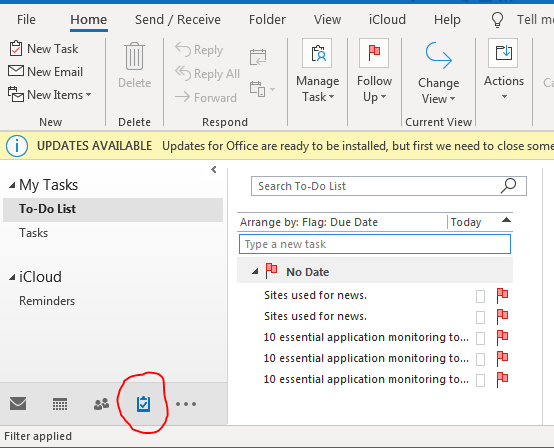
(Task view)
In the left panel, you have a To-Do list and general task category. The "To-Do List" is generally for your personal tasks. You can mark email with a to-do flag, and it will show up in this list. They are not shared with others, so these tasks are usually reserved for your own task list.
The "Tasks" category is a list of tasks for just you or your group. When you create a task, you determine who to share it with, and you can opt to share it with no one in the organization leaving it a task for only you to complete.
To create a new task, click the "New Task" button in the "Home" tab while you have the task view open. You can also create a new task from the email view by clicking "New Items" in the "Home" tab and then selecting "Task."
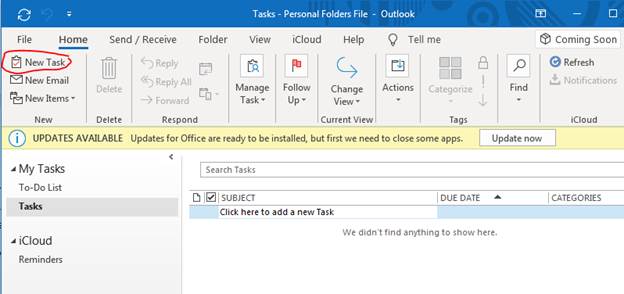
(New Task button)
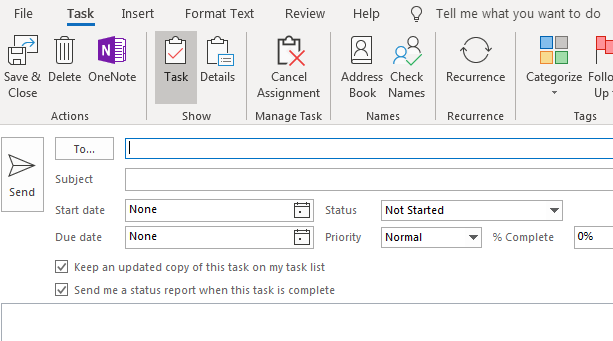
A window opens where you can create your task. The window looks similarly to the interfaced used to create a new reminder since reminders and tasks are similar in function. The main difference between the task creation window and the reminder creation window is the "Manage Task" section of the main menu.

(The window to create a new Outlook task)
The "Subject" text box is the main title of the task, and it's what shows in your list of tasks when you reference back to find out what you need to do for the day. Tasks have a start date and a due date, and if you check the "Reminder" text box you will receive an alert when the task's due date is near.
Tasks can be prioritized using the "Priority" configuration, and as the main task creator you can keep track of the completion using the "% Complete" setting.
After you click the "Save & Close" button, the window closes, and the task should display in your list of active tasks. Double-click the task in the list so that you can edit it, but just be aware that you can also perform the next actions that manage a task before saving it.
Managing Tasks
After you create a task, you have a due date that must be met. A task could be something you and others work on, or you assign it to someone else and you manage it. The "Manage Task" section of the "Task" tab has a few tools where you can assign and manage a task's status.

("Manage Task" section has tools to assign and update tasks)
When you click the "Assign Task" button, the current window switches to a view where you can assign the task to a member on your team.
(Assign a task)
The "To" button works similarly to the "To" button in an email. Your address book opens, and you can choose the group that you just created, or you can assign a task individually. Notice that you can assign your own start and due date for the recipient. Recipients can send you status reports and updates using the assigned task, which will keep you current on the task's progress.
After you assign the task, click the "Send" button and it's sent to all recipients. The window changes back to the main task management window. If you change your mind and don't want to assign the task, click the "Cancel Assignment" button, and the window will switch to the main task management view.
The "Send Status Report" is there if you are assigned the task and need to provide an update to the task manager. When you click this button, a new email window opens with the subject line "Task Status Report:" filled in. You use this email form to send an update.
Finally, when the task is complete, click the "Mark Complete" button to set the task to 100% complete. This button finalizes the task and lets all recipients know that it's been completed.