
Outlook has several functions aside from it being a main application for receiving and sending email. The application allows you to manage tasks, notes and schedule events. In a large environment, you can schedule meetings and events with other people within the organization, and the recipient will get a reminder when it's time. The available functionality in Outlook across other user calendars depends on the way the system administrator sets up permissions. With Internet users, you won't have the ability to affect their calendars, but you can still send appointments and meeting requests.
Viewing Your Calendar
The default view in Outlook is a list of your email messages. At the bottom-left of the Outlook window is buttons that switch the views. The first button switches to an email view, and the button to the right shows your calendar.
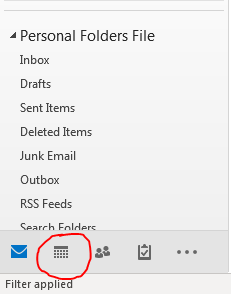
(Calendar button)
Click the button, and you can see your calendar.
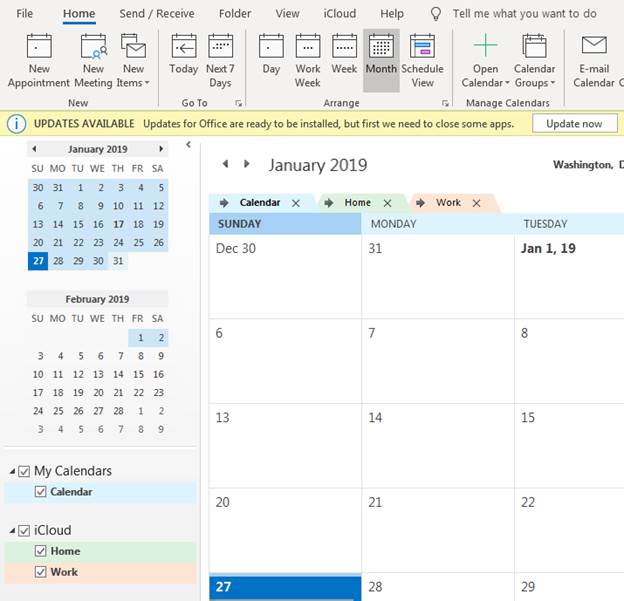
(Outlook calendar view)
You have a local calendar (My Calendars) and calendars stored on your iCloud account. Removing the check box next to each calendar removes it from your view, so you can streamline your view to find upcoming events. You can create appointments and event notifications directly from this view by clicking the day that you want to create the appointment and then clicking the "New Appointment" button. You can also create an appointment directly from the email view.
The "My Calendars" are local to your computer and email account. The iCloud calendars are linked to your Office 365 account. The advantage of using appointments in the cloud is that you don't lose them should your email get hacked or you don't have access to your desktop Outlook software. Storing appointments and any Office content in the cloud will provide you with a backup should your computer crash. Every Office 365 application has options to store content to your iCloud account. You just need your Microsoft username and password used to purchase Office 365 to log in.
Create an Appointment
Creating any event can be done from the "Home" tab. The dropdown button is on the left side of the menu next to the "New Email" button. To the right of this button is another button labeled "New Items." Click this button, and you'll see several items that you can add in Outlook.
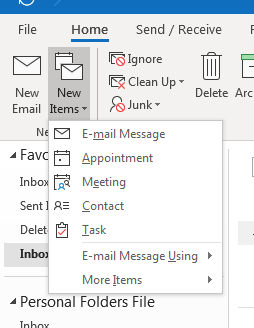
(List of items that can be created in Outlook)
Not every item uses the calendar. For instance, if you choose to create a contact, then the window where you can view and edit contacts opens. Appointments work with the Outlook calendar, so you need to determine the date and time for the appointment before you create this item.
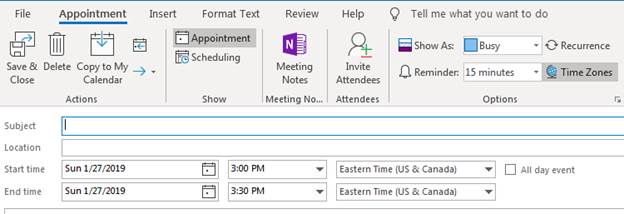
Click "Appointment" from the dropdown, and a window opens where you create an appointment. The window has several options, which makes Outlook much more robust than the other email client applications on the market.
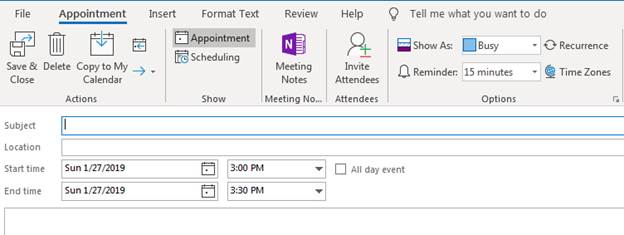
(Create new appointment window)
Notice that the "Appointment" window has tabs where you can format text and insert images in the same way that the "New Email" form provides the same functions for formatting messages.
The first text box is the subject of the event, which is displayed as the subject of the notification when you receive the reminder. Location is optional, which can be a physical address or a virtual meeting such as a Skype or GoToMeeting call.
The "Start time" and "End time" set the duration of the event. The "Start time" determines when you get a notification reminder. For instance, if you set a reminder to email you 20 minutes before the event, you'll receive it 20 minutes prior to the stored start time.
The "Options" section of the menu is where you can set the reminder. Notice that you can also configure time zones. Click the "Time Zones" button, and a new set of dropdown options displays next to the event start and stop time.
(Appointment time with time zones)
The "Options" section also provides you with the settings to block other users from setting appointments during this time. You can set yourself as busy, which will block other events from being set within the start and end time blocks. By clicking the "Recurrence" button, you set this event to recur daily, weekly, monthly or yearly. For instance, if you have a weekly meeting at the same day each week, use the "Recurrence" option to block time on your calendar each week automatically.
The "Reminder" option defaults to 15 minutes, but you can set reminder alerts sent hours or even days ahead. You should set reminders to notify you in plenty of time before the meeting starts, or you might receive it after the event has started.
Before you close the window, you need to move the appointment to your calendar and save it.
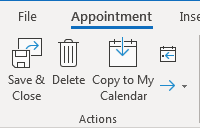
(Copy and save appointment features)
Click the "Copy to My Calendar" button to store the appointment in one of your calendars. After you've copied it to your calendar, you can then click the "Save & Close" button to store it to Outlook and close the window.
Integrating the Cloud with Appointments
After you create appointments, you can then move them to your iCloud account. Open your calendar and double-click an appointment to edit it. You can also move appointments while you're creating them. A button on the far right of the "New Appointment" window moves your events to the cloud.
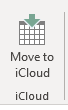
(Button to move an appointment to the cloud)
Click the "Move to iCloud" button and the appointment is sent to your iCloud calendar. You can view it by switching to your calendar view after you save the appointment.
Outlook provides a feature to take notes in the cloud for each meeting. This function is optional, but it's beneficial for those who need to log conversations. The OneNote application is included with Microsoft Office, and it integrates directly with each Office application including Outlook.
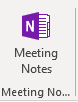
(Meeting notes button)
When you click the "Meeting Notes" button, a window opens asking where you want to store notes: either in the cloud where all attendees can read them or locally where only you can read the notes.
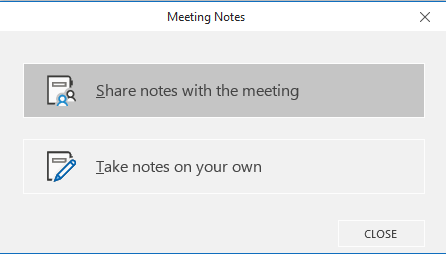
(Meeting notes option)
If you share notes with the meeting, then anyone who has an invitation will be able to read the notes. If you decide to take your own notes, then only you can read them. With Microsoft's iCloud features, you can store appointments, notes, and your calendar in the cloud while others can view these events and content but cannot edit them. It's a great way to collaborate with team members who might not be local to you.
When you receive an alert for a calendar event, a popup displays based on the reminder time that you set. The popup displays the time when the appointment starts and has a snooze button should you want to close the reminder but get another one after the selected snooze time. You can also remove the event by clicking the "Dismiss" button. This stops the notifications and deletes the events from your calendar.