In InDesign, type refers to text. You can add text to any document using InDesign using the type tools: Type and Type on a Path. This article is going to focus on teaching you everything you need to know about working with type in InDesign.
The Type Tool
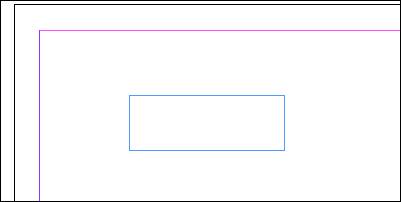
In other programs that you may have used in the past, a Type tool (or text tool) allowed you to just start typing into a document. In InDesign, it works a little differently. When you select the Type tool in InDesign and start to use it, the tool will draw a text box, as shown below. All you do is drag your mouse to create the text box. Your text will appear in the box.
In the snapshot below, the text box is blue:
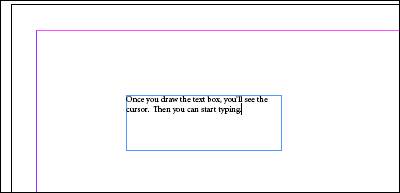
Once you draw the text box, you will see a blinking cursor. All you have to do is start typing.
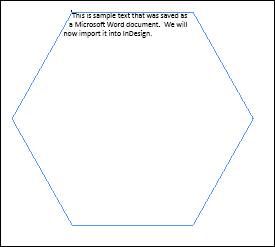
The Type on a Path tool allows you to type along an object's path. In a future lesson, you're going to learn about creating objects. For right now, we have drawn a rectangle shape. Look at the snapshot below.

It looks a lot like the text box we drew, but we can tell it's a shape because it has handles (the blue squares).
Now, we're going to type along the top of the rectangle, right on the top line. To do this, select Type on a Path. This tool is located with the Type tool. They are grouped together. To access the Type on a Path tool, click and hold your left mouse button. When the menu appears, select Type on a Path. Its button looks like this:  .
.
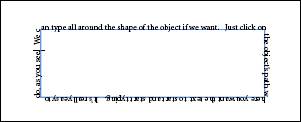
Next, click on a line segment of the object. Objects are made up of paths and lines. We clicked on the top line. All you have to do is start typing.

In the snapshot below, we started typing on the side of the object:
Using Placeholder Text Frames
Whenever you create a text box using the Type tool, you create what's called a Text Frame in InDesign. You can make these text frames however big or small you want them to be. When you're designing your page, you'll draw the text frames to fit in with the design of your document and accommodate your text.
You can create placeholder text frames when you're designing a page and want to go ahead and add the text frames into the design, but don't have the text to enter yet. This can happen if you're designing a brochure or something like that. You just want to decide where the text will go and leave a space for it.
To create a placeholder text frame:
Go ahead and draw a text frame using the Type tool.
Go to the Tools panel and click the Selection tool  to select your text frame. If it doesn't select automatically, click on the text frame.
Now, right click on the text frame. Select Fill with Placeholder Text.

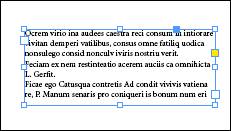
The text frame is then filled with placeholder text, as shown below.
Create Type Using Frame Tools
The basic way to add text to your pages is to use the Type tool and create a text frame. However, you can also use other frame tools to add text. You can also use shapes and add text inside of those.
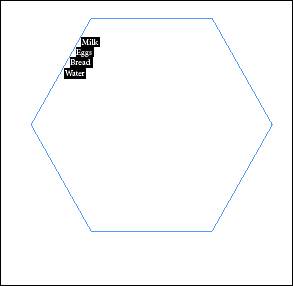
To do this, go to the Frame tools  . The Rectangle Frame tool is the one you see displayed. There's also an Ellipse Frame tool and a Polygon Frame tool grouped with it. Click and hold on the Rectangle Frame tool to see the menu, then select one of the other frame tools if you want. We're going to select the Polygon Frame tool.
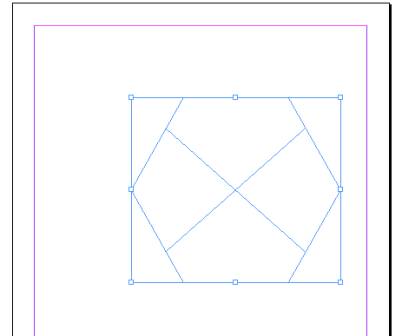
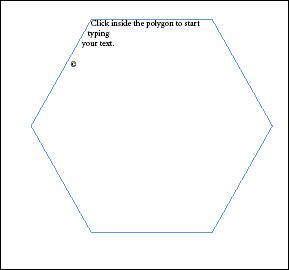
Drag your Polygon Frame over the page where you want to place it.
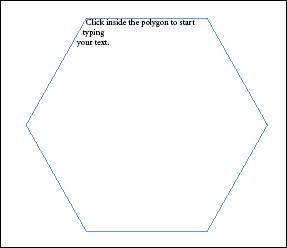
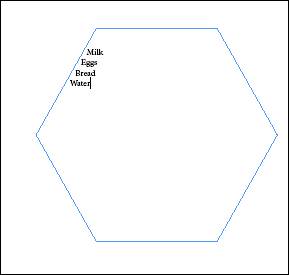
Now, click the Type tool. Click inside the polygon to start adding text.

You don't have to worry about hitting Enter unless you want a paragraph break. InDesign automatically wraps the text for you.
Inserting Special Characters
We've already shown you how you can add alphanumeric text to your pages. In addition, you can also add special characters, such as symbols, markers, white space, breaks, hyphens, and dashes. Let's show you what we mean.
You can insert text breaks to force a break between lines. You can also insert a nonbreaking space to keep words together on a line. Let's show you what we mean.
To insert special text characters, click the Type tool in the Tools panel.
Click where you want to place the text on your page.
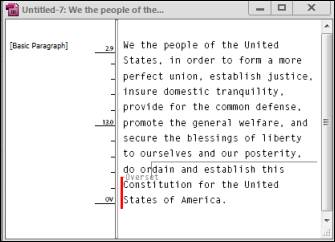
If you want to insert a text break, go to Type>Insert Break Character>Forced Line Break. We've inserted a break after "typing" below to show you what it does:
Let's say you want to insert a special character. To do that, click the Type tool, select the insertion point on your page by clicking, then go to Type>Insert Special Character, then choose the special character you want to use.
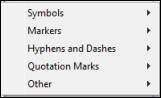
We're going to insert a symbol.
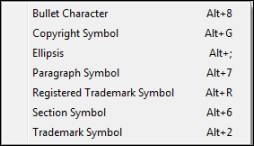
As you can see above, we can insert a bullet character for a bulleted list, a copyright symbol, ellipsis, paragraph symbol, registered trademark symbol, a section symbol, or a trademark symbol.
We've chosen the copyright symbol.
As you can see, it was inserted into our page for us:
Take some time and get familiar with all the special characters and special breaks you can add into your pages. This article will teach you how to use InDesign. It's up to you to practice so you can use it with ease and skill.
Creating Bulleted Lists
A bulleted list is simply a list of things.
- This is
- An example
- Of a
- Bulleted list.
You can also create bulleted lists in InDesign.
Go ahead and create the text that will form your bulleted list. We've done that in the snapshot below:
Select the text that you want to add bullets to. To select it, left click your mouse and drag over the text to select (highlight it).
Now, go to Type>bulleted and Numbered lists, and select if you want a bulleted or numbered list. bulleted lists contain circles (as in our bulleted list above). Numbered lists number the lines in your list.
Working with Fonts and Font Styles
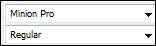
You can easily change fonts, font styles, and even adjust the tracking and kerning using the Control Panel that's displayed whenever the Type tool is active, as shown below.

You can change the font type:
Or the font size:
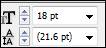
Increase the number to increase the size of the font. Our text is 18pt right now. We could adjust it to make it slightly larger with a 20pt font.
Or change the kerning (top) and tracking:
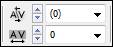
kerning is the spacing between letters. Tracking adjusts space over a span of characters.
You can mouse over any button in the Control Panel to see what it does. The font and text features in the Control Panel are common in most word processing and other design programs. As you work with text, you can experiement with the different things you can do with type by using the Control Panel.
Importing Text
InDesign gives you the option of typing in text directly into the program using the Type tools or importing text from other documents and other programs. You import text the same way that you import graphics by using the Place command (File>Place).
InDesign allows you to import the following text formats:
- Plain Text (TXT)
- Rich Text Format (RTF)
- Microsoft Word (DOC or DOCX)
- Microsoft Excel (XLS or XLSX)
You can place the imported text into a new text frame or one you've already created.
Let's import text to show you how it works. We're going to import text into an existing frame.
Start by clicking where you want to place the text using the Type tool.
Go to File>Place.
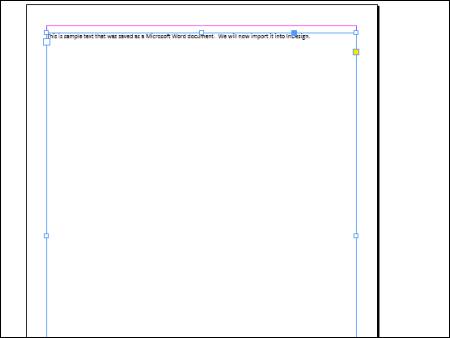
Locate the file that you want to import.
The text then appears in the frame.
To import text, then create a text frame, go to File>Place. Locate the file you want to import. Once you've selected the file, you're taken back to your page. You'll notice the text that you are importing is attached to your mouse cursor. If you move the cursor, the text moves with it. That's because you don't have a text frame to place it in yet.

Click on your page to place the text. InDesign will put a text frame around it for you.
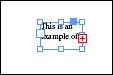
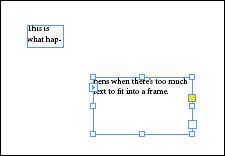
Working with Overflow Text
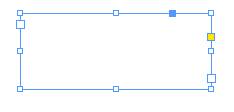
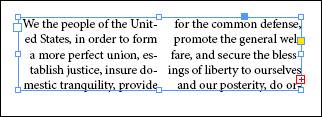
Whenever you type, paste, or import more text than a text frame can hold, you'll see an overflow symbol. It's a red plus sign inside a square. It will appear on the edge of the text frame.

When this happens, you can reshape the text frame so that the text fits in the frame. You can also create a thread (link) to another text frame. You can thread overflow text from one text frame to a new or existing text frame. Once you create the thread between frames, you use the Show Text Threads command to show the connection.
Let's show you how this works.
Go to the Selection tool on the Tools panel.
Select the frame with the overflowing text.
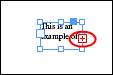
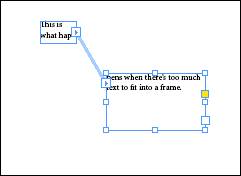
Now, click the Out Port icon on the object We've circled it below.
The mouse cursor now changes to a loaded text cursor. We saw an example of the loaded text cursor when we imported text and didn't have a text frame to place it into.
Now, create a new text frame by dragging in a blank area.
The overflow text is placed into the new frame:
You can go to View>Extras>Show Text Threads to see the thread between frames.
Type Options
Text Frame Options allows you to make adjustments to text in a text frame. You can create columns, adjust inset spacing and vertical justification, specify a baseline offest, add a baseline grid for a text frame, or set auto-sizing text frames.
Inset spacing is simply the text between the text and the frame. Vertical justification is what controls the alignment of text and paragraph spacing limits and rectangle and non-rectangle frames from the top to bottom.
Here's how to set your text frame option:
First, select the frame that you want to change.
Go to Object>Text Frame Options.
If you want to see changes as you make them, put a check in the Preview box.
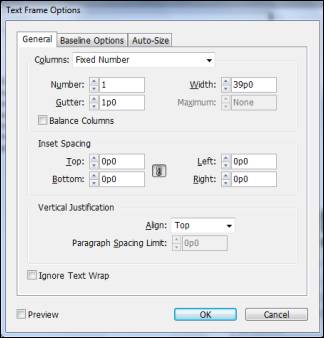
Now, click the General tab and select from the Columns options:
- Columns. Select if you want to keep the columns a fixed width or flexible width.
- Number is for how many columns you want to create.
- Width is the width of the columns.
- Gutter is the gutter space between the columns.
- Maximum is if your columns are flexible width. Here you'll specify the maximum size before you add a column.
- Balance columns will balance text across columns when you have multiple columns.
Setting text inset and vertical justification options
Next, go to the Inset Spacing category in the dialogue box and select the inset spacing values.
In the Vertical Justifcation category, select your Vertical Justification options:
Select how you want to align the text in the frame: top, center, bottom, or justify. Our text is justified to the center:

The text is centered from top to bottom.
Next, specify a paragraph spacing limit.
If you want to ignore text wrapping for the text frame, check Ignore Text Wrap. Click OK if you're finished. For the purpose of this lesson, we're going to click the other tabs in this dialogue box to show you how to set the other options.
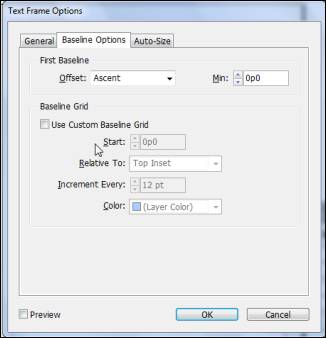
To set Baseline options for a text frame, click the Baseline tab.
Now let's click the Auto-Size tab.
Allowing text frames to grow and shrink

Click the Auto-Sizing list arrow, then select an option:
- Off
- Height Only
- Width Only
- Height and Width,
- Height and Width (Keep Proportions)
Next, choose an auto size reflow option.
Finally, select an Auto-Sizing Constraint option which gives you the ability to set minimum height and width for auto-sizing, and to specify no line breaks during auto-sizing.
Click OK when you're finished.
Aligning and Indenting Text
In the last section of this lesson, we learned how to align the text to the frame. However, InDesign also gives you the ability to format and align your text to page margins just as word processing programs do: left, right, center, and justify.
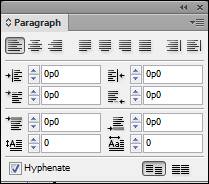
To do this, go to the Paragraph panel: Window>Type &Tables>Paragraph
Right now, as you can see, our text is aligned to the right:

To align to the center, select the text (make sure the Type tool is selected, then click and drag the mouse to highlight and select the text), then click the Align Center button:
 .
.
To align text to the right, select the text and click the Align Right button:
 .
.
These are your Justify options:

- When you justify text, you put it into a block format. InDesign gives you four justify options:
- The first button is to justify text with the last line aligned to the left.
- The second button is to justify text with the last line centered.
- The third button is to justify text with the last line aligned to the right
- The last button is to justify all lines.
If you're creating a book, you have two more alignment options:

Align to Spine is the first button. Align away from Spine is the second option.
Below the alignment buttons, you can also indent your text:
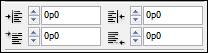
You can indent left indent or first line left indent. You can also right indent or last line right indent.
Creating Text Columns
Columns that you create for text can have a fixed or flexible width in InDesign CS6 and give you the ability to balance text in the same text box. A paragraph can be spanned across multiple columns. A paragraph can also be split into multiple columns. If you have a paragraph span across multiple columns, then InDesign will balance the text before spanning the paragraph. You'll see what we mean in this lesson. Vertical justification will control the alignment of text in rectangle and non-rectangle text frames from the top to the bottom. If you set vertical justification to justify, then you can set paragraph spacing limits.
Let's first learn how to create columns.
Place an insertion point in the paragraph you want to change and add columns. Just use the Type tool and click your mouse in the place you want to make the change.
Go to the Paragraph panel (Window>Type &Tables>Paragraph)
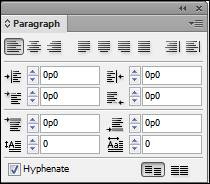
Now, click the Options menu (
 ) and click Span Columns.
In the Paragraph Layout field, choose Span Columns.
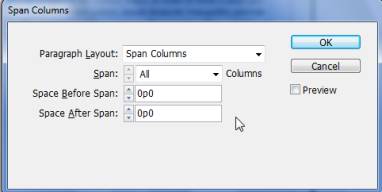
In the Span field, tell InDesign how many columns you want the paragraph to straddle, then specify the space to add before and after the span.
Click OK.
If you want to split columns, choose Split Columns from the Paragraph Layout field.
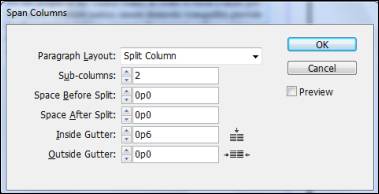
In the Sub Columns field, specify how many columns you want the paragraph broken into.
Specify the space before or after the split.
Then specify the inside or outside gutter, or the space between (inside) columns or outside.

If you want to remove the Split or Span, choose Single Column from the Paragraph Layout field.
The Story Editor
Once you have all your text in place, it's time to edit it. The Story Editor makes it easy because it takes formatting out of the way and makes big chunks of text easier to read and edit. Let's look at how it works.
Select the Type tool from the Tool panel, then click inside a text frame.
Next, go to Edit>Edit in Story Editor.
A floating panel opens with your text in it:
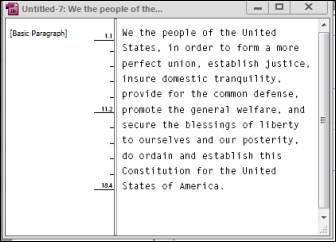
The left size gives you information about the text. It shows if any stylees were applied. It also shows the depth of the text. The measurements you see reflect the measurements on your ruler.
To change the text, simply select and change the text you want to change in the floating panel. It will be automatically updated in your document.
You can also use the Story Editor when you have overflow text. If you are typing into a text frame and, when you're finished, you notice the little red plus sign has appeared, just open the Story Editor.
It will show you how much text isn't showing without you having to resize the text frame.
It marks the overflow or overset text for you: