Tables organize information into rows and columns. If you're familiar with word processing programs, then you probably already have a good idea of what a table is. As we said, a table is made up of rows and columns. The point where a row and column intersect is called a cell.
The table pictured below has four rows and four columns.
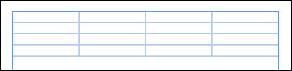
We've circled one of the cells in red:

You can put text in a cell, or you can also put graphics and other objects. In InDesign, you can make a table from scratch or you can create one from text separated by tabs, paragraphs, or commas.
This article is going to be devoted to teaching you how to create and work with tables in Adobe InDesign.
Create a Table
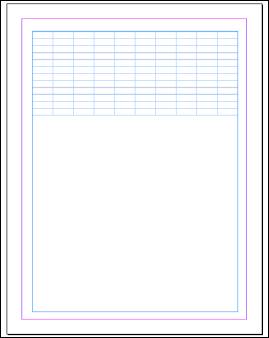
The first step in creating a table is to draw a text frame - or box - where you want the table to appear. Use the Type tool to do this, as we've done below. The text frame appears in blue.

Next, go to Table>Insert Table.
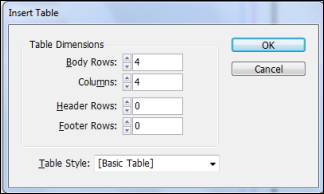
You'll see the Insert Table dialogue box.
-
Enter how many rows and columns you want the table to have.
-
Enter how many header rows and footer rows you want the table to have.
-
Then, select a table style from the Table Style dropdown menu.
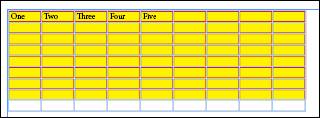
We've selected 10 rows and 10 columns for our table. We've also selected one header and one footer row.
Entering Text into a Table
You enter text into a table by using the Type tool and clicking in the cell where you want to start adding text. To move from one cell to the next, use the Tab key on your keyboard.
Adding Rows and Columns
To add rows and columns to a table that's already been created, you can go to Table>Insert, then select Row or Column.
Let's insert a row. First, click in a cell that will serve as your insertion point. Use the Type tool to do this. Then go to Table>Insert.
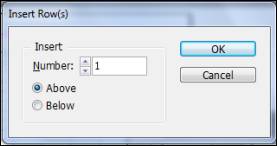
As you can see in the above dialogue, InDesign asks how many rows you want to insert. Then, it wants to know if you want the new row above or below the row where you've made the insertion point.
Enter your specifications, then click OK.
To delete a row or table, specify the row or column you want to delete by using the Type tool to enter an insertion point, then go to Table>Delete, then choose Row or Column.
You can also use the Table panel to add rows and columns. Go to Window>Type & Tables>Table.
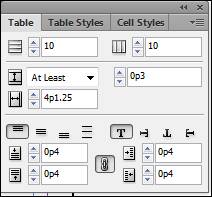
You can see in the panel that we have ten rows (horizontal) and ten columns (vertical). To add one row or column, simply change the number to eleven. It will add a new row or column to the bottom of your table if you add a row - or the right side of your table if you add a column.
Adjusting Rows and Columns
You can also use the Table panel to adjust the size of your rows and columns. Right now, we see that our rows are at least 0p3 in height.

We can increase this size if we want by clicking the up and down arrows here: 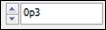 .
.
Or we can click here for more options:  and choose "Exactly" so all of our rows are exactly the same size.
We can adjust the width of our columns as well: 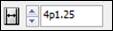 .
.
Aligning Content in Table Cells
You can insert text or graphics into a cell. To place graphics, you can use the Place command, Copy/Paste, or the Content Collector. Once you place content in a cell, however, you may want to adjust the spacing of the content so it's positioned where you want it.
To adjust the spacing of graphics or text in a cell, select the cells that you want to adjust.

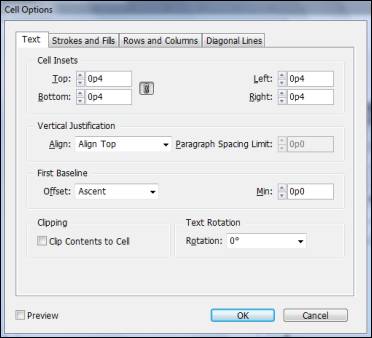
Then, go to Table>Cell Options>Text.
Click the Preview check box to see changes as you make them.
Next, select your options.
- Cell insets is the spacing size for the top, bottom, left, and right areas inside the cell. If you want more space around the inside of the cell, increase this number.
- Vertical justification specifies an alignment position for vertical text that's in a cell.
- Paragraph spacing limit is the space between the lines or pargraphs in a cell.
- First baseline. Set an option to control where the first text baseline appears in a cell.
- Clipping for graphics. Choose Clip Contents to Cell to keep the size of the graphics to fit the cell. Otherwise, if the graphic is larger than the cell, it will appear outside of cell boundaries.
- Text rotation. If you want a rotation angle for the contents, specify it.
Click OK when you're finished.
Adding Strokes and Fills to a Table
Every table you create automatically has a stroke. The stroke creates the rows and columns, which create the cells. However, you can adjust the stroke color and style. In addition, you can also add fill.
Setting Stroke Drawing Order
Will a row stroke appear over a column stroke in your table? Or will it be vice versa? You can influence the appearance of your table by setting the drawing order of your strokes.
First, select the cells that you want to format.
Go to Table>Table Options>Table Setup.
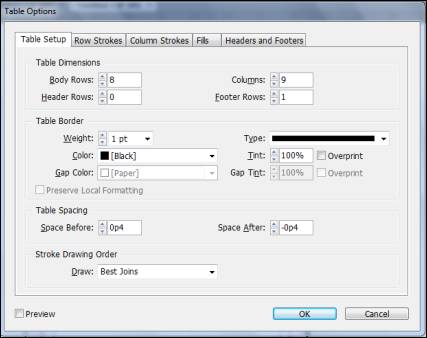
Go to the Stroke Drawing Order section toward the bottom of the dialogue box.
Click Preview to see changes as you make them.
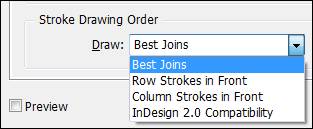
In the Draw field, choose option.
- Best Joins allows InDesign choose how to display strokes.
- Row Strokes in Front means row strokes will go over column strokes.
- Column Strokes in Front means column strokes will go over row strokes.
- InDesign 2.0 Compability means InDesign will use Best Joins for border and Row Strokes for the interior of the table.
Click OK when you're finished.
Add Strokes or Fills to Cells
To add stroke or fill to cells, select the cells that you want to format. Remember to use the Type tool.
Go to Table>Cell Options>Strokes and Fills.
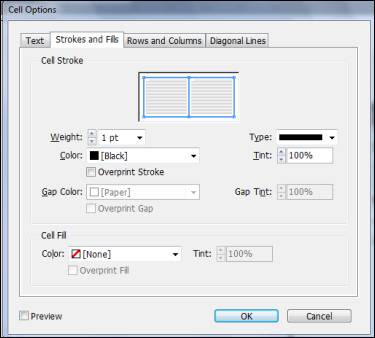
Set your options for strokes and fills:
Weight specifies the thickness of the stroke.
Type is the type of stroke.
Color and Tint refers to the color and tint for the stroke. Select Overprint Stroke to apply it.
Gap Color and Tint is if you select a stroke type with dashes or dots. You must specify a gap color for the space between the lines and tint for the stroke. Select Overprint Gap to apply it.
Color and Tint for the Fill. Choose a color and tint for the fill. Select Overprint Fill to apply it.
Click OK when you're finished.
Here is how we set our options:
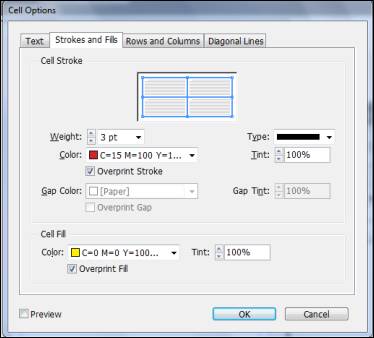
Here is our table with the new stroke and fill colors:
To Make Row and Column Strokes Different Colors
Go to Table>Table Options>Alternating Row Strokes or Alternating Column Strokes.
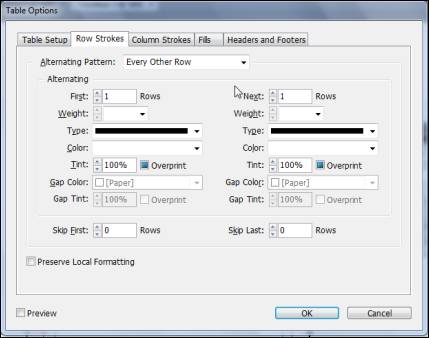
Choose an alternating pattern, then set your options. Click OK when you're finished.
Click the Column Strokes tab to set column strokes.
Set a Fill Pattern
To set different fills for different cells, go to Table Options>Alternating Fills.
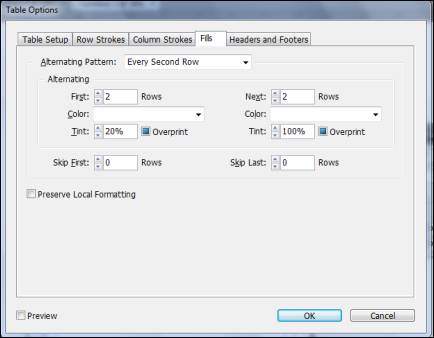
Choose an alternating pattern, then set your colors and other options. Click OK when you're finished.
Import Microsoft Word or Excel Tables
If you want to import a table from MS Word or MS Excel, use the Place command (File>Place).
Find t
he file you want to import. Select your import options.
-
Packaging and Printing
Print a DocumentTo print a document, go to File>Print.
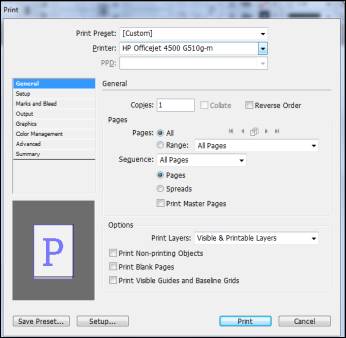
Click the Print Preset downward arrow and select a preset.
Next, choose the printer you want to use.
Now click the PPD list arrow. If there's a PPD available, select one. A PPD is a PostScript Printer Description. It's a printer driver and a specific file used by commercial printers to define the device. If you select a PPD, click Save Preset, pick a name and location, and click Save.
Choose your other options for printing using the tabs on the left hand side of the page.
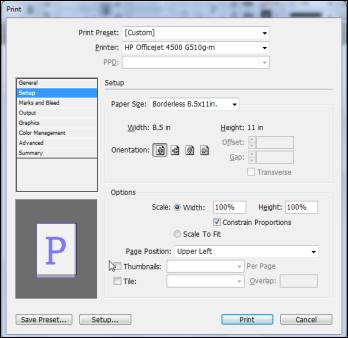
The Setup tab (pictured below) is where you'll set the options for your paper.
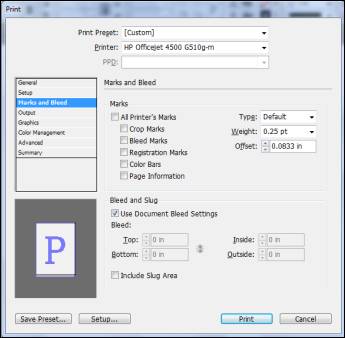
The Marks and Bleed tab (shown below) gives options for marks and bleeds.
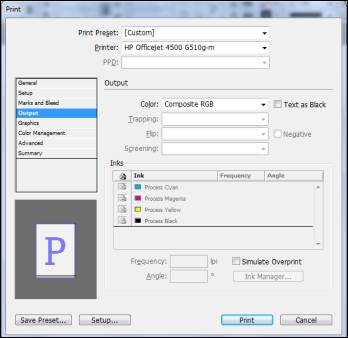
The Output tab (below) is where you control your ink.
The Graphics tab lets you set options for images and fonts.
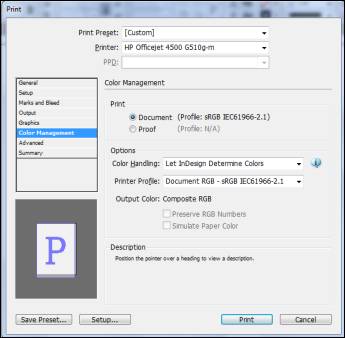
The Color Management tab (below) is where you control your colors.
When you've set your options, click Print.
The Preflight Panel
Before you print anything or send one of your documents for someone to print or publish (digitally), you should always be sure your documents are error free. InDesign has an error-catching feature built in that will allow you to discover missing files or fonts, low resolution images, or overset text. You do this using the Preflight panel and Live Preflight.
To do this, go to Window>Output>Preflight.
You'll then see the Preflight panel:
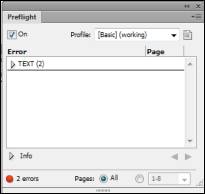
We're going to cover it more in-depth. The first thing you should do when using InDesign and Preflight for the first time(s) is create Preflight profiles. This will make checking future documents for errors more efficient and easy.
Create a Preflight Profile
To create a Preflight Profile, go to the Options menu on the Preflight panel, then Define Profiles.
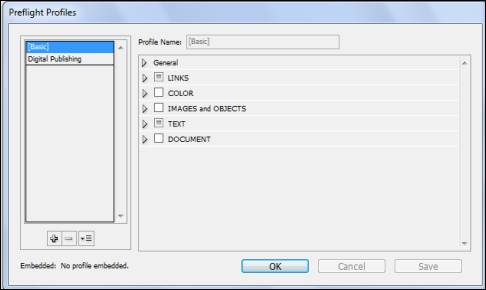
Now, click the New Preflight Profile button that looks like this:
 .
.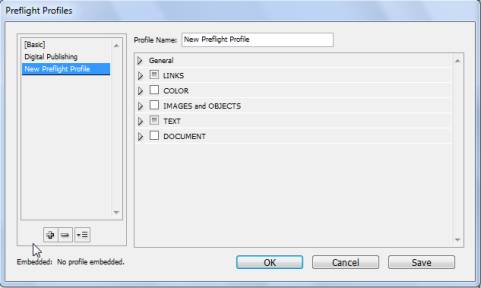
Enter a name for the new profile in Profile Name.
Click the triangles to expand each category listed below the profile name. Select the options you want. These are the elements that Preflight will check for errors.
Click OK.
When you work with the Preflight panel, you can now select a profile to custom-check your documents for errors.
The profile we created is circled in red below:
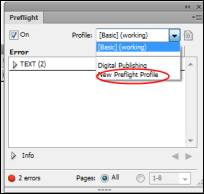
`Now, go to the Preflight panel and click Embed. It's located to the right of the Profile dropdown box we just showed you.
How to Use the Preflight Panel
To use the Preflight panel, do any of the following:
- Enable Preflight by turning it on. Disable it by turning it off.
- Select a Profile. Select a profile to use.
- Resolve Errors. Double-click the row or page number, then click the Info arrow to view the error and suggestions to resolve it.
- Limit Number of Rows Per Error. Go to the Options menu, point to Limit Number of Rows Per Error, then select No Limits.
- Specify Pages. Specify a page to check or use All.
- Set Preflight Options. Go to the Options menu, click Preflight Options, then specify options for a profile.
- Create a PDF Report. Go to the Options menu, then click Save Report. Enter a name and location, then click Save.
Creating a Package for Output
When you package your files for output, you gather all files that are related to your document or book. These include linked graphics and fonts. You can also have problems displayed during the packaging process. A package is simply a folder that contains your document, linked graphics, and InDesign content. It also includes text files, fonts, and a customized report.
To create a package for output:
Go to File>Package.
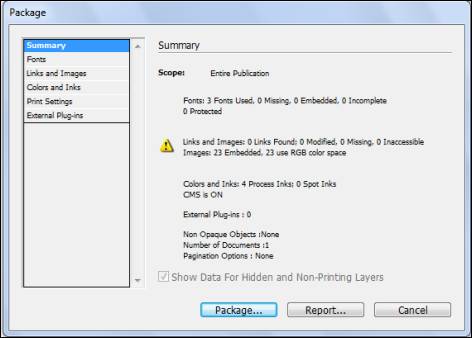
In the above snasphot, we can see our errors.
Put a check in the Show Data for Hidden and Non-Printing Layers to show these data and layers in the package.
Go to the Fonts category and check the Show Problems Only box to view problems with the font. If there are problems, select the font, then click Find Font to find and fix those problems.
Next, select the Links and Images category and select Show Problems Only. Click Update to locate and fix the problem or Repair All.
Select the Colors and Inks, Print Settings, and External Plug-ins categories and view the settings.
Create a report by clicking Report. Enter a name and location, then click Save.
Click Package.
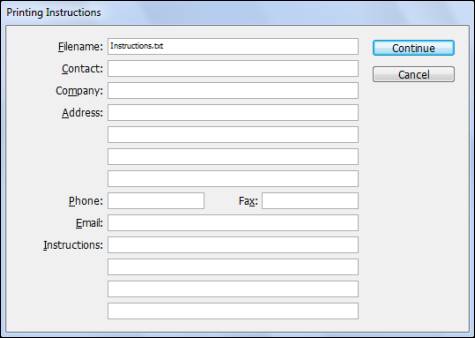
You'll now see the Printing Insturctions Dialogue box. Fill out the information for the printer, then click Continue.
Select a location on your computer to save the package, then click Package.
InDesign then packages your document. You can send this package to the printer.