Whereas Photoshop is used for image editing and Illustrator is used for drawing, InDesign is used to create things such as posters, brochures, flyers, magazines, newspapers, and even books. InDesign is a program that is commonly used by graphic designers and people in production; however, it's also used by writers, publishers, and others who want to create their own material. Adobe InDesign makes this easy. You don't have to be a professional designer to use this program.
What's New in InDesign
InDesign is the latest version of the InDesign program, replacing CS5. If you've used CS5 or any other versions of InDesign in the past, than it's important that you recognize what's new in the program, then pay special attention when we teach the new features.
InDesign has some impressive new features that will please previous users and enrich the experience for new InDesign users. Again, we're just going to list the new features now.
Here's the big changes made to:
- Linked Content
- Content Collector
- Enhanced Digital Publishing
- Greater text and text handling tools
- Auto-size text frames
- Flexible width columns
- Alternate layout
- Liquid Layout
Navigating InDesign
The first thing you'll see when you open the InDesign program on your computer is the InDesign window. It looks like this:
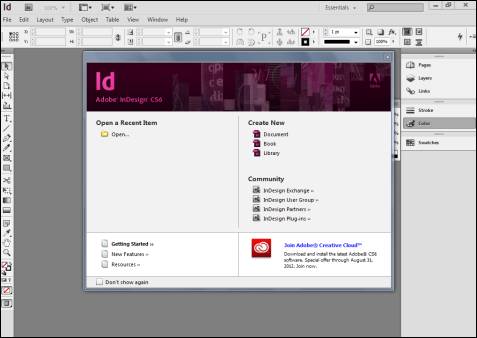
Adobe makes it easy to get started. In the center of the screen, you can go ahead and open a project you were working on by clicking Open below Open a Recent Item.

Or you can create a new document, book, or library. Don't worry about these things right now. We'll cover them a little later.
That said, Adobe InDesign has multiple windows that open each time you open the program. However, you can't see them by just looking at the screen because these windows are called panels. Panels appear on the right hand side of the InDesign screen, as shown below.
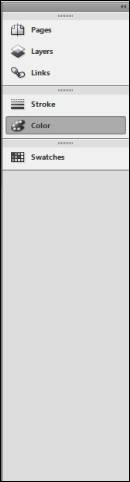
You can also access all the InDesign panels by going to Window in the Menu Bar. The panels that are showing on the right hand side will have a checkmark by them. Just click on a panel in the Window dropdown menu to display a panel.
The Menu Bar is located toward the top of the screen and goes from left to right across it:

Below the Menu Bar, you'll see the Control Panel.

The Control Panel allows you to set preferences for tools. You'll find the Tools panel on the left hand side of the screen:

You'll learn about these tools.
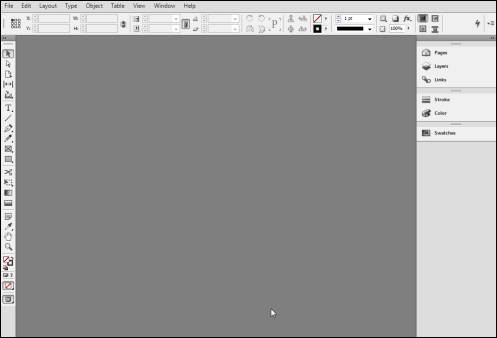
The Document Window is the biggest part of the InDesign screen. It's where you'll work on your projects because it's where your documents and books will be displayed.
The gray area in the snapshot below is the Document Window:
Last but not least, at the top of the InDesign window, you have the Application bar:

This allows you to change the layout view of the document you're working on. Again, we'll cover this more in depth later. To the right side of the screen, you can access Help files by typing what you're looking for in the box with the magnifying glass.
Closing and Opening Panels
Now, let's learn how to open and close panels.
Let's say we want to open the Color panel.
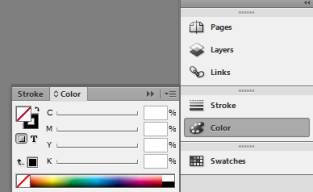
Go to Window in the Menu Bar, then select Color (Window>Color).
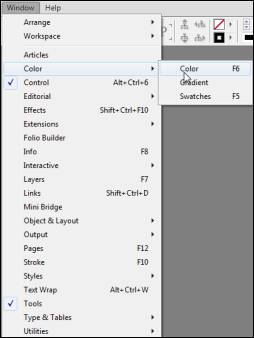
Click on Color and the different panels related to color will show in a menu to the right (as shown above). Click Color again.

As you can see, the Color panel is now displayed in our panels list on the right hand side of the screen, and the color panel is shown.
To close the panel, click
 in the Color panel. It's on the right side. It is now minimized. However, it's still listed in the panels list.
Docked and Undocked Panels
If you look at the panels on the right side of the screen, you'll see the panels that are listed there by default. If you open any of these panels, they are docked to the panel list - or attached to it. An example of this is the Colors panel:
Of course, these aren't the only panels. You can go to Window on the Menu Bar and open more panels.
Some panels that you open will be floating panels. Let's open the Effects panel.
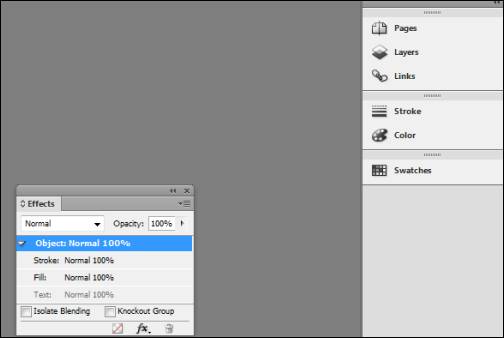
As you can see, it's not docked. In fact, it's just floating in our document window.
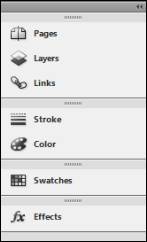
To dock this panel, click on the grey bar at the top of the Effects panel, then drag and drop it to your panels list on the right.
As you can see, it now is listed with the other panels:
Now, if we reopen it, it's automatically docked.
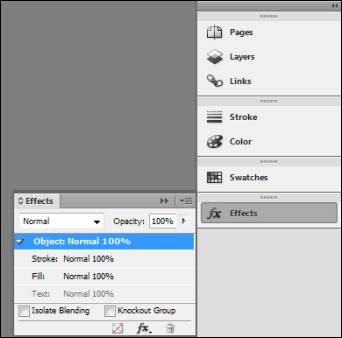
To undock a panel, click on the grey bar at the top of the panel again, and drag and drop to wherever you want it on your screen. When a panel is undocked, you can close the panel by clicking the X at the top right corner of the panel screen.
-
Creating and Viewing Documents
Documents are files in InDesign. Just like any word processing program, each document contains pages. In this article, we're going to learn how to view and create documents.Opening Existing Documents
With InDesign, you can open existing documents (or documents that have already been created and saved on your computer) that were created in various file formats.
You can open:
- InDesign files (INDD)
- InDesign CS3 Interchange files (INX)
- InDesign Markup (IDML)
- PageMaker (6.0-7.0)
- QuarkXPress (3.3-4.1x)
To open an existing document, go to File on the Menu Bar, then Open (File>Open).
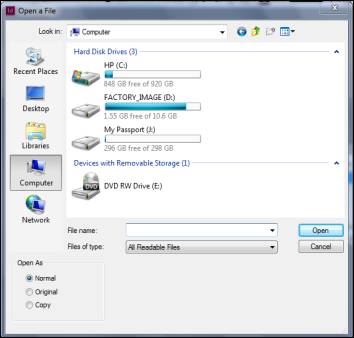
Find the file you want to open, then click Open.
Creating a New Document
To create a new document in InDesign, go to File>New. Select if you want to create a new document, book, or library from the menu that appears.
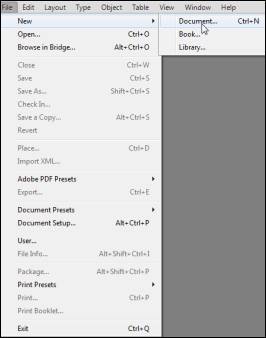
We're going to select Document.
Now we see the New Document dialogue box.
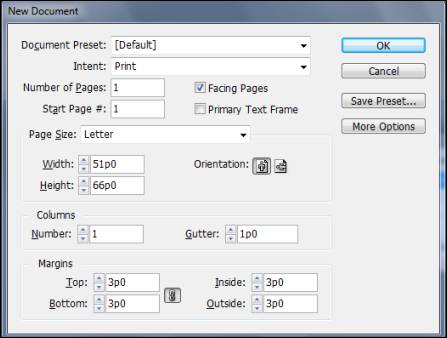
In this window, you'll set preferences for your new document. For now, it's only important that you know how to open a new document. The next article will teach you everything you will need to know to navigate through the dialogue box pictured above and start working with the new document that you create. For now, let's just click OK and create a new document using the InDesign default settings.
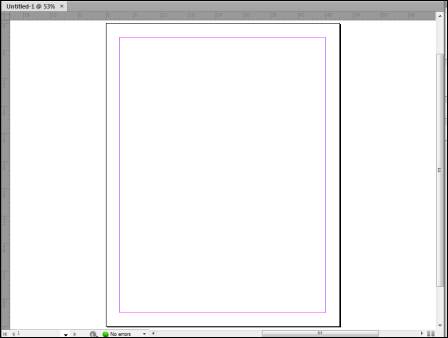
As you can see in the snapshot above, a new document is now opened in our Document window. Please note that the default name for our new document is Untitled-1. This is shown on the tab above the actual document:

If we create another new document, it will be titled Untitled-2 by default.
Document Tabs
Let's say you're working on several documents at once. These documents will be shown in tabs above the document area. In the snapshot above, we only had one document open, and we showed you the tab. Here's how it looks with two open:

The document tab that's in light gray lets you know which document is currently viewable in the Document window. In this instance, we are looking at Untitled-2 in our document window. If we wanted to view Untitled-1 instead, we'd click the tab that says Untitled-1.
We can also rearrange the order of the tabs. Simply drag and drop on the tab you want to move.
You can also close a document by clicking the X on the right side of the tab.
Creating a New Document
Let's go through the first steps to create a new document again. Go to File>New>Document.

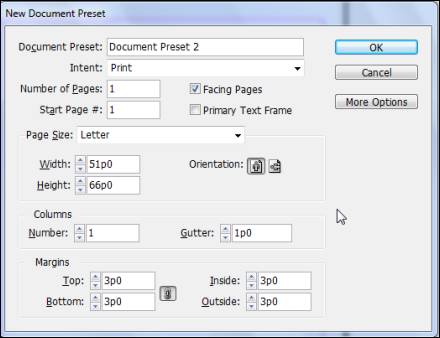
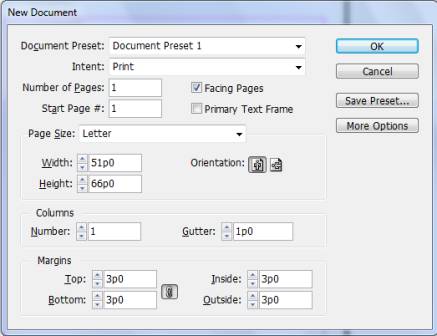
Once again, we have the New Document dialogue box.
In the Document Preset field, choose either the default preset or create your own.
Next, choose the intent from the Intent dropdown box.
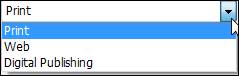
As you can see, you can choose print, digital publishing, or the web. Digital Publishing is new to InDesign .
We're going to choose print.
Specify the number of pages you want in the document in Number of Pages.
Choose the starting page number in Start Page #. You might want your publication to start with page five, for example.
If you want the pages to face each other, like in a book, select Facing Pages. If you want to use single pages, make sure this box is unchecked.
Primary Text Frame is new to InDesign. You select this if you want to use a common text frame for a document.
Now, select Page Size, orientation (landscape or portrait), the number of columns, gutter (or the space between columns), and margins.
Please note that pages sizes for digital publishing include for iPad, Nook, and the Kindle. Page sizes for web include various web page sizes. With any option, you can also customize the size.
Click the More Options button on the right to specify the bleed and slug. Slug is a non-printable area of a document. You might put notes for a printer in the slug.
Click OK when you're finished creating a new document.
If you want to save these preferences (preset) to use on documents in the future, click Save Preset before you click OK.
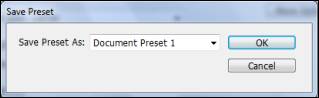
Name the preset, then click OK.
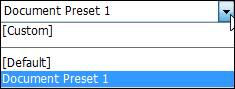
As you can see above, it now appears in your Document Preset dropdown box in the New Document dialogue box.
Creating a New Document from a Template
A template is a predesigned document that you customize and use as your own. If you use the same design for documents or books over and over again, then it's helpful if you save the design as a template. If nothing else, it will save you a lot of time and aggravation.
The file format for an InDesign template is INDT. To save a document as a template, go to File>Open and open the file that you want to save as a template.
Once the document is open and active, go to File>Save As. In the file format type, save it as a InDesign template.
Creating a New Document Using Presets
You also learned how to save those presets in the New Document dialogue box.
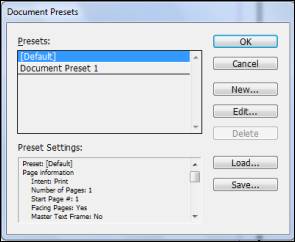
You can also create document presets before you even create the document. Go to File>Document Presets>Define.

To add a new one, click New.
You can now name your preset and add the specifications.
In addition to adding a new preset, you can also edit existing presets. Go to File>Document Presets>Define again.
Click Edit.
You'll then see the Edit Document Preset window.
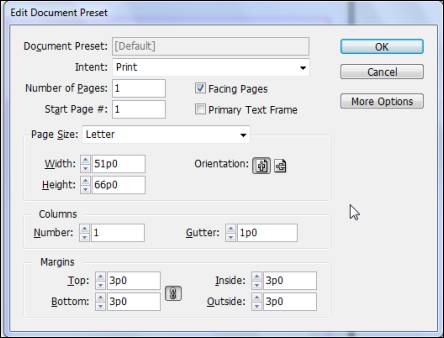
Edit your specifications, then click OK.
You can also go to File>Document Presets to open a new document using a specific preset. Just select the preset you want. The New Document dialogue box then opens. Click OK to open a new document.


Setting Up a Document
Once you've created a document, you can then use the Document Setup command located on the File menu, as well as the Margins and Columns command in the Layout menu to change the settings.
Let's take a look at the Document Setup dialogue box to see what we mean. Go to File>Document Setup.
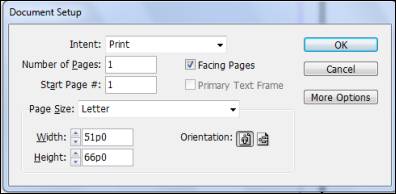
Here, you can change the intent. Remember, you can choose print, web, or digital publishing. You can also change some of the other settings that you established in the New Document dialogue box.
Click OK when we're finished.
Now, let's look at Margins and Columns in the Layout menu by going to Layout>Margins and Columns.
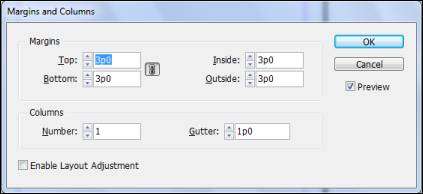
If you need to adjust margins or columns, you can use this dialogue box to do it. Press OK when you're finished.
Sometimes, you'll need to change the presets after you start working. Using these dialogue boxes saves a lot of time as opposed to starting all over with a new document.
The Status Bar
The Status Bar contains information about the current - or active document. It's located at the bottom of your document. You'll find a lot of helpful information in the Status bar. You'll also find tools there to help you ready a document for print.

Using the Status bar, you can see the page number that you're viewing in your document, skip to another page in the document, and see errors.
To use the Status Bar, click the triangle to access the Preflight menu. Preflight allows you to allow InDesign to check your document for errors before sending it to press.

Preflight opens the Preflight panel:

This is like an enlarged status bar.
Define Profiles opens a dialogue box. You can click the downward arrows to see more information, as we've done below.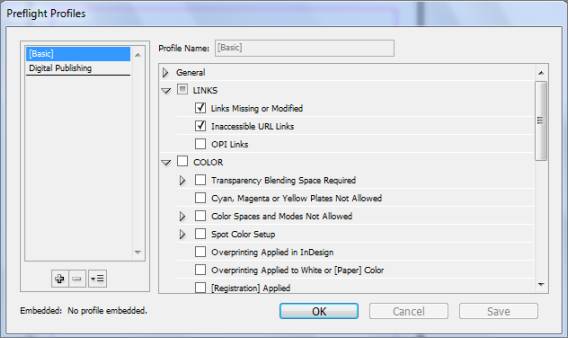
Preflight Document will enable or disable the active document as a preflight document.
Enable Preflight for All Documents will enable or disable it for all open documents.
Saving a Document
To save an existing document (or one that's already been named and saved in the past), go to File>Save. This will save all changes you've made to the document and save it in its original file format.
However, if you're working on a new document, and you want to save it, go to File>Save As.
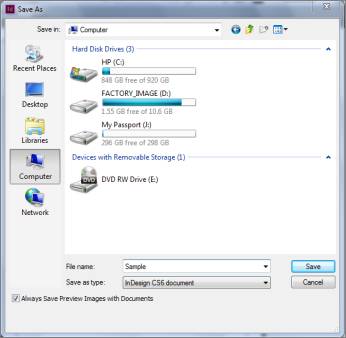
Enter a name for your file in the File Name field.
Then, select the type of format that you want the file saved as. InDesign Document is the default save for document files.
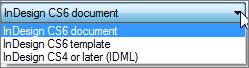
You can also save it as a Template or InDesign CS4 or later if the document will be edited or worked on later in an earlier version of InDesign.
Click Save when you're finished.