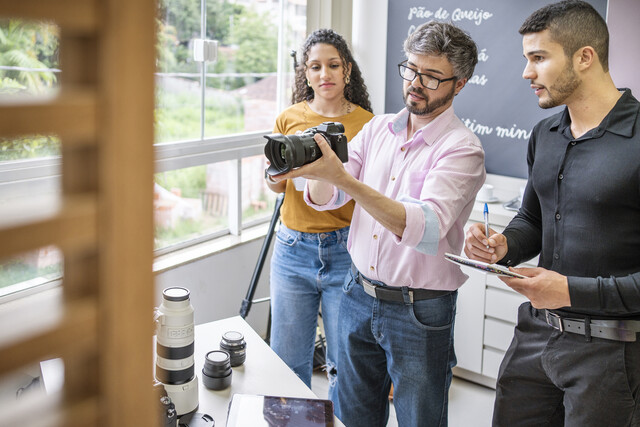
To create slideshows in Adobe Photoshop Lightroom, you will use the slideshow module. However, you will want to import the images you want to include in your slideshow, as well as place those images into a collection. If you are using the program as you follow along with the article, you should go ahead and accomplish those tasks now. After that, you will be ready to start this article.
We are going to discuss:
-
Selecting a slideshow template
-
Customizing the layout
-
Selecting a background
-
Adding borders and shadows
-
Creating a text overlay
-
Saving a slideshow
-
Working with the Playback panel
Selecting a Slideshow Template
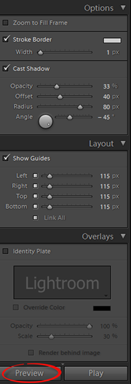
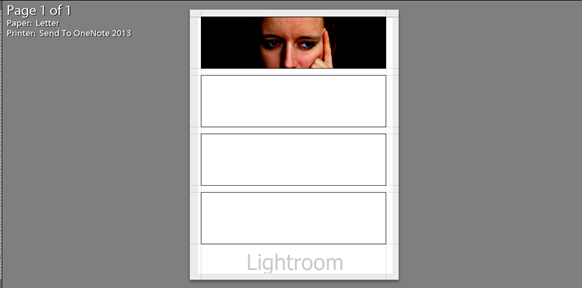
The Slideshow module is shown below.
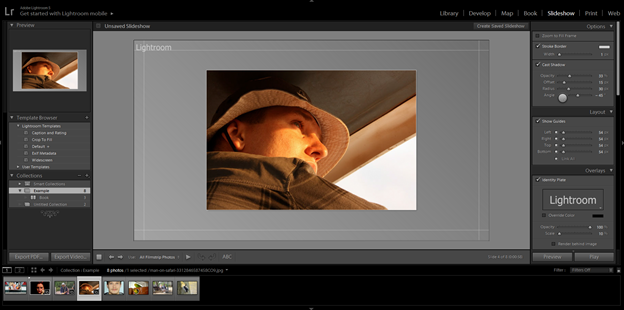
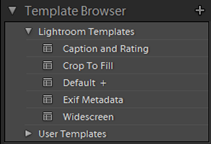
Lightroom offers you preset templates that you can find and use in the Slideshow module to easily create slideshows. As with the book layouts, you can customize any of the templates for your needs.
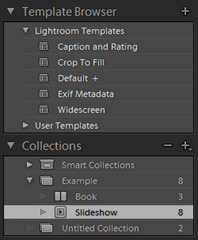
To select a template, go to the Template Browser panel in the left panel group. Expand the Lightroom Templates folder.
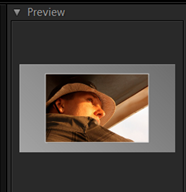
You can use the Preview panel in the left panel group to see how your image looks in a template layout. You can select different images from the Filmstrip to preview in the template.
Below is the Caption and Rating template shown in the Preview panel.
Click on the template you want to use.
Now go to the Toolbar.

Click All Filmstrip Photos. If this does not appear, select it from the menu. (Click on the double arrow.)
Go to the Filmstrip. Select the first image.
Click the Preview button at the bottom of the right panel group (pictured in the next snapshot) to see a preview of your slide show in Slide Editor View.
Customizing the Layout
The layout of the slides in your slideshow can be adjusted to meet your needs or wants. We will do this by adjusting the margins. This will feel very similar to when we adjusted padding in photobooks.
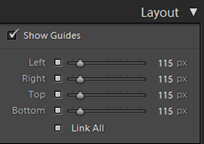
To adjust the layout, go to the Layout panel in the right panel group. Both Show Guides and Link All options should have checkmarks next to them.
Next, mouseover the lower part of your image that is displayed in the work area until you see the pointer change to a double arrow. When you see it, drag upwards to adjust the padding.
Below is the before shot � before we adjusted the padding.

Below is the After shot:

Note that when we adjusted the margins, all four margins (top, bottom, left, and right) were moved in equally. That is because the Link All option was checked in the Layout panel. If it was not, we would have only adjusted the bottom margin.
Selecting a Background
To select a background for a slide, go to the Backdrop panel in the right panel group. Make sure Background Image is checked if you want to use an image for your slide background.
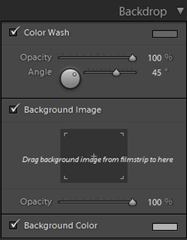
Next, click and drag the image that you want to use for the background to the panel, as instructed in the above snapshot.
You can then use the Opacity slider to adjust the opacity of the image.
If you want to apply a background color, make sure Background Color is activated in the Backdrop panel.
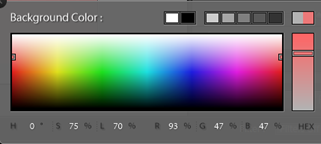
Click on the color title to the right of Background Color, then select a color using the Color Picker (shown below).
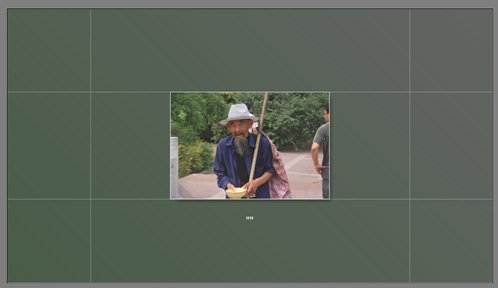
Adding Borders and Shadows
The problem with adding background to a slide is that sometimes the image seems to fade into the background. In other words, the images does not pop like it should.
You can change this by adding borders and shadows to your image to help it stand out more.
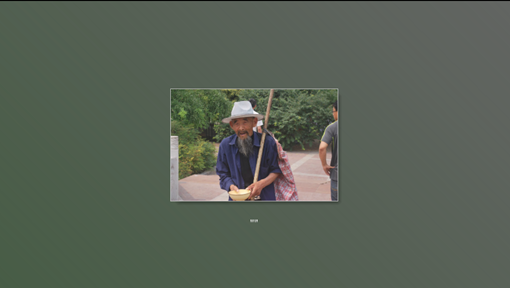
Take a look at our slide below after we added a background color.
This is in the work area. Let's click the Preview button at the bottom of the right panel group.
Now, let's add a border � or a stroke color � to the image.
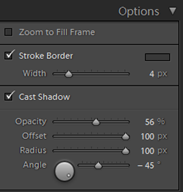
To do this, go to the right panel group, then go to the Options panel. Click to check the Stroke Border option.
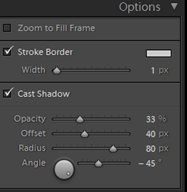
You can click on the color tile to the right of stroke border to access the Color Picker and choose a color.
Use the Width slider to increase the thickness of the border.
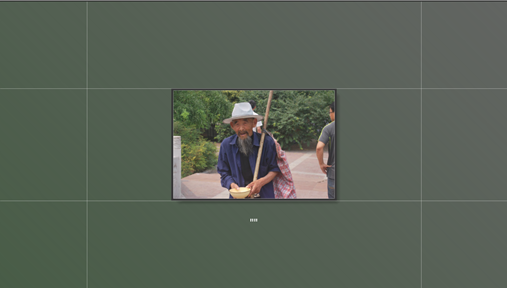
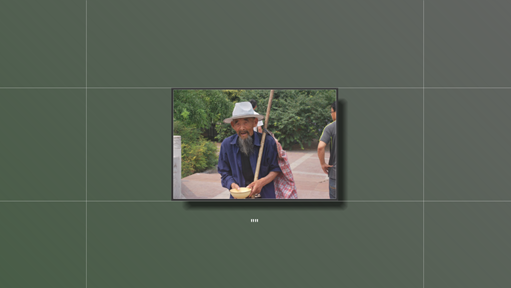
We added a black border to our image shown above.
To add a shadow, put a checkmark beside Cast Shadow.
You can set the opacity of the shadow, determine the offset (or how far the shadow is offset from the image), the angle, and the Radius setting. The Radius setting determines the softness of the edges of the shadow. Experiment with each of these options to create the shadow you want to use.
You can see our image with a shadow below.
You can see our settings in the Options panel.
Creating a Text Overlay
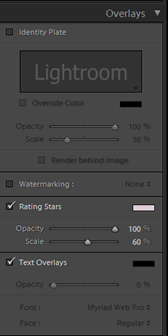
Text overlays can be added to your slides using the Overlays panel. You can also add a watermark, ratings, or an identity plate.
To add a text overlay, go to the Overlays panel. Put a checkmark beside Text Overlays.
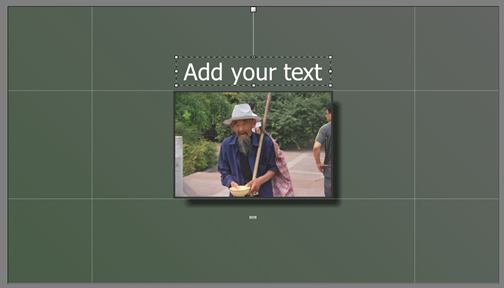
Go to the Toolbar. Click ABC which is the Text to Slide button. You will see a text field appear to the right (as shown below). Enter your text, then press Enter.

Your text then appears in the lower left hand corner of your slide. A bounding box appears around the text.
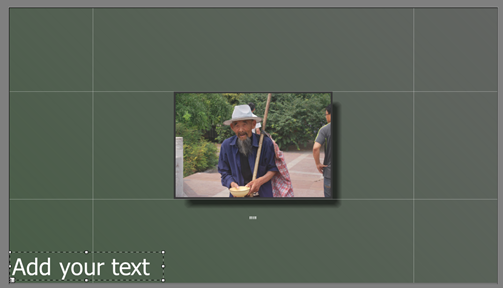
Move your mouse over the bounding box, then click and drag to place it on your slide. When you drag the text, it attaches itself to an anchor, as shown below.
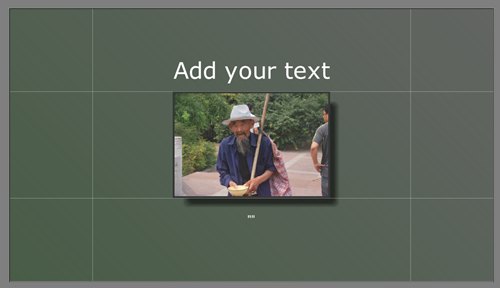
You can change the size of the text by dragging in or out on the bounding box. To do this, move your mouse over one of the handles on the bounding box until you see a two way arrow. Click and drag outward to increase the text side. Drag inward to decrease the size.
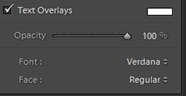
To change the font or font face, go to the Overlays panel. Click the menu button (double arrow) to select a new font or font face. You can also adjust the opacity of the text.
Click outside of the bounding box to add your text and make the bounding box disappear.
Saving a Slideshow
Saving a slideshow is much like saving a photobook. Click the Create Saved Slideshow button in the top panel (on the right side).

You will then see the Create Slideshow dialogue box.
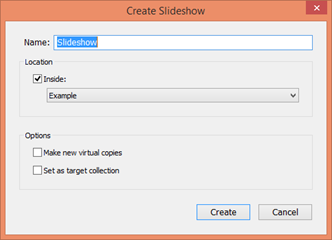
Enter a name for the slideshow, then specify the collection in which to save it.
Click the Create button.
You will then see the slideshow in the specified collection.
Working with the Playback Panel
The Playback panel allows you to set the timing for your slides, as well as add a soundtrack.
The Playback panel is pictured below:

Adding Music
To add music to your slideshow, make sure there is a checkmark beside Audio in the Playback panel.
Click the Select Music button, then find the music on your computer that you want to use.
You can click the Preview button at the bottom of the right panel group to preview it. Press ESC to stop the playback.
Setting Slide Duration
The challenging part of creating a slideshow is setting the duration of the slides to match the audio file.
To adjust the slide duration to match the length of the audio file, go to the Playback panel.
Click Fit to Music.
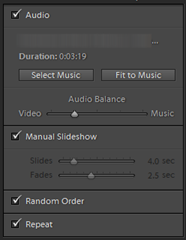
Next, uncheck Manual Slideshow, then drag the Fade slider to set the duration of the fade.
Make sure you also disable Random Order and Repeat.
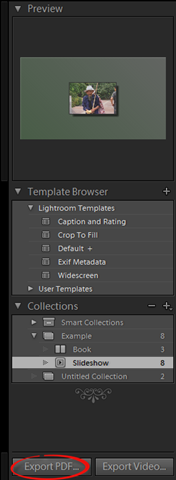
Exporting a Slideshow
You can export slideshows as PDFs or as a video file.
To export your slideshow, go to the Export PDF button at the bottom of the left panel group.
You will then see the Export Slideshow to PDF dialogue box.
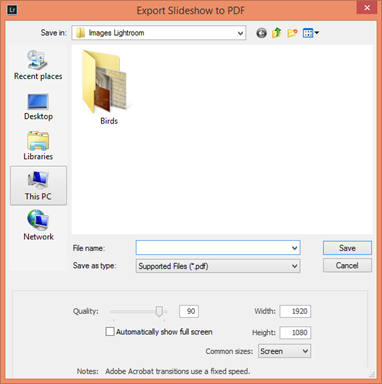
You can choose the width and height, as well as the quality, for your slideshow.
Enter a name for your slideshow in the File Name field, then click the Save button.
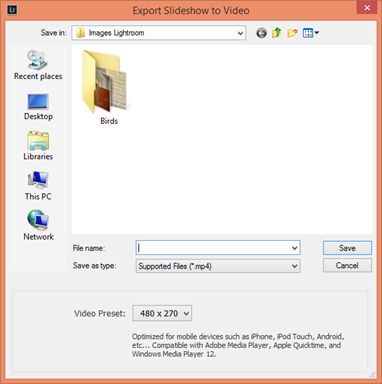
Repeat these steps for the Export Video button after clicking the Export Video button.
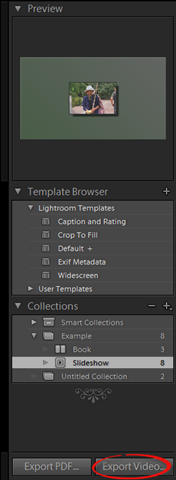
Below is the Export Slideshow to Video dialogue box.
Printing Images
When everything else is done, it is time to print your images. Lightroom offers dozens of templates to help you create professional layouts for printing, as well as tools and controls to customize the layouts.
In this article, we will discuss:
-
Choosing a template
-
Selecting a printer
-
Customizing the template layout
-
Proofing images
-
Choosing output settings
-
Color management
-
Printing your images
Introduction to the Print Module
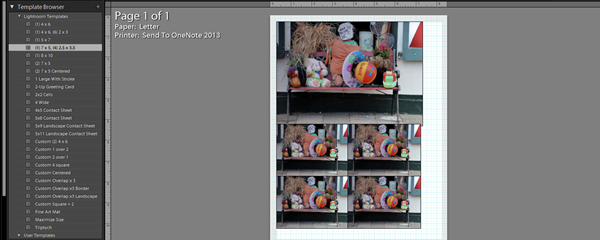
The Print module is pictured below.
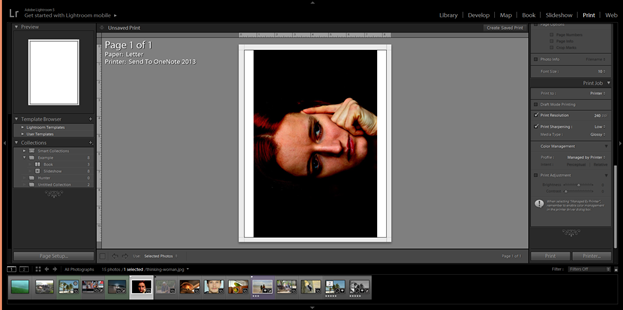
The Print Module is where you will go when you want to print images from Lightroom.
As with the other modules, the Print module as a top panel, left and right panel groups, and the Filmstrip. You will learn how to navigate and use the controls in the Print module in this article.
Selecting a Print Template
The first step in printing images in Lightroom is in selecting a template to use. Lightroom offers several print templates. These are located in the Template Browser panel in the left panel group.

Let's take the time to view some of these templates.
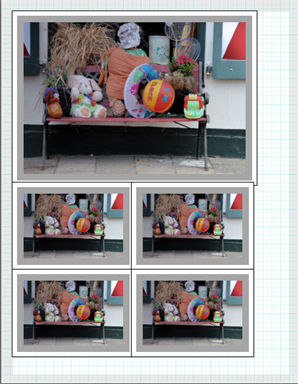
Click on the 2-UP Greeting Card Template.
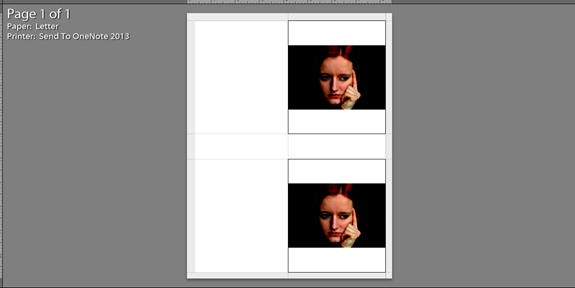
Next, select the 4 Wide template.
As you can see in the snapshot above, we can add three more images.
To do this, go to the Filmstrip. Press CTRL+Click to select the three you want to add.
The images will appear in the template as you click in the Filmstrip.
In addition, they will appear in the template in the order they appear in the Filmstrip.
Next, drag on the images in the template to reposition them.
Selecting the Paper Size and Printer
To select the paper size for printing and the printer you want to use, go to File>Page Setup.
You will then see the Print Setup dialogue box.

Choose the printer you want to use in the Name field.
Choose the paper size you will use to print your images from the Size field.
Choose the orientation in the Orientation section of the dialogue box.
Click OK when you are finished.
Using the Layout Panel
The Layout panel provides controls that allow you to customize your template. It is located in the right panel group and is pictured below.
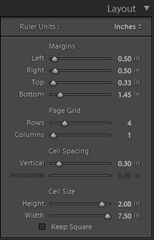
As you can see in the snapshot above, you can use the Layout panel to adjust margins, the page grid, cell spacing, and cell size. (Each of your images will appear within a cell.)
Let's experiment with each of the controls in the Layout panel.
First, we are going to adjust the margins in our template.
Here is what our layout looked like before we adjusted the margins:

This is what it looks like after we increased the left and right margins:
Now let's work with the page grid.
For this template, we can use the sliders to add more rows. We can then add images to those rows.

We can also add another column.
Now we can adjust the cell spacing � or the space between cells (and the images they contain).
In the snapshot above, we added vertical and horizontal cell space.
Finally, we can adjust cell size in the Layout panel.
To do this, put a checkmark beside Keep Square so that the height and width sliders are locked together. In other words, if you increase the height, the width will be equally adjusted. Next, use the sliders to adjust the size of the cells.
Rearranging Photos in Your Layout
As you learned earlier in this article, your photos appear in the template in the order that they appear in the Filmstrip. That said, if you want to rearrange the order the photos appear in the template, you must first rearrange the order that they appear in the Filmstrip.
To do this, the source that you are using to display your images in the Filmstrip cannot be the Previous Import folder. You should use a collection to add photos to a template to print. You can then rearrange the images from that collection in the Filmstrip. This will rearrange the order the image appear in your template.
To rearrange images in the Filmstrip, go to Edit>Select None. Next, drag a thumbnail in the Filmstrip and drop it in its new location.
Adding Borders to Images
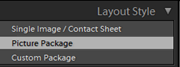
To add a border to images, go to the Layout Style panel and select Single Image/Contact Sheet.
Next, go to the Image Settings panel in the right panel group.
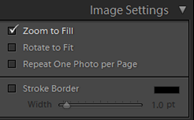
Put a checkmark beside Stroke Border.
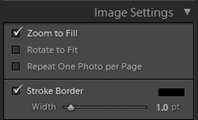
Use the color tile to the right of Stroke Border to change the color. To do this, click on the tile to see the Color Picker.
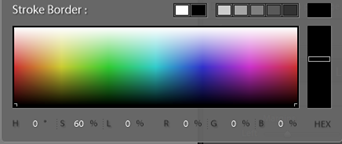
Select your color.
When you are finished, use the Width slider to adjust the width of your border.

Now to the Layout Style panel.
Click Picture Package.
We are going to learn to add a photo border and an inner stroke to picture packages.
For this example, we chose a picture package template, as shown below. A picture package gives you several sizes of your image. It is like you would see from a professional photographer.
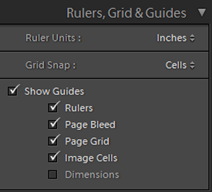
Go to the Rulers, Grid & Guides panel. Make sure Image Cells is checked.
Now look at the Image Settings panel. Put a checkmark beside Photo Border to activate it. Adjust the width of the border.
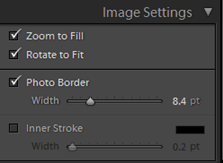
You can see the border around the images.
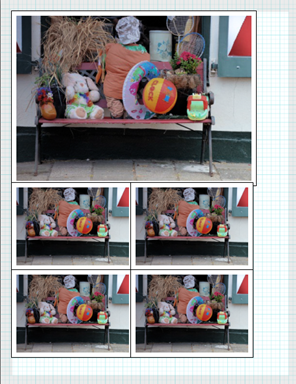
Go back to the Image Settings panel. Put a checkmark beside Inner Stroke. Click on the color tile to change the color using the Color Picker. Use the Width slider to adjust the width of the inner stroke.
In the example below, our inner stroke is grey.
Working with the Page Panel
The Page panel, pictured below, gives you the controls to further customize your template.
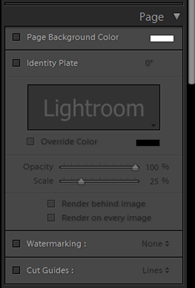
You can select a page background color, customize the identity plate that appears on the page (right now, it says Lightroom, as shown below), and add a watermark or cut guides.
Saving a Customized Template
Once you have customized a template, you may want to save it for future use. To do this, go to the Template Browser panel in the left panel group. Click the + sign � or the Create New Preset button.
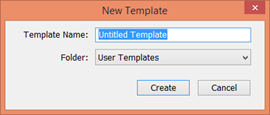
Enter a name for the new template, then click the Create button.
The template will appear in the User Templates folder in the Template Browser panel.
Custom Packages
So far, we have talked about Single Image/Contact sheet layouts, as well as Picture Package layouts. You can also use the Custom Layout option in the Layout Style panel.
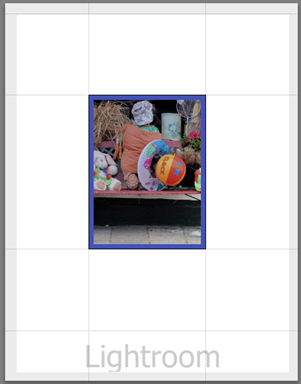
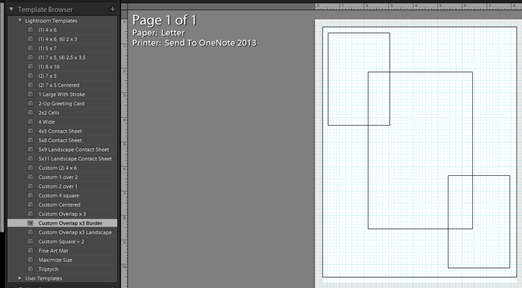
We have selected a custom layout template from the Template Browser, as shown below.
Click on a cell to select it, then drag an image from the Filmstrip to the cell.
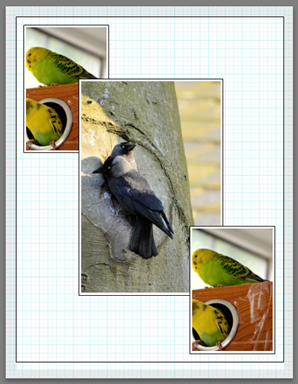
You can then drag the image within the cell to reposition it.
To move a cell, click on it, then drag.
Proofing Images before Printing
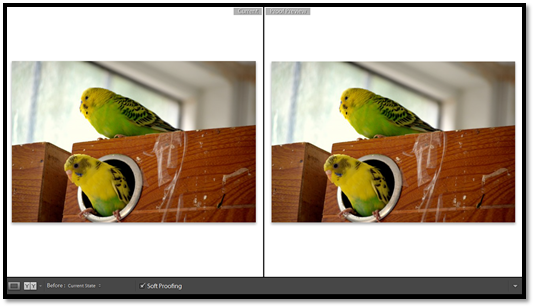
Each device you use has a different color space. The color space decides the range of colors that can be displayed or printed by that device. This means that the way a photo looks on your monitor may differ from how it looks when printed.
To avoid being disappointed with how your images look after you print them, you can soft proof your images. When you do this, Lightroom will mimic the color space of your printer. It will even mimic the ink and paper that you will use. You will be able to see how your photos will look when printed � before you print.
To do this, go to the Develop module.
NOTE : Before you do this, make sure you save your print by clicking Create Saved Print on the right side of the top panel. This is done the same as when you saved a photobook. It will then appear in your collections.
Put a checkmark beside Soft Proofing in the Toolbar.
Go to Before/After view.
Next, look at the Histogram panel. It has changed to the Soft Proofing panel.

If you want to proof the image for another printer, select the color profile from the Profile menu in the Soft Proofing panel.
You can click Create Proof Copy to create a virtual copy. You can make adjustments to this copy without hurting the master proof.
Working with Output Settings
Let's go back to the Print module and work with output settings. This is done by going to the Print Job panel in the right panel group.
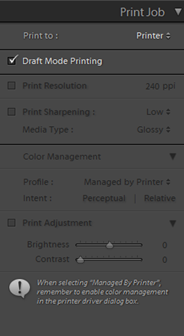
Click the Printer menu to select your printer.
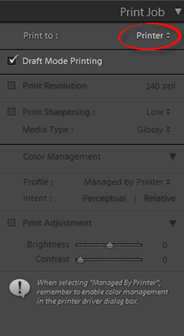
Uncheck Draft Printing mode to activate the other options.
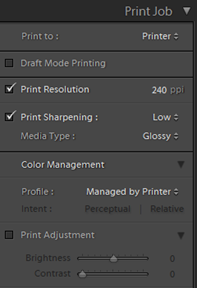
Select the print resolution.
If you want to increase the sharpness of your image when it prints, you can set Print Sharpening.
Next, choose either a Matte or Glossy media type.
Color Management
In the Color Management section of the Print Job panel, you can choose whether you want Lightroom or your printer to handle color management. As we already said, the images on your screen can look different when printed. Lightroom can handle a large color space. Your printer may not be able to do the same.
Letting color management to be handled by your printer is the easiest way to go.
Go to File>Page Setup and click the Properties button to choose your printer settings.
If you want Lightroom to handle color management, choose Other in the Color Management section of the Print Job panel.
Lightroom then finds custom printer profiles that are installed with the software for your printer.
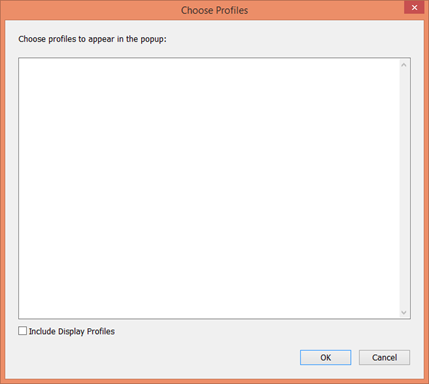
If there are not any profiles located, as shown above, click OK, then select Managed By Printer for color management.
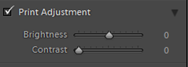
You can also adjust the printed color manually by going to the Print Adjustment section of the Print Job panel.
Use the sliders to adjust brightness and contrast.
Printing
To print, click the Print button at the bottom of the right panel group.
Make sure that your print settings are correct in the Print dialogue box, then click OK.