Dreamweaver gives you several ways to maintain consistency across all your web pages. When you're creating a site, you may want all pages to have the same look and feel, even if they have different images and text. To do this, you can create a template.
In this article, we're going to learn how to create a Dreamweaver template, as well as how to use other useful features to help maintain consistency across your websites.
Template Pages
There are several ways that you can use templates to create websites. You can create your own template as you'll learn to do in this article. You can also download templates online. Some are free and some you'll have to purchase. You can download Dreamweaver templates, but you can also download HTML and CSS templates too. However, WordPress or Flash templates won't work in Dreamweaver. You'll find that some templates are really easy to edit, while others are harder. It's trial and error depending on your skill level.
When you're creating a lot of pages that will share a lot of the same features, using a template saves time and work. In fact, it's recommended that you use a template if you're creating a site with more than just a few pages. You can create a template that contains your logo, site navigation, and styles for the colors and fonts so that you don't have to recreate each aspect every time you create a new page.
Creating Templates
It's just as easy to create a template page in Dreamweaver as it is to create a new page. You can create an HTML template page by using the New Document dialogue box. In addition, you can save any page you've already created as a template by going to File> Save As, then saving the file in the Templates folder.
Dreamweaver templates are saved with the file extension .dwt. They must be saved in a folder named Templates at the root level of the site. Don't worry though. When you create your first template, Dreamweaver creates a Templates folder for you and stores your templates in the folder.
To create a template, go to File> New.
You'll now see the New Document dialogue box.
Click Blank Template on the left.
In the Template Type list, choose HTML template.
Choose <none> in the Layout area to create a blank page. You can also select a predesigned CSS layout.
Next, click the Create button.
Go to File>Save.
|
Now you can create a design for your page by adding images, text, as well as other elements.
Setting Editable and Uneditable Regions
When you save a document as a template, you can also specify editable and uneditable regions. An uneditable region is a locked region. This means that changes must be made in the original template and cannot be changed in the page itself. Editable regions contain content that is editable in the specific pages.
The table below shows the differences in Editable and Uneditable (locked) regions of a page to help you better understand it.
|
Editable |
Uneditable (Locked) |
|
Content in editable regions will only be added to a new page as it's created. |
Content in locked regions will be updated to all HTML pages using this template, not just the unique website open in Dreamweaver. |
|
When updated, locked regions will be changed, but editable regions will not. |
When updated, all pages using this template will show changes made to the locked region. |
By default, all areas of the template are uneditable when you create the template. This means when you open the template to use it, you won't be able to edit any part of the template. It's like it's locked.
To create an editable region, select any text block, image, or content area.
Go to Insert>Template Objects>Editable Region.
|
Give the editable region a name, then click OK.
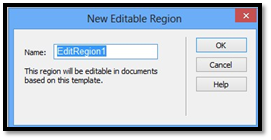
Click OK.
When you're finished designing the page and have specified your editable regions, save your file.
The Dreamweaver Library
A library is a Dreamweaver file that contains all the assets (files, images, etc.) that you put in your document and on your web page. These assets are called library items. What makes the library so convenient is that when you edit one asset in the library, you can automatically update all the pages that contain that asset.
Your library items are stored in your library within the local root folder for each site that you create. This means that each site you create in Dreamweaver has its own library. Library items can be created from any aspect or element in the body of a document. This includes text, forms, tables, applets, plug-ins, navigation bars, images, etc.
Creating Library Items
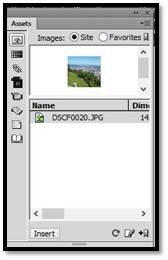
You must create library items in order for them to be stored in the library. To do so, go to the library by going to the Assets panel (Window>Assets).
Click  .
.
Then select the item that you want to appear in the library and drag it to the library category. You can also click the New Library Item  at the bottom of the panel.
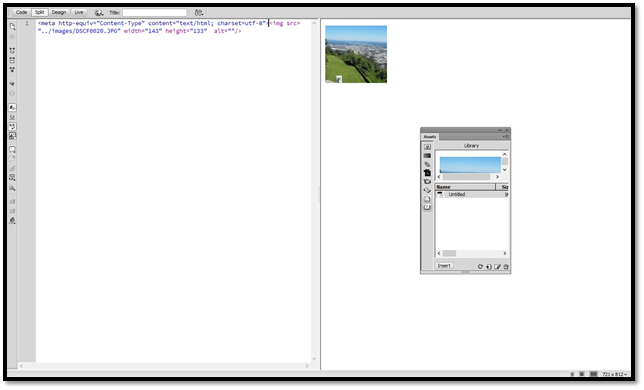
Insert a Library Item into a Document
Whenever you use a library item in your document, Dreamweaver inserts a link to it in the web page. To make that easier to understand, Dreamweaver inserts the HTML source code for the item into the document, then adds a comment that contains a reference to the original item. This is why it is possible to update all instances of the library item.
To insert a library item into your document:
- Click in the document to create an insertion point.
- Click the Library icon in the Assets panel.
- Select the library item, then click Insert.
Edit a Library Item
Remember that when you update a library item, you can also update all instances of it within your document.
To edit a library item:
Go to the Library category in the Assets panel.
Select the library item that you want to edit.
Double click the library item.
At this point, a new window will open.
Complete your edits. Your edits will appear as inline style. When you're finished, save the file. You'll then be asked if you want to update all instances of the library item in your documents.
The Assets Panel
You use the Assets panel to manage and view your assets within a current site. The panel only shows assets associated with the active document.
You can view your assets in two different ways. Site List shows all assets on your site. This includes colors and URLs. The Favorites List only shows assets that you've selected. Use the radio buttons to switch between these two different views.
Assets fall into one of the categories listed below. You can click on the category to view all assets within it. The asset icons appear vertically down the left side of the Assets panel.
Images. These include GIF, JPEG, and PNG.
Colors. This includes all colors used in your documents and style sheets. It includes the colors of the text, backgrounds, and links.
URLs. Links in your documents linking to outside sources. These links include FTP, gopher, HTTP, HTTPS, JavaScript, email, and local file links.
Flash. All Flash files in SWF.
Shockwave. Adobe Shockwave files.
Movies. These include QuickTime or MPEG files.
Scripts. This applies only to JavaScript or VBScript files. HTML files do not appear anywhere in the Assets panel.
Templates. Templates include page layouts that are used on multiple pages.
Library Items. These are aspects of your site that you use on multiple pages.
Use Tracing to Design Website Pages
You can also use another website or graphic to create your web page. When you do this, you will trace the other design, placing yours on top of it. This can make creating a design you want easier.
To do this, start a new HTML page. Click on Page Properties in the Property Inspector and go to the Tracing Image category.
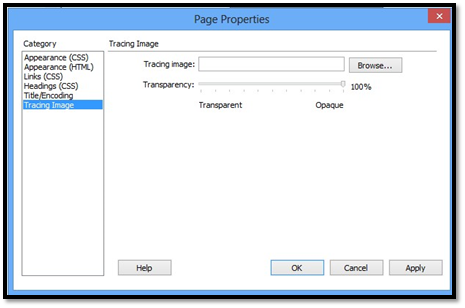
Find the file on your computer that you want to trace, then set the transparency, or how dark it will appear on your page. You're going to want it to appear lighter, almost like the tracing paper you used when you were a kid. Try setting yours at 50% or lower.
Then, you can just trace over the image. When you're tracing a website layout, set all margins and padding to zero so the images line up completely.
When you're finished, remove the tracer image.
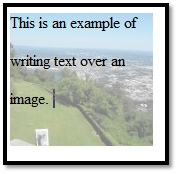
Tracer Images for Text
There may be times you want to write text over an image. You can also use the tracing images feature for that as well.
Select your picture.
You'll want a darker transparency for this.
Click OK and your image will appear in your document.
Now you can type text over it.
HTML Tables
Just a few years ago, you used tables to design web pages. You can still do that if you don't want to use CSS. However, tables are now used in web design to include spreadsheet information and things of that nature.
In this article, we're going to cover how to add a table to your document.
Creating a Table
To create a table in your HTML document, first click on the place in the document where you want to insert the table. We're going to insert one at the top of the document.
As you can see below, we are in Design View.
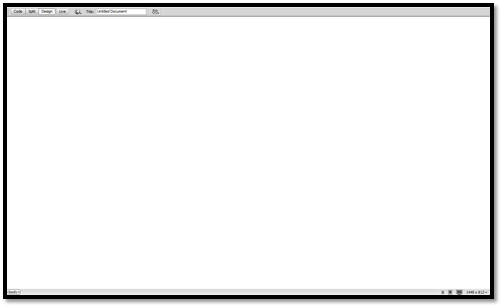
Go to Insert> Table.
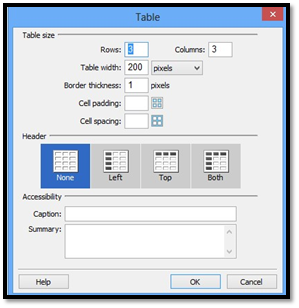
In this dialogue box, we're going to enter the attributes for our first table.
- We want to make this table 3 rows in width, so we'll enter 3.
- We're going to enter a 3 for the number of columns. Columns run vertical on the page.
- For the Table Width, we're going to enter 200. We want this to be measured in pixels, so we'll select Pixels from the pop up menu.
- Enter 1 for Border Thickness. 1 is a thin border. If we wanted thicker, we'd enter a higher number.
- Enter 0 in the Cell Padding box. Cell padding adds white space within a cell, with equal white space on top, bottom, left, and right.
- Enter 0 for Cell Spacing. This is the space between cells.
We don't want a header, so we'll leave that on None.
If we wanted, we could add a caption and a summary of the table's contents. However, for this article, leave those blank.
Click OK.
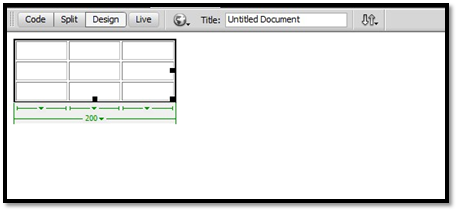
You can now see the table in our document. You can drag on the border of any row or column to resize it.
If you look at the table, you'll see the table width in the Table selector, which is indicated by green lines. This appears when the table is selected or when an insertion point is in the table.
Look next to the widths. These are arrows for the table header menu and the column header menus. These menus can be used for quick access to table commands. To disable or enable the widths and menu displays, go to View> Visual Aids> Table Widths.
Click to the right of the table (outside of the table) to deselect it.
Adding Text to a Table
To add text to a table, click within the cell where you want to add text. Start typing.
Formatting Cells within a Table
You can format the cells within the table just as you can format the table (as you'll learn to do in just a minute).
To format cells, click within a cell, then go to the Property Inspector.

Use Horz and Vert to position text within the cell. Using the Horz field, you can position it left, center, and right. Using the Vert field, you can position it top, middle, bottom, and baseline.
Enter a width for the cell in the W field. Enter a height for the cell in the H field.
In the Bg field, you can set a background color for the cell.
Setting Table Properties and the Property Inspector
Now we're going to set the properties for our tables. Make sure the table is selected in order for you to be able to do this.
Go to the Properties Inspector, pictured below.
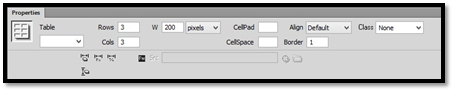
The Properties Inspector allows us to edit the table properties.
As you can see in the snapshot above, the Table Property Inspector allows you to customize the following attributes:
-
ID
-
Rows and columns
-
Width
-
Cell padding and cell spacing
-
Alignment
-
Border
-
CSS Class
-
Clear Column Widths or Heights
-
Convert Table Widths to Pixels
-
Convert Table Widths to Percent (of page)
-
Source
Placing Images and Graphics into Tables
To insert an image or graphic into a table, first click the cell where you want to add the image or graphic.
Go to Insert>Image.
|