Adding tags isn't the only way that you can organize images in Elements. You can also organize them by rating, image names, and smart tags. The more time you spend organizing your images in Organizer, the easier it will be to find them when you need them.
In this article, we're going to continue to talk about ways to organize images. We'll also learn how to search for and locate your images in Organizer.
Renaming Images
Each image you import into Organizer already has a file name. If you look at the snapshot of Windows Explorer below, you can see the file names for the images we imported.
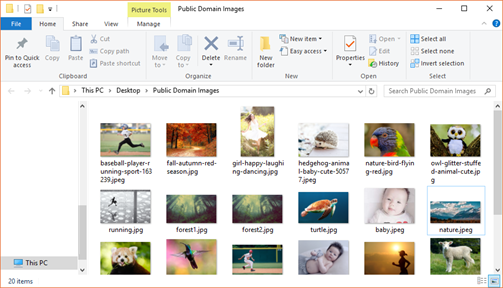
Once you import the images into Organizer, you can change the names of individual images if you want.
To rename an image, select the image in the Media Browser, then go to File>Rename.
You will then see the Rename dialogue box.
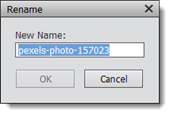
In the New Name field, enter a new name for the image, then click the OK button.
Rating Images
You can rate images in Organizer by assigning them anywhere from 1 to 5 stars. You can create your own rating system, using image quality or personal preferences as your guide.
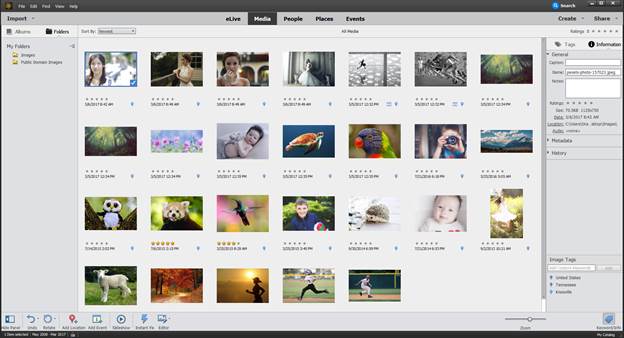
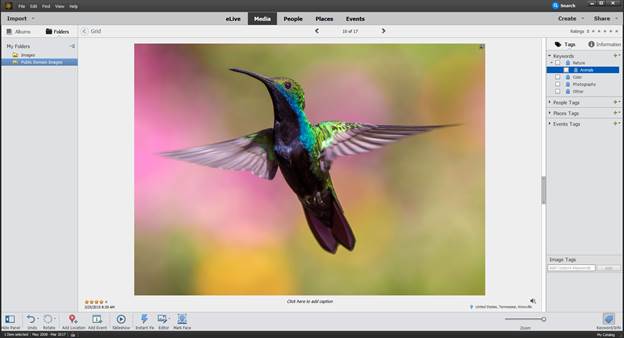
To rate images, you'll use the Information Panel. It appears with the Tags panel on the right side of your screen. To access it, click the Information tab, as shown below.
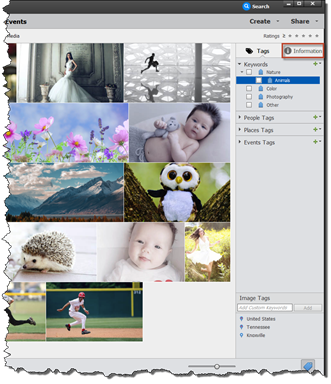
Click the Information tab. Select an image in the Media Browser to rate.
Now simply click on a star. Click on the first star on the left for a 1 star rating, the 2nd star for a 2-star rating, etc.
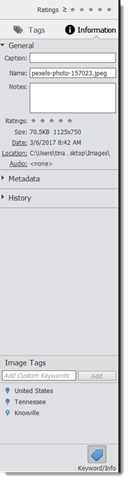
Now, if you go to View>Details to view the details of a specific image, you'll see the star rating as well as other information:
About Smart Tags
Smart tags are automatically assigned to your images. They are assigned to each image based on a visual analysis of the content and quality of each image. You cannot add smart tags to your images in Elements. However, you can remove them.
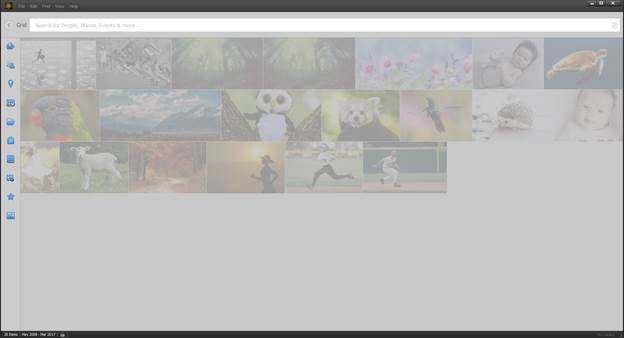
To view the smart tags for an image, click the Media tab, then go to the search box in the upper right hand corner (shown with a red border in the snapshot below).
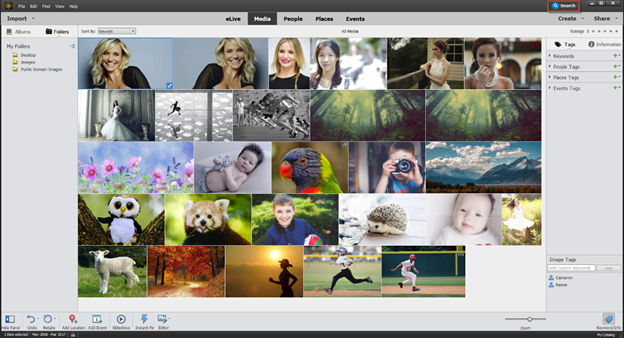
Click in the search box. This will bring up a series of icons that appear along the left side of the Elements window, as shown below.
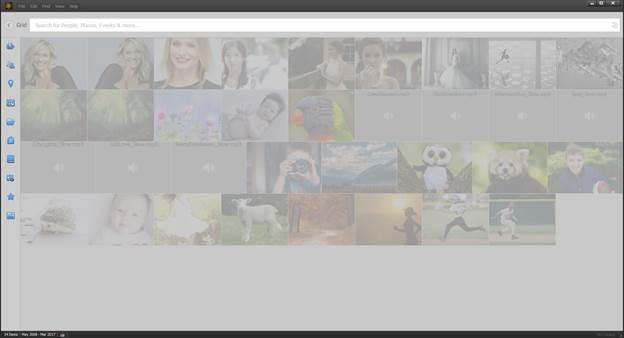
Hover your mouse over the top icon. This is the Smart Tags icon. You will then see the smart tags assigned to your images.
Using Smart Tags to Search for Images
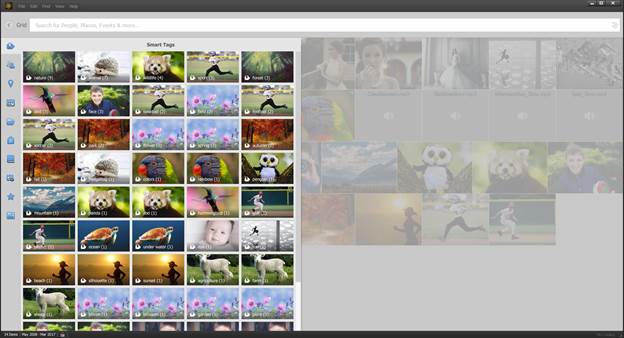
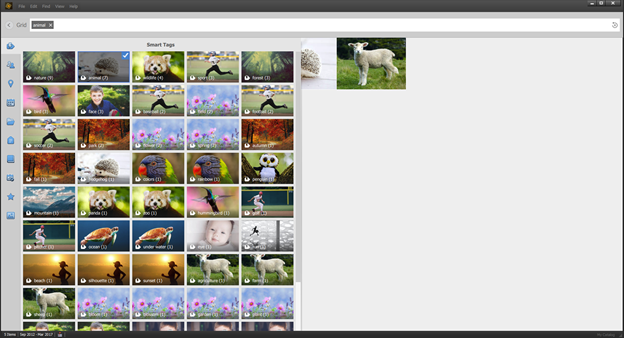
To search for images, click on any smart tag. The smart tags are displayed with a thumbnail of an image that has been assigned the smart tag.
We are going to click on "animal", because we see it has seven images with the "animal" smart tag.
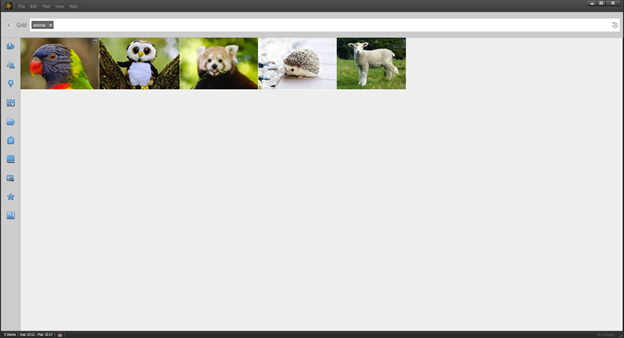
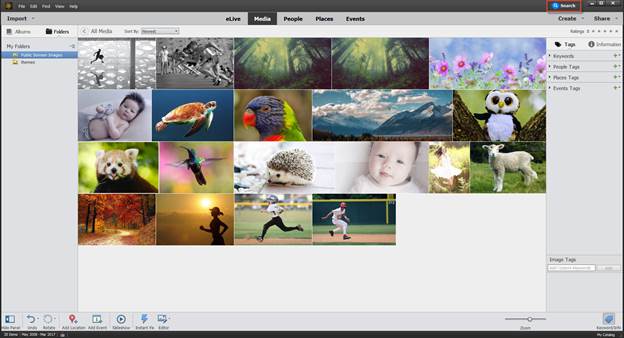
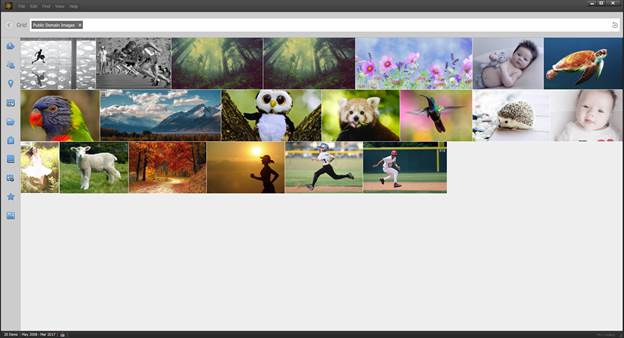
Elements then brings up the images with the "animal" smart tag.
You can click the Smart Tags icon again and search for another smart tag. Perhaps you want to search for images that are tagged as animals, but are also tagged with zoo. You already clicked on the "animal" smart tag, so now you would click on zoo. Elements will show you all images tagged with "animal" and "zoo".
Removing Smart Tags
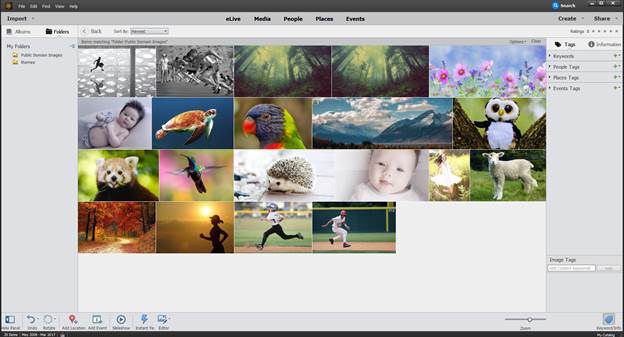
In the snapshot below, we have the images tagged with the "animal" smart tag visible in Elements Organizer.
To remove a smart tag from an image, click the arrow to the left of "Grid" to go back to Grid view.
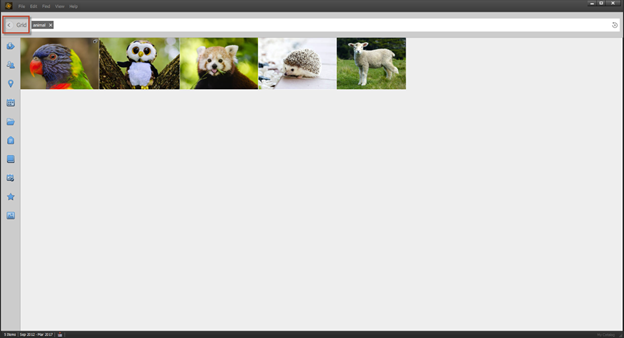
This will take you back to grid view, but you will only see the images with the "animal" smart tag.
Select, then right click on the image for which you want to remove the smart tag.
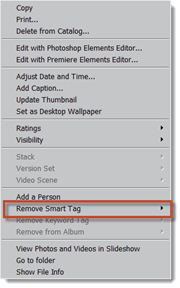
Choose Remove Smart Tag, then the smart tag you want to remove. We will choose "animal".
Stacking and Unstacking Images
Stacking photos is simply organizing groups of similar images together. An example of this is taking all pictures of animals and putting them in one stack.
To stack images, select the images in the Media Browser that you want to stack. Use CTRL+Click to select multiple images.
Next, right click and select Stack>Stack Selected Photos from the context menu.
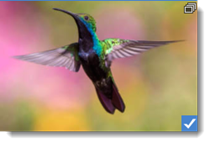
A stacking icon will appear in the upper right hand corner of images that are stacked, as shown below.
To unstack images, double click on the thumbnail with the stack icon in the upper right corner.
This makes the image full size.
Next, right click and choose Stack>Unstack Photos.
To remove an image from a stack, expand the stack.
Click the image you want to remove from the stack, then right click. Select Stack>Remove Selected Photos from Stack from the context menu.
You can specify which image appears on the top of the stack by selecting the image, right clicking, then selecting Stack>Set as Top Photo.
Searching for Images
Elements makes searching easy, especially if you've taken the time to organize your images. To search for images in Organizer, you can simply use the search box in the upper right corner of the Organizer window, as pictured below.
Click in the search box to start a search.
You will then see icons lining the right side of the Organizer window. This should look familiar. We saw these icons earlier in this lesson with smart tags.
In order from the top icon to the bottom, you can search by:
-
Smart tags
-
People
-
Places
-
Date
-
Folders
-
Keywords
-
Albums
-
Events
-
Ratings
-
Media types
Hover your mouse over an icon to see the search results.
As an example, we are going to search by folders. To do this, we hover the mouse over the Folders icon.

As you can see above, we have two folders. To see the images in a folder, click on the folder.
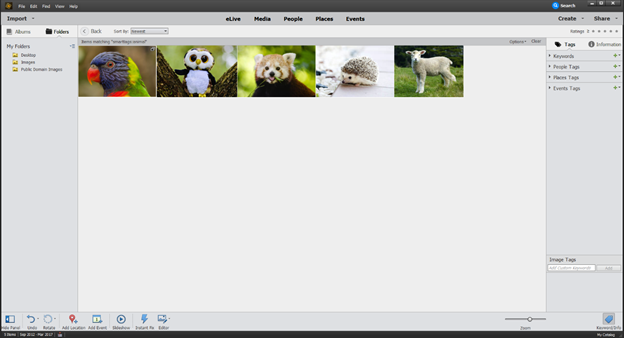
When you find the image you want, click the arrow to the left of "Grid" to view the images in the Media Browser.
You can then select the image you want.
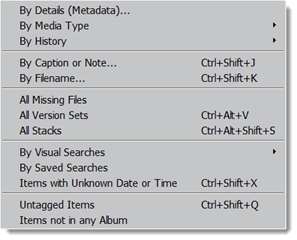
Using the search box is a quick way to search for images, but it's not the only way. You can also search for images by going to Find on the Menu Bar.
Select a search option from the dropdown menu to search for images that match the search criteria.
Comparing Images
There may be times when you have nearly duplicate images appearing side by side in the Organizer, and you may want to only keep the best one. It goes without saying that you'll want to keep the image that's of better quality, but you may not be able to tell which one that is by simply glancing at them in the Media Browser. However, by going to full screen mode, you can compare the two images side by side to decide.
If you want to compare two images, start by selecting on of the images in the Media Browser and viewing it in full screen mode. (View>Full Screen).
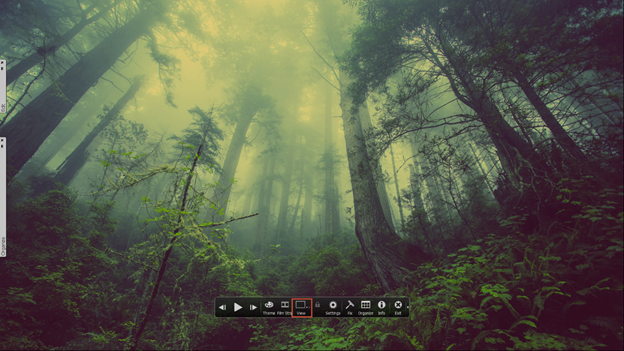
While on Full Screen View, click View on the toolbar, as shown above.
You can have two images displayed side by side – or top and bottom. Select which one you want to use to compare images.

We have chosen side by side.
Elements will then pull up the next photo in the slideshow and place it beside the current image.
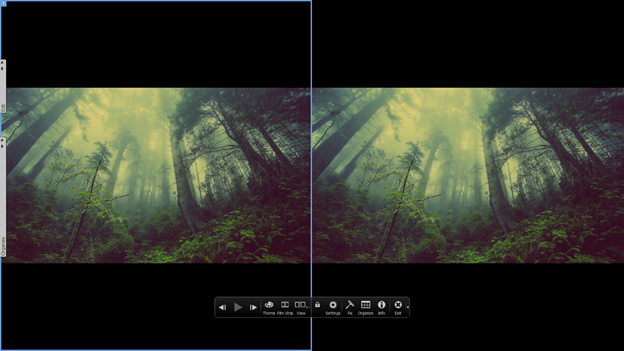
As you can see in the photo above, the first image has a blue square around it. At the top corner of the blue square is the number one. This is the first photo. When the first photo is active – or has the blue square around it--the toolbar actions apply to this photo.
You can click on the second photo to move the blue square to it. Then, you can select a different photo or apply any actions from the toolbar to the second photo.
Creating Catalogs, Albums, and Collections
In Elements, individual images can be organized by using tags, ratings, and other methods. By assigning tags, ratings, etc. to images, you can organize individual images into clusters and stacks. We discussed these methods in the last few lessons.
That said, Elements starts to organize your images in their entirety the second you import them into Organizer. When you import images into the Organizer, all your images are automatically added to a catalog. Think of the catalog as a shoe box where all your images are placed. You can then create additional catalogs for images. For example, you could create a catalog for nature photography, your children, business, etc. You can also create albums within catalogs to further segregate and organize your images.
NOTE: Elements doesn't store actual images. This is very important to realize. When Elements adds your images to a catalog, it's adding links to the images you imported. The links point to the location of the image on your computer. This is why all images that you import must first be moved to your hard drive.
About the Catalog Manager
All catalogs are created, deleted, and managed in the Catalog Manager. To go to the Catalog Manager, go to File>Manage Catalogs.
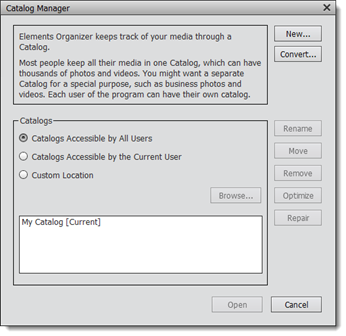
You can see the Catalog Manager dialogue box below.
Creating a New Catalog
Most people who use Elements keep all their images in one catalog. This isn't because only having one catalog is easier or more efficient. Instead, it's because the catalog isn't something you think about as you use Elements, because the initial catalog is created for you. When you think about organizing your photos into groups, you think about creating albums, not catalogs.
However, creating different catalogs and then creating albums within the catalogs helps you to better organize your images. You can create different catalogs for different purposes. As we mentioned earlier in this lesson, you may want to create a catalog for business, family, insurance, travels, and the list goes on. You can then organize the images in the catalogs into albums. Albums in a business catalog may contain work events, employees, etc.
To create a new catalog, go to the Catalog Manager.

Click the New button in the Catalog Manager.
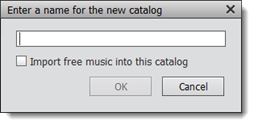
Pick a name for your new catalog. Put a checkmark in the box if you want free sample music to be automatically included in your catalog.
Click OK.
Elements creates the new, empty catalog for you in Organizer. As you can see in the snapshot below, Organizer is now void of any images or media.
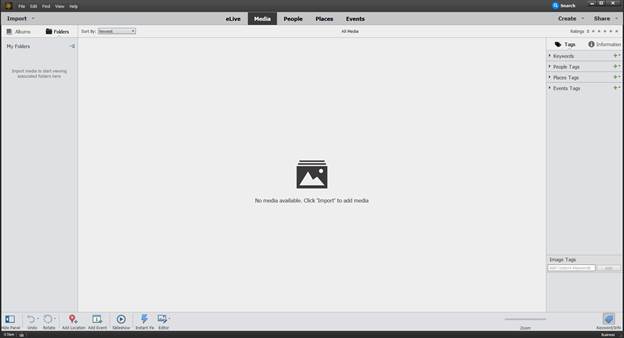
You can then import images into the catalog as we learned to do earlier in this course.
Convert Catalogs
In addition to creating new catalogs, you can also convert catalogs from previous versions of Elements or Photoshop.
To convert a catalog created in a previous version of Elements or Photoshop, go to the Catalog Manager.
Click the Convert button in the Catalog Manager.
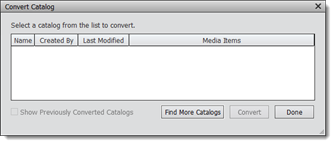
Select a catalog by clicking on it, then click the Convert button.
As you can see in the snapshot above, no catalogs are displayed. If this happens to you – or you don't see the catalog you want listed, click the Find More Catalogs button.
You will then see the Select Catalog location dialogue box.
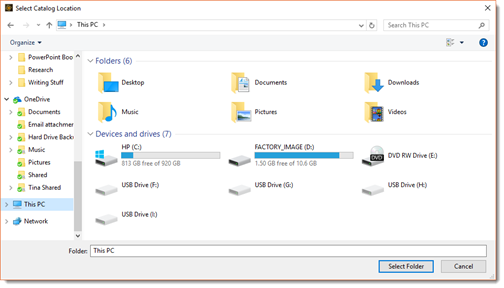
Locate the catalog on your computer, then click the Select Folder button.
Switching Between Catalogs
In the last section, we created a new catalog. The new catalog is the one that's now visible in Organizer. To view a different catalog, go to the Catalog Manager.
Click on the name of the catalog that you want to view, as pictured below.
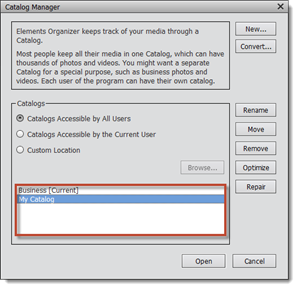
As you can see above, the catalog displayed in Organizer is marked as the current catalog.
Click on the name of a different catalog that you want to view, then click the Open button.
Backing Up a Catalog
You can backup catalogs whenever you use Elements to make sure you save changes to photos or to the catalog. It's a good idea to have backup copies of your catalog.
To back up your catalog, go to File>Back up Catalog.
You may see the dialogue box pictured below if you've moved any images since importing them.
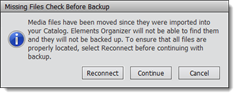
Click Reconnect to find these images so that Elements can create new links to them.
Next, you will see the Backup Catalog Wizard, as pictured below.
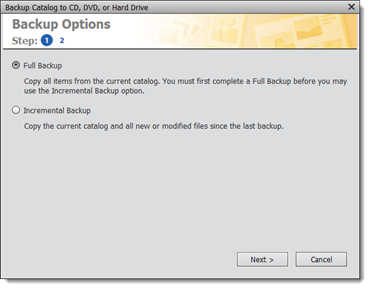
The first thing you need to do is to select if you want to do a full or incremental backup.
-
A full back up backs up your entire catalog.
-
An incremental back up backs up all new or modified items since the last back up. An incremental backup is quicker.
Select the type of backup, then click Next.
We're going to select Full Backup.
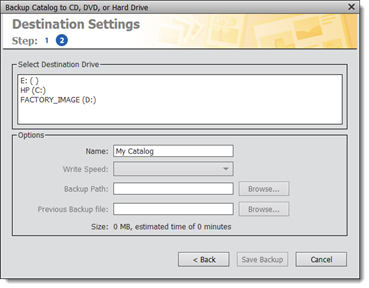
Select the location where you want to back up the file. We've chosen our hard drive.
Next, select your options in the Options section of the dialogue box shown above.
-
In the Name field, you'll see the name of your catalog.
-
Choose a backup path. To do this, click the Browse button and select the location on your computer where you want to save the backup file.
-
If there is a previous backup of this catalog, click Browse to find the location.
Click the Save Backup button when you're finished.
Creating Albums
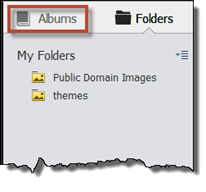
Albums can be created within catalogs to further group and organize images. To create an album, go to the Import panel on the left side of the Organizer window. Earlier in this course, the Import panel showed us all the files we imported, as shown in the snapshot below.
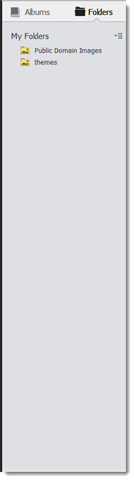
As you can see above, we are viewing imported folders in the pane.
Click Albums (to the left of folders) to view and create albums.
You will then see any albums that you've created listed in the pane.
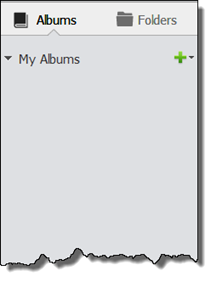
To create a new album, click the green plus (+) sign.
Go to the Panel bin on the right to enter information about the new album. The Panel bin is pictured below.
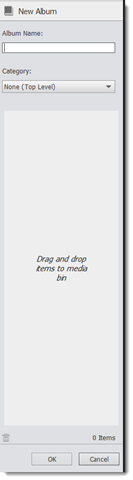
In the Album Name field, enter in a name for the album.
In the Category dropdown, select a category.
Next, drag and drop images from the Media Browser into the Panel bin.
When you're finished, click OK.
Managing Albums
Managing albums simply means to edit the contents of the album. Editing might mean adding or removing images. It might even mean deleting the album.
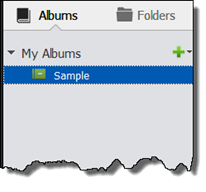
To manage an album, simply select the album name that you want to manage. In this example, we're using the album entitled Sample.
Right click on the album. You'll see the dropdown menu below.

If you want to add or remove images, select Edit. You can also choose to Rename or Delete the album.
Let's edit the album, and click Edit.
As pictured below, the Edit Album pane appears in the Panel Bin.
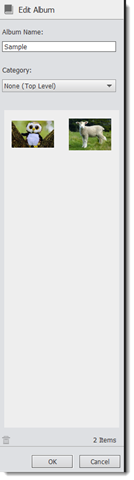
To add an image, drag the image you want to add from the Media Browser to the Panel bin.
To delete an image from the album, select the image thumbnail in the Panel bin, then drag it to the garbage can icon.

Click OK when you're finished.