
In this article, we're going to continue to discuss elements as we learn to work with them in Adobe Edge. We will start out by talking more about HTML elements, then discover how to add special effects and organize the elements on the Stage.
You will learn how to:
-
Format and edit text elements
-
Create fixed-width text elements
-
Add and embed custom fonts
-
Align, distribute, and group elements
-
Add special effects
-
Rotate elements, then create an animation using rotation
Working with Text Elements
Text is another HTML element that you can create. We're going to take it a step further and talk about formatting it and customizing it for your composition.
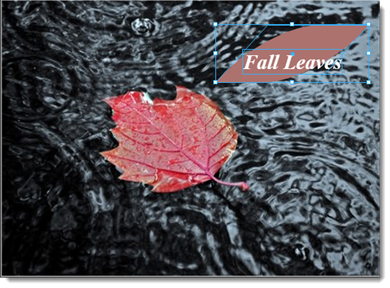
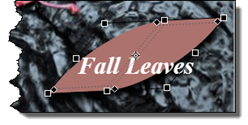
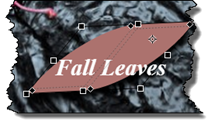
For the purpose of this article, we're going to create a text element that reads "Fall Leaves."
Click on the Text tool in the Tools panel, then click on the Stage to add an insertion point.
Type your text in the text editing panel.
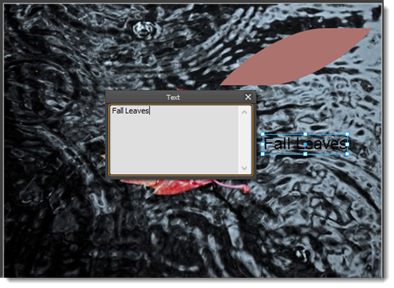
Hit Enter to create the text element once you're finished adding text.
Formatting Text Elements
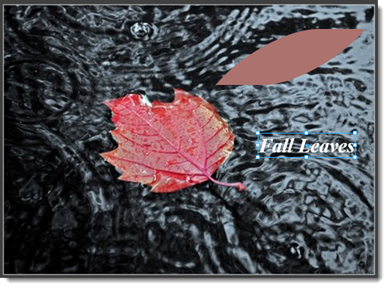
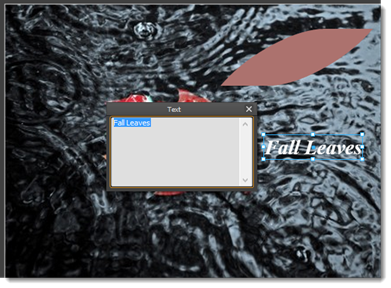
As you can see in the snapshot below, our text element now appears on the Stage. There is a bounding box around the text that allows us to move and resize the text, but we will talk more about that later.
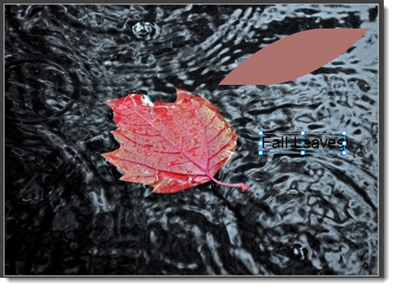
For now, let's format the text. The black text is hidden by the background, so we will want to add formatting to change that.
Click on the Selection tool in the Tools panel, then select the text by clicking on it on the Stage. The text will have a blue bounding box around it.
Go to the Properties panel, then to the Text section of the Properties panel, as pictured below.
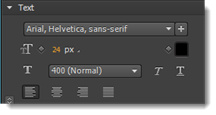
In the Text section of the Properties panel, you can change the font type by clicking the dropdown menu and selecting the type you want to use.
You can also change the font size by clicking on the value, then entering a new one.
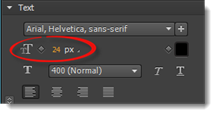
If you click the triangle to the right of "px" (pictured above), you can change the measurement system for the text from px to either % or em, which is a point size such as you see used in MS Word and other programs that use text.
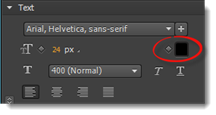
Click on the color chip to change the font color:
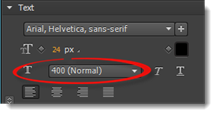
Change the thickness of the text to thin, extra light, light, normal, medium, semi bold, bold, extra bold, or black.
Italicize or underline the text:
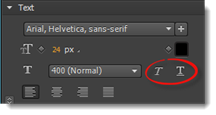
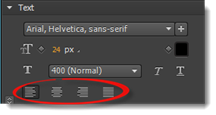
You can also align the text to the left, center, right, or justify.
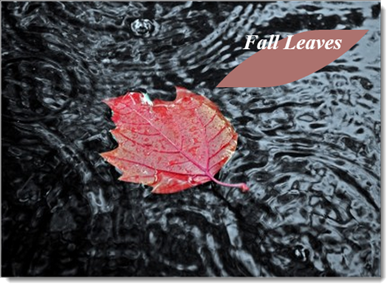
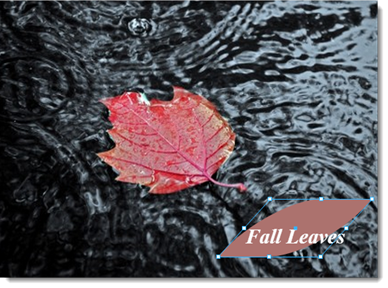
We formatted the text on the Stage by:
-
Changing the font type to Times New Roman, times, serif.
-
Changing the font size to 30.
-
Changing the font color to white.
-
Making the text extra bold and italicizing it.
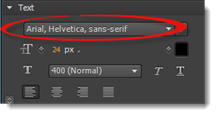
For more formatting options, click the double arrow, as circled in red below.
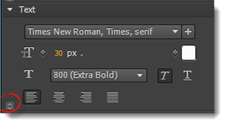
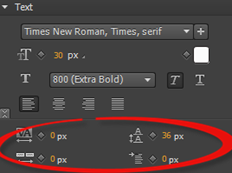
You will then see other formatting options appear in the Properties panel.
From left to right, they are:
-
Letter spacing
-
Line height
-
Word spacing
-
Text indent
Take the time to experiment with formatting options so that your text elements appear as you need them to on the Stage
Editing Text
To edit text elements, click on the text Element in the Elements panel to select it.
Double click inside the bounding box on the Stage.
Make changes to your text in the text editing panel, then press Enter.
Creating Fixed-Width Text Elements
There isn't a defined maximum width when you create a new text element. In other words, when you enter text into the text editing panel, the text will extend from left to right until it reaches the end of the Stage unless you press Enter to add a line break.
However, you can specify an initial width for a text box if you want. The text that you enter will be wrapped inside the text box.
To do this, select the Text tool. Click where you want to place the first corner of the text box, then drag to draw it. When you release your mouse, the text editing panel will appear, as shown below.
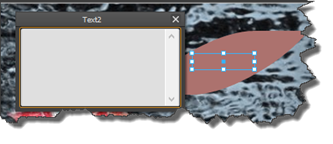
Now you can edit your text. It will wrap within the text box so that it remains the width that you established.
Adding Custom Fonts
Edge Animate offers standard fonts, such as Times New Roman and Verdana that you can use when creating text elements. However, these fonts are so standard that they may seem boring. If you want to be creative with the text in your composition, or you're going for a certain look, there may be a font that's not included in Edge Animate that you want to use.
The good news is that you can embed and add custom fonts in Edge Animate. The CSS rule @font-face is used to tell the browser the font to use, then where to find the description of the font. Whenever you embed a custom font, that font will be listed in the Library panel. The font is not stored in your composition. Instead, the code will reference where the font is saved in the Library panel.
NOTE: It's important to notice going forward that even though Edge Animate makes creating compositions simple, the program is creating HTML and CSS for you behind the scenes. We noticed how elements use the <div> tag and that embedded fonts rely on @font-face.
The custom font that you want to use must be provided to Edge Animate in several formats. These formats are EOT, SVG, TTF, WOFF. You will also need the CSS file that refers to the font. This is for custom fonts that you create.
However, the easiest thing to do is use a custom font created and hosted by someone else, such as Google. We are going to learn how to do just that.
To add a custom font, go to the Library panel.
Click the + sign to the right of Fonts.
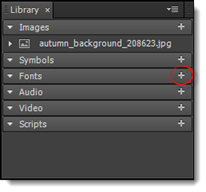
You will then see this window:
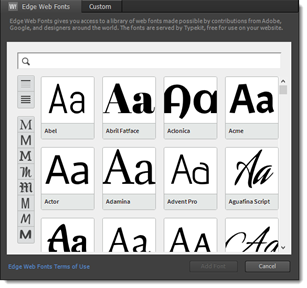
These are fonts that can be embedded and used in your composition. As you can see, they are from Google, Adobe, and other designer sites.
You can scroll down and select the font you want to use.
Click on it to select it, then click the Add Font button at the bottom of the window.
The font then appears in the Library panel, as shown below.
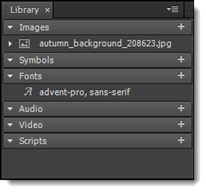
When creating text elements, the font will also appear in the Properties panel.
Aligning Elements
We already learned to align elements using rulers and guides; however, if you're trying to align multiple elements, it can be easier to use the Align commands in Edge Animate.
If you have ever used Photoshop, then you might already be familiar with Align, and this part will be easy for you.
To align elements, you will go to Modify > Align. This will move all the elements that you have selected on the Stage, then align them by their left, right, top, or bottom edges � or their centerlines.
As an example, we are going to align our text element on the shape element.

To select multiple elements, press Shift+Click.
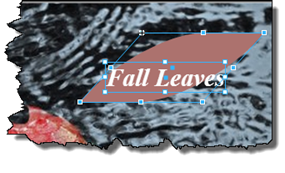
Next, go to Modify>Align.
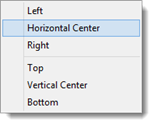
We are going to choose horizontal center. The elements will be lined up by the horizontal, center point of the two elements.

Here's how it would look if we chose vertical center:

Below we've aligned the images to the top line of both images.
Grouping Elements
If you want to rearrange the elements that appear on the Stage, you can do so easily enough by selecting the element, then dragging it. Release the mouse button when you've placed the element where you want it to appear.
However, you might want some of the elements to stay together. They may be positioned together correctly on the Stage, but you just want to change their location.
If that's confusing, look at our shape and our text elements below. We just aligned them in the last section.

We want to move them to a different location on the Stage, but we want to keep these two elements aligned just as they are.
Although we could move these two elements separately and then realign them, that is really too much work, especially if we end up moving them again later.
Instead, we can group these two elements together. By grouping them together, they will appear as one element when selected using the Selection tool. This means that if we move one of the elements, we will move both. We will be able to reposition both elements at the same time and keep their alignment.
To group two or more objects, first select the objects by using Shift+Click.

Go to Modify>Group Elements.
Now, when we move them, they move as if they were one element.
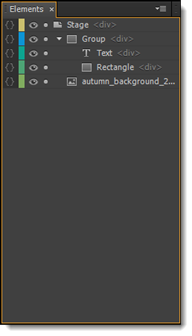
If we look at the Elements panel, we can see that the elements have now been grouped together:
-
To delete a group, select the group in the Elements panel, then press Delete.
-
To add an element to a group, drag the element and drop it into the group in the Elements panel.
-
To remove an element from a group, drag the element in the Elements panel, and drag it out of the group.
-
To delete an element that is in a group, select the element, then press Delete.
-
To ungroup elements, select the grouped elements, then go to Modify>Ungroup Elements.
Distributing Elements
You can also select elements, then have Edge Animate distribute them evenly across the Stage for you.
To do this, select the element(s), then go to Modify>Distribute, then choose how you want the element(s) distributed.

Adding Drop Shadows to Elements
Edge Animate also gives you the ability to add special effects to elements.
We are going to add a drop shadow to the shape element selected below:
To add a drop shadow, select the element, then go to the Properties panel.
Expand the Shadow section by clicking on the triangle to the left of it.
Click on the rectangle to the right of No Shadow, as shown below.
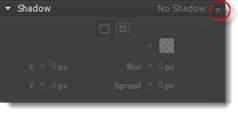
The Shadow properties are now activated.

Choose a color and Alpha value for the shadow.
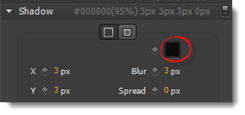
Now, set the X and Y coordinates for the shadow, as well as the blur and spread.
Ours appears 3 pixels to the right of the shape, 3 pixels from the bottom of the shape. We have a 3 pixel blur, and we don't have a spread. Not having a spread means the shadow is the same size as the our shape.
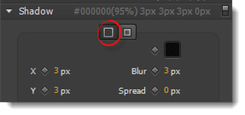
Now, we can select if we want a drop shadow:
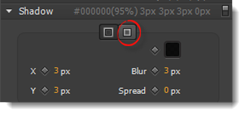
Or we can inset the shadow inside the shape:
Rotating Elements
We are going to use it to rotate elements.
To rotate an element, click on the Transform tool.
Click on the element that you want to rotate.
Hover your mouse over the bounding box until you see a curved arrow by your mouse cursor. The arrow will look like this: 
Click and drag to rotate the element. You can rotate to the left or the right. The element rotates around the rotation point. The rotation point looks like this: 
By default, elements are rotated around their centerpoint. In our snapshot below, you can see the rotation point in the center of our element. When we rotate the element, it's rotated around the centerpoint.
To change the rotation point, click and drag the rotation point icon on the element.
In the snapshot below, you can see we moved the rotation point toward the top part of the element.
Now, when we rotate the element, it will rotate around the new location of the rotation point.
Animating a Rotation
Of course, since Edge Animate is an animation program, you can also animate a rotation.
We are going to animate the element that we rotated in the last section.
To do this, select the element.
Next, go to the Timeline panel. Move the playhead to 0:00.
Once you've done that, go to Timeline>Add Keyframe>Rotate.
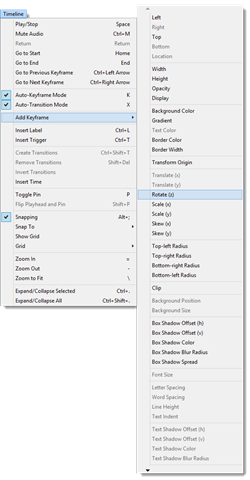
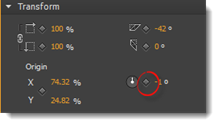
You can also click on Add Keyframe in the Properties panel under the Transform section. Remember, in the Properties panel, you click on the diamond beside a property in order to add a keyframe. We circled the diamond for rotation below.
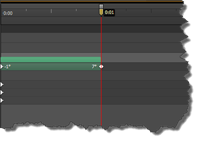
Next, move the playhead forward. We are going to move ours to 0:01.
Go to the element on the Stage and rotate it using the Transform tool.
As you can see in the timeline, another keyframe is added once we rotate the element.
Press Play in the Timeline panel to preview the animation.
If you want, you can add more rotation using more keyframes by following the steps you just learned.


