
Templates are worksheets that are already designed for you.

When you use a template, all you have to do is replace the information in the worksheet with your own. They help you save oodles of time and keep your worksheets consistent. In Excel 2013, you can even edit the templates, or create your own and then use them again and again.
Whenever you open a blank workbook in Excel, you are opening a template -- one in which the margins, font, and themes were already defined. This is the default template. It's not as fancy as some of the templates you see pictured, but it's still a template. You can edit this template in the same way you'd edit the fancier templates, then save it as a new template.
To create a new template, open a workbook (or create a workbook) that you want to use as a template.
Everything you see or add to the workbook will be part of the template.
When you have the workbook the way you want your template to be, click File, then Save As.
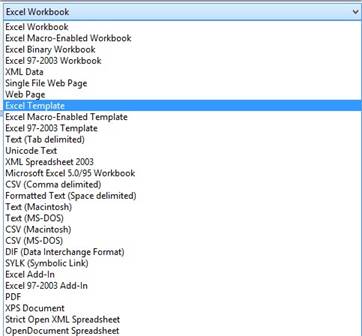
Select the location to save the workbook to, then choose to save the workbook as an Excel Template.
Now whenever you open the template, all you have to do is customize it for a new workbook, then save the new workbook.
Microsoft provides a number of templates to make your work easier. If you already have Excel 2013 open, you can view the templates by clicking the File tab, then going to New. You can then see the templates just as you did on the start screen.
As you can see, the blank workbook template appears first, followed by a tour of Excel 2013. After this, you can see all the templates.
Choose the template that you want to use by clicking on it.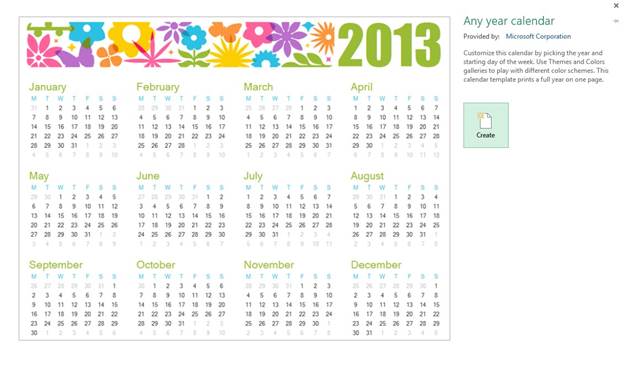
Click the Create button to create the template.
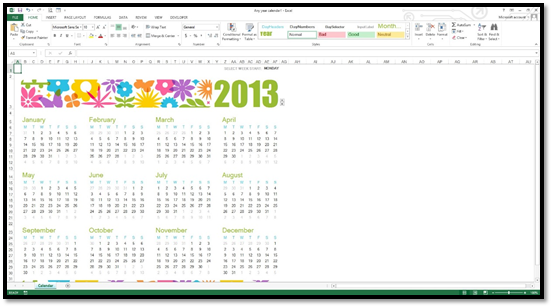
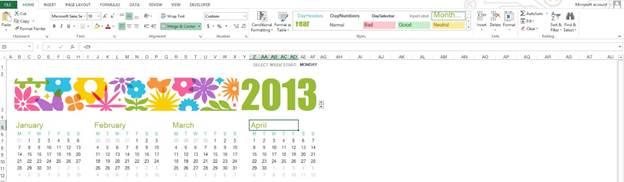
We've chosen the Any Year Calendar template, and we clicked Create.
Excel loads the template for you.
Search for a Template
Excel 2013 gives you a few ways to search for a template you want. At the top of the screen (File>New), you'll see this:

You can type in the kind of template you want. Let's say we want a calendar.
Type in calendar.
Excel then searches its online database for a calendar template, then shows you the results:

To the right, you'll see the category pane where you can search for a calendar template by category. Simply click on a category to see its calendars.
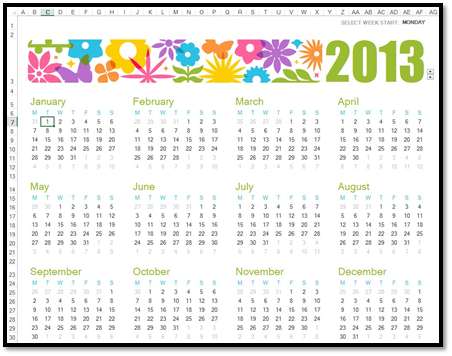
Let's go back to our Calendar template that we showed earlier:
Once you've opened a template, you can now make changes to it. You can change the font size, font color, etc. if you want, and you can also customize the data.
To edit the data, click on a cell. It then selects the cell, as shown below.
Now simply type the data you want.
We can also change the style of the template.
Notice below that we've clicked on the cell that contains the month of April. While the cell is selected, you can also look in the Styles gallery to see the style applied to it.
You can modify the style to change the formatting.
Click on any image in a template, and you'll see a bounding box appear around it:
You can then cut or copy the image.
If you want to change the look and feel of the tables used in the template, you can do that by selecting a table in the template, then using the Format as Table button.
Adding Protection to Worksheets
Add protection to worksheets so that they can't be edited by other people. You can lock cells or an entire worksheet.
To protect a worksheet, go to the Review tab, then click Protect Sheet in the Changes group.
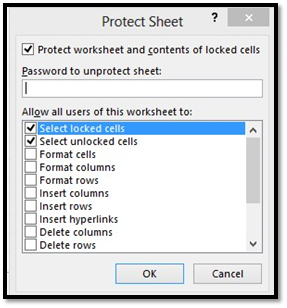
You can add a password that someone has to enter to be able to make changes.
In the Allow All Users of This Worksheet To section, specify what other users CAN do to the worksheet.
Click OK.
You can also add protection to entire workbooks.
Go the Review tab, then click Protect Workbook in the Changes group.
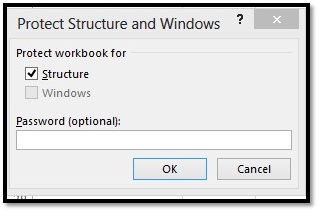
Again, you can add a password.
You can protect the workbook for structure or windows. Protecting it for windows prevents anyone from changing the size and position of the windows when the workbook is opened. Protecting it for structure prevents anyone from viewing worksheets that you've hidden; moving, deleting, hiding, or changing the names of worksheets; and inserting new worksheets or charts, moving or copying worksheets.
Let's say that you've created a new workbook and wish to save it to your computer to use again later. You can do this quickly and easily in MS Excel 2013. Click File, then choose either Save or Save As on the left.
-
Clicking Save will enable you to save the file under its current name, and keep it saved at its current location. Keep in mind that if this is a new workbook, it will save the file by the default name of Book1. When you click Save, if another file of the same name exists, MS Excel will prompt you to either enter a new file name, or to replace the existing copy with the new version you are currently saving. If you want to save the file to a new location, you must choose Save As.
-
Clicking Save As gives you a lot more options to saving your work. First of all, when you click Save As, you must specify a file name. You must also specify the format that you want to save the file in.
Click File, then choose Save As on the left.
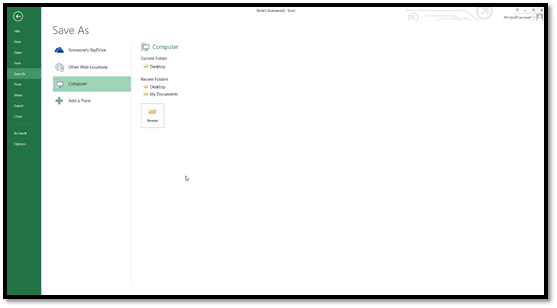
Now you can choose where you want to save it. You can save it to someone's SkyDrive (on the cloud) if you have this feature configured, other web locations, your computer, or you can add a place to save it.
Let's click on Computer.
Choose the location on your computer where you want to save the file. You can also click Browse to find a location. We're going to choose Desktop.
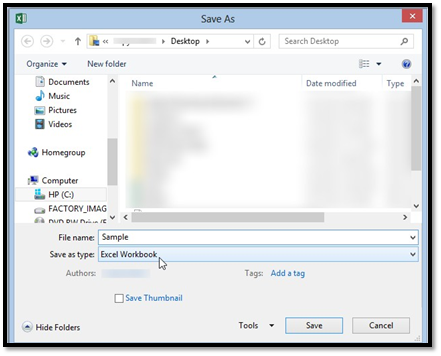
Enter a name for the file, choose the format you want to save it in, then click Save.
You can also save a workbook by clicking the picture of the floppy disk that is located to the left of the Quick Access button. However, this will save the file under the current name. You will not be able to name the file or select the format. It's a good idea to click this button every so often while working in a workbook to save it in case of a power outage, computer freeze, or anything else that may cause you to lose your work.
Warning: Do NOT close MS Excel without saving your workbook. You MUST save your workbook using one of the methods listed above or your work will be lost forever.
You can easily share workbooks without having to send them via email as large attachments. To be able to share your workbooks with others for review or editing, click the File tab, then click Share.

Now, choose how you would like to share the workbook.
Invite People is cloud-based sharing. First, save your workbook to your SkyDrive, then invite the people who you want to be able to view it.
Email allows you to send the file by email using your default email program.
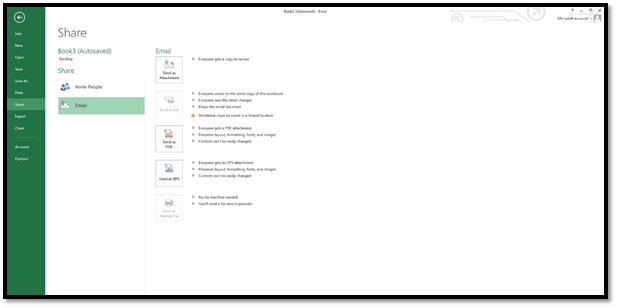
You can choose to send it as an attachment, send it as a PDF, as an XPS – or even as a fax.
If you want to save your workbook to a shared location, such as a company server, you can also send a link to the workbook by choosing Send a Link (above).
Excel 2013 gives you the ability to download apps from the Office store that you can use in Excel. These apps include a thesaurus and encyclopedias.
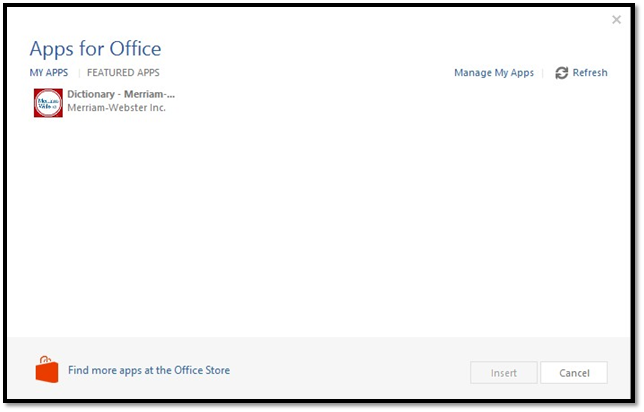
To download apps, go to the Insert tab, then click the Apps for Office button. 
In the last lesson, we learned to install the dictionary app, but don't insert it yet.
Click See All.
Next, click Find More Apps at the Office Store to download more apps.
Scroll down the page to see the apps you can download. Some are free. Some you will have to buy.
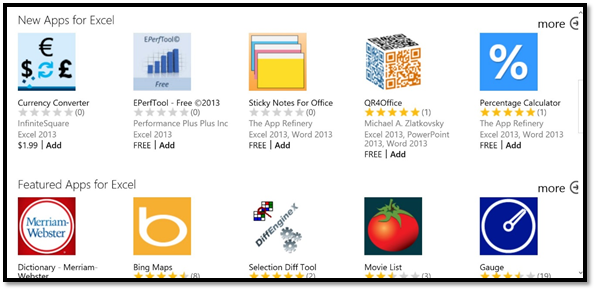
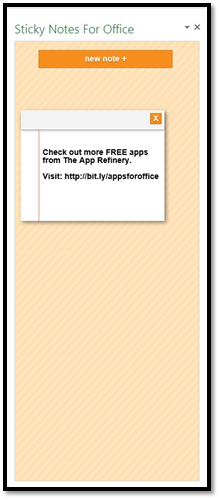
We're going to download Sticky Notes for Office.
Click Add, then confirm you'd like to add the app by clicking Add again, then click Continue.
Go back to Excel and click the Apps for Office button again.
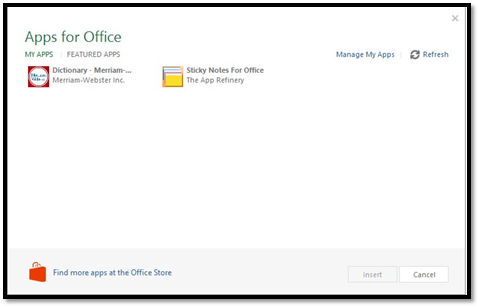
Select the app you just downloaded and click Insert.
It opens up in the right pane:
It's also now listed under Apps for Office.


