
Any Excel worksheet that you create can easily become overwhelming because there's so much information contained in it. Here are a few tools to help you manage it all.
Using Zoom
As your worksheet grows larger, viewing the entire worksheet as a whole can become hard to do. It can also become difficult to view just one tiny part. This is where the Zoom feature in Excel comes in handy. You can zoom in on a certain area or even a cell.
There are a few ways to use Zoom in Excel. The first is located at the bottom right side of your screen:
You can use the slider to zoom in and out on a worksheet. You can also click on the magnification percentage and enter a new percentage.

Select a new magnification percentage or a custom percentage:
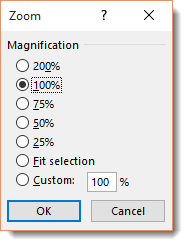
Click OK.
Zoom on the Ribbon
You can also go to the Ribbon and the View tab to zoom in or out on a worksheet.
Click on the View tab, then go to the Zoom group.
Click the Zoom button.
When you do this, you'll see this dialogue box:
Select your magnification, then click OK.
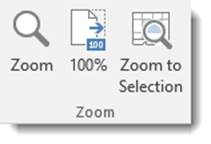
To zoom, you can also click the 100% button in the Zoom group. If you click the 100% button, Excel will show your spreadsheet with 100% magnification.
You can also click the Zoom to Selection button. To use the Zoom to Selection button, first select a cell or an area in your worksheet that you want to zoom in on. Then click the Zoom to Selection button.
Excel then zooms in on the selected cell.
Views
You can also take advantage of Excel's different worksheet views to view your data. The views are located to the left of Zoom at the bottom right hand side of your window.

Let's learn about the different views.
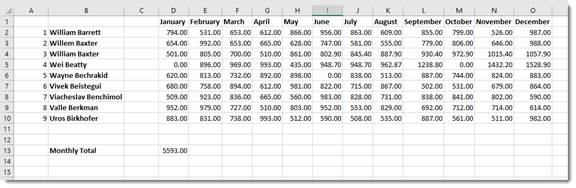
 Normal view. This is how we are viewing are spreadsheet right now.
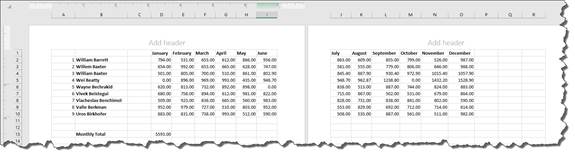
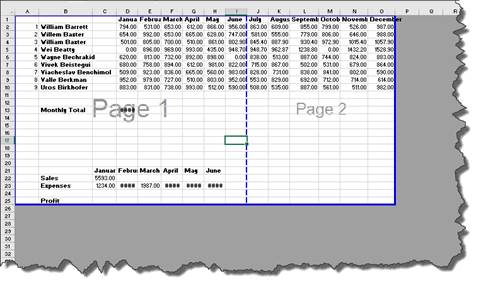
 Page Layout view lets you see where pages begin and end. You can also see your headers and footers.
 Page Break view lets you see where pages break.
If you're getting ready to print pages or want to see how the layout looks, using these different views can help.
Working with Multiple Worksheets
It's possible that you might create a workbook that contains dozens of worksheets. Let's say, for example, that you create a workbook that contains expense reports for employees. Each employee might have their own worksheet in the workbook. If you have two dozen employees, then you have a lot of worksheets to keep track of and maintain. That in itself may not be a big deal, but finding the worksheet when you need it can get tricky.
For that reason, you can have dozens of worksheets within a workbook, but you can also create workbooks for individual worksheets. That way, the data is easy accessible when you need it.
Navigating Between Worksheets
Again, if you have a lot of worksheets, navigating between them can get tricky. Plus, not all the sheets show at the bottom left hand side of your page.
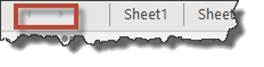
To easily navigate between sheets, right click the tab scroll to the left of your worksheets:
When you right click, you'll see the Activate dialogue box.
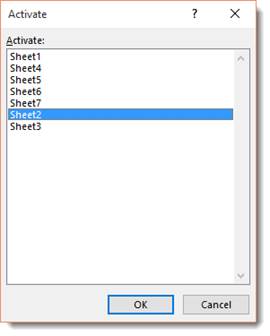
Choose the worksheet you want to activate, then click OK.
Opening Windows for Worksheets
By default, all worksheets appear in the same window. The active worksheet appears on the screen while the rest of the worksheets appear as tabs. However, you can display any worksheet in a new window to make it easier to compare data side-by-side with another worksheet in the same workbook. In other words, you can have more than one worksheet displayed at a time.
To do this, select the worksheet you want to view in a new window.
Click the New Window button under the View tab.

Arrange Windows
When you have multiple versions of one workbook open in several windows � each displaying different worksheets, you want to be able to arrange the window so you can view them all at once.
Click the Arrange All button.

You'll then see this dialogue box:
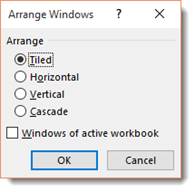
Choose an arrange option.
-
Tiled will make it so all the windows fit side by side on the screen.
-
Horizontal will make it so the worksheets are placed one above the other.
-
Vertical will place them next to each other.
-
Cascade will arrange them so they overlap with only their title bars showing.
Put a check beside Windows of Active Workbook to only have windows of the currently active workbook arranged.
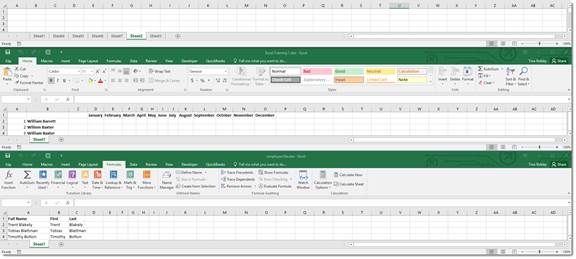
We chose horizontal:
Comparing Worksheets Side by Side
Earlier in this lesson, we learned how to open two worksheets from the same workbook in different windows so that we could compare them side by side. You can also compare two worksheets from two different workbooks side by side.
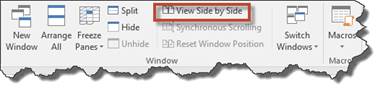
To compare two worksheets two different workbooks side by side, click the View Side by Side in the Window group under the View tab.
Moving Worksheets to Other Workbooks
You can also move or copy one worksheet from one workbook to another workbook.
To do this, open the workbook with the worksheet you want to move. Also open the workbook that you want to use to add the worksheet.
Now, go to the workbook with the worksheet that you want to move. Click the worksheet so it's active.
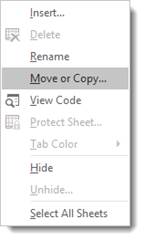
Right click on the sheet tab of the worksheet you want to move. Select Move or Copy from the menu.
In the dialogue box, select the name of workbook that you want to move the worksheet to. At this point, you can also select new book to create a new workbook.
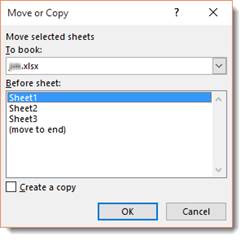
Then select where you want to place it in the other workbook.
Click OK when you're finished.


