Create Mail Merge
The first thing you need to do before you begin a mail merge document is acquire a recipient database. You may already have this if you keep all of your contacts in Outlook or some other email client. You can also create your own in a database program like Excel.
Mail Merge may seem like a complicated process to set up, but Publisher provides a wizard to help us do so as painlessly as possible. Let's launch the wizard and we'll walk you through the steps.
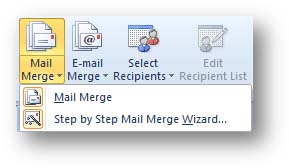
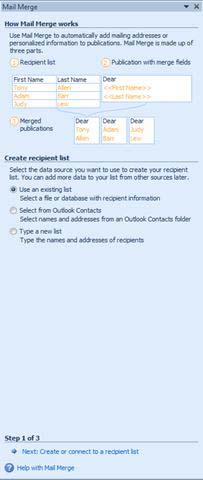
At the top of this pane, Publisher gives us a quick overview of how Mail Merge works. It tells you that the first step is to create or acquire a recipient list, which we already discussed. The second step is to design your document with mail merge fields, and the third is to create a merged publication. We're going to walk you through each of these steps. We'll start with creating or choosing a recipient list.
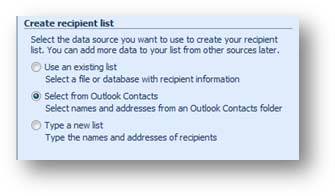
We can:
- Use an existing list. These are usually created in some kind of database program like Excel.
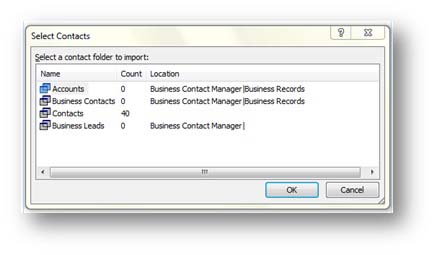
- Use the names and addresses in an Outlook Contacts folder.
- Or Create a new list.
Clicking Use an existing list, opens up a window where you can navigate to the location on your computer where the list is stored.
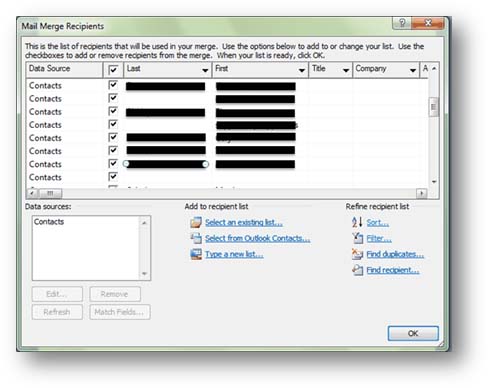
Here we can review the recipient list, and choose the ones we'd like to include. Unchecking a box by a contact name excludes that contact from the list. Click OK when finished.
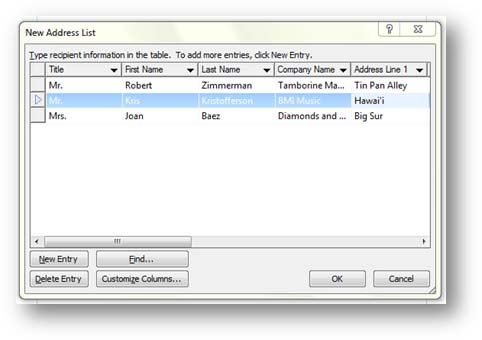
Here we can create and edit contact information. To add a new entry, click the New Entry button. You can even customize column names that will be available when we create our document. When you are finished adding names, click OK.
Now that we've created a recipient list, we're ready to move on to the next step of the wizard. Click Next: Prepare your publication.
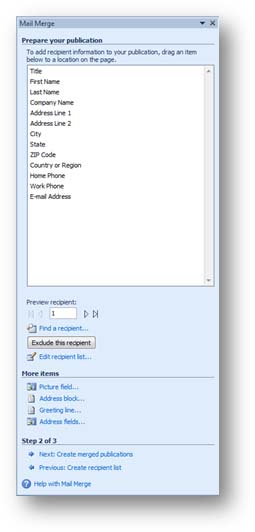
You can easily configure and add commonly used functions such as address blocks and greeting lines. Let's take a look at that process.
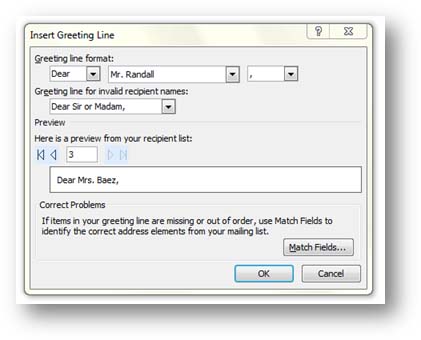
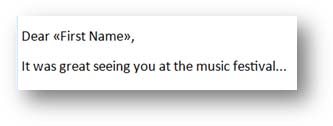
Here you can choose a greeting, a greeting line format, and select the greeting line for "invalid" recipient names. Invalid recipient names might be those contacts for which a first or last name wasn't included in the list. You can also click through your contacts to preview them. In the example shown, we're looking at a preview for contact 3. You can use the Match Fields button to choose the correct field of your recipient database to show.
Click OK when finished.
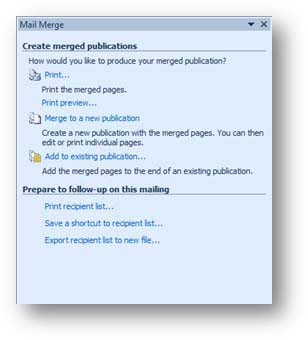
Here we can choose to print the documents, preview them before printing, merge them into a new publication, and more.
To preview the documents to be printed, and perhaps double-check that all of our recipients' information was correctly inserted into our document, click the Print preview button.


You can choose from a variety of label templates or you can choose your own. The page size of most labels can be found, including the kind made by Avery, Formtec, and 3M/Post-it. Be sure to select the size that matches your labels. If you don't, the label will not print correctly.
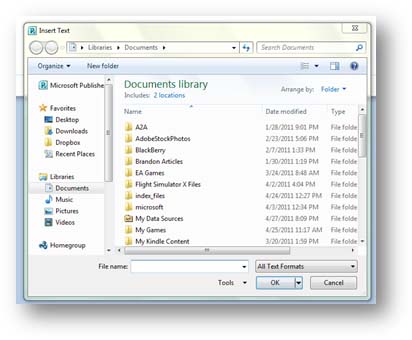
Select the text file, then click OK.
To prevent this issue, Publisher gives you the opportunity to embed the fonts you used in a document, directly into the document file. This means that no matter what computer you open the document on, those fonts will be available.
There are a few caveats to this. The first is that you can only embed TrueType fonts. The second is that you can only embed the fonts for which this is allowed by its licensing agreement.
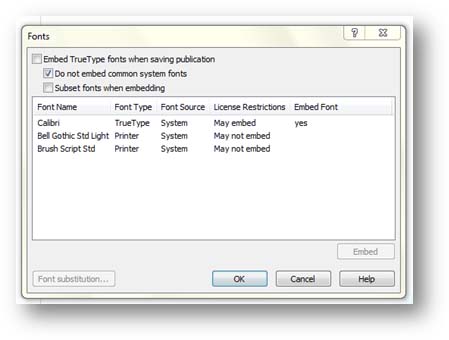
This opens a new window that contains a list of all the fonts used in the current document. In the example below, there are three fonts listed. Check the Embed TrueType fonts when saving publication to embed these fonts. You can also choose whether or not to embed common system fonts and whether you want to include subset fonts, such as italics or bold.
Now look at the License Restrictions column. This tells us that only one of the fonts we used can be embedded into our document.
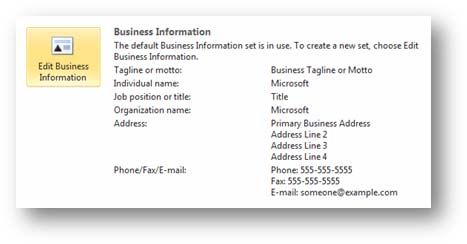
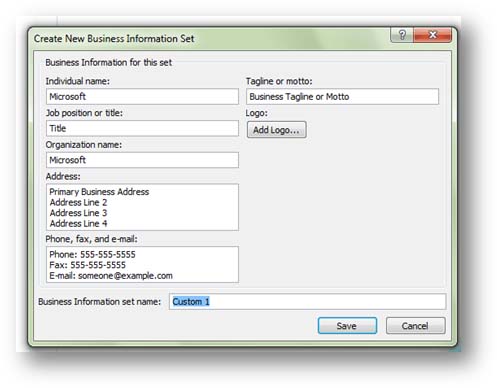
To edit the information, simply click into any field and begin typing. You can even add a logo. Clicking the Add Logo button allows you to navigate to an image file on your computer. Click Save when finished.
Publishing
In the past, "publishing" meant delivering your document to a production company and having it printed and bound. The world has changed a lot since then. We have infinitely more options.
With fast, high resolution printers, "publishing" a document can be as easy as sending it to your printer, and binding it by hand. Many office supply stores sell saddle-staplers and comb binders. Saddle staplers allow you to fold pages and staple them in the middle, just like a magazine. Comb binders don't require any folding. The comb-binding machine punches a series of oblong holes along one edge of the paper and then rolls a plastic comb binder into it to hold the pages together. Many companies use these methods to print manuals and presentations that are going to be used within the company.
The term "publishing" has also expanded to include electronic methods of delivery. For instance, an email flyer, web advertisements, and e-books.
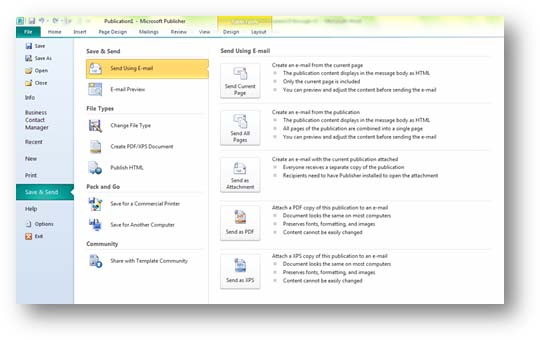
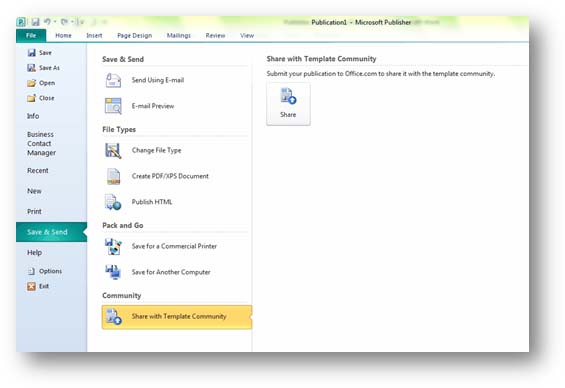
Take another look at the Save & Send example above. Here we can see what options are available to us when sending a document through email. We can decide to send just the currently selected page, all pages, the entire document as an attachment, the entire document as a PDF, or as an XPS document.
PDF and XPS formats are basically electronic representations of your physical document. They were designed to exactly replicate it across different computer platforms. When created correctly, the document that you send to your printer is identical to the document your boss views on his computer.
For our example, we are going to select the Send All Pages button.
Publisher may need a few moments to convert the file into an email, especially if it's a long, complicated document.
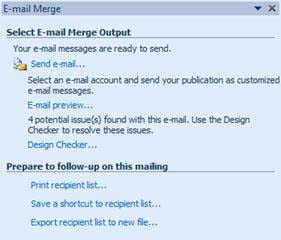
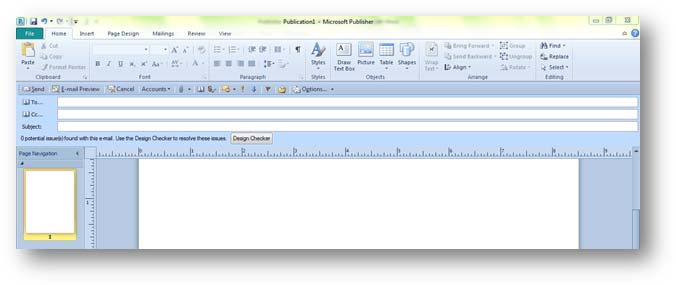
As you can see in this example, an Outlook-like email message opens up with your document as the body of the email. You can enter an address into the To field, insert a subject, and then click send. If you have multiple email accounts, you can choose which account to send the message from with the Accounts button.
It's that simple. The recipient will receive a message with the pages of your document in the body of the message.
If you click the Send as Attachment button, Publisher will tell you that the document must save and close first before it can continue.
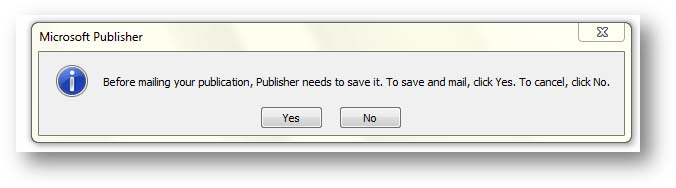
Click Yes to continue. If this is the first time the document has been saved, the Save As dialogue window will open. Specify a title for the file, then click OK.
Publisher will then automatically open your email client with the document attached to it. Simply enter an address, enter a subject and a personal note, and then send it just like you would any other email message.
Clicking the Send as PDF and the Send as XPS buttons automatically opens and attaches the file to a new email.
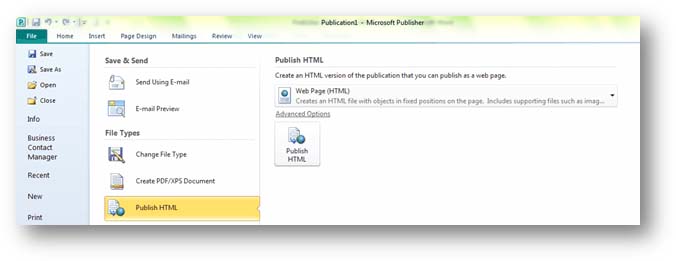
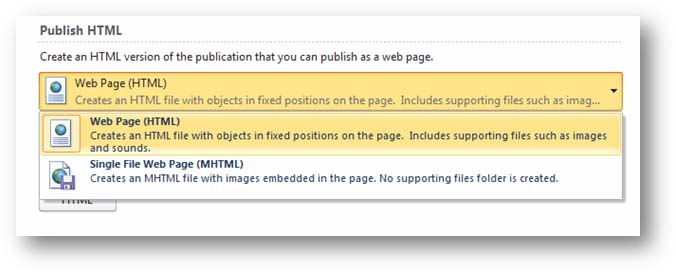
Publisher can handle HTML content in one of two ways. As Web Page (HTML), which is pretty much how most HTML documents are published to the web. This method creates the basic HTML file with location information for all of the objects on the page, but the objects themselves are placed into a supporting file folder.
The second method creates a Single File Web Page (MHTML) in which all of the objects and images are embedded on the page and no supporting file folder is created.
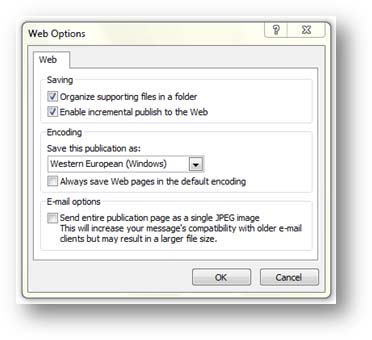
You can choose how you want Publisher to save the file, the Encoding values, and whether to email the entire publication as a single JPEG image. Click OK when finished.

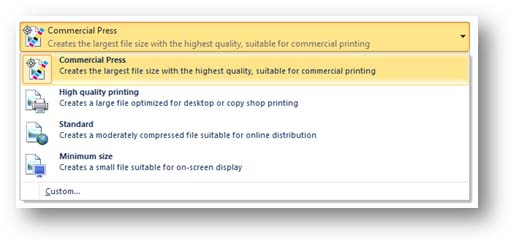
As you can see, Publisher gives a brief explanation for each option, so there's no point repeating them here.
If you are in doubt about which option to choose, check with your commercial printer.
The Custom button allows you to tweak the settings and get the best compromise between file size and document quality.
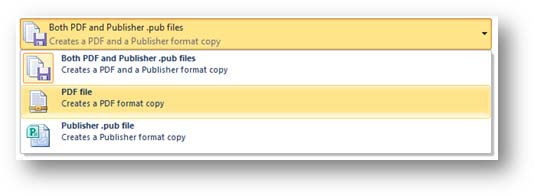
Check with your commercial printer to see which files to send. Offset printing plates are typically made with PDF but the printer may want the Publisher files (.pub) to make small color corrections or something of that nature.
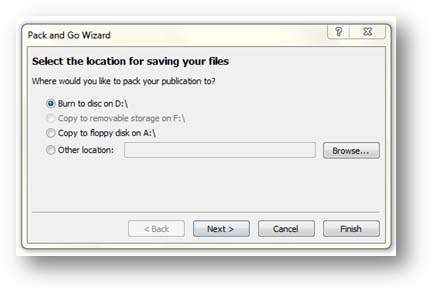
You can decide to burn the files to disc (a blank disc will need to be inserted into the disc drive), a removable storage device (such as a flash-based thumb-drive), a floppy disk (do they even make these anymore?) or some other location on your computer. Select a location, then click Next.
Let's try it out and discuss the differences.
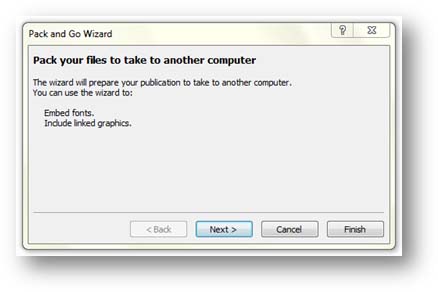
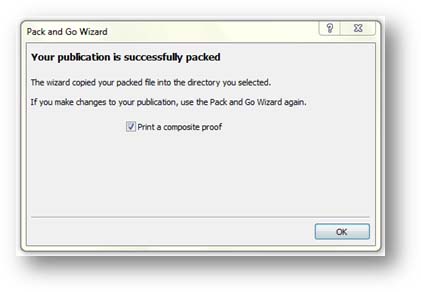
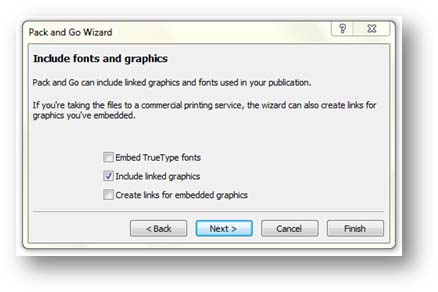
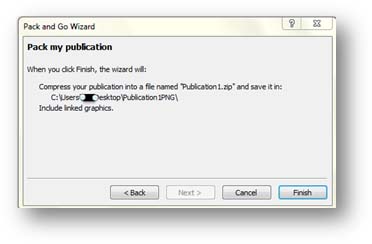
It basically tells you what the Wizard will do. Click Next.The next screen is identical to the one we saw when saving files for a commercial printer. Select a location, then click Next.
If you were not otherwise aware of it, Microsoft Office Live gives Office users access to a professionally created templates, as well as templates created by individual users.
Color models are used by commercial printers in an attempt to reproduce precisely on a piece of paper the colors you see on your computer monitor.
Before we continue, we need to clarify a few terms.
- RGB--stands for Red Green and Blue. These are the colors that your computer monitors (and most home printers) use to create every color and hue in the spectrum.
- CMYK--Stands for Cyan, Magenta, Yellow, and Key (Black.) This is also called "process" or "four color."
- Single Color--Uses one color ink. Images are reproduced in half tones.
- Spot Color--an additional color in the single-pass offset printing process. These colors are usually added if the usual four process (CMYK) colors don't adequately, and faithfully, reproduce a color. The colors typically added are orange and green.
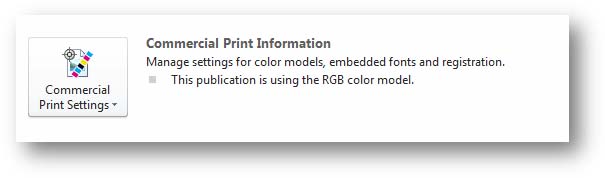
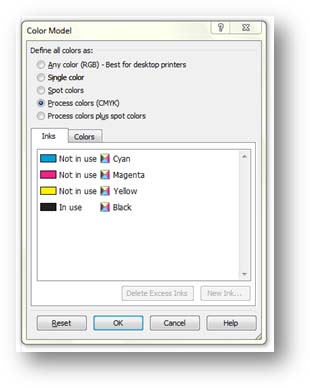
From here, you can define the color model. You can choose RGB, single color, process, spot, and process plus spot. You can even create new colors.
If your document is going to viewed primarily on the web, you will probably want to use RGB, but if you're going to use a commercial printer, CMYK might be a better option.