Insert and Format WordArt

Find the WordArt button on the Insert tab.  .
.
Catalog Merge
Instead of telling you what Catalog Merge is, we're going to show you how it works. Let's say you are a retailer with 24 high-quality hair care products and you want to create a catalog for them. You're going to want three items on each page because you need room for the price, pictures, and description. That comes to eight pages in all.
The easy way would be to compile your product list, then create a single template using the Catalog Merge tools. When you are finished, Publisher will automatically take all of the information in your product list, and insert it into your template, creating 8 individual pages, with 3 products on each page.
Let's see how it's done.
Create a document or open an existing one. If you are creating a new document from scratch, you will probably want to add a few extra pages for the cover and other interior pages. When you're ready to create your catalog, select the page you want the catalog to begin on, then click the Insert tab.
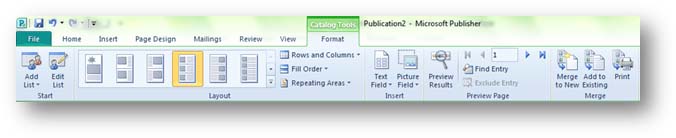
Go ahead and click the Catalog Pages button. This will open the Catalog Pages Format tab, as illustrated below. If this is the first time you've used catalog pages in the current document, most of the buttons will be greyed out and inactive. They will remain this way until you create or select a data list.
Creating a Data List
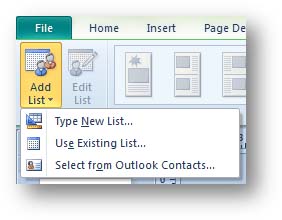
Here we have the option of creating a new list, using an existing one, or choosing a list from our Outlook Contacts. Since we're going to be making a catalog of shampoo products, we're obviously not going to use our Outlook Contacts.
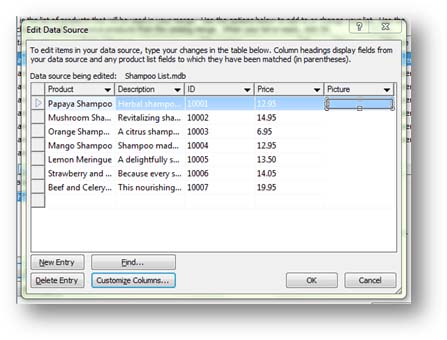
Here we have the opportunity to create our list from scratch. To add an item, click the New Entry button. This activates a new row. Click the first cell of the row, type in your information, then hit the Tab key to jump to the next cell, and so on
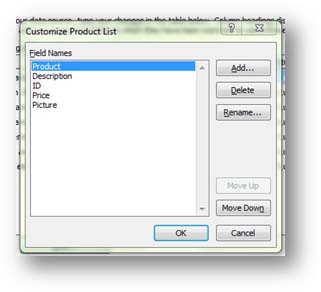
The buttons on this window are pretty much self-explanatory. You can rename an item by selecting it and clicking the rename button. You can add or delete items, or move them up or down in the list. Click OK when finished. This will return you to the previous window.
You may notice the field titled "Picture." Here you cannot use an actual image. Instead, you must use the address of the image. For instance, if the image is located on your computer, in your documents folder, the address of the image might be "C:"User"Your Name"Documents"Picture Name".
Click OK when finished adding all of your products. Publisher will then ask you where you want to save the list, and what you want to call it. Type in a name, select the location, and click OK.
Using an Existing Data List
Now let's go back and look at the Use Existing List button.
With this button you can use any data list you've already created, either with Publisher, or Access or Excel or any other compatible spreadsheet program. Clicking it will open a window asking you to locate the file on your computer.
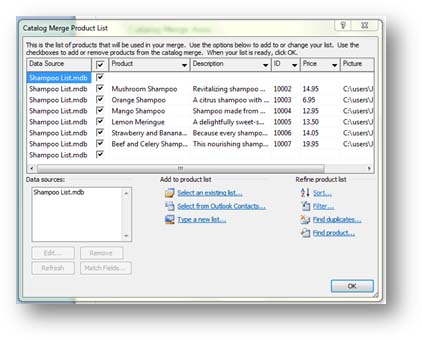
In this window, you have the opportunity to review the items in the list, as well as select which items you want to include in your catalog. In the example above, the items with a check mark indicate items that will be included. Uncheck the box on items you don't want to include.
Now look below at the Data sources box. This shows you what list you are using. Selecting it will make the Edit, Remove, and Refresh buttons active.
The Match Fields button allows you to match fields in your data list with fields available for your catalog merge. For instance, the data field in an Excel spreadsheet might simply be named "Field A". This button allows you to identify Field A as "Product", "Description" or any other customized field.
Once you've created your list or selected one, it is time to create your catalog pages. Click OK.
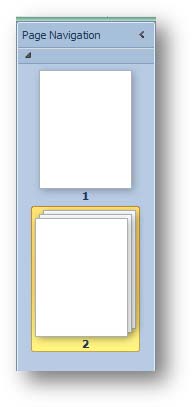
That group of pages labeled "2", represents your catalog. You can add individual pages before it or after it, and you can even move 2 around as a group, as if it were only a single page. You can also delete it just like any other individual page.
Creating a Catalog Page Template
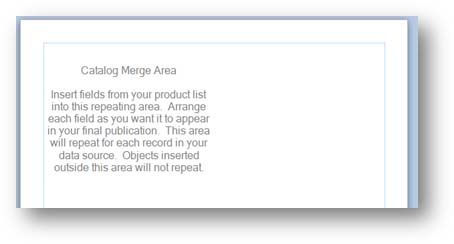
As we said at the beginning of this section, what you're going to do is create a template that Publisher will use as a guide for entering all of the information in your list.
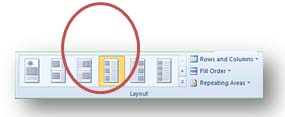
Publisher has ten predefined layouts for you to use. You can select any layout at any time, even after you've entered your merge fields, and Publisher will automatically make the adjustments.
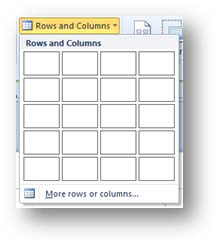
Adding rows and columns with this tool is just like inserting a new table. Just remember that each cell essentially represents each item in your list.
Now that we've selected a layout, we can enter our fields.
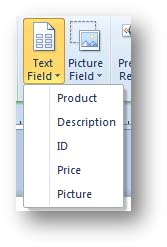
These fields will appear in your document as placeholder text. For instance, if we were to click on the Product field, it'd appear in our document as <<Product>>. This represents all of the information that was entered into the Product field of the list we created earlier.
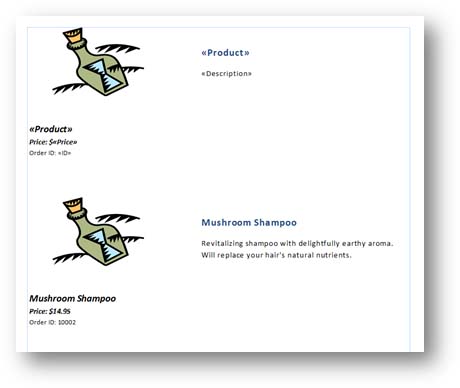
This is a screenshot of the actual page in Publisher. The section at the top represents the template. Note the placeholder text. The second section shows you what the catalog entry looks like when the placeholder text has been substituted with field entries. Publisher does this automatically.
You can use the text tools to change any of the attributes of the placeholders. For instance, if you increase the font size of the <<Product>> placeholder, the font size in each subsequent entry will also change automatically.
You can also add pictures and other objects. Just remember, anything you put in the merge field will show up in every other field.

From here, you can preview the results, locate any entry, and even exclude a selected entry from the catalog.
Merging the Catalog
It is now time to merge the catalog. This is the part of process that Publisher creates all of the individual pages it needs in order to display all of the items in your list.
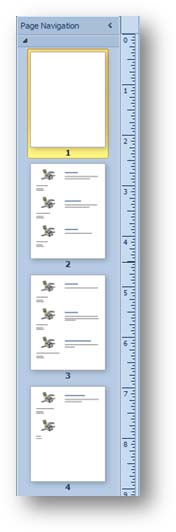
As you can see, three new pages were added to our document with all of the catalog entries on them.
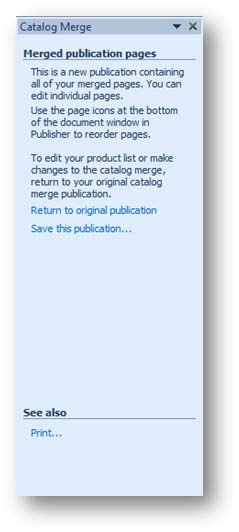
This is just Publisher letting you know that your catalog was created and that you can edit each page. You can also return to the original publication, or save the current one.
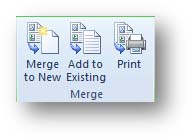
If you were to click the Add To Existing button, Publisher would give you the opportunity to locate the document on your computer and select it. It would then enter all of your catalog entries into that document, creating as many pages as necessary.
Correcting Text and Design Errors
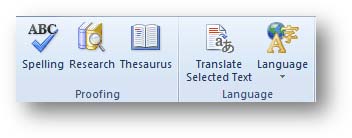

The process begins wherever the cursor is located. If the cursor is in the middle of a paragraph in the middle of a story, it will work its way to end of the story, then jump back to the beginning and eventually work its way back to where the cursor was originally located.
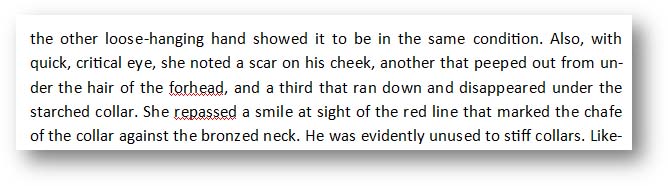
As the spell checker works its way through the document, it will pause on misspelled words. In the example above, the dictionary didn't recognize the word "centre" and stopped on it. This is, of course, European spelling, and if you are writing for a European audience, you can choose to Add it to the dictionary or choose to ignore it. You can use the Ignore All button to ignore every instance of the word "centre" in the story. (In a moment, I'll tell you how to choose another language.)
As you can see, Publisher tries to guess what you were getting at and automatically inserts what it thinks you were trying to say in the Change to box. If this is the wrong word, you can select a word from the list of suggestions by clicking on it, or you can manually type the actual word in the Change to box. To make the change, click the Change button. Use the Change All button to change every instance of the word in your document to the new word.
Click the Check all stories box to have spell checker go through every story in your document.
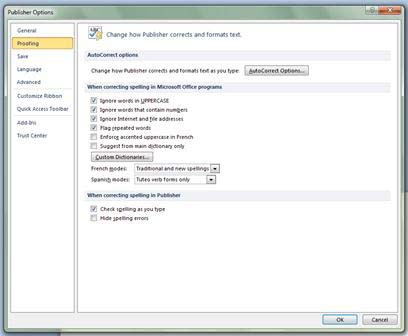
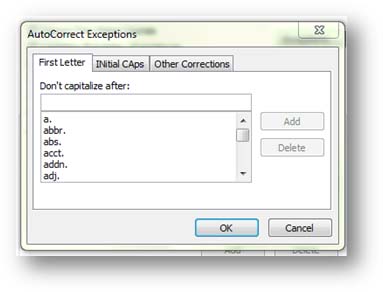
Here you can choose to ignore words in uppercase, or words that contain numbers, internet addresses, etc.
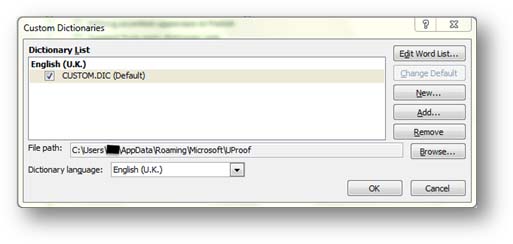
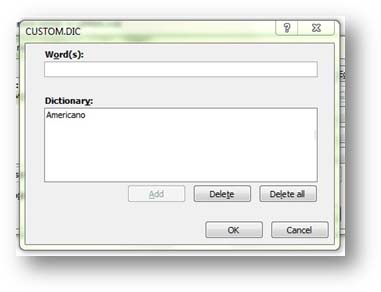
Choose a language in the Dictionary language drop down menu. Here you can create a new custom dictionary, or remove one.
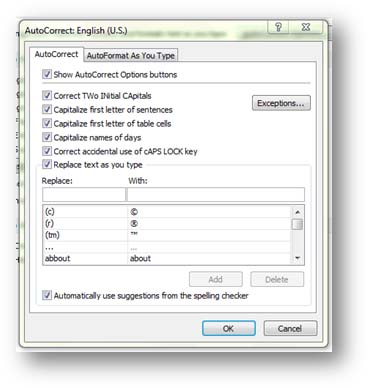
As you can see in the above illustration, Publisher will correct two initial capitals. This is actually a common error, especially for very fast touch-typists. They hold that shift key for a fraction of a second longer than they should. Publisher can also capitalize the first letter of sentences, as we said earlier, the first letter of table cells, names of days, etc.
Now look at the window near the bottom. Here is a list of keystrokes that Publisher will replace and what it will replace them with. For instance, (c) will be replaced with the copyright symbol �. This is also where you can create custom replacements.
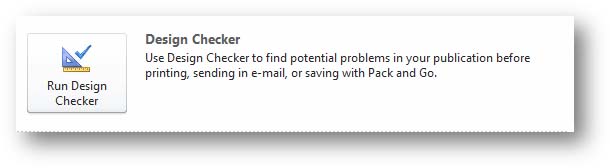
Instead, Design Checker points out potential errors that could mean your document won't print correctly.
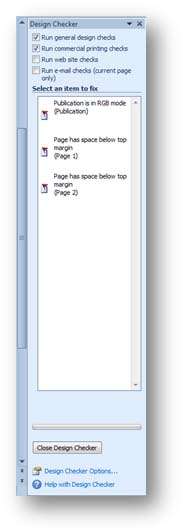
Here is a list of potential issues in our document. These are not necessarily bad things, or things that should be changed. You may, in fact, have had your reasons to do things the way you did. You do nothave to act on any of the potential errors--Publisher is just pointing them out to you.
Click on any item listed in the design checker pane to jump to the error's location in your document.
In the illustration above, it says that the publication is in RGB mode. But for now suffice it to say that RGB stands for Red Green and Blue. It is a mode for reproducing color. Commercial printers use CMYK, or Cyan, Magenta, Yellow, and Key (black), to reproduce colors correctly on the page, while most monitors and many home printers use RGB. Therefore, if you were going to send this document to a commercial printer, you'd definitely want to change the color mode to CMYK. These are the type of design issues that Design Checker alerts you to.
At the top of the Design Checker pane are boxes you can check to change the parameters. You can have Publisher make general design checks, commercial printing checks, website checks, or email checks.
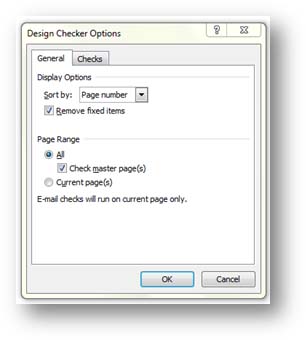
From within this window, you can sort the design issues by description, page number, or status (either fixed or unfixed). If you'd like to see only the uncorrected issued, check the Remove fixed items box. You can also choose to include or exclude master pages.
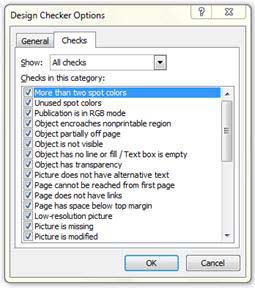
Here you choose which potential errors Publisher should look for. All items are checked by default, but you can exclude items by clicking on an item to uncheck it.