Adobe Captivate allows you to import images and graphics into the program for use on your slides. You can import several different image and graphic formats, including Photoshop documents (PSD), Bitmaps (BMP), Graphics Interchange Format (GIF), Joint Photographic Expert Group (JPG or JPEG), icons (ico), MetaFiles (WMF), Enhanced Metafiles (EMF), Portable Network Graphics (PNG), and PowerPoint templates (POT). All images that you import will be located in the Library in Adobe Captivate for use on any slide.
Inserting an Image onto a Slide
To insert an image onto a slide, select the slide on the Filmstrip.
Next, go to the Toolbar, and click the Media button. You will then see the Media dropdown menu.
![]()
Select Image from the dropdown menu (pictured above).
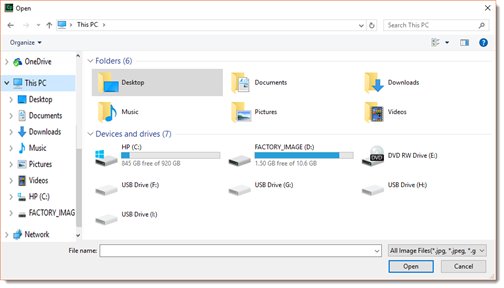
Select the image on your computer that you want to use, then click the Open button.
The image then appears on your slide.
Manually Resizing an Image
Notice that the image inserted onto the slide appears in the center of the slide. If you have other objects on the slide, it will appear in front of them. For that reason, you will most likely have to move and resize the image whenever you insert an image onto a slide.
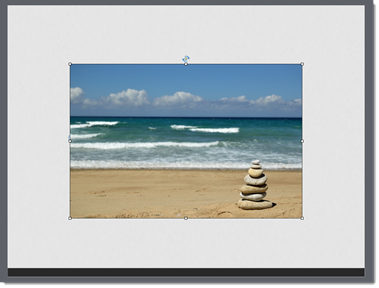
To resize an image, click on the image to select it. You will see a bounding box appear around the image with small white squares in the corners and on the side. These white squares are handles.
You can click and drag inward on any handle to reduce the image's size. Drag outward to increase the image's size.
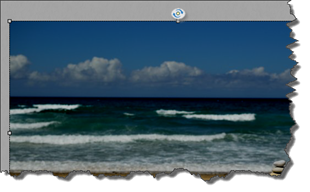
However, beware. Resizing an image using the handles can cause the image to become out of proportion, as pictured below.
Returning an Image to Its Original Size
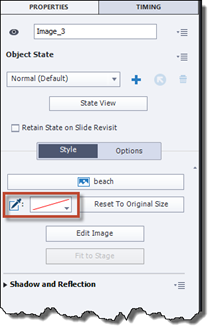
If you're not happy with the new size of an image, you can restore it to its original size by double clicking on the image to open the Properties Inspector.
Click the Reset to Original Size button, as pictured below.
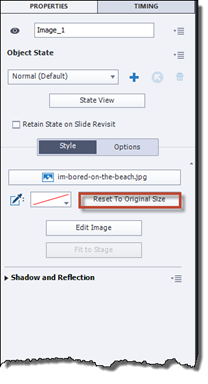
The image is restored to its original size.
Resizing and Image Using the Properties Inspector
In addition to resizing images manually, you can use the Properties Inspector to resize images – and also to constrain the proportions so the image isn't distorted.
To resize images using the Properties Inspector, double click the image on the slide to open the Properties Inspector.
Click on the Options tab.
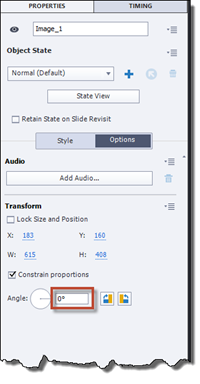
Go to the Transform section of the Properties Inspector.
Make sure the Constrain Proportions box is checked. This means if you adjust the width of the image, the height will be adjusted accordingly – and vice versa.
Then, you can click on either the value for the width (W) or height (H) to change the size of the image.
You can also change the position of the image on the side by changing the value for X – which represents the horizontal position of the image – or Y, which represents the vertical position of the image on the slide.
Rotating an Image
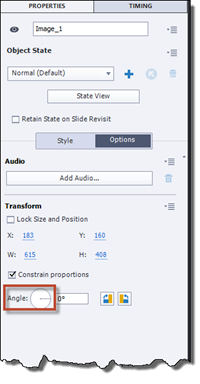
To rotate an image, you can use the handle that appears above the image, as highlighted below.
Hover your mouse until the cursor has a curved arrow below it, then move the mouse to the left or right to rotate the image.
You can also rotate the image by going to the Properties Inspector.
Go to Angle.
You can then drag the grey line inside the circle up or down to rotate the image.
You can also type in a value for the degree of rotation.
Stacking Images or Objects
Stacking images or objects is the process of moving one image or object behind or in front of another. For example, when we first inserted an image onto the slide, we discussed how the image might appear on top of other objects on the slide. We may want the image to appear behind the other objects – or behind just some of the objects. To fix this, we need to change the stack order.
To stack images or objects, first select the image or object that you want to move forward or backward.
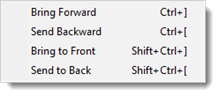
Next, go to Modify on the Menu Bar, then Arrange. Select an option.
-
Bring Forward brings the image or object forward. Let's say we want to move Image A forward. Image B, Image C, and Image D are in front of it – in that order. Selecting Bring Forward will move the image in front of Image B, but not C or D. If we want to move it in front of Image C, we would go to Modify>Arrange>Bring Forward again.
-
Send Backward sends the object backward – or below another object. If Image A appears in front of Image B, selecting Send Backward will place it behind Image B.
-
Bring to Front brings the image or object in front of all other images or objects on the slide.
-
Send to Back sends the image or object behind all other images or objects on the slide.
Cropping Images
When you crop an image, you cut out the outer edges of the image. To crop an image that appears on a slide in Adobe Captivate, first click on the image to select it.
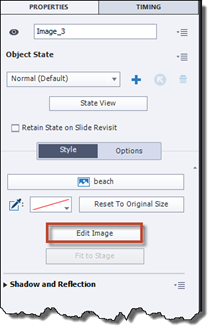
Go to the Properties Inspector, then click the Style tab.
![]()
Next, click the Edit Image button.
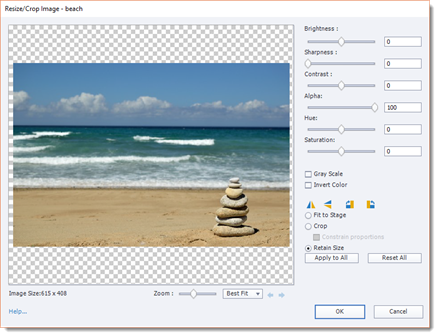
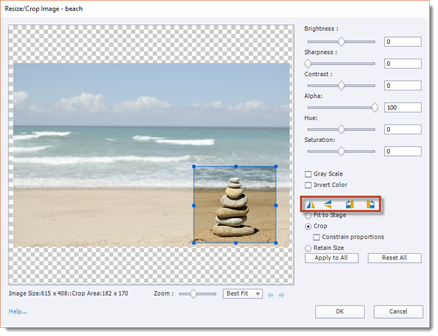
You will then see the Resize/Crop Image dialogue box, as pictured below.
Select Crop, as shown below.
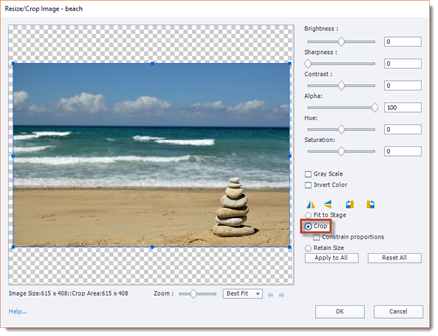
If you want to constrain proportions, but a check beside the box.
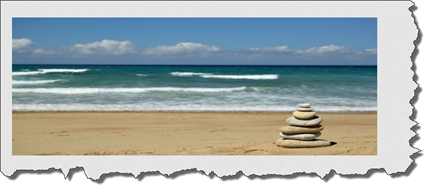
Drag the handles on the corners and sides of the image to crop the image. To use the handles, hover your mouse over a handle until you see a two-way arrow. You can then drag the handle inward to crop away edges of the image.
As you can see, we've cropped away the edges of our image.
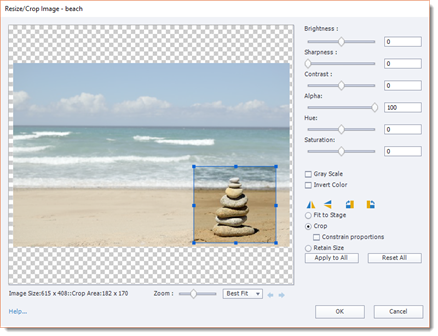
Click the OK button when you're finished.
NOTE: You can also use the dialogue box above to adjust the brightness, sharpness, contrast, alpha, hue, and saturation of the image. Just use the sliders or change the numerical values in the boxes to the right of the sliders.
Click the OK button when you're finished.
Resizing an Image to Fit a Slide
In the last section, we worked with the Resize/Crop Image dialogue box. Let's return to that dialogue box to learn how to resize an image to fit a slide.
To do this, simply select the Fit to Stage option, then click the OK button.
Flipping an Image
You can also use the Resize/Crop Image dialogue box to flip or rotate an image. To do this, you will use the following buttons in the dialogue box.
From left to right:
 Flip Image Horizontal flips the image on its horizontal axis.
 Flip Image Vertical flips the image from its vertical access.
 Rotate Right rotates the image to the right.
 Rotate Left rotates the image to the left.
Remove a Background Color from an Image
To remove a background color from an image, select the image on the slide, then go to the Properties Inspector.
Click the Style tab in the Properties Inspector.
Click the dropdown arrow beside the Make Selected Color Transparent icon, shown below.
Click on the Eyedropper tool, as pictured below.
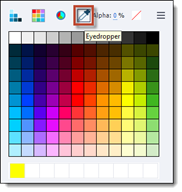
Click on the background color in the image that you want to remove.
Don't expect to receive perfect results with this tool. For best results, use an appropriate editing program, such as Adobe Photoshop, to edit images and other objects.
Inserting Characters
Adobe Captivate comes with characters that you can insert onto your slides. Characters are cut outs of people. They can be portraits or illustrations.
To view the characters that you can insert onto your slides, go to the Toolbar. Click the Media button to see the dropdown menu, then select Characters.
You will then see the Characters dialogue box.
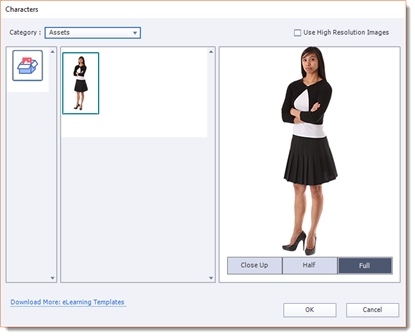
From the Category dropdown menu, select the type of characters you want to view. We are going to select Business.
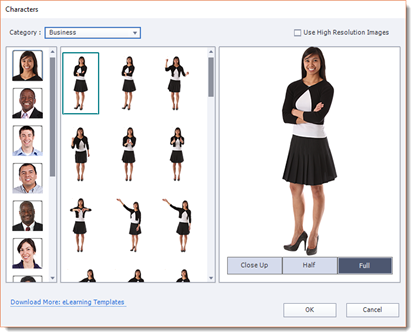
As you can see above, on the left hand side of the dialogue box, you see the different characters you can use. Simply click on a character to select that character.
To the right of the characters, you can see cutouts of that character in different poses.
Select a pose by clicking on it, and you'll see it in the far right of the dialogue box. You can then choose to show the full character, a close up of the character, or half of the character. Just click on your selection.
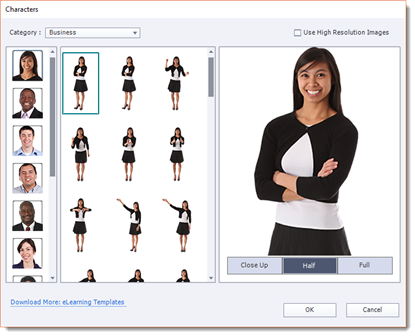
In the snapshot above, you see the full character. Pictured below is half:
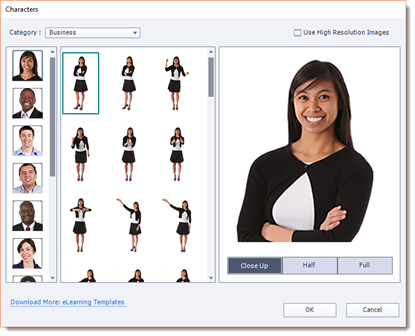
Below is a close up.
Once you've selected your character, click the OK button.
Inserting Assets
Along with characters that are built into Adobe Captivate, you can also download images, templates, characters, and more from the eLearning Brothers website. There are over 30,000 different assets you can use, and they are free with your Adobe Captivate license.
To gain access to these templates, click Assets on the Toolbar.
You will then see this dialogue box:
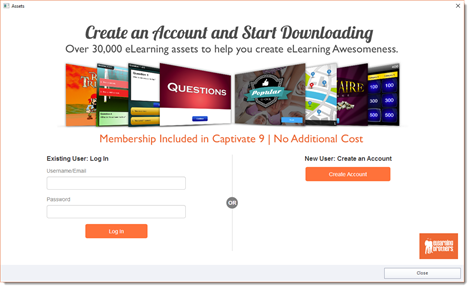
If you already have an eLearning Brothers account, you can sign in. If not, click the Create Account button and follow the instructions on the screen.
Inserting Smart Shapes
If you've enjoyed using Smart Shapes in other programs, such as PowerPoint, you'll be happy to know that you can also insert Smart Shapes onto your slides in Adobe Captivate.
To insert a smart shape, go to the Toolbar.
Click the Shapes button. You will then see the dropdown menu.
Select a shape from the dropdown menu, then draw it on your slide by clicking and dragging your mouse.
You can use the Properties Inspector to format the shape.
Creating an Image Slideshow
If you have a lot of images on your computer, you can use Adobe Captivate to create a slideshow.
To create a slideshow, go to File>New Project>Image Slideshow.
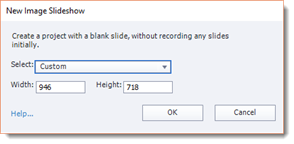
Choose a size for the slideshow, then click the OK button.
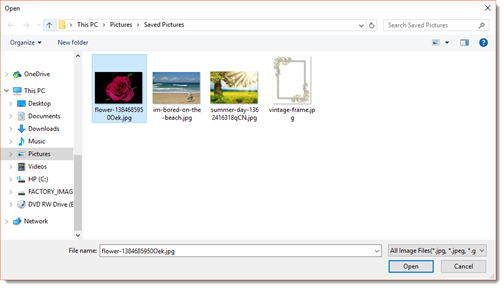
Select all the images you want to add to the slideshow by pressing the Control key as you select images in the Open dialogue box (shown above).
Click the Open button after you select the images.
Adobe Captivate creates the slideshow for you. Depending on how many images you have, this may take a few minutes.
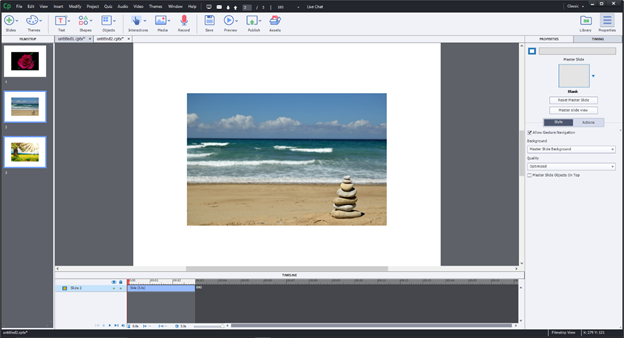
Use the Timing Inspector to adjust the duration for each slide. The Timing Inspector is found with the Property Inspector.
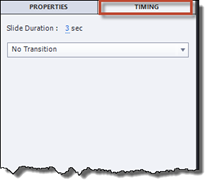
Simply click on the slide duration, and type in a new value.
Using the Library
All assets that you use in your project are stored in the Library. The library can store background images, images, animations, linked PowerPoint presentations, and more. The assets stored in the Library can be used in your project multiple times and on multiple slides.
We looked at the Library earlier in this course. Remember, the button for the Library is located above the Properties Inspector. Let's click that button now, and open the Library.
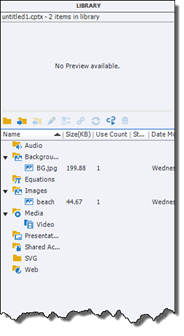
Let's look at some features of the Library.
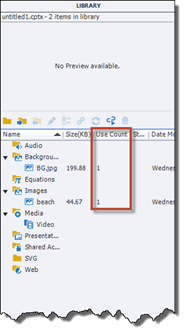
The Used Count column shows you how many times an asset has been used in your project.
As you can see, there are also columns for the file name, the size, status, and date modified.
If you click on an asset in the Library, it will show in the Preview section at the top of the Library Inspector.
![]()
Below the preview are tools and buttons to allow you to work with assets in the Library. Let's cover those from left to right.
 Open Library. This allows you to use resources from another Captivate project. Click the button, then select another Captivate project.
 Import allows you to import assets into the Library.
 Export allows you to export assets and save them to your computer.
![]() Edit allows you to edit the resource in the appropriate editing program that's installed on your computer. For example, if you have Adobe Photoshop installed, image assets would be opened in Adobe Photoshop when you selected the asset, then clicked the Edit button.
Edit allows you to edit the resource in the appropriate editing program that's installed on your computer. For example, if you have Adobe Photoshop installed, image assets would be opened in Adobe Photoshop when you selected the asset, then clicked the Edit button.
 Properties allows you to see the asset's properties in a dialogue box like the one pictured below.
![]()
 Usage shows the usage of the asset.
![]()
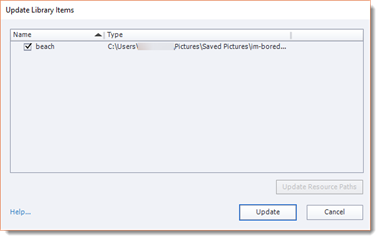
 Update allows you to update the asset with any changes. Press the Update button in the dialogue box pictured below to update the asset.
 Select Unused Items can help you to clean up your Library by selecting any items in the Library that are unused. You can then delete them if you want.
 Delete. To delete an asset, you can select the asset, then press this button.
If you delete an image or asset from a slide, it still appears in the Library. To delete an asset from the Library, you can click the Delete button. You can also right click on the asset, then select Delete.
To add an asset to a slide from the Library, simple drag the asset name in the Library to your slide in the work area. (The slide must be selected in the Filmstrip and showing in the work area.)
To rename an asset, right click on the asset, then select Rename from the context menu. The asset will appear as selected in the Library. Simply type the new name for the asset, then press Enter on your keyboard.