You can create just about any type of publication you can imagine using MS Publisher 2010. The templates make it easy because you don't have to have any design experience. The presentation you create can look like it came from a graphics designer. Best yet, it only takes you a little bit of time to do it.
You can also create several different types of publications that use the same options and information in Publisher 2010. We'll teach you how to do that too.
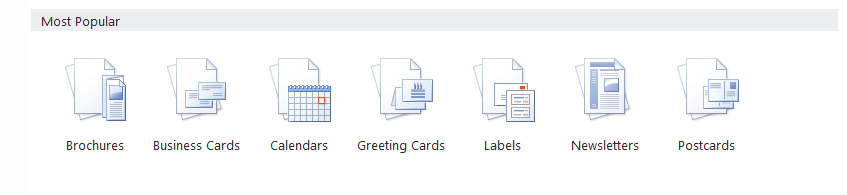
In this article, we're going to learn how to create a publication. We're going to use a template. Even though Publisher 2010 gives you the ability to create publications from a blank page, the reason that most people use this program, probably even including you, is for the templates and the ease of use.
To get started:
Click on the File tab in Publisher.
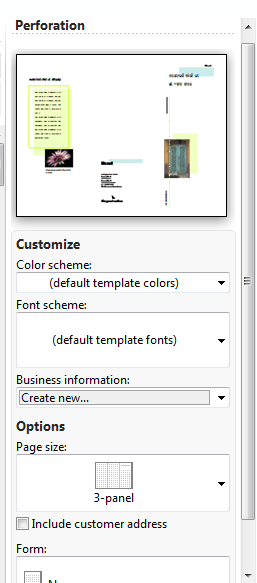
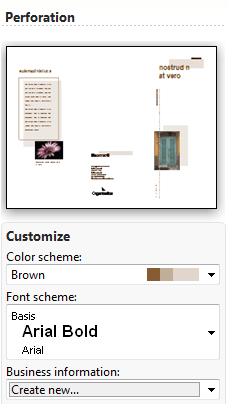
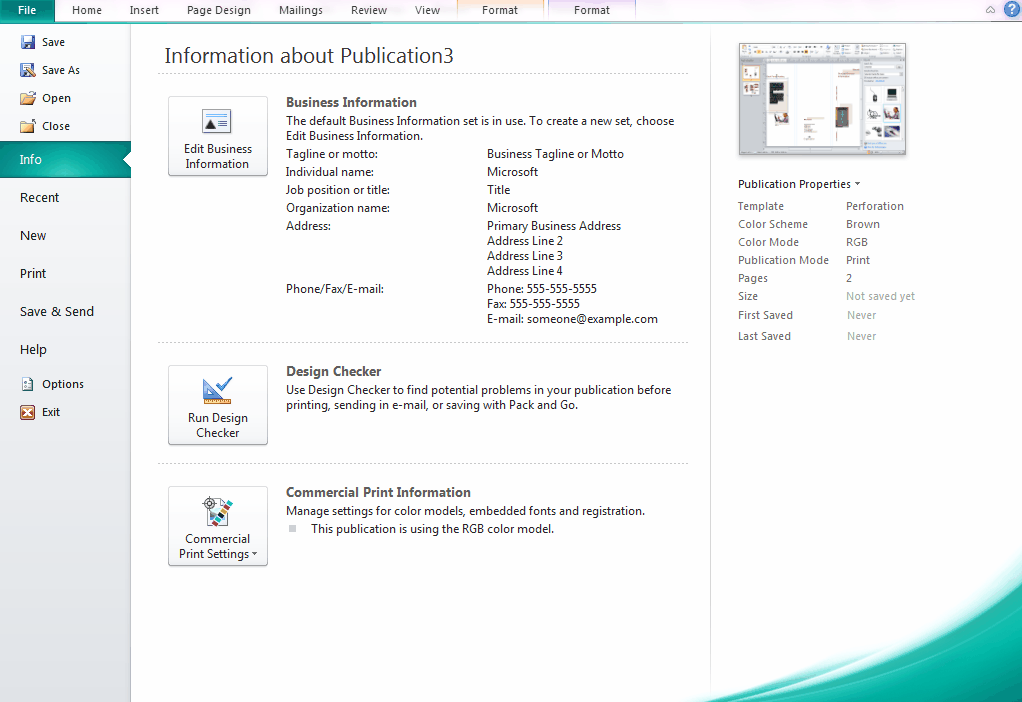
Now, below Font Scheme, you can add business information that will go in your brochure. If you already have business information entered, you'll be able to select it from the dropdown menu. Otherwise, select Create New.
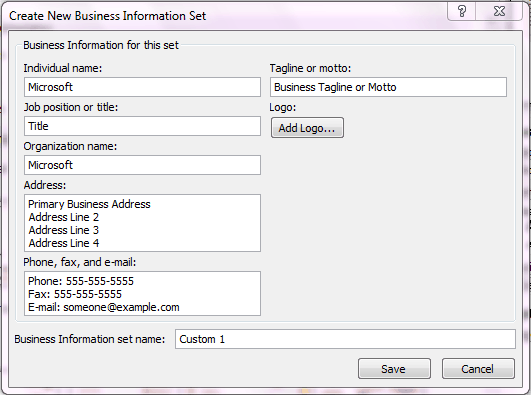
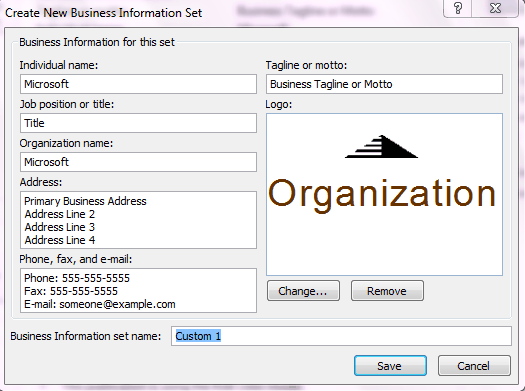
Enter in all the business information that you want to appear in your publication. In the Business Information Set Name, give this set of information a name to make inserting it into another publication quick and easy. Then, click Save.
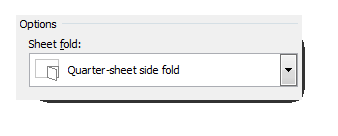
Now, we can set Options. Under Page Size, select if you want a 3-page or 4-page panel. By default, we have a three page. If you want a four page, it will divide the page into fours instead of threes. We're going to keep it as a three page for this example.
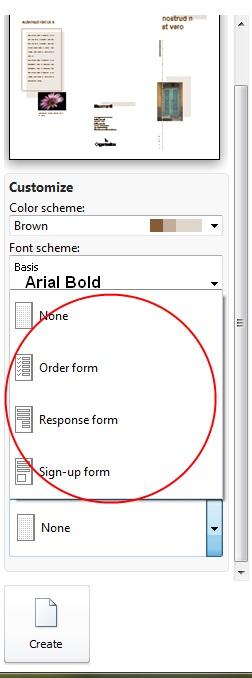
We're going to add an order form.
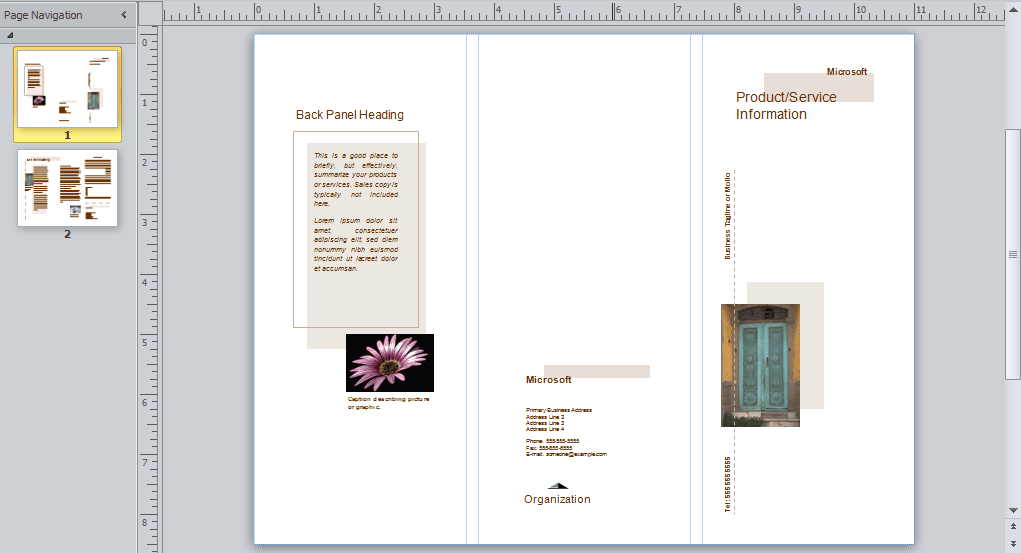
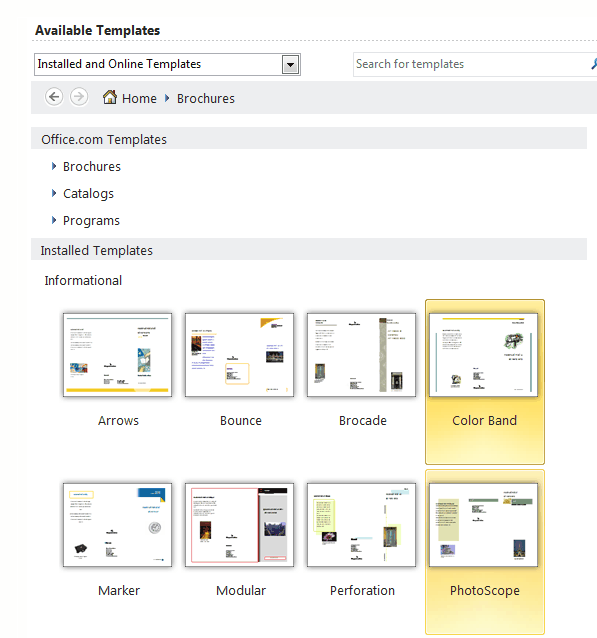
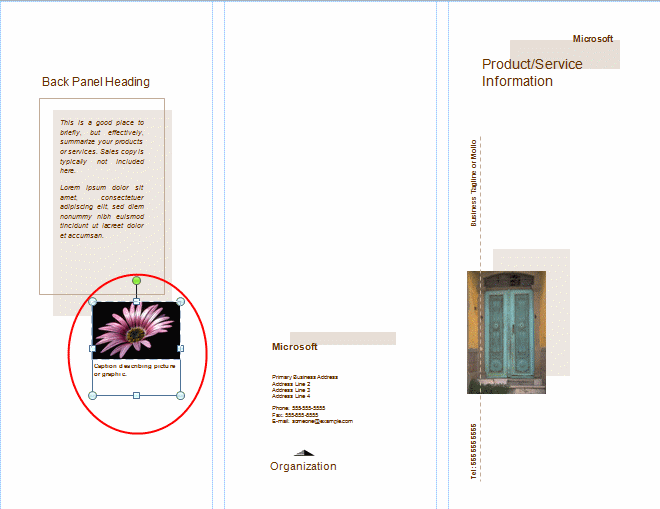
This is a brochure, so it has a front and back side. The two sides are shown as two separate pages in Page Navigation. The first page is displayed in the work area.
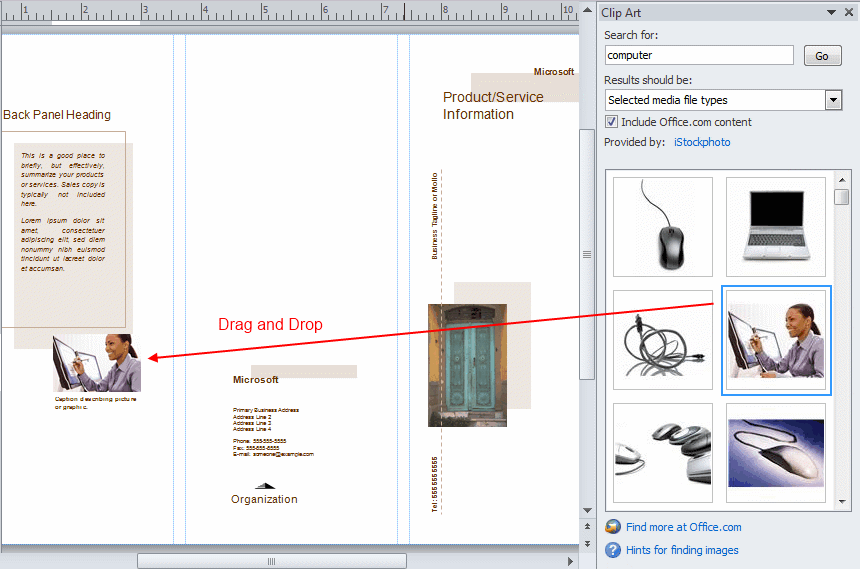
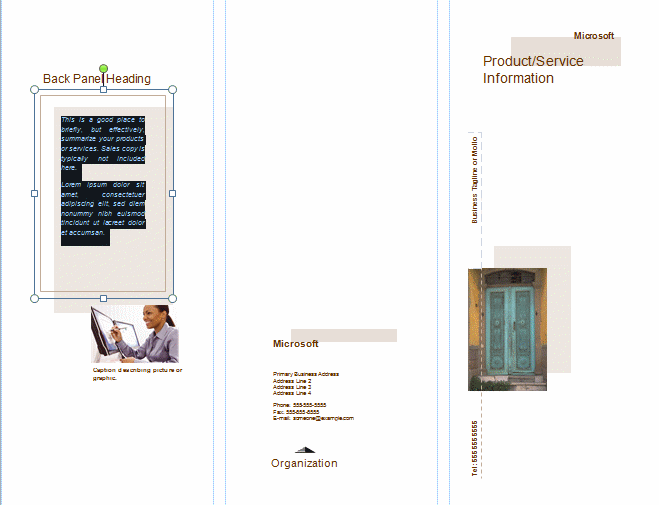
Replacing Placeholder Images in a Template Now, let's replace the images in the brochure with our own. We're going to use Microsoft Clipart to do this. However, make sure you read the copyright agreement when using Microsoft's clipart. It is not allowed to be used for commercial use. If you need images, you can search online for "public domain images" or buy rights to images through stock photography websites.
To replace the images on the page with your own:
-
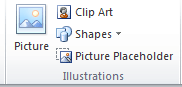
Click on Picture to add an image from your computer.
-
Click Clip Art to access Microsoft's Clip Art Gallery.
-
Click Shapes in insert a shape.
-
Or you can add a placeholder for an image you'll insert later. This is what you might use if you're working with a blank page and just want to design the layout.
Let's learn the basics of replacing image in a template.
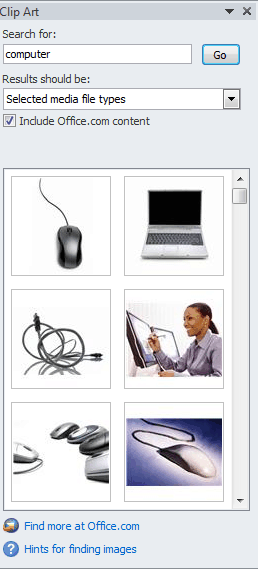
For now, let's click on Clip Art.
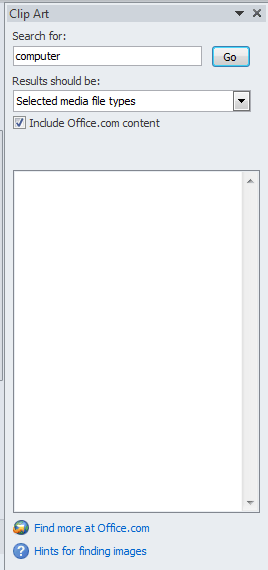
Enter a keyword in the Search For box. We're looking for pictures of computers.
In the Results Should Be box, you can put check marks by the type of media you want to find. For example, photographs and illustrations. You can also choose videos and audio, but those wouldn't be appropriate for a brochure.
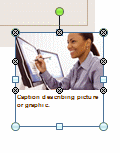

You can now see the hidden part of the image, but it's shaded.
Now move your mouse over the bottom right crop handle.
In Publisher 2010, all the text that you add to a publication is added inside of text boxes. If you've ever used MS Word before, you know that you can just start typing anywhere in a document. In Publisher, it's different. You type inside text boxes. It seems like a hassle, but it's really not because you can easily drag and drop the text boxes anywhere in a publication.
Now you can just start typing. If you want, you can change the font, font size, color, etc. by clicking on the Text Box Tools Format tab in the ribbon.

Here you can format text in all different types of ways. Be creative and play around with it. It can be a lot of fun.
Now that we've replaced pictures and text in our template, it's time to go to the Backstage View and enter business information (if you didn't do it earlier in this article).
You can click Save on the left to save the publication under the same name that it already has, if it's an existing file.
If it's a new file, click Save As.
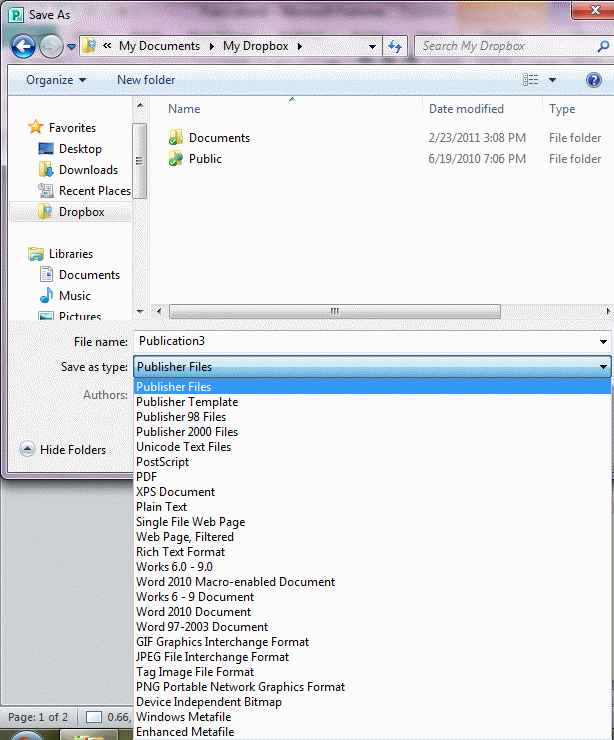
Enter a name for the publication, then choose a format to save it in. If you want to come back and work on it again later, you can save it as a Publisher file. That's the easiest way to pick up where you left off.
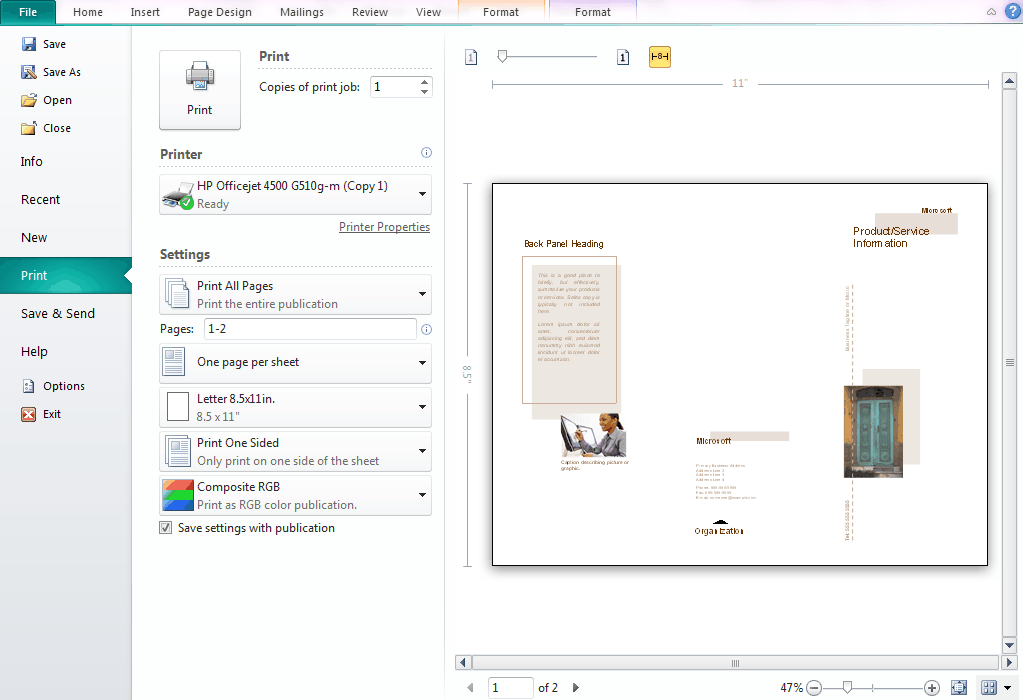
Select your printer in the Printer Section, then specify if you want to print all pages. If you just want to print one page, enter the page numbers in the Pages: text box.
You can also decide the size of paper to print on, and if you want to print on one side or two.
Next, you can decide if you want to print Composite RGB or Composite Grayscale. This has to do with the colors you use to print. Choose RGB to print in color or Grayscale to print in black and white.

If you want to preview a different page or zoom in to make the preview larger (or zoom out to make it smaller, you can do so at the bottom of the Print Preview:

Click  to fit a page to a sheet of paper.
Click  to view multiple sheets in the Print Preview window.
Above the preview of your publication, you'll see:

Use the slider to make the page numbers appear on the preview. The more you slide it to the left, the darker the numbers become.
Use to show or hide the ruler. We have the ruler displayed as you can see.
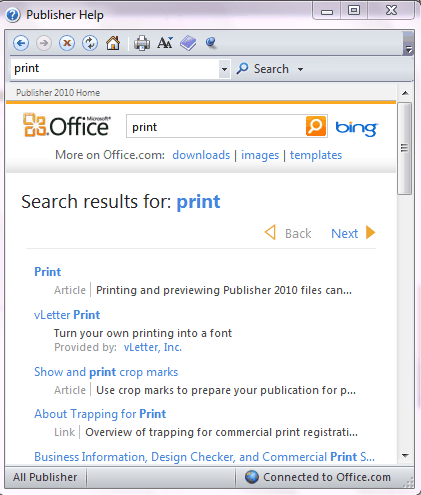
To get help with Publisher 2010, click the blue circle with the question mark toward the top right side of the screen. It looks like this: 
Enter a keyword or what you need help with in the search box at the top of the window. We chose "print."
Page Setup
Page Setup Options
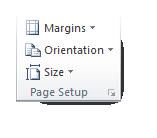
As you can see, here you can set your margins, the orientation, and the size. Let's discuss what each of these mean.
Margins means the amount of white space that is along the top, bottom, left, and right edges of your publication. Margins are measured in inches.
Orientation refers to either Portrait or Landscape. Portrait means the longer edge of the publication makes up the height (it runs vertical). Landscape means the longer edge goes horizontally across.
Size refers to the size of the publication and directly corresponds to the size you want to print.
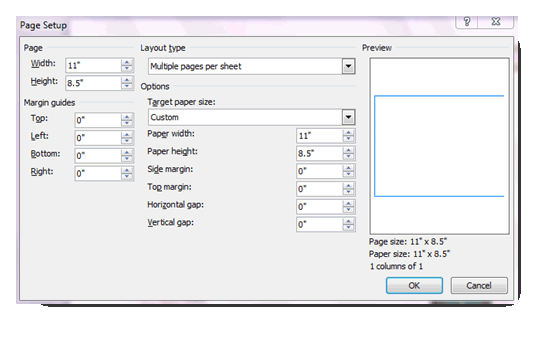
Let's learn how to set the options for your page.
Under the Page section, you're going to enter the height and width of the paper that you want to print on.
Under the Margin Guides section, you'll set the amount of white space that goes around the edges of your pages. You'll enter margins for the top, left, bottom, and right. Remember, this is measured in inches.
Next, under the Layout Type section, select the layout type:
One Page Per Sheet means that one page of your publication will be printed on one sheet of paper. You can use Print Preview to see how it fits on the page.
Booklet means your publication will be in a booklet design. You'll notice the margin guide labels will change. Left will be Outside. Right will be Inside. This lets you know where they appear in your booklet.
Email will enable you to create a design for email.
Envelope will set you up to create a standard 9.5"x4.125" envelope. If you want to change the measurements, you'll have to change the width and height in the Page section of the window.

Web Page allows you to design a web page.
Layout guides are there to help you align objects (pictures, text boxes, etc.). You can enable the layout guides and get visible guidance to easily align everything on your page.
Shapes, pictures, WordArt, tables, text boxes, and grouped objects (we'll learn about all these later) are aligned using their edges or their midlines � or the imaginary line that divides an object into two halves. Tables can be aligned by using their gridlines.
The layout guides in Publisher 2010 include four guides: margin, column, row, and baseline. As we said, this can make up a grid.
To structure a page using layout guides:
First, open a blank publication.
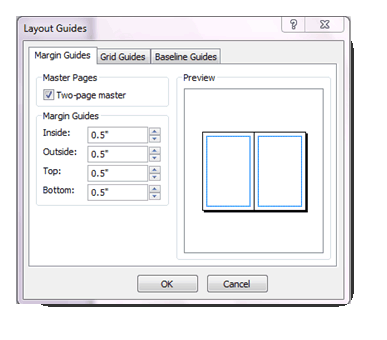
- Under the Master Pages category, make sure the Two-Page Master box is checked.
- Under Margin Guides, specify the amount of space you want for the Inside, Outside, Top, and Bottom boxes.
- Now, click on the Grid Guides tab.
- Under the Column Guides section, specify the number of columns in the Columns Box. Then specify the amount of space you want between the columns in the Spacing box.
- Now, under the Row Guides, do the same thing you did for columns, expect this will be for rows.
- Clicking Add Center Guide Between Columns and Rows will add an additional guide in the center of the space between your columns and rows.
Next, let's set up the Baseline Guides. Click the tab.
Baseline guides help align the text that is not linked between several text boxes in columns.
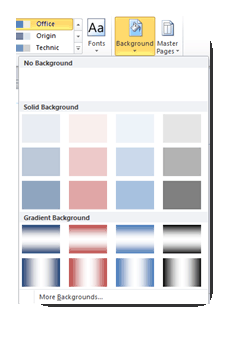
To add or change the page background, click the Page Design tab.
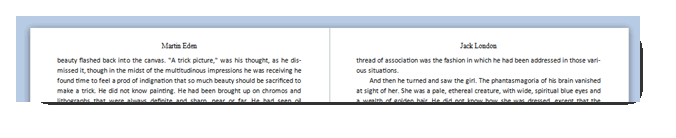
So what exactly are master pages, you might ask. Master pages are like overlays that contain design elements that you may want to apply to several (or even all) the pages in your publication. For instance, if you were creating a book, you may want the author's name at the top of the left hand page, and the title of the book on the right hand page. But of course, you wouldn't want either the title or the author at the top of the pages where the text begins half way down the page, like at the beginning of new chapters.
Without master pages, you would have to manually enter all of these elements onto every page--a very time consuming, labor-intensive process. Even worse, you'd have to reformat each element and position it precisely.
With master pages, you can insert the element only once, and choose which pages you want that element to appear on. Some common elements used in master pages include page numbers, headers, and footers, but you can also add text boxes, artwork, and custom watermarks.

To view and edit your master pages, click on the View tab. On the far left, you'll find the Views group, as illustrated in the following example.
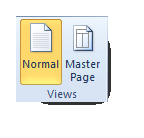

Here you can see that a Master Page tab has been added to the Ribbon. Instead of the pages of your document, you will only see your master pages in the Page Navigation pane. You can add elements to a master page just like any ordinary page, except that everything you put on a master page will appear on every document page it is applied to.
To show you how this works, we're going to add a master page, edit it, then apply it to our document.
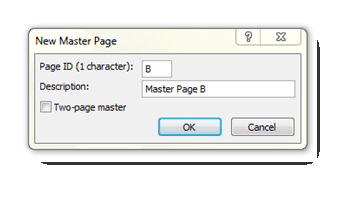
Publisher automatically assigns the new master page an ID. This is basically a numbering system, except instead of calling them page 1, page 2, page 3, etc., we call them page A, page B, go to the master page tab, select a master page, and click the Apply To button. You'll see a small menu, like this:

You can choose to apply it to all the pages in your document, to the currently selected page of your document, or to a range of pages.
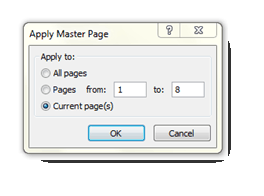
Make a selection, then click OK.
When you are finished creating, editing, or applying your master pages, click the Close Master Page button in the ribbon to return to page view.