Graphics, shapes, images, and even text boxes are all considered objects in Publisher. In fact, everything that you add to your page, aside from the background, will be considered an object. It's very important that you learn how to work with objects in Publisher for that very reason. It's a skill you need in order to be able to use Publisher with any amount of success.
This article is going to cover some of the basics of working with objects.
Introduction to Objects
We already discussed that objects are things that you add to your page, such as graphics and text boxes. Now let's review how to find and select objects on your page.
Below you'll see a built-in template that we're going to use for this article.
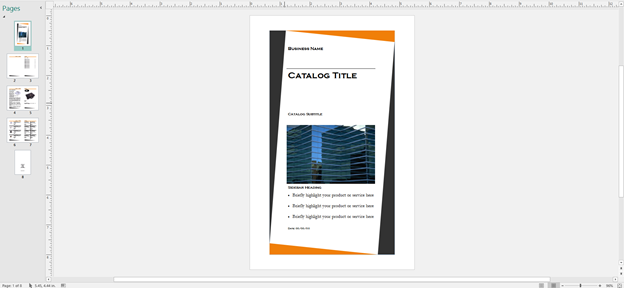
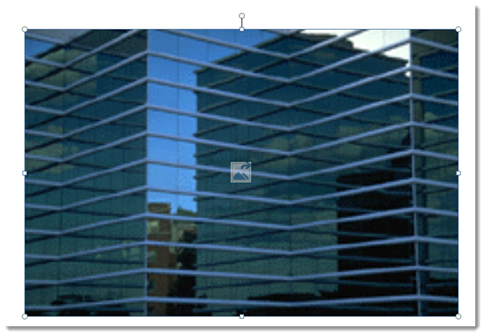
Let's zoom in on the template and select an object. We're going to select the picture of the office buildings.
To select an object, simply click your mouse on it.
As you can see, a bounding box appears around the object. The bounding box has eight handles that appear as white circles in the corners and white squares on the sides of the object. You can use the handles to resize objects, as we'll learn later in this article.
Moving Objects
To move an object, click on the object to select it. Next, hover your mouse over the bounding box until you see a four-way arrow, as pictured below.

Once you see the four-way arrow, you can click and drag to move the object to a different location.
Cut, Copy, and Paste
You can also cut objects from a publication and move them elsewhere � or you can copy an object in a publication, then paste the copy elsewhere. To place them somewhere else in a publication (or in another publication), you choose Paste. Let's talk about how to use cut, copy, and paste.
Cut Objects
To cut means to remove an object or text from your page. Don't confuse this with Delete, however. When you use cut, you are cutting it from your page and moving to the clipboard, then to its new location in the publication. You are not deleting it. When you delete an object, it's erased.
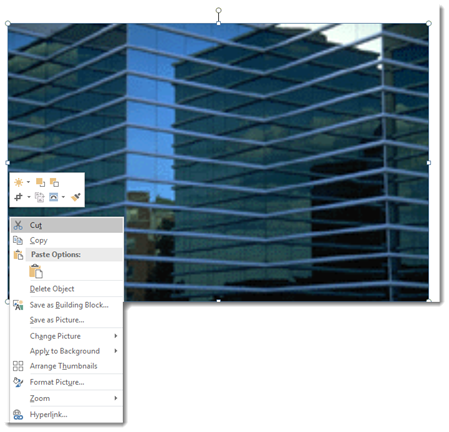
To cut an object such as a graphic, picture, or text box, click on it. You'll see the bounding box around it. Move your cursor over a line on the box, then right click and select Cut. The object then appears on your clipboard.
Copy Objects
When you copy an object, you leave
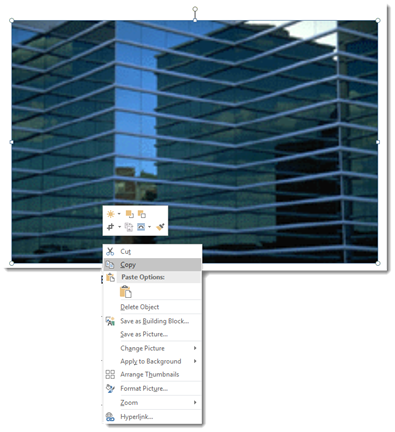
the existing object where it is, but move a copy of it to your clipboard, then to a new location in the publication. You can then put that copy anywhere else on the page � or on other pages. To copy and object, follow the same steps for Cut, but select Copy.
Cut or Copy Text
To cut or copy text, select the text by holding in your left mouse button and dragging it over the part of the text you want to select. Right click, then select Cut or Copy.

Paste Objects
Once you cut or copy an object, you can them immediately paste it into a new location in the publication. To paste an object, move the cursor to where you want to position the object, right click and select Paste on the ribbon under the Home tab. It is located in the Clipboard group and is pictured in the snapshot below.

Paste Text
Pasting text gets a little more detailed because you have more options for pasting in Publisher 2016. You have three options in the Paste button's dropdown menu:
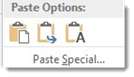
 Paste using original formatting of pasted text.
 Paste using the formatting of the majority of the text in the publication.
 Allows you paste text only. Any graphics or images will not be pasted, only text
To paste text, select then copy or cut the text, then go to the Ribbon. Under the Home tab in the Clipboard group, click the dropdown arrow below the paste button. Select a paste option.
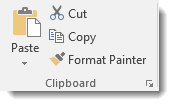
Note: To cut, copy, and paste, you can also click on the Home tab and go to the Clipboard group � as well as right clicking on an object.
The Clipboard
Whenever you cut or copy anything in Publisher, it is automatically sent to the Clipboard. The Clipboard does just as its name implies. It holds what you copy and paste for you to use. The Clipboard and its associated tools can be found on the Home tab at the far left end of the ribbon. The Clipboard group looks like this:
Click the arrow at the bottom right of the Clipboard group to see its contents. The clipboard will open as a pane to the left of your work space.
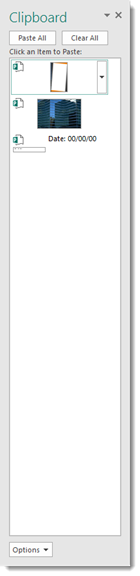
When you use the Paste command in the Ribbon, you are pasting the most recent object that you cut or copied. The clipboard allows you to select any of the objects that you've cut or copied since opening Publisher. In fact, the clipboard will hold up to 24 text and graphical items, such as objects. This means that you can go through your publication and copy nine objects, for example, without having to worry about pasting them right away.
When you're ready to paste the different objects into your publication, simply open the clipboard. Hover your mouse over the object in the clipboard that you want to paste. You'll see a dropdown arrow, as shown below.
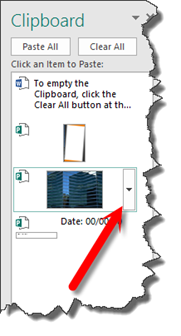
Click on the dropdown arrow, and select Paste. You can them move the object to the exact location where you want it placed.
To delete an object from the clipboard, click on the dropdown menu, then select Delete.
To empty the Clipboard, click the Clear All button at the top of the Clipboard menu.
Undo and Redo
Let's say you accidently delete something or deleted it and then decided that you want it back. You grit your teeth and start to grumble. It's a lost cause, right? Wrong. Microsoft anticipated this problem and supplied an easy solution. The Undo button! It looks like this:

The Redo button is to the right of the Undo button. It looks like this:

The redo button allows you redo an action that you just undid or to repeat the last action. If Publisher cannot redo the last action, the button will be faded.
Rotate Objects
You can also rotate objects in Publisher. Let's show you what we mean.
Look at the object we've selected below.
If you look at the bounding box around the object, you'll see a small circle above the box. We've highlighted it in red below.
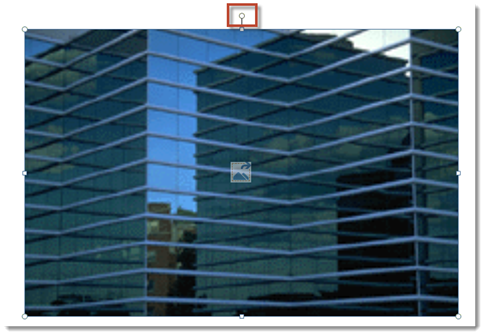
Hover your mouse over the circle until you see an arrow that looks a lot like the recycle arrow used nowadays. It looks like this:

When you see this arrow, you can rotate your object to the left or the right � as far as you want.
As you can see, we've rotated ours to the right.
Resizing Objects
You can easily resize objects by dragging on the handles that are on the bounding box. The squares on the top allow you to drag in to reduce the size of the object or out to increase the size. However, resizing like this can cause the object to become distorted.
The corner handles that appear as white circles allow you to drag in to decrease the size � or drag out to increase the size. However, doing it this way keeps equal proportions to prevent distortion.
You can also resize an object by changing its dimensions.
To do this, select the object, then right click on the object.
Choose Format Object from the context menu, then click on the Size tab.
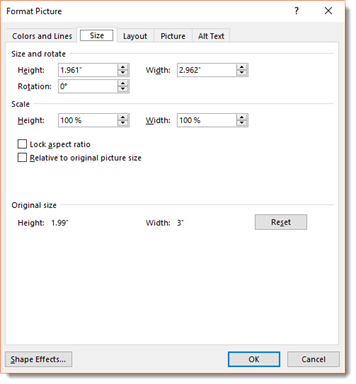
Here you can change the height and width of the object in inches. To prevent distortion, put a checkmark in the box beside Lock Aspect Ratio so you preserve the proportions.
Stacking Objects
In addition to resizing and rotating objects, you can also stack them on top of each other. You can stack any object. It can be a picture, graphic, text box, etc.
Let's stack the three flowers pictured below:

To start stacking, select an object and move it on top of another.
Below you can see that we've moved the three flowers.

Now we can rearrange the stack order if we want. We can make it so one flower appears in front of another � or behind another.
To do this, select the object you want to move in front of or behind another object, then go to the Arrange group under the Drawing Tools Format or the Picture Tools Format tab, depending on whether you're stacking images or graphics.
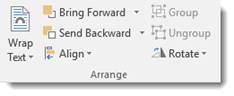
If we choose Send Backward from the dropdown menu, it sends the object behind the previous object in the stack.
If we choose Send to Back, it sends the object behind all other objects in the stack, as well as all other elements on the page.
You can choose Bring Forward and either bring the object forward � in front of the object directly behind it. You can also choose Send to Front and bring it in front of all other objects and elements on the page.
Group Objects
Once you stack objects, you can put them together as a group. This way, if you have to move the objects to another location on the page, the objects that you've stacked will move together as if they were one object.
To group a stack of objects, select all of the objects by clicking on them while holding down the CTRL key. As you can see below, all objects are selected:

Click the Group button in the Arrange group under the Drawing Tools Format tab.
Look at your objects now. They are still selected, but they appear as one object.

Aligning Objects
Guides can be used to align objects in your publication. In addition, you can also align objects to other objects.
To set what you want your objects to align to, go to the Page Design tab, then the Layout group.
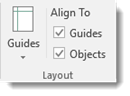
We have it so our objects align to the guides (the grid) and other objects.
Let's show you how it works.
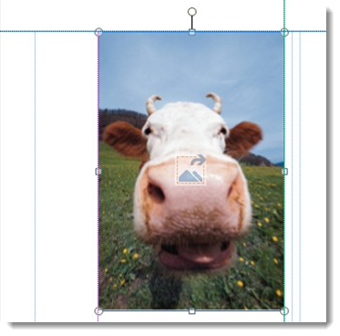
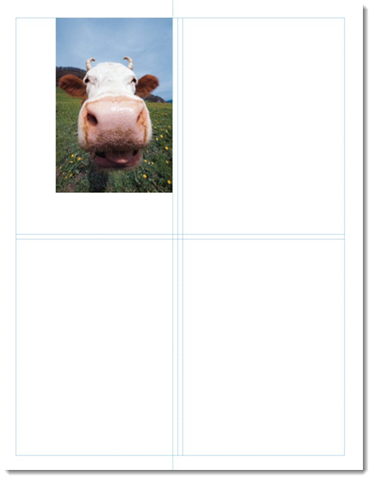
In the snapshot below, we inserted a picture of a cow. To place the image where we want it, we drag and drop. We can align it to the guides. However, we can also align it to other objects.
When you align an object to a guide, the light blue guide gets darker when the object is aligned, as shown below.
When the object is aligned, release your left mouse button.
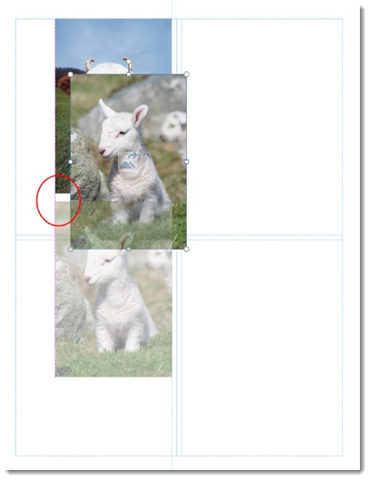
Now we're going to insert a picture of a goat. We're going to align it to the picture of the cow.
Inserting Images into Publications
Learning to insert pictures and other types of images into your publications will be one of the most important things you learn. Images and graphics are key to making your publications attractive. However, there are so many methods for inserting images, then so many ways that you can alter those images to make them fit in with your publication, that it's going to take more than one section for us to teach you how to do it successfully.
In this article, we're going to cover the many methods that you can use to insert images into publications. Specifically, we're going to cover the tools Publisher gives you to import things such as pictures and clipart.
About Inserting Images
Any time you want to insert an image into a publication, you'll go to the Insert tab on the ribbon. The Insert tab is pictured below.

You can use the Insert tab to insert all types of things into your publication. For now, though, we're going to focus on pictures and clipart.
There are four ways that you can use to insert pictures and clipart into your publications.
1. You can right click on the image and click copy. You can do this for images you find online or on your computer. Then, click in your publication and select Paste.
2. You can use pictures you have saved on your computer, external drives, or memory cards (from cameras).
3. You can import pictures that you find online using Bing, Facebook, and other sources.
4. You can import pictures into the scratch area.
Which method you use will depend on the pictures or clipart you want to use, as well as where the images are located.
We're going to cover methods #2 #3, and #4 in this section.
Inserting Images from Your Computer or External Drives
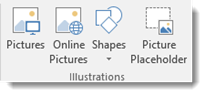
Anytime you want to insert anything into your publication, chances are good you'll find the appropriate button under the Insert tab. The picture tools are grouped in the Illustrations group on the Ribbon.
To insert a picture into a publication that you have stored on your computer, simply click the Picture button. A window will open, allowing you to navigate to the picture on your computer.
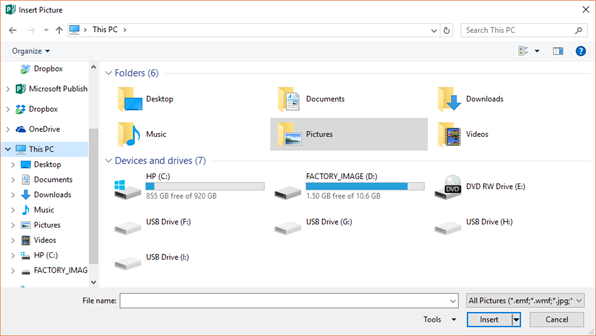
Click the Insert button.
You can then drag and drop the picture to the location where you want it in your publication.
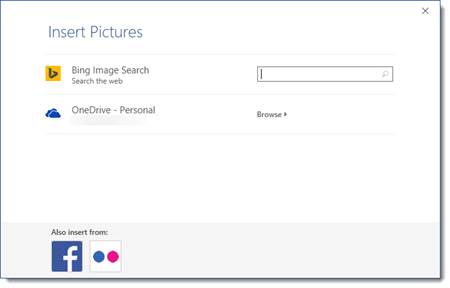
Inserting Online Pictures
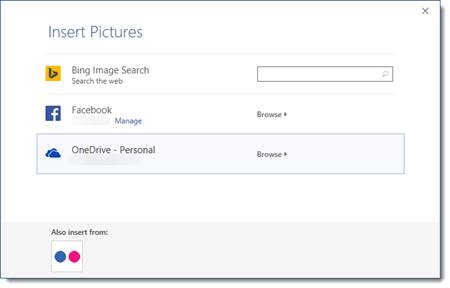
You can also insert images you find using Bing search, and images from your OneDrive into a publication. To do this, click the Online Pictures button. It looks like this:

When you click the button, this window will appear:
To search for a picture on Bing, then insert it into your publication, type in a keyword. The keyword should represent the type of image you want to find.
We'll search for "coffee".
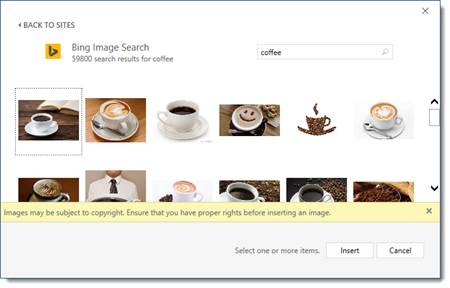
As you can see above, Microsoft lets you know that the images shown are licensed under Creative Commons.
As defined by Webopedia:

Make sure you check the copyright to be sure you can use the image. To avoid copyright issues, either use your own images, images that are in the public domain (no copyright), or purchase images from stock photo sites where you will receive a license with the image.
Inserting Images from OneDrive
In addition to inserting pictures from Bing search, you can also insert pictures stored on your OneDrive.

Click Browse.
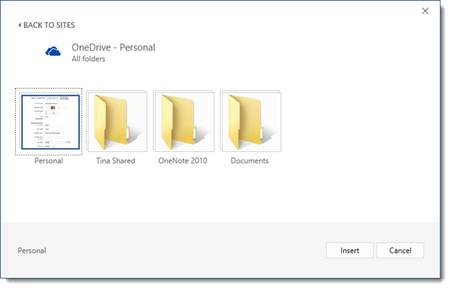
Find the image you want, then click the Insert button.
Insert Images from Facebook and Flickr
To insert images from Facebook or Flickr, click the Online Pictures button again.
For Facebook, click the Facebook icon at the bottom of the window.
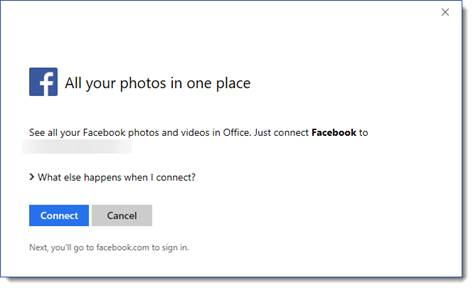
Click Connect.
You'll then be prompted to sign in to your Facebook account:
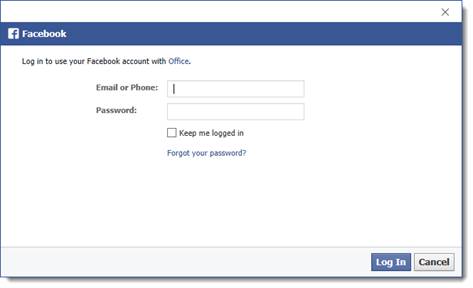
Click Log in. Once you're logged in, you'll see this screen:
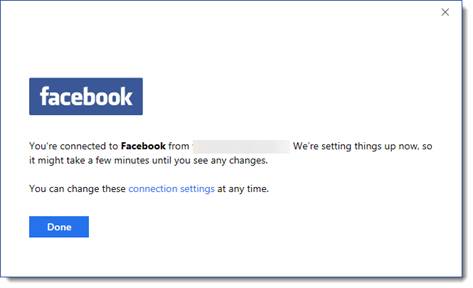
Click Done.
You'll then see Facebook listed with all the other locations where you can search for pictures:
If you want to add pictures from Flickr, click the Flickr button at the bottom to connect to your Flickr account the same as you did for Facebook.
Inserting Multiple Pictures Using the Scratch Area
Publisher 2016 gives you the power to insert multiple images into a publication at one time. Instead of inserting one at a time directly into your publication, you can now insert multiple images. Publisher will deposit the multiple images into the scratch area. You can then simply drag and drop images from the scratch area into your publication.
Let's show you how it works.
Go to the Pictures button under the Insert tab and locate images on your computer, as we've done below.
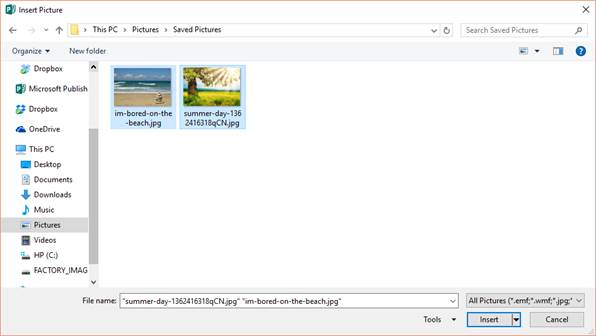
To select more than one image, hold down the CTRL key as you select the images you want to use in your publication. Select multiple images.
Click the Insert button.
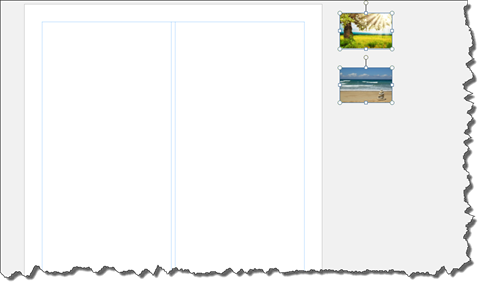
As you can see in the snapshot below, the images now appear in what is called the scratch area to the right of your publication.
Next, go to the View tab and view the Graphics Manager by putting a checkmark beside it. It will appear as a pane on the right side of the Publisher window.
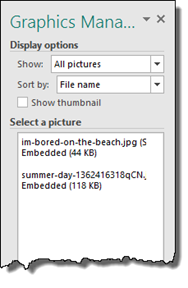
As you can see in the snapshot above, the images in the scratch area are listed in the Graphics Manager. In addition, any other images or graphics you have in your publication will be listed here as well.
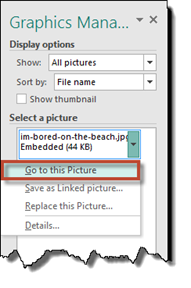
Hover your mouse over any picture listed in the Graphics Manager, and you'll see a dropdown arrow. Click on the arrow to see the menu. If you want to select an image, choose "Go to this Picture".
This selects the image in the scratch area. You can then drag it into your publication.
To arrange images in the scratch area, go to the Arrange Thumbnails button under the Picture Tools Format tab.

Creating a Placeholder for Images
An image placeholder does just as the name implies. It basically reserves space in a publication where an image will be inserted later.
Let's look at an example of how they're used.
Sometimes when you're creating a publication, you may want to design the page layout first. Perhaps you want to create the text boxes (for text) and draw squares for where the pictures will be. In other words, you want to get the layout as you want it before you start adding the elements. It's easy enough to draw a text box, then add text later, as you'll learn later.
However, if you just draw a square shape to represent a picture, you'll have to go back later and delete the shape, then insert/format the picture. That's a lot of work! Instead, you can add an image placeholder.
To do this, go to the Insert tab and click the Picture Placeholder button in the Illustrations group.
You'll see a bounding box appear with an image icon in the center of it. The image icon has an illustration of a mountain, as shown below.
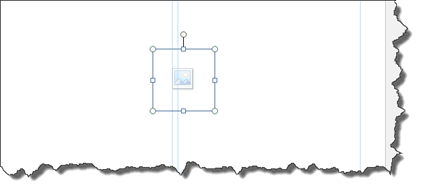
You can drag and drop the placeholder to where you want it to appear in your page layout. You can also double click on the placeholder to resize it. Make sure you double click on the bounding box and not the image icon.
Go to the Ribbon. The Picture Tools Format tab will be open. Enter the new dimensions in the Size group.
When you're ready to insert a picture, go to the View tab and open the Graphics Manager as we just learned to do.
Hover over the placeholder listed in the Graphics Manager. You'll see a downward arrow.
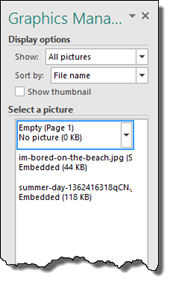
Select Insert Picture Into this Frame from the dropdown menu.
Find the picture on your computer.

Click the Insert button.