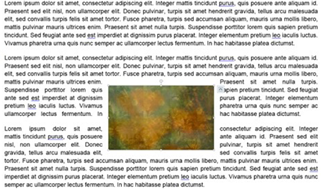
By far, the easiest way to insert images is by creating placeholders, then inserting them. Here is why. Whenever you insert a picture into a publication using the Pictures button on the ribbon, Publisher just slaps the picture on your publication, as shown below.
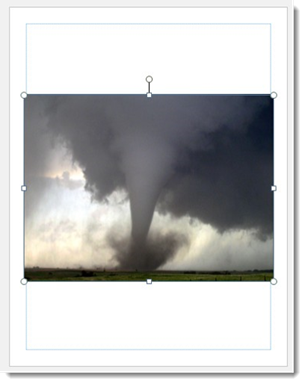
You then have to drag and drop the image to the location where you want it to appear and also resize it. It's much easier to just create placeholders, then insert images using the Graphics Manager.
That said, let's talk about how to work with images that you insert using the Pictures button.
To move the image, select the image, then move your mouse to the icon displayed on the picture.
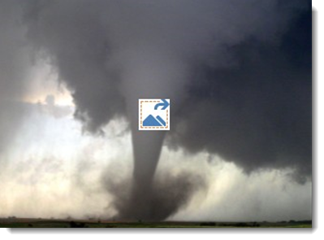
You can then drag the picture to the location where you want it to appear.
You can also right click on the mountain icon to see the context menu.
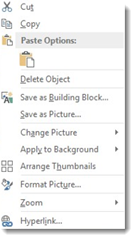
Using the context menu, you can cut, copy, and paste the image, save it as a building block, save it as a picture on your computer, change the picture, apply the picture as the background for your publication, arrange thumbnails, format the picture, zoom in or out on the picture, or add a hyperlink � or a link to a web address.
You can also use the tools in the small box that appears to make color corrections, crop, wrap text, and other things.
Resizing an Image
When you insert or paste an image into a publication, it may not be the size you need it to be in order to fit in with the publication. No worries. You can always resize it.
To resize an image, select it. When you select the image, the Picture Tools Format tab opens on the Ribbon.
Go to the size group.
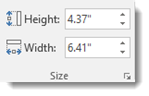
Enter the measurements that you want for the picture. Picture measurements are always in inches.
Press Enter on your keyboard.
The image is resized for you.
You can also resize images by dragging the handles on the bounding box. However, resizing using this method can cause distortion and/or pixilation.
Cropping a Picture
Another way to reduce the size of a picture is to crop it. When you crop a picture, you cut away the outer edges of the picture to create a new version. Cropping can be helpful when you want the focus to be on a certain part of the image. Cutting away edges can help achieve that.
To crop an image, select it so that the Picture Tools Format tab opens.
Go to the Crop group.
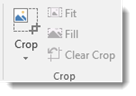
Click the downward arrow below the Crop button and select Crop again.
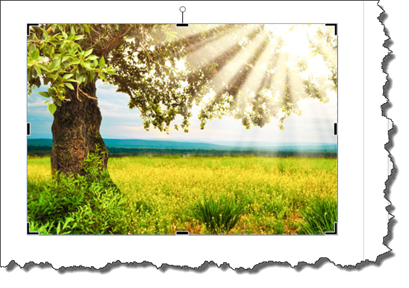
You'll now see crop marks around your image, as shown above. The crop marks appear on the corners and sides of the image. They are black in color.
Click and drag your mouse inward, toward the center of the picture, using any one of these marks. Click and drag inward on the image until you have cropped away the area you want to get rid of in the image.
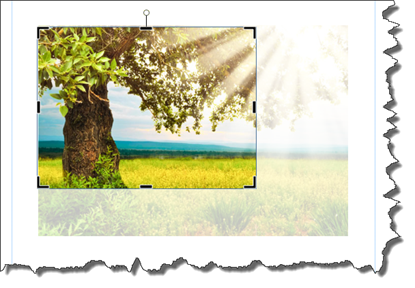
As you can see the image above, the area to be cropped out is shaded.
Click outside of the image to remove the cropped area.
Color
You can easily adjust the color of any image you place in your publications.
To do this, click on the image to select it.
You'll then see the Picture Tools Format Tab. Click the Recolor button in the Adjust group.
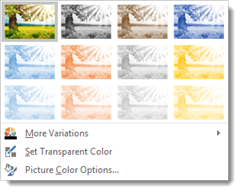
Choose the color effect you want to apply to your image.
Color Correction
You can also adjust and modify the colors in your image through color correction. Once again, go to the Picture Tools Format tab by selecting an image.
Click the Corrections button.

Choose a color correction to apply to the image.
Wrapping Text around Images
Publisher gives you the ability to wrap text around a picture, just as you can do in Microsoft Word and other Office programs. You can see a sample of wrapped text in the snapshot below.
To wrap text around a picture, click on the image. The Picture Tools Format tab will appear in the Ribbon. Go to the Arrange group.
In the Arrange group, click Wrap Text to view the dropdown menu.
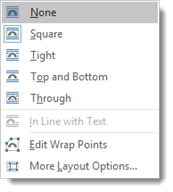
Click More Layout Options to see all the wrapping options.
-
Square means your image sits on the same plane as the text. The text flows around the image in a square pattern.
-
Tight text flows around the image, hugging its shape. If you insert a circular shape, the text will take a circular pattern around the text.
-
Through means that the text will flow around the image as best as possible.
-
Top and Bottom means text will appear on top of the image and at the bottom.
-
Behind Text means the image is behind the text. The image looks like it is part of the paper.
-
In Front of Text means the image is on top of your text. It's the same as if you printed a document and dropped a photograph on top of it.
Adding a Border to an Image
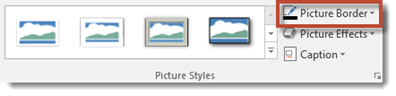
If you want to make your image stand out a little more, you can add a border. To do this, click the image to select, then go to the Picture Tools Format tab.
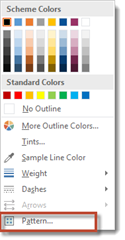
Select Picture Border from the Picture Styles group by clicking on the downward arrow.
As you can see, you can choose what color border you want.
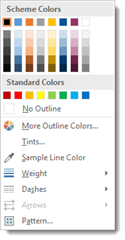
The color you choose is called your outline color.
Adding Tint
You can also choose to add a tint to your outline color by selecting Tints from the Picture Border dropdown menu.
Click on Tints, and you'll see this window:
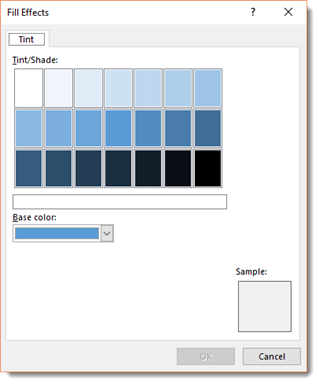
Select the tint that you want and click the OK button.
Sampling Line Color
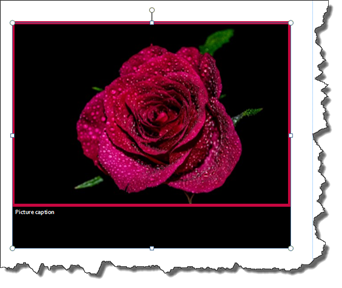
You can also use a color that you have in your publication as the border color. For example, let's use the image pictured below.
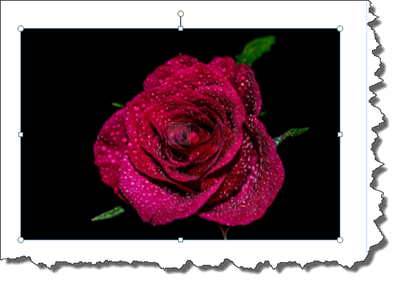
Let's say we want the color of the rose to be our border color.
Choose Sample Line Color from the Picture Border dropdown menu.
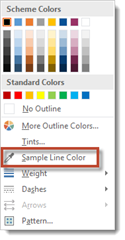
Your mouse pointer turns into an eyedropper.
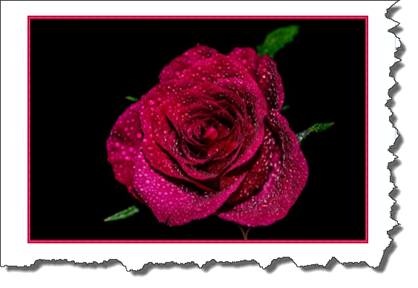
Click once on the color that you want to use. We're going to click on the rose.
Publisher samples the color, then uses it as your outline color.
Adding Weight, Dashes, and Patterns
Weight refers to the thickness of your border. By clicking Weight in the dropdown menu, you can make your border thicker or thinner.
If you choose Dashes from the dropdown menu, you can make the border a dotted line instead of a solid.
You can also use a pattern as your border. To do this, select Pattern from the dropdown menu.
You will then see the Patterned Lines dialogue box.
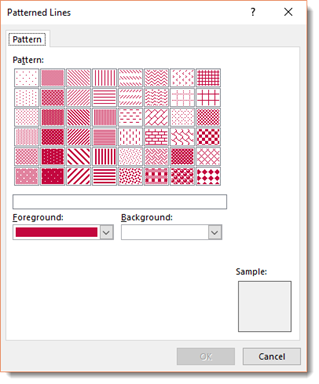
First, select the pattern you want to use from the Pattern section.
Patterns have two colors. The background color, then the color of the actual pattern � or the foreground color.
Select the two colors you want. One color will be the background color of the pattern. The other will be the foreground color.
Click OK when you're finished.
Adding Styles and Effects to Pictures
Whenever a picture is inserted or selected, the Picture Tools Format tab will automatically appear as a tab in the Ribbon. It provides you with a few of the most commonly used features available in image editing software like Photoshop. You can change the contrast, add artistic effects, as well as crop or resize images. These are things we've already talked about in this article
In the center of this ribbon, you'll also see styles you can add to pictures. You can add frames, drop shadows, reflections, etc.
The Picture Styles gallery looks like this:
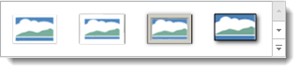
If you click on the downward arrow, you can see all the different styles you can apply to a picture.
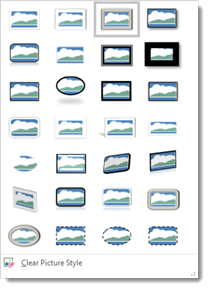
To apply a style, select the image, then click on a style in the gallery.
In addition to the preset styles, you can also add effects to images. The effects that you can add are located to the right of the gallery.
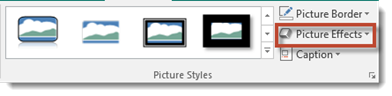
When you click the dropdown arrow, you can see all the different effects that you can apply.
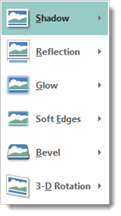
Click the arrow beside an effect to see the options for that effect. For example, here are the options for Shadow.
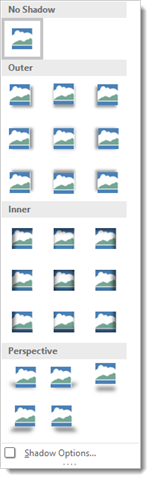
As you can see, you can choose what kind of shadow you want to apply to your image.
You can also click Shadow Options to further customize the effect. In fact, you can customize all of the image effects in Publisher.
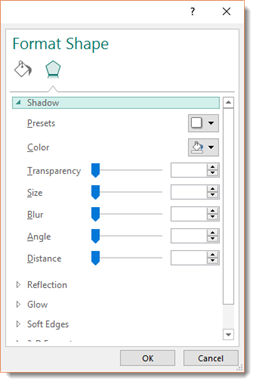
You can change the preset, color, transparency, size, angle, and distance for the shadow effect.
When you're finished, click OK.
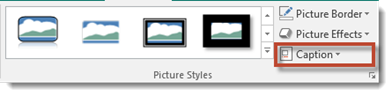
Adding a Caption
When you're creating publications with images and text, it's always helpful to add captions to your images.
Adding captions to your images in Publisher is much easier than doing it in a program such as Word.
Double click on your image to bring up the Picture Tools Format ribbon.
Click on the dropdown arrow beside Caption in the Picture Styles group. It's right below Picture Effects.
You'll see the following menu.
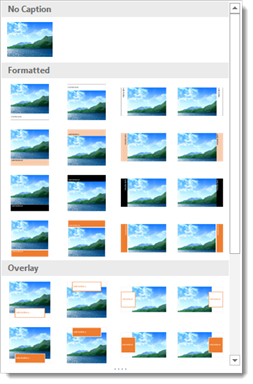
Choose the formatting you want for your caption.
Inserting Shapes and Other Objects into a Publication
Images aren't the only things you can insert into your publication. You can also insert shapes, advertisements, calendars, and more. As with most other tasks in Publisher, inserting these things is as easy clicking your mouse.
Drawing and Inserting Shapes
Publisher gives you the ability to draw shapes in the same way that you can draw shapes in other Office programs. The only difference is that the shapes you draw in Publisher become objects in your Publication.
To draw shapes in Publisher, click on the Insert tab, then click Shapes in the Illustrations group.

You'll see the following dropdown menu appear:
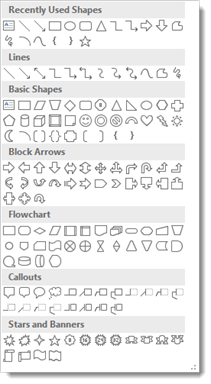
Select a shape that you want to draw from the menu. Click on the place on your page where you want to draw it, then drag to create the shape.
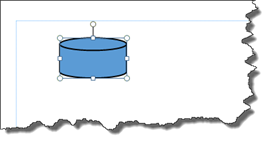
Just as with images, a bounding box appears around the shape. You can use the bounding box to move, resize, or rotate the shape. Use the circle above the shape to rotate it. Use the square handles to expand it vertically up or down, or horizontally left to right. If you want to move the object, move your cursor inside the box. You'll see the four-way arrow. Hold in your left mouse button and drag it to its new location.
If you right click on the object, you'll see this menu that you can use to edit the object:
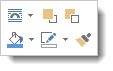
Let's cover the top row of icons in this menu from left to right.
-
The first is to wrap text around an image or graphic.
-
Next is to bring an object (such as our shape), perhaps on top of another object.
-
The last icon is to send an object back, as in behind another object.
Now, let's cover the second row.
-
The icon with the paint bucket allows you to change the fill color of the graphic. Our smiley face above is white. We can change it to yellow using this icon.
-
The next icon is to change the outline of the shape. Our smiley face has a solid black line. Using this icon, we can change it to red and dashed lines if we wanted.
-
The last icon is the Format Painter. This allows you to copy and paste formatting, such as alignment, indentations, etc. Select the text that you want to copy and click the icon to copy character formatting. If you want to copy alignment, indentations, etc., you'll have to go to Paragraph in the Home tab and click
 so the paragraph mark shows up after a paragraph. Copy and paste that as well as your text.
You can also go to the Drawing Tools Format tab in the Ribbon. It is pictured below.

From this tab on the ribbon, you can edit or change the shape, apply a style or effect, stack shapes then arrange them, rotate, or even resize.
Inserting Calendars
Sometimes, especially if you're creating a flyer for an event, it can be helpful to insert a calendar into your publication.
To do this, click the Insert tab and click on Calendars.
You'll see different types of calendars displayed in the dropdown menu.
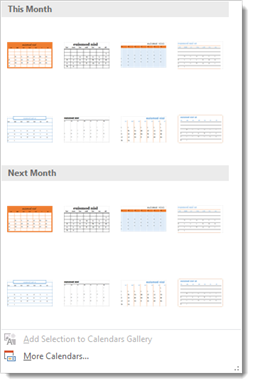
You can select a calendar from either the "This Month" section or the "Next Month" section. You can also click "More Calendars".
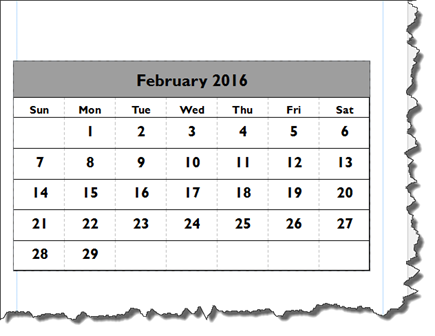
Click on a calendar to select it. Choose the month you want displayed on the right, then press Insert.
It is then inserted into your publication, as shown below.
You can then move it around the publication the same way you would any other object. You can also resize and rotate it. Just remember to select the calendar first so the bounding box appears.
In addition, you can right click on the calendar and select Change Text from the dropdown box to change the font used in the calendar. You can also use the selections in the drop down menu to add or delete rows or columns in the calendar.
Inserting Advertisements
If you're using Publisher to create a company newsletter, you may need to insert advertisements from sponsors into the newsletter.
To do this, click Advertisements under the Insert tab.
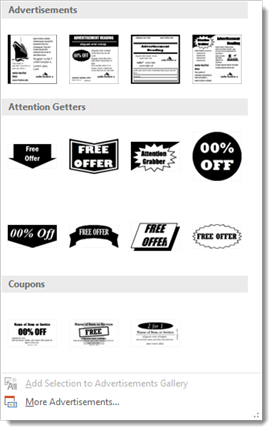
As you can see, there are three categories of advertisements.
-
Advertisements are used to advertise a company, product, or service.
-
Attention Getters are graphics used to draw attention to a certain aspect, such as a sale, a free offer, or even a free trial.
-
Coupons are to offer savings on products or services.
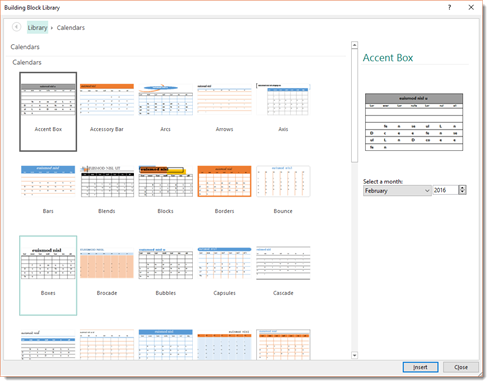
Click on the graphic that you want to use. You can also click on "More Advertisements" to see a broader selection.
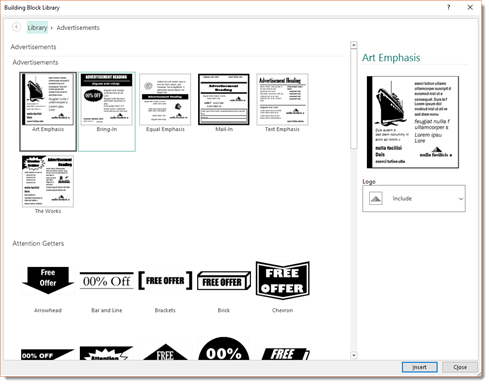
When you click on "More Advertisements", you see the Building Blocks Library, as shown above. Select the graphic you want to use from the left, then choose if you want to include the logo on the right hand side of the window.
Click Insert when you're finished.
You can then resize, reposition, or rotate the advertisement. You can also click on text to edit it.
NOTE: Don't forget that you can also replace any graphics in the ad by going to the Graphics Manager and selecting a graphic or image to insert.
Inserting Page Parts
You can also insert different parts of a page, such as headers, accessory bars, and response forms. To do this, go to the Insert ribbon and click on Page Parts. Select More Page Parts.
You'll see this window:
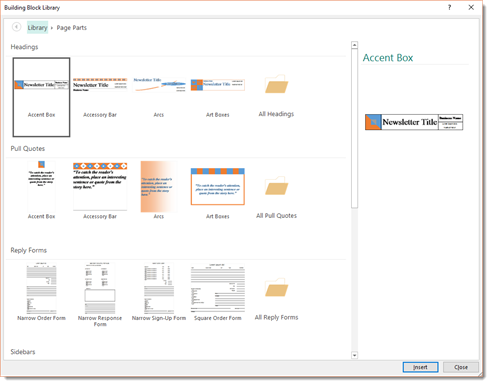
Although you can select a page part from the dropdown menu on the Ribbon, the Building Blocks Library shows you all the page parts from which to choose. It gives you a better idea of all the things you can insert into a publication.
You can insert:
-
Headings, such as the title of a newsletter.
-
Pull quotes. Pull quotes are quotes you pull from an article in your newsletter. The quote you use should be interesting, because the pull quote will draw attention and engage your readers so that they read the article.
-
Reply Forms so your readers can interact with you by placing orders, signing up, or sending in responses.
-
Side Bars. A side bar is typically placed beside an article and offers more, albeit brief, information.
-
Stories. Stories are also used for brief text. You may want to tell more about your company, it's products, or its services.
-
Table of Contents. A Table of Contents is always helpful if you have a larger publication that contains multiple pages and a lot of content.
Choose the page part you want to insert, then double click to select it.
Once it's inserted into your publication, you can move, resize, and rotate it as you would with any other object. You can click inside to edit the text, and use the Graphics Manager to add your own images and graphics.
We inserted a Narrow Response Form into our publication.

NOTE: Unlike with other Office programs, the Table of Contents will not automatically include headings and page numbers. You will have to manually enter your content into the Table of Contents.
Inserting Borders and Accents
Borders and accents can be very helpful when you're designing your publication. You can use them to call attention to certain text, to separate content, to frame content, and generally to make your publication easier on the eyes.
To see the type of borders and accents that Publisher offers, go to the Insert tab, then click the dropdown menu below borders and accents.
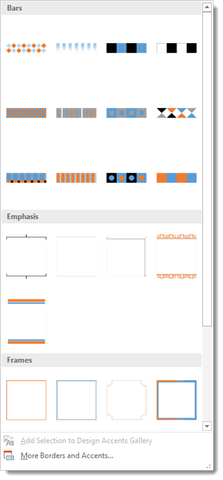
You can choose from the borders and accents shown, or click "More Borders and Accents".
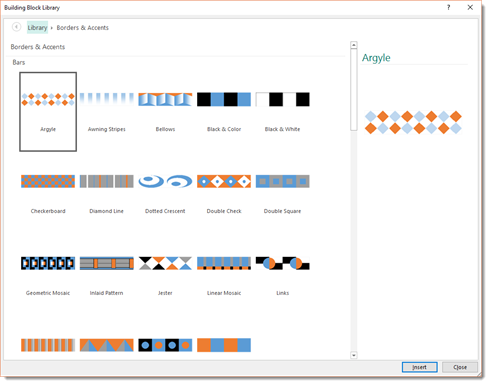
Publisher offers:
-
Bars. You can use these to separate content.
-
Boxes. You can stick boxes anywhere to add decoration to your publication, or use them to break up content as well.
-
Emphasis to draw attention to certain content.
-
Frames. You can frame an entire page � or resize the frame so it only frames a portion of your publication's content.
-
Lines. Lines can be used just the same as bars.
-
Patterns. Patterns can be used like boxes.
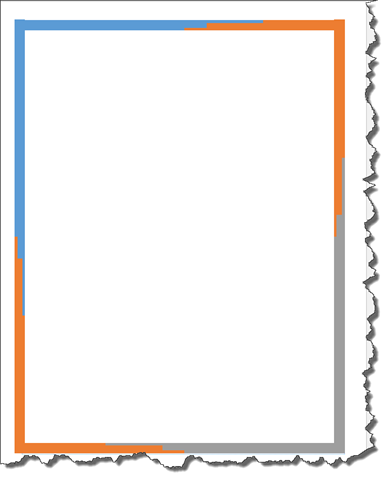
Choose the border or accent you want to use by clicking on it, then click Insert.
We inserted a frame, as shown below.
We can right click on any part of the frame to format it. Choose "Format AutoShape".
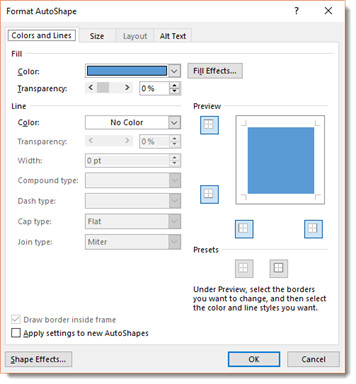
As you can see, we clicked on the blue bar in our frame. We can now change its color or size. We can also click on the Shape Effects button to add effects to the shape -- just the same as we added effects to images.
We can also double click on any part of the frame to see the Drawing Tools Format tab in the Ribbon.