How to Password Protect, Time Stamp, and Adjust Views in OneNote 2016
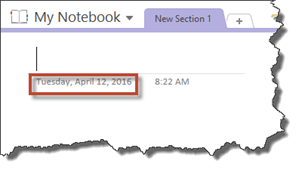
If you look at a page that you've created, you'll notice that OneNote automatically inserts the date and time that it was created. This is a time stamp. A time stamp is also added to a page when you insert an object such as an audio or video recording.
A time stamp on one of our pages is shown below.
To change the date of a time stamp, simply click on the date to select it.
A little calendar will appear beside it:
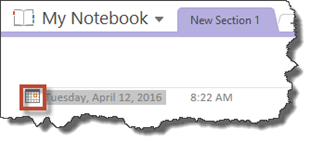
Click on the calendar.
A small calendar opens over your page.
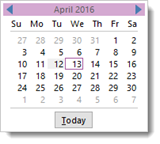
You can use the left side arrow to go back in months. Use the right side arrow to go forward in months. Today's date is showing.
To change the date of the time stamp, simply click on a date.
To change the time on a time stamp, click on the time to select it. A little clock will appear.
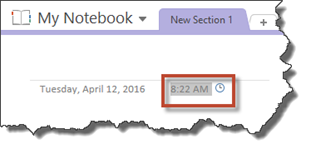
Click on the clock.
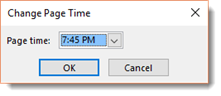
Now you can enter the time that you want to appear on the page. Click OK when you're finished.
You can also insert a time stamp anywhere in your notebook. Go to the Insert tab, then to the Time Stamp group, as shown below.
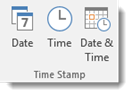
You can simply time stamp the date, the time, or the date and time anywhere in your notebook that you'd like.
Take note, however, that OneNote 2016 will insert the current time and date. If you want to change it, you'll need to follow the steps we just learned to change the time and date.
To see the different OneNote views that you can choose from, go to the View tab and look at the Views group.
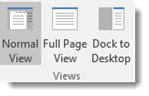
We already know that Dock to Desktop is the view you want to work in if you're using other applications or a web browser. It's also the view you use to take linked notes.
In Normal View, we can see all of our page and section tabs. We also see the Navigation Pane and any other task panes we have open, such as the Research Pane or Tags Pane.
In Full Page View, however, all we see is the page we're currently working on. We can still see our tabs at the top (File, Home, etc.), but we don't see the Ribbon, nor do we see our page and section tabs.
You can see what we mean in the snapshot below, which we took in Full Screen View.
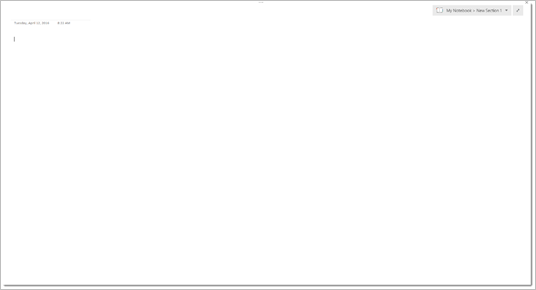
Below is the same page in Normal View:
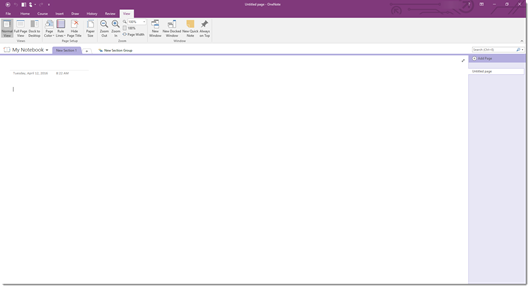
Full Page View is great when you want to be able to see more of your page as you enter in notes and other information. As you can see in the snapshot above, you see less of your page in Normal View than you do in Full Screen View. To exit Full Screen View, press F11 on your keyboard.
Password Protecting Your Notebook
If you want to institute security measures in your notebook to make sure that unauthorized people do not read certain sections, you can apply password protection to sections.
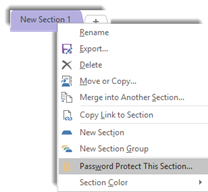
To password protect a section, click on the section tab that you want to protect, then right click on it. Select Password Protect This Section from the dropdown menu.
The Password Protection Pane will then appear on the right side of your page.
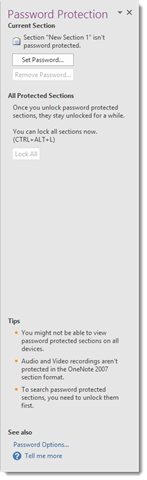
Click the Set Password button.
You will then be prompted to enter a password.

Type your password you want to use, then type it again to confirm it. Click the OK button.
Click the Lock All button in the Password Protection pane if you want to lock the section immediately.
Now, whenever you try to access the section you just password protected, you'll see this:
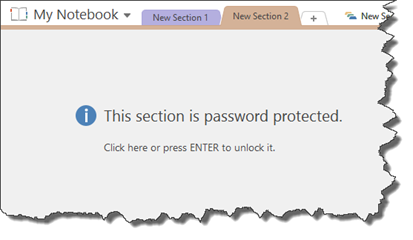
Click inside the note, and you'll be prompted to enter your password.
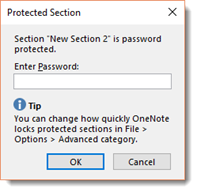
Click OK.
You'll then be able to access your notes and information for that section.
Backing Up Notes, Printing, Sharing, and Emailing
OneNote 2016 automatically backs up your notes. Whenever you make changes to a section, OneNote automatically backs up the file. However, you can change how many copies are kept. You can often change how often backups are created and where they're stored. You can also manually back up your notebooks at any time. Then, if something happens and you need to restore or move your data, it's easy enough to do.
To manually back up your notebooks:
Go to the Backstage View by clicking the File tab.
Click Options on the left hand side.
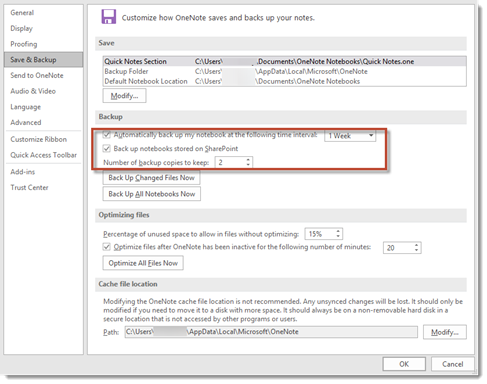
Now click Save & Backup on the left hand side of the OneNote Options window.
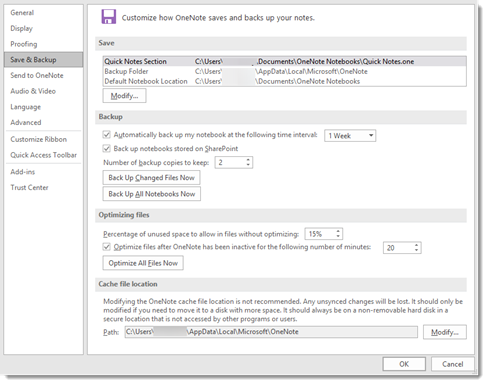
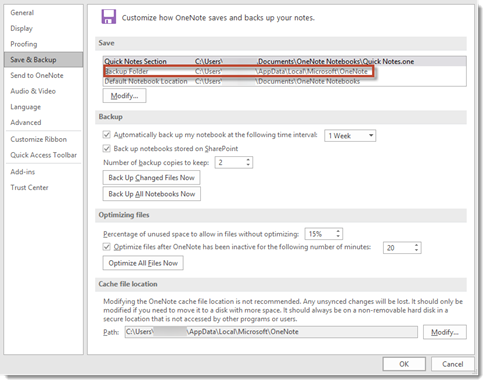
Under the Save section of the Options window, double click Back Up Folder if you want to change the destination that your back up files are saved to.
You will then see the Select Folder dialogue box.
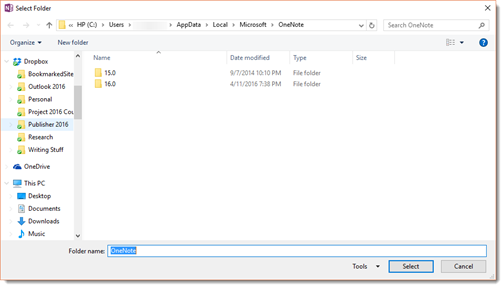
Select a folder that you want to save your backups to and then click the Select button.
OneNote 2016 saves a backup once a day and creates two copies of the backup. In the Back Up section of the OneNote Options window, you can easily change that. Just tell OneNote how often you want to back up files and how many copies you want to save.
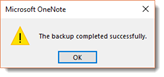
Click OK, then close OneNote 2016 to save the changes. When you open it again, the changes will have taken effect. A small message box will let you know that everything has been backed up.
To manually back up your files or notebooks, click the Back Up Changed Files Now or Back Up All Notebooks Now.
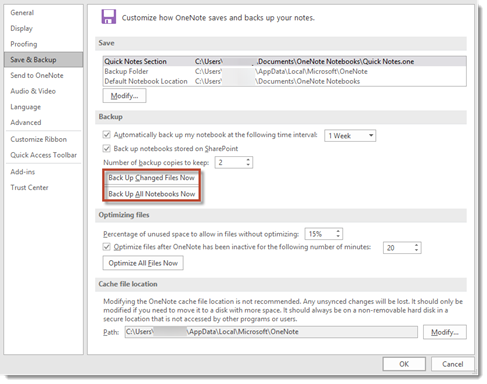
For an example, let's back up all notebooks now. Go ahead and click that button.
OneNote 2016 goes ahead and backs up all your notebooks. You'll see this message when it's finished:
Your back up files will be stored in the folder you specified earlier in this section.
Multiple authors can access your notebook and make changes to it if that's what you choose to let happen. This is especially helpful if you use your notebooks for business purposes and want to keep your team informed, as well as have their input on the notes that you have.
There are two ways that you can share a notebook. You can create a notebook that will be shared, or you can share an existing notebook. We're going to show you how to do both.
To create a new notebook that will be shared with others:
Click on the File tab, then click New on the left.
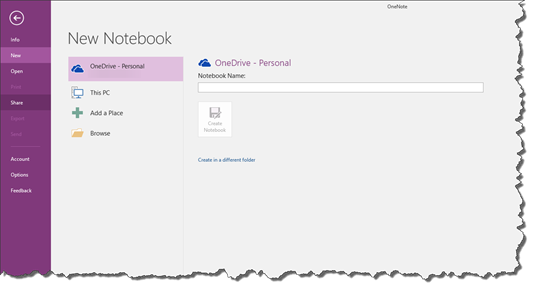
Choose where you want to store the new notebook. If you'll want to share the new notebook, you must either select OneDrive or some other cloud-based or network location.
Enter a name for the new notebook, then click Create Notebook.
Perhaps you've created a notebook on your computer, and now you've decided that you want to share it. This is easy to do.
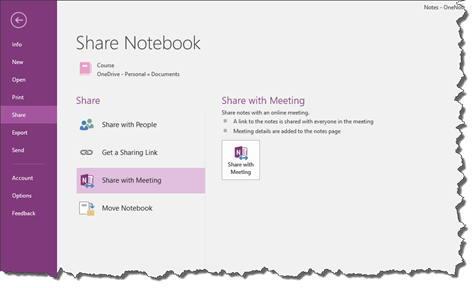
Click the File tab, then click Share on the left.
Now, select how you want to share it. You can choose to invite people that you want to share it with, get a sharing link, share within a meeting, or move the notebook.
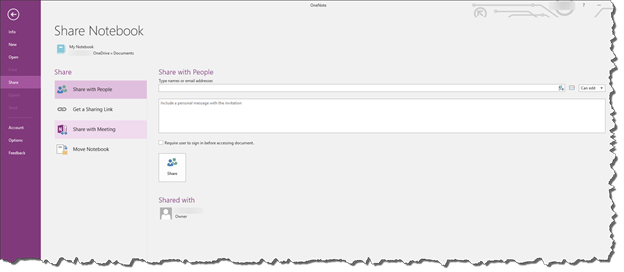
Invite People to Share
If you choose to invite people to view the notebook, you'll enter email addresses for the people you want to share with, as shown above. You can also add a message.

Click the Share button when you're finished adding email addresses.
The people you've chosen to share the notebook with will receive emails letting them know they can view the notebook on OneDrive via the OneNote web app, as shown below.
Get a Sharing Link
Another way that you can share an existing notebook is to get a sharing link. This will give the people you invite a URL to visit to view the notebook.
Click Get a Sharing Link as we've done below.
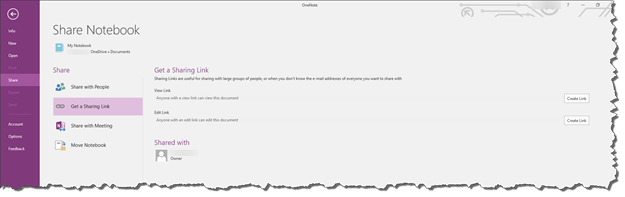
You can create two types of links.
- You can create a link for those people who you want to be able to view your notebook.
- You can create a link for those people who want to be able to edit your notebook.
Click the Create Link button for the type of link you want to create.
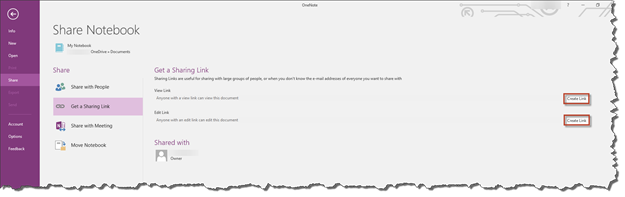
Please note that you can create both types of links if you want. Just click both of the Create Link buttons.
Below we've created a link for people to view our notebook.
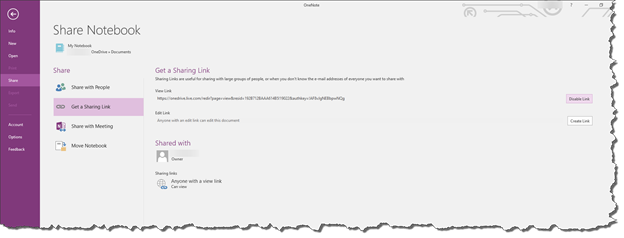
Now we can share this link with anyone who needs or wants to view the notebook.
Share with Meeting
You can also share with meeting. Let's show you how that works.
Let's select Share with Meeting.
This is what you'll see:
Now click the Share with Meeting button.
If you're in a meeting, you can now share your notes.
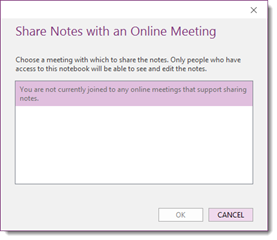
Click the OK button to share the notes.
Send Files from Other Office Programs to OneNote
If you've used other 2016 Microsoft Office programs, such as Word or Excel, when you go to print your files, you may notice that you can print to OneNote 2016. Before you learned to use OneNote, you may have wondered exactly what that meant.
Let's say you've created a document that you want to incorporate into your notes or just save as notes.
We've created a basic outline. Now we're going to print it to OneNote.
To do this, first we need to open the MS Word document that contains our outline. Keep in mind you can also print Excel, etc.
Next, we're going to click on the File tab in Microsoft Word.
Click Print.
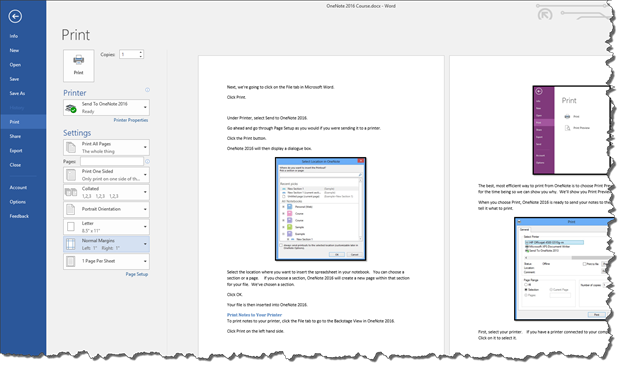
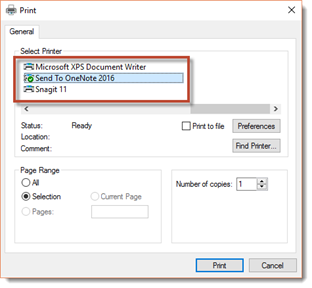
Under Printer, select Send to OneNote 2016.
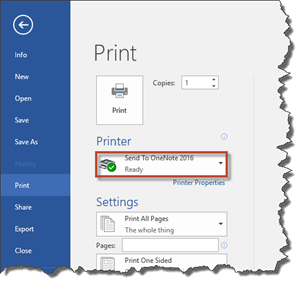
Go ahead and go through Page Setup as you would if you were sending it to a printer.
Click the Print button.
OneNote 2016 will then display a dialogue box.
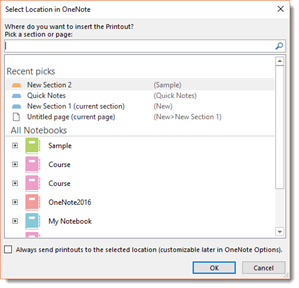
Select the location where you want to insert the spreadsheet in your notebook. You can choose a section or a page. If you choose a section, OneNote 2016 will create a new page within that section for your file. We've chosen a section.
Click OK.
Your file is then inserted into OneNote 2016.
To print notes to your printer, click the File tab to go to the Backstage View in OneNote 2016.
Click Print on the left hand side.
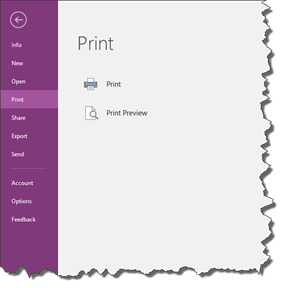
The best, most efficient way to print from OneNote is to choose Print Preview. However, let's click Print for the time being so we can show you why. We'll show you Print Preview later.
When you choose Print, OneNote 2016 is ready to send your notes to the printer. All you have to do is tell it what to print.
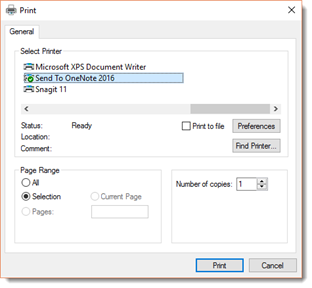
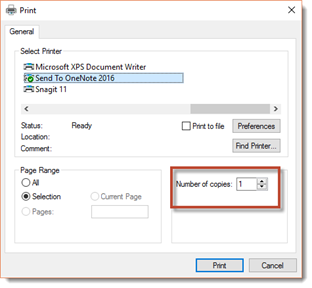
First, select your printer. If you have a printer connected to your computer, it should show in this area. Click on it to select it.
Select the number of copies of your notes that you want to print in the Number of Copies box.
Next, select the page range that you want to print.
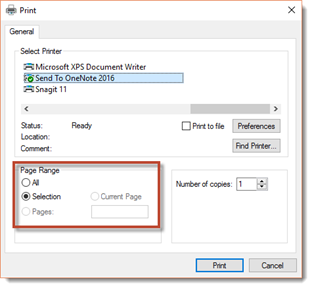
You can print all of the pages by checking All. In addition, you can print a Selection, or the text you have selected.
You can also specify certain pages. Since OneNote doesn't assign page numbers, but uses this old-fashioned print box anyway. If you want to check Pages to specify the pages to print, you can only print the first page of a section. The section that you want to print must be the active section open on OneNote 2016. For that, you would enter 1-1, then click Print.
However, if you want to select pages to print - and you don't want to print all pages in your notebook, you must use Print Preview. You saw Print Preview at the beginning of this section. We wanted to go through the Print command first to show you that it can be a dead-end if you want to specify a certain page to print. For OneNote 2016, it's always best practice to use Print Preview to print your notes.
Let's go to Print Preview Now. We're going to click Print again from the Backstage View.
Now, click Print Preview.
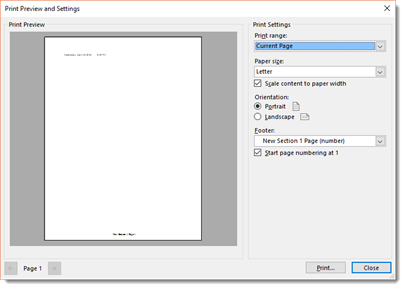
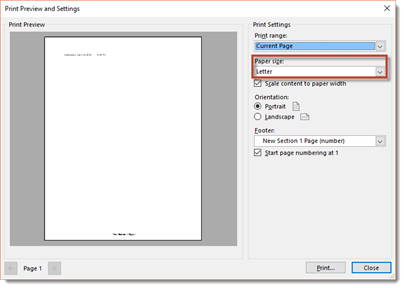
On the left, we see the page that we have active in OneNote 2016.
On the right, we can adjust print settings.
The first thing we need to specify is what we want to print.
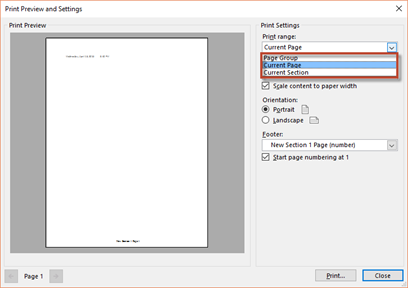
By default, it's set to the current (active) page. We can also print a group or a section, as shown in the Print range dropdown menu.
Now select your paper size.
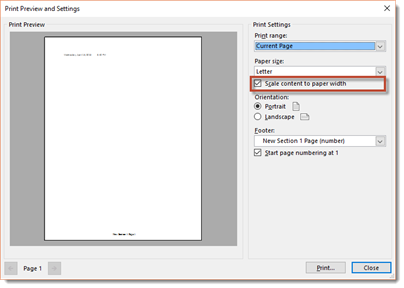
The Scale Content to Paper Width is automatically checked for you. It's best to leave that checked so you don't have content going off the side of the page when it's printed. You want all your content to fit onto the printed page and, with this box checked, it will.
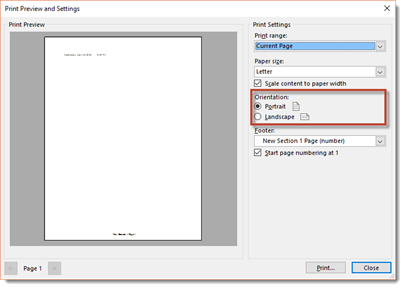
Next, select if you want to print Portrait or Landscape. If you're printing onto a standard 8.5"x11" sheet of paper, printing portrait would mean that your printed document would be 8.5" wide by 11" long. If you print landscape, your document would be 11" wide and 8.5" long.
Now select your footer, if you want one. You can print footers that contain:
- The name of the section with a page number
- The page number
- The name of the section
- Or you can choose not to have a footer.
Click Print when you're ready to print.
You'll then see the Print dialogue box, as we saw earlier in this article.

Select the printer you want to use in the Select Printer section. If you want to print multiple copies, specify the number of copies you want to print in the Number of Copies box.
Click Print.