When you have a real notebook in your hands, you may use things like post-it notes or paper flags to tag content that you want to remember. Unfortunately, when you're on a computer using OneNote, a post-it note or paper flag isn't going to do any good. However, you can use tags.
OneNote 2016 has a tagging feature so that you can mark important content that's on your pages to make it easier to find. There's a long list of tag types so that you can tag text, video, audio, images, tables, and everything else easily.
To tag content or objects in your notebook, go to the Home tab and the Tags group.
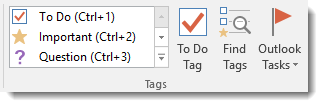
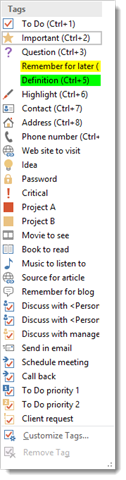
In Tag Gallery, you will see tags such as To Do, Important, and Question. Click the downward arrow to see all tags that you can use.
Now, go to your notebook and select the content that you want to tag.
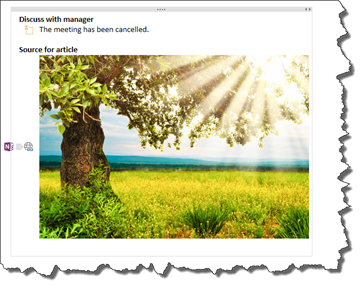
We've tagged the following text with the tag "Discuss with Manager."

You can see the icon to the left of the text that lets us know that it's tagged.
Let's tag some more things in our notebook.
We tagged this picture with Source for Article:

Finding Tagged Content
Now, let's say we have a lot of things in our notebook tagged, and we want to find our tagged content. To do this, go to the Home tab. Click the Find Tags button in the Tags group.
The Tags Summary Pane will appear.
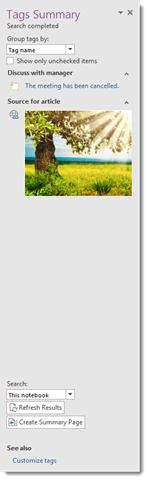
You can see the tags we've added.
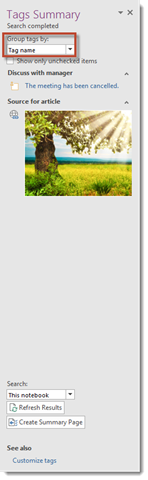
In the Group Tags By section, select how you want to view the tags. OneNote will group your tags as you specify here.
You can also search for tags by clicking the downward arrow in the Search section.
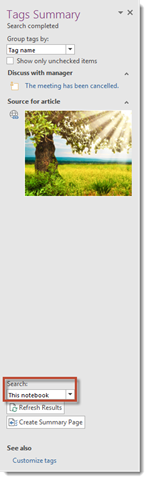
You can also create a Summary Page that lists your tags. Just click the Create Summary Page button. A Summary Page lists your tagged content.
Life would be easy if you could always add notes to the pages you need to add notes - right at the moment you need to add them. However, it doesn't always work out that way. Sometimes you need to take notes and don't have time to go to the correct page.
The Quick Notes feature in OneNote allows you to take the notes you need to take when you need to take them - and not put them on any page until you're ready. Quick notes are simply unfiled notes that you can file onto a page later. You can think of them as post-it notes, if you will.
You can use quick notes by going to the View tab and clicking the New Quick Note button.

When you do, a little window opens.
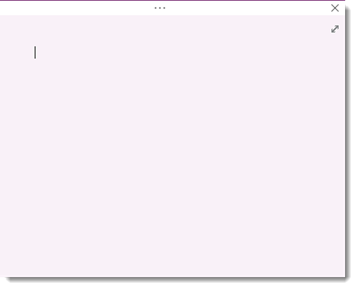
You can start typing your notes in this window. The cursor is already in place for you.
If you click the dots at the top of the screen, you can also see commands and tools for you to use with quick notes.

Each quick note that you take appears on its own page.
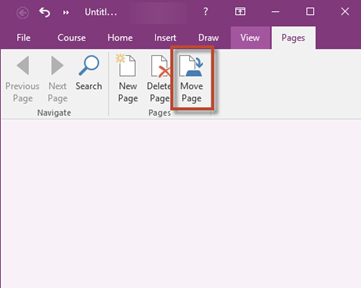
When you're ready to file your quick note, you can do so by going to the Pages tab and selecting Move Page.
You can then choose whether to move the quick note or copy it to another page.
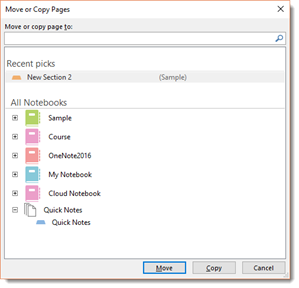
Select where you want to move the page, then click the Move button.
If you take quick notes, or use Office Lens or Clipper, the notes you take aren't placed onto your pages. Instead, they become unfiled notes.
To find any unfiled notes, go to the name of your notebook in OneNote, as highlighted below.
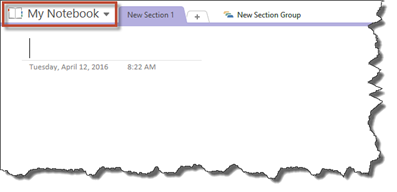
Click the downward arrow and select Quick Notes - or Unfiled Notes.
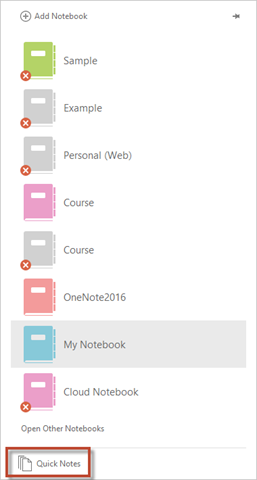
When you click Quick Notes, you will see any unfiled notes.
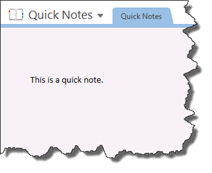
When you're ready to file your quick note, you can do so by going to the page that contains the quick note on the right side of the screen.

Select Move from the context menu.
You can then choose whether to move the quick note or copy it to another page.

Select where you want to move the page, then click the Move button.
Linked notes are notes that are taken in a docked window when OneNote is docked beside Word, Excel, or a web browser such as Internet Explorer. Let's learn exactly what that means.
First, dock OneNote 2016. You can do this using the Quick Access Toolbar. You can also click the View tab, then Dock to Desktop.
You'll see this message appear when you start to take notes.
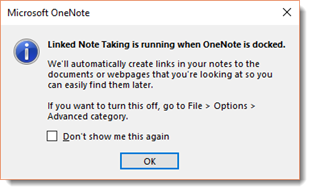
Click OK.
If you look at OneNote and click on the notes you typed, you'll see an icon for the program you had OneNote docked beside.
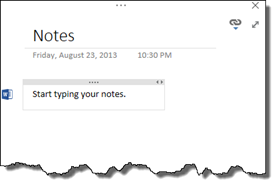
If you undock OneNote, the notes you typed appear on your page. If you select the note, you'll see the icon again. You can click on the icon to access the program or file you were working on when OneNote was docked.
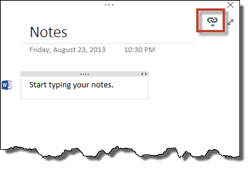
If you want to unlink notes, click the button pictured below.
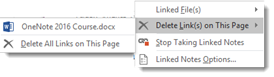
Choose Delete Link(s) on This Page, then choose the link you want to delete. Select Delete All Links on this Page to delete all links.
Send Web Notes from Edge to OneNote
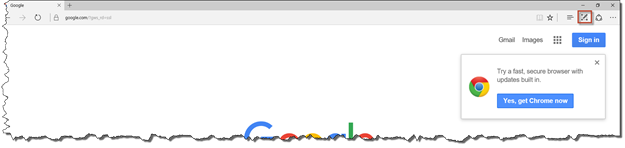
Microsoft Edge is the new browser that was released with Windows 10. Using Windows Edge, you can take web notes as you surf by clicking the  button in the upper right hand corner of the Edge window.
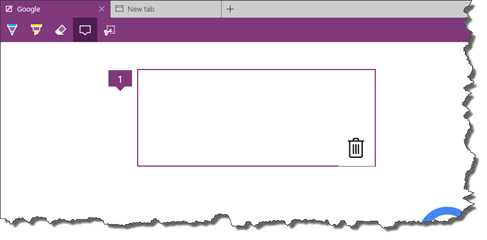
When you click the Web Note button, you can then use the pen, highlighter, or add a typed note, as we've begun to do in the snapshot below.
When you're finished taking your web notes in Edge, click the Share button on the right side of the Web Note toolbar, as highlighted in red below.

You will then see the Share panel on the right side of your screen.
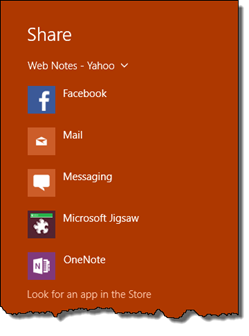
Select OneNote.
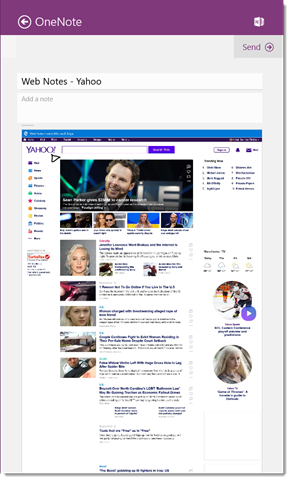
OneNote opens and is automatically docked. You'll see the web page with your notes already placed in OneNote for you.
Save Emails to OneNote
You can also send emails that you receive to OneNote when you want to use the emails as notes. For example, if your boss sends you an email with information regarding a project, you might want to add that email to your notes about the project.
To send emails to OneNote, you first have to set it up by going to https://www.onenote.com/EmailSettings.
Start out by selecting which email addresses you want to be able to use with OneNote.
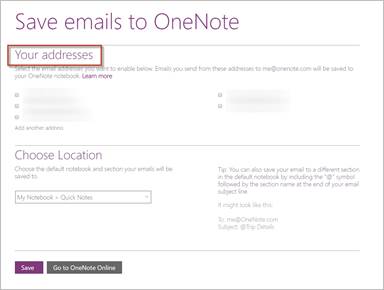
Next, choose where the notes will be saved.
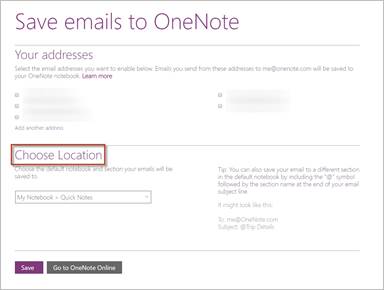
Click the Save button when you're finished.
Now, using one of the email addresses you've specified, send an email to me@onenote.com.
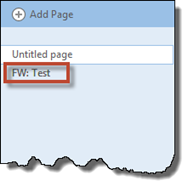
The email is saved in OneNote in the location you specified.
It will appear as a page.
If you want to see previous versions of pages within your notebook, open the page that you want, then click the History tab, then Page Versions in the History group.
Select Page Versions from the dropdown menu that appears when you click on the Page Versions button.
On the right side of the page where your page list appears, you'll see the dates for which previous versions of your page existed:
Click on the date to view the previous version of the page.
Using the Page Versions button, you can also:
- Delete the history for the entire notebook. When you do that, you won't be able to access previous versions anymore.
- Delete all versions in a section. This deletes previous versions in a section of your notebook.
- Delete all previous versions in a section group.
- Disable history for the entire notebook so that previous pages won't be stored.
Did you know that you can also use OneNote 2016 to do research? You can, and it is easy to do.
Go to the Review tab and click the Research button in the Spelling group.
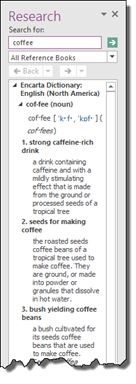
You will then see the Research Pane appear on the left side of your screen, as pictured below.
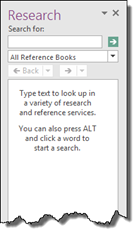
Type in what you want to research in the Search For box.
Below the Search For box, specify what you want to use to do your research by clicking the downward arrow. We've chosen to search for "coffee" in "All Reference Books."
Your results appear in the column:
If you click Research Options at the bottom of the Research Pane, you will see this window:
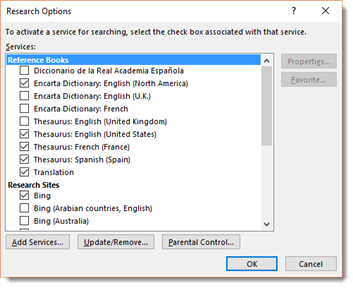
If you want to be able to use more reference books, you can put a checkmark by the books you want to use.
Click OK.
Integrating OneNote with Outlook
If you use Outlook as your email program, you can easily integrate it with OneNote to make scheduling meetings and tasks easier than ever before. You can add meeting details to notes and create tasks to send to Outlook. Because this is highly useful feature of OneNote 2016, we're going to dedicate this lesson to it.
There may be times when you want to include an email you've sent or received into your notes, perhaps as a reference. Rather than copying and pasting the email, OneNote gives you a way that you can insert emails from Outlook into your notes.
To do this, open Outlook. Select the email that you want to insert into your notes.
Go to the Home tab in Outlook. Click the OneNote button in the Move group.
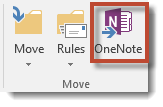
When you click on the button, you'll see this dialogue box:
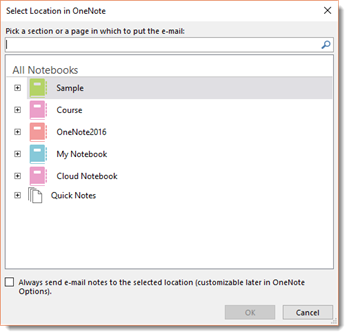
Select the notebook, section, and/or page where you want the email to appear, then click OK.
The email is inserted into your notes.
Sending Outlook Tasks from OneNote
If you use Outlook 2016, you know that you can create, schedule, then manage tasks in that program. But did you know that you can also send tasks to Outlook from OneNote to help manage and schedule them better? Let's show you what we mean.
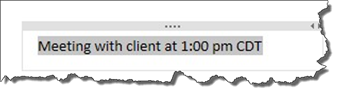
Go to a page in your notebook and select the text that you want to convert to a task in Outlook 2016.
You can see that we've selected our text below.
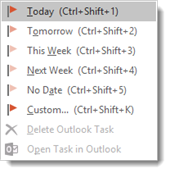
Now go to the Home tab in OneNote and click Outlook Tasks in the Tags group.
Select the date for this task from the dropdown menu. We're selecting tomorrow.
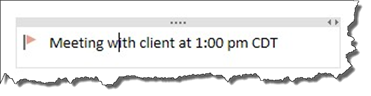
Once you click the date, it is automatically added to your Outlook tasks and a flag appears beside the text in your notebook.
You can also send meeting details from Outlook 2016 to OneNote 2016. Let's show you how to do it.
First, launch Outlook 2016 and go to the Calendar module.
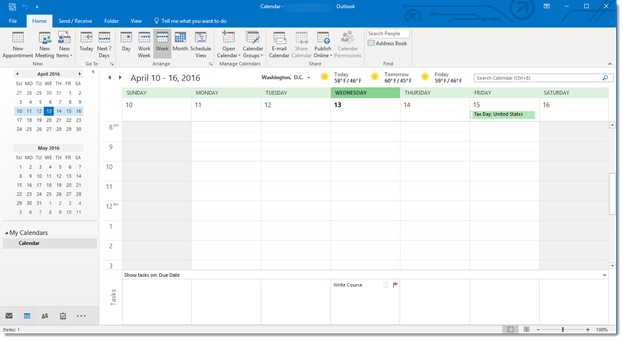
Now, add an appointment or meeting to your calendar, then click Save & Close.
You can now close Outlook 2016.
Go back to OneNote and go to the page where you want to add meeting details. Click where you want the details to appear on the page.
Now go to the Home tab and click Meeting Details in the Meetings group. You will see a dropdown menu listing your meetings.
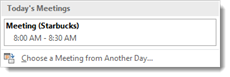
Select the meeting details that you want to include on your notebook page.
Those details now appear on your page.