A catalog is defined as a list of items. You can create catalogs using Publisher by either creating a list of items to add to the catalog – or by importing a list of items into Publisher. If you wish to import a list of items, you will import an Excel spreadsheet.
In this article, we're going to show you how to create a catalog by creating one of our own. For our catalog, we are going to pretend we're a retailer with 12 high-quality hair care products for which we need to create a catalog. We will put three items on each page of our publication so that we have room for the price, pictures, and description. That comes to four pages in all.
There are two ways we can do this. There is the hard way, in which we would design eight separate pages and manually enter everything using the techniques learned. The easy way is going to be compiling the product list, then creating a single template using the Catalog tools. When we finish, Publisher will automatically take all of the information in the product list, and insert it into our template, creating eight individual pages with three products on each page. We are going to show you the easy way in this article.
If you want to follow along while we create our catalog, go ahead and open a blank template.
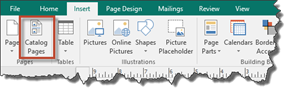
Next, go to the Insert tab in the Ribbon. Click the Catalog Pages button in the Pages group.
This will open the Catalog Tools Format tab, as illustrated below. If this is the first time you've used catalog pages in the current publication, most of the buttons will be greyed out and inactive. They will remain this way until you create or select a data list.

Creating a Data List
As we mentioned at the beginning of the article, you can either create a list or import a list for a catalog. Let's learn how to create a data list.
Click the button on the far left side of the Catalog Tools Format tab called the Add List button.
You will see this dropdown menu:
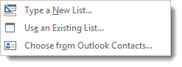
Here we have the option of creating a new list, using an existing one, or choosing a list from our Outlook Contacts. Since we're going to be making a catalog of shampoo products, we're obviously not going to use our Outlook Contacts. Click the Type New List option.

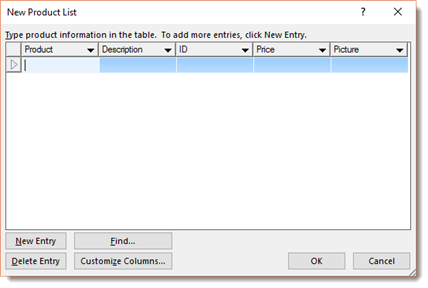
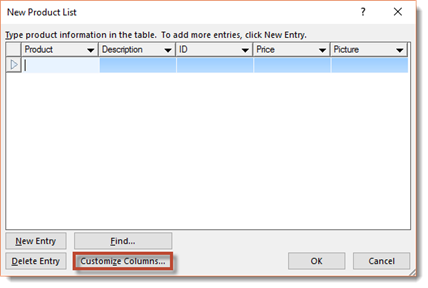
Here we have the opportunity to create our list from scratch.
We are going to add information for our first product. Under the Product column, we will enter the name of our product. We'll add a description under the Description column. We will then fill out the information under the other columns as well.
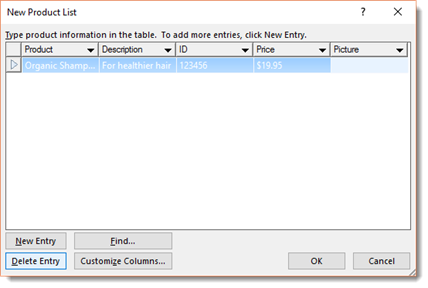
You may notice the column titled "Picture." For this column, you cannot use an actual image. Instead, you must use the address of the image. For instance, if the image is located on your computer, in your publications folder, the address of the image might be "C:\User\Your Name\Documents\Picture Name".
To add an item, click the New Entry button. This activates a new row.
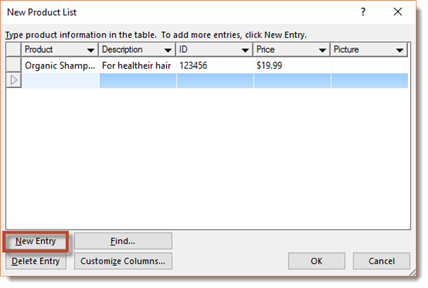
Click the first cell of the row, type in your information, then hit the Tab key to jump to the next cell, and so on.
Our complete list is pictured below.
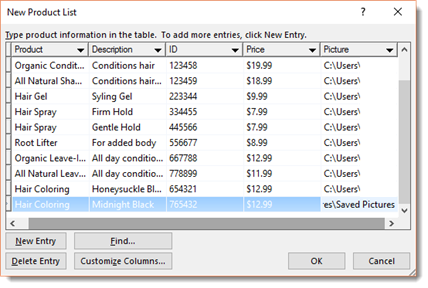
Click OK.
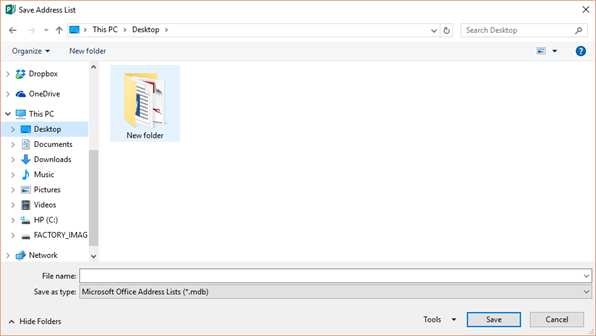
Enter a name for the list in the File Name field (pictured above).
Click Save.
You can now make any changes that you want in your list. You can also remove products if you want. When you're finished, click OK.
Your new list has been created.
Adding or Customizing Columns
Let's go back to the New List dialogue box for just a second. It is pictured below.
If the column headings at the top of the list (Product, Description, etc.) aren't appropriate for you, or you'd like to add more fields, click the Customize Columns button.
If you've already started to create a list, Publisher will tell you that before you can continue, the list you are making must be saved. It will ask you if you want to do this now. Click Yes.
You will then see this dialogue box:
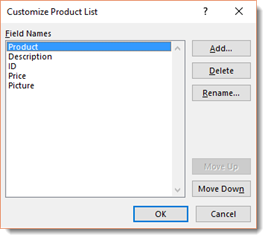
The buttons on this window are pretty much self-explanatory. You can rename a field by selecting it and clicking the rename button. You can add or delete items, or move them up or down in the list. Click OK when finished. This will return you to the previous window.
Click OK when finished adding all of your products. Publisher will then ask you where you want to save the list, and what you want to call it. Type in a name, select the location, and click OK.
Using an Existing Data List
In addition to creating your own list in Publisher, you can also use a list you've already created in another program, such as Excel.
To use an existing list, go back to the Catalog Tools Format tab, and click the Add List dropdown button again. This time, we are going to select the Use Existing List option.
You will be prompted to locate the data source on your computer, as shown below.
NOTE: If you're going to use an Excel file, the data in the Excel file must be in a table.
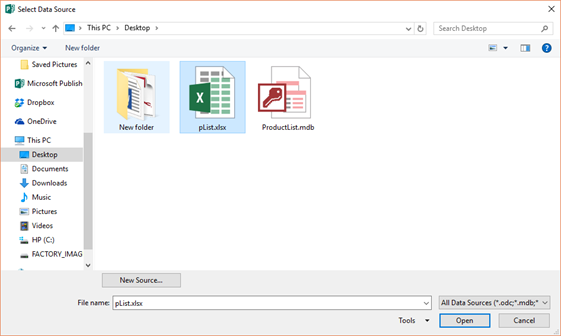
Select your data source, then click Open.
You will then see the Select Table dialogue box.
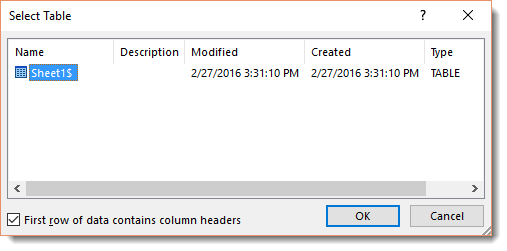
Select the table that contains the list, then click OK.
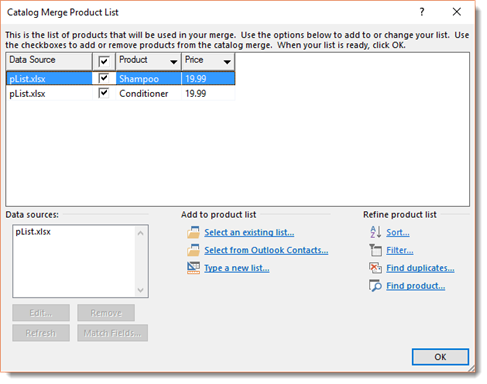
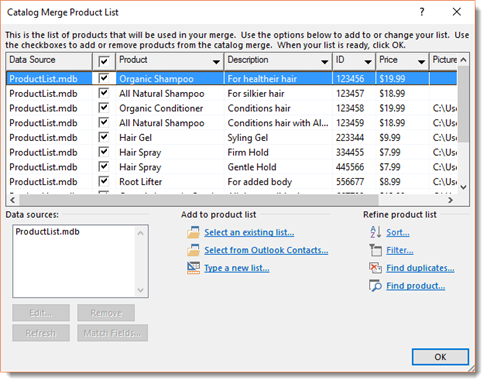
The Catalog Merge Product List dialogue box appears when you create a new list, as well as when you use an existing list. For that reason, let's take a closer look at it.
In Catalog Merge Product List dialogue box pictured above, you have the opportunity to review the items in the list, as well as select which items you want to include in your catalog. In the example above, the items with a check mark indicate items that will be included. Uncheck the box on items you don't want to include.
Now look below at the Data sources box. This shows you what list you are using. Selecting it will make the Edit, Remove, and Refresh buttons active.
The Match Fields button allows you to match fields in your data list with fields available for your catalog merge. For instance, the data field in an Excel spreadsheet might simply be named "Field A". This button allows you to identify Field A as "Product", "Description" or any other customized field.
Once you've created your list or selected one, it is time to create your catalog pages.
Click OK.
In the Navigation Pane on the left side of your publication, you'll see something like this:
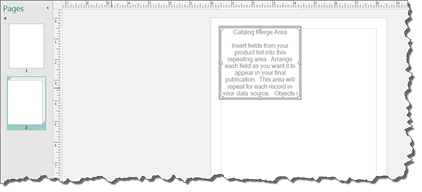
That group of pages labeled "2", represents your catalog. You can add individual pages before it or after it, and you can even move 2 around as a group, as if it were only a single page. You can also delete it just like any other individual page.
Creating a Catalog Page Template
As we said at the beginning of this section, what you're going to do is create a template that Publisher will use as a guide for entering all of the information in your list.
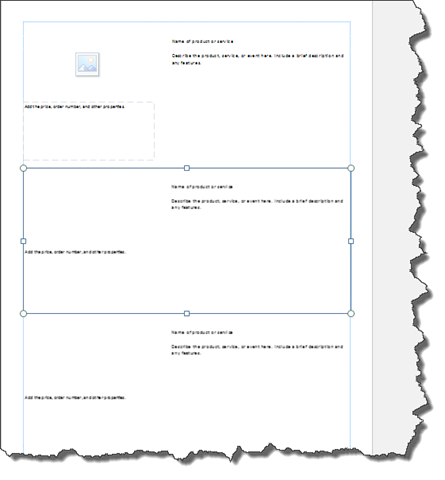
After you create your list and activate the Catalog Page features, you're going to see something like this on the page in the work area:
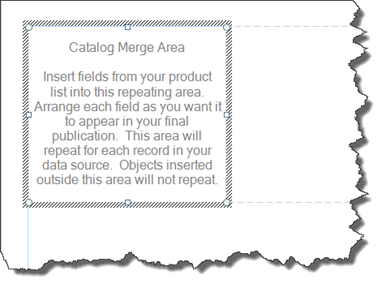
This is the default Catalog Merge area. As stated earlier, though, we're going to want three products per page, so we're going to select that layout from the Layout group under the Catalog Tools Format tab on the Ribbon.

Publisher has ten predefined layouts for you to use. You can select any layout at any time, even after you've entered your merge fields. Publisher will automatically make the adjustments.
You can also create your own layout by using the Rows and Columns button on the right of the layouts.
Adding rows and columns with this tool is just like inserting a new table. Just remember that each cell essentially represents each item in your list.

The Fill Order button lets you decide how Publisher should fill each of those cells, either across then down, or down then across.

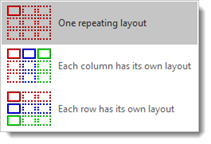
The Repeating Areas option lets you choose the way in which the merge areas are repeated. The dropdown menu is pictured below.
Now that we've selected a layout that has room for three products per page (as we decided earlier in this article), we can enter our fields.
Our layout is below.
To the right of the Layout group on the ribbon, we will find the Fields buttons. This button gives us access to the fields in our list that we created earlier:

The text fields will appear in your publication as placeholder text. For instance, if we were to click on the Product field, it'd appear in our publication as <<Product>>. This represents all of the information that was entered into the Product field of the list we created earlier.
You can use the text tools to change any of the attributes of the placeholders. For instance, if you increase the font size of the <<Product>> placeholder, the font size in each subsequent entry will also change automatically.
You can also add pictures and other objects. Just remember, anything you put in the merge field will show up in every other field.
To the right of the Catalog Tools Format tab of the ribbon, you'll find the Preview Page group.
From here, you can preview the results, locate any entry, and even exclude a selected entry from the catalog.
Merging the Catalog
It is now time to merge the catalog. This is the part of process that Publisher creates all of the individual pages it needs in order to display all of the items in your list.
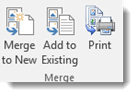
On the far right of the ribbon, you will find the Merge group. You can elect to merge your catalog into a new publication, add it to an existing one, or just print it.
Clicking Merge to New creates an entirely new publication based on the publication you originally created the catalog for. Publisher automatically inserts all of the necessary pages into your publication.
If you were to click the Add To Existing button, Publisher would give you the opportunity to locate the publication on your computer and select it. It would then enter all of your catalog entries into that publication, creating as many pages as necessary.
Using and Formatting Tables
If you've ever seen a spreadsheet, or used a program such as Excel, then you're probably pretty familiar with tables. That's all tables are, after all--simply a grid arranged into columns and rows. You can use them to organize and emphasize certain pieces of information. More than that, you can use tables to do complex page layout operations that almost rival expensive professional publishing programs like Adobe InDesign.
Inserting Tables
Before we identify the different parts of a table, let's go ahead and insert one into our publication.
You'll find tables under the Insert tab in the Tables group. The Tables button looks like this:

Click the Tables dropdown menu.
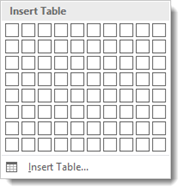
You'll see a bunch of boxes at the top.
The easiest way to insert a table is to drag your mouse over the rows and columns until you have the amount you want.
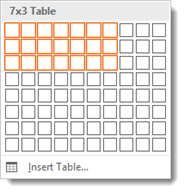
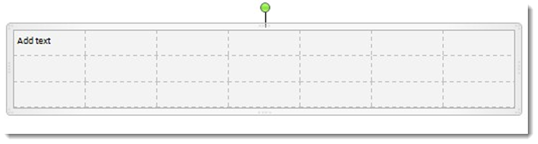
As you can see above, we dragged our mouse to make a table that has seven columns and three rows, or 7x3. As we drag, the table appears in our publication.
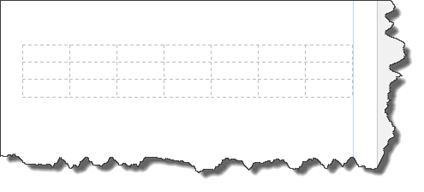
Click to add the table.
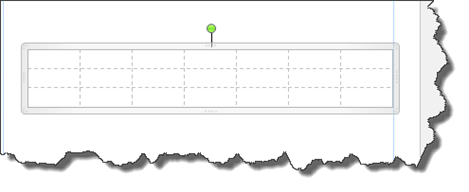
We now have a basic table. So let's identify the parts.
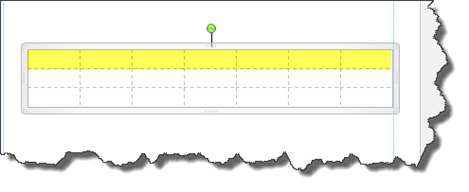
Each box that you see in a table is called a "Cell." There are 21 cells in the table above. We have highlighted a cell below.

The "Rows" go from left to right. There are three rows. Rows go horizontally across the screen.
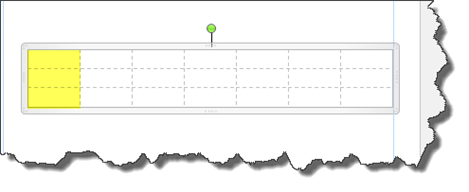
Columns go from top to bottom. There are seven columns above. Columns are vertical.
So now that we've identified the parts of a table, let's take a look at the other ways in which we can add them.
Using the Insert Table Dialogue
Once again, we're going to add a table, but this time we're going to use a different method.
Go back to the Insert tab, click the Table button, and select "Insert Table" instead of dragging your mouse over the boxes (which really represent cells, as we learned a second ago.)
A dialogue box opens in the center of your screen. It looks like this.
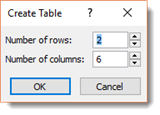
From here you can select the number of rows and columns. In this example, there are going to add 6 columns, and 2 rows.
Click OK.
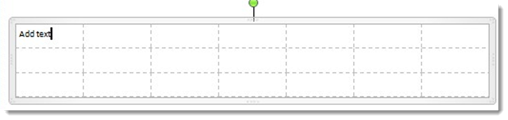
Adding Text to a Table
Adding text to a table is as easy as clicking into a cell and then typing.
You will be able to change any attributes of that text, too, and even apply a WordArt style, which adds effects to the text. You'll find quick styles in the Tables Tools Design tab that appears when you add a table.

We will talk about formatting tables in just a few minutes.
Position Text Within a Cell
Just like in an ordinary publication, you can choose whether to center text within a cell, or whether to align it right or left, or toward the top or the bottom. Go to the Alignment group under the Table Tools Layout tab. This tab appears beside the Table Tools Design tab.

You'll use these buttons:
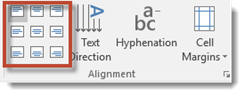
As you can see, you can align text to the left, center, or right of a cell. You can also align it to the top, middle, and bottom of a cell.
In addition, you can also change text direction, add hyphenation, or adjust the margins within individual cells.
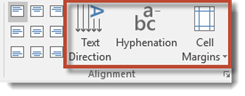
You should be familiar with the buttons above. They work the same way that they do in text boxes, except they are for individual cells.
Formatting Tables with the Table Tools
Whenever you create or select a table, the Table Tools will open automatically over the Design and Layout tabs in the tool bar. It allows you to easily apply table styles, borders, and shading attributes and more.

The Design tab, as shown above, lets you customize the look and appearance of your table.
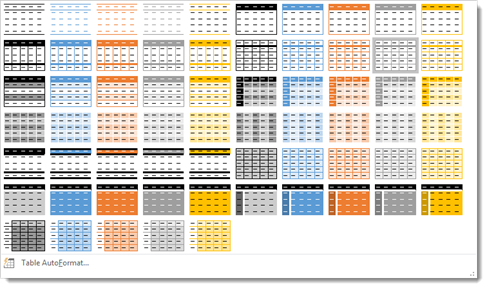
The Table Formats group under the Table Tools Design tab lets you format the appearance of your table. You can format your table using one of the predesigned Publisher formats.

Click the downward arrow to see all formats available. These formats will establish the look and feel of your table.
Click the Fill button to add a fill color to your table, by selecting the table, then choosing a color in the Fill dropdown menu.

We've added a grey fill color to ours.
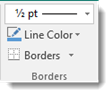
In the Borders group, you can use Border Styles add borders to rows and columns to customize the look of your table.
Selecting cells, rows, and columns in Publisher 2016 is easy.
To select a cell, click within the cell so the mouse cursor is blinking.
Go to the table Format tab, then the Table group. Click Select>Select Cell
To select a row, click in the first cell in a row go to Select>Select Row.
To select a column, click the first cell in a column, then go to Select>Select Column.
Adjusting the Width of Individual Columns
To adjust the width of individual columns, position your mouse pointer over the edge of the column and then drag it to the desired width.
Adding Rows and Columns
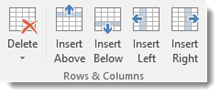
There are two ways to add a new row or column to a table.
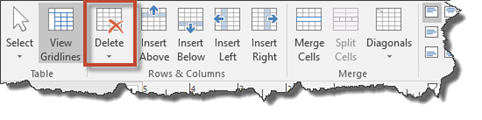
Select a cell, row, or column. Go to the Table Tools Layout tab. Choose an option from the Rows & Columns group.
Deleting Rows, Columns, or a Table
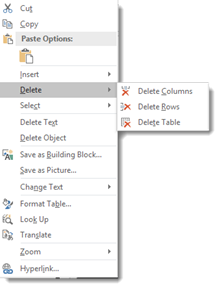
You can delete rows by selecting the cell within the row or column you want to delete --- and then right-clicking inside the cell. In the context menu, select Delete, then either Delete Columns, Delete Rows, or Delete Table.
Merging Cells and Splitting Cells
To merge cells, drag your mouse over the cells while holding the left mouse button to select them.

As you can see above, the first two are selected.
In the Layout tab, select the Merge Cells button from the ribbon.
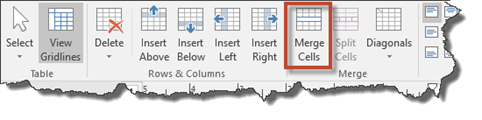
The cells are then merged in the table.

To split a cell, select it by clicking on it, then click the Split Cell button on the Ribbon.
Add Diagonals
You can also add diagonal lines through cells. When you do this, you can type in each section of the cell, above and below the diagonal line. To do this, select a cell, group of cells, or the entire table.
Find the Diagonals button on the Ribbon under the Table Tools Layout tab.
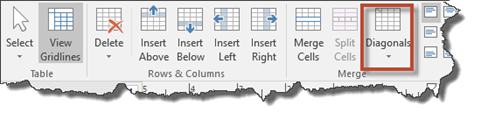
Click the downward arrow to see this menu:
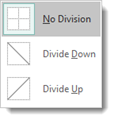
Choose to either Divide Down or Divide up.
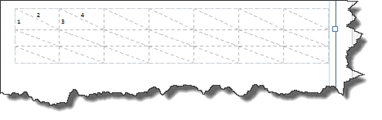
We chose Divide Down.
As you can see in our table below, we can now type above and below the diagonal line.
Deleting a Table
There are three ways to delete a table in Publisher. You can select any cell in the table, then click the Delete button on the Table Tools Layout tab. Click Delete Table from the dropdown menu.
Another way to delete a table is by right clicking on it and selecting Delete > Delete Table, as we already learned in this article.