Although it's important for every web page that you create to have text, adding images compliments your text and makes the page more attractive to view. The good news is that adding images or graphics isn't any harder than adding text � once you learn exactly how to do it.
Adding an Image Folder
Just like when you start a new paragraph, every time you insert an image into your Dreamweaver document in Design View, Dreamweaver will automatically generate HTML code into the Code view. You do not have to worry about doing this.
For every image that you add to your Dreamweaver page, however, you must include that image in your root folder for the site. If you place an image in your Dreamweaver document, but do not include it in your root folder, when you upload your site to the web, the image will not appear on your website. That said, always remember that any image that you place on your page must be included in your root folder. You can place the images directly in your root folder, or you can create a sub folder within the root folder and name it images."
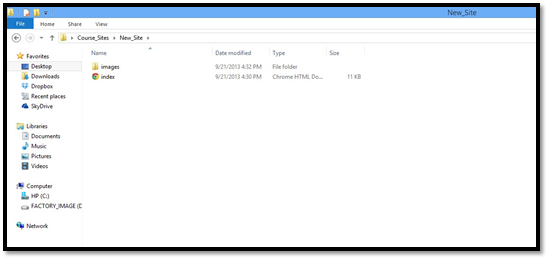
It's recommended that you create an "images" folder. Because it keeps your site more organized. That said, open your "New_Site" folder.

Now create a new folder within the "New_Site" folder and name it images, as we've done below.
You will now need to save any images that you're going to use on your web site in the "images" folder. Otherwise, when you upload your site to the Internet, the images will not appear.
Inserting an Image
Again, before you even begin to insert an image into your document, it's a good idea to go ahead and transfer the image to your root folder. More specifically, the image file in the root folder.
|
NOTE TO CC USERS: If you're using Dreamweaver CC, go to Insert>Image>Image. Find the image in your folder, then select it and click the Insert button. The image will automatically be inserted onto your page.
|
Now, place the cursor at the place where you want the image to appear in your document (in Design View), then go to Insert> Image.
Find your "images" folder, select the appropriate image, and select OK.
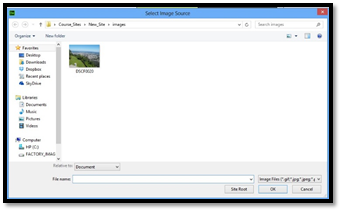
In CS6, you'll then see the Select Image Source dialogue box.
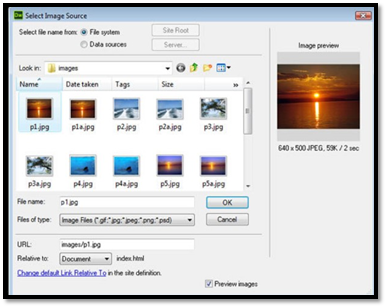
Choose the image you want to insert, then click OK.
In Dreamweaver CS6, the Image Tag Accessibility Attributes dialog box appears if you have Accessibility options turned on in Preferences.
|
NOTE TO CC USERS: This will not appear in Dreamweaver CC. Instead, you'll use the image Property Inspector to set attributes, which we'll cover in the next section. |
In this dialogue box, you'll want to enter alternate text � or brief text that describes the image.
The Property Inspector below your page will then allow you to add attributes to your image.
Image Attributes in the Property Inspector
Select an image on your page by clicking on it. You'll then see the image attributes appear in the Property Inspector. An attribute is defined as a characteristic or property of an image.
The Property Inspector for Dreamweaver CC is pictured below.

|
Let's learn what each of these attributes mean.
-
Image (no attribute). It simply displays the file size.
-
ID (attribute: Name). It identifies the image uniquely on the page. You can leave this blank if you want.
-
Map (attribute: Map Name). Map assigns a name to an image map. You must have a name for an image map.
-
Hotspot tools (attribute: Image Map Coordinates). This creates image map hotspots for links. The links are in the shape of a rectangle, polygon, or oval.
-
W (attribute: Width). This specifies the width of an image.
-
H (attribute: Height). Specifies the height of an image.
-
Src (attribute: Source). Sets the source (the filename and path from the document to the image. This is required.
-
Link (attribute: Hyperlink). This displays the address if the image is a hyperlink.
-
Alt (attribute: Alternate Text). Enter a description for the picture in the Alternate text box. This can be an actual description of the picture. This alternate text will be read by screen readers (that the blind use) and will be indexed by search engines. It's a good idea to always enter something in this box.
-
Edit (attribute: Edit). There are several icons beside Edit. You can mouseover each of these buttons to learn what they do. Each button gives you a different way to edit the image.
-
V Space (attribute: Vertical Space). Inserts blank space (in pixels) above and below the image.
-
H Space (attribute: Horizontal Space). Inserts blank space (in pixels) to the left and right of the image.
-
Target (attribute: Link Target). This controls how a link opens in a web browser. Earlier in this article, we learned that _blank makes the link open in a new browser window.
-
Border (attribute: Image Border). This lets you control the appearance of a border. Set the image border to 0 if you don't want a border.
-
Class (attribute: CSS Setting). This allows you to apply any class styles that are defined in Dreamweaver. To use this, select an element in the workspace, then select a class style that you wish to apply.
-
Original (no attribute). This is the original version of the image.
-
Align (attribute: Align). Align images.
Add White Space around Images
You may want to add white space around your images so that the image and the text are not clumped together.
To do this, use the Properties panel (Property Inspector) for images.
Use V Space to add vertical space and H Space adds to the horizontal space.
Enter 5 in one or both of the boxes. Look at the space this adds. If this is too much space, decrease the number. To add more space, increase the number.
Align Images
You can align your image on the page to have it appear on the left, right, top, bottom, etc.
|
NOTE TO CC USERS:
You can only do this in Dreamweaver CS6. In Dreamweaver CC, you will use CSS to align images. |
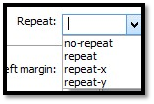
Using the Property Inspector, go to Align.
This dropdown menu will appear:
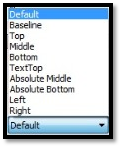
Simply select where you want your image to appear in relation to the text on your page.
Add a Border to an Image
To add a solid border to your image, enter a number in the Border box in the Properties panel.
|
Start with the number 5. If that border is too thick, reduce the number. If you want the border to be thicker, increase the number.
Crop an Image
You can crop an image in Dreamweaver instead of having to use Photoshop or another photo editing program to do it.
To crop an image, go to the Property Inspector and click  .
.
A dialogue box will appear to let you know that the changes you make by cropping the image will be permanent.
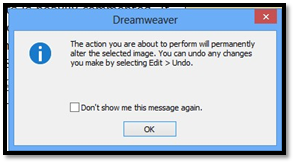
Click OK.
Now, go to your image. You will see the cropping box placed over the image.
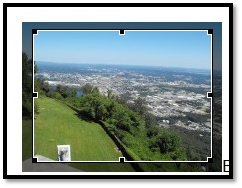
Drag the handles (black boxes on the corners and sides) inward or outward to crop the image.
When you're finished, double click the image to finalize the changes.
Resizing Images
Although you can change the dimensions of an image in the Property Inspector, please remember that the aspect ratio is not locked. In other words, if you change the height, Dreamweaver will not adjust the width to match. As a result, your images may end up distorted. It's best to use photo editing software such as Adobe Photoshop to resize images before adding them to your document.
Adding a Background Image
A background image can give your page the illusion that the page is just one image with text placed on it.
To insert a background image, go to Modify>Page Properties.
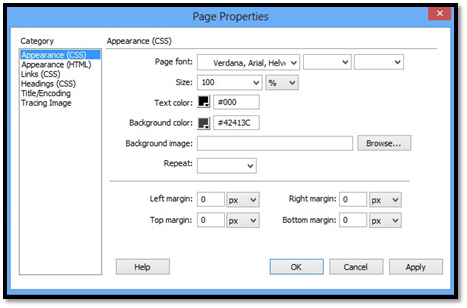
Click the Browse button next to the Background Image field.
Select an image.
Now you can decide how you want that image to repeat on the page:
No-repeat would make your background image look like this:
Look in the upper left corner. The image is placed there. If it would have been a larger image (the size of our web page), it would have been more of an attractive background image, but it would have made the page take longer to load.
Although you don't need to know any HTML to be able to design basic web pages in Dreamweaver, it's helpful to at least be familiar with it. Doing things like being able to recognize tags and add snippets to your web pages will result in more complex, impressive designs.
Basic HTML is not hard to learn, and it's even easier to become familiar with using it in Dreamweaver. In this article, we're going to teach you some basic HTML and then some things that you can do using your new skills to make your pages shine.
Introduction to HTML
HTML stands for Hyper Text Markup Language. Quite simply, it is the programming language used for web pages. HTML is written between tags that look like this: < >. You can look at the code for any web page and pick out the HTML by finding the tags. You can use HTML to design layouts, add images, link to files and other websites, add text, format text, and the list goes on.
To help familiarize you with it, we've included a list of the common tags used in HTML. This way, the next time you look at your HTML's code view, it won't seem so foreign. In addition, once you learn a little HTML, you can use Dreamweaver as a text editor whenever you want.
|
HTML Tag |
Definition |
|
<p> |
Paragraph. </p> is end paragraph |
|
<br> |
Line break |
|
<b> |
Bold face |
|
<i> |
Italics |
|
<center> |
Center text. </center> ends center text |
|
<li> |
Ordered list |
|
<h1>, <h2>, <h3>, etc. |
Headings. The numbers represent different sizes |
|
<em> |
Emphasized text |
|
<strong> |
Strong text |
|
<a href="http://www.example.com/">This is a Link</a> |
Link to another web page |
|
<a href="http://www.example.com/"><img src="URL" alt=""></a> |
Alternate text for an image |
|
<a href="mailto:webmaster@example.com">Send e-mail</a> |
Embed an email link |
|
<table border="1"> |
Table border |
|
<tr> |
Table row |
|
<th> |
Table header |
|
<td> |
Table data (text) |
|
</table> |
End of table |
|
<blockquote> |
Text quoted from another source |
Listed above is not all the tags you can use in an HTML document, but they are some of the most common.
That said, a basic HTML document is organized by the Head and the Body.
Take a look at the example below to see what we mean. You can pick these elements out in any HTML page you look at.
|
<html> <body> </html> |
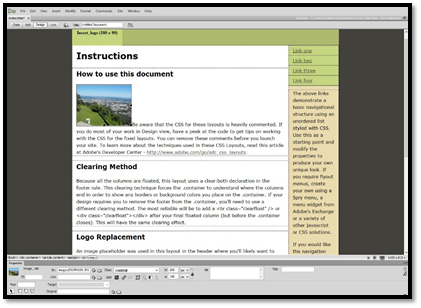
To show you the code for an HTML document, we've created a basic document below.
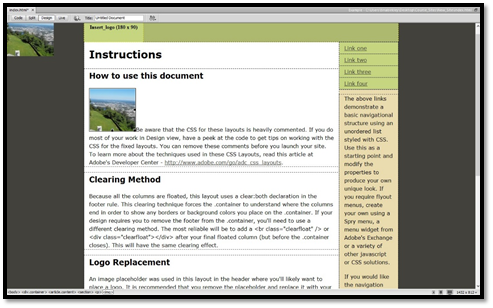
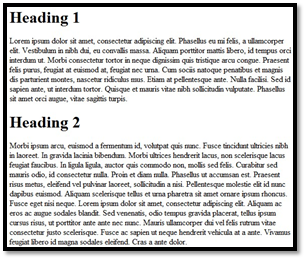
Here is the Design View:
And here is the Code View:
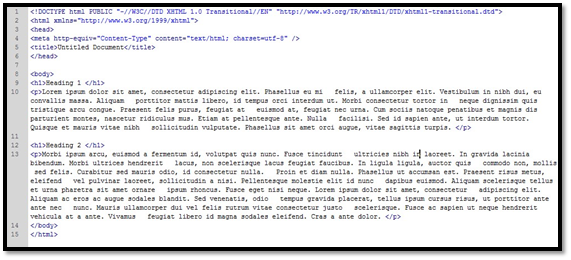
You should be able to determine the function of some of the HTML code using the table above and get a feel for how an HTML page is constructed.
HTML Attributes
Attributes are used to further define tags. For example, if you type in a paragraph tag, but want the whole paragraph in bold face, the bold face would be an HTML attribute. You can have name, Class, ID, align, and title attributes. Attributes allow you to modify tags so that you can completely customize a website. Without them, all websites would look the same.
Here's a list of some of the most commonly used attributes:
|
Attribute |
Options |
What It does |
|
align |
right, left, center |
Horizontally aligns elements within tags |
|
valign |
top, middle, bottom |
Vertically aligns elements within tags |
|
bgcolor |
numeric, hexidecimal, RGB values |
Creates a background color |
|
background |
URL to the image |
Places a background image |
|
id |
User Defined |
Names an element for use with Cascading Style Sheets. |
|
class |
User Defined |
Classifies an element for use with Cascading Style Sheets. |
|
width |
Numeric Value |
Specifies the width of tables, images, or table cells. |
|
height |
Numeric Value |
Specifies the height of tables, images, or table cells. |
|
title |
User Defined |
Title |
Edit HTML Code
Keep in mind that you can always use the Design View as a WYSIWYG editor and never mess with the Code View. However, if you want to edit the HTML code directly, simply switch to either Code View or Split View on the Document Bar. You can type directly in the code and make any changes that you want.
Code Hints
As we said earlier, you can edit your HTML code by simply typing. But Dreamweaver will even help you at that point. Whenever you start writing HTML, you start by typing a tag: <. If you pause after you type that character, Dreamweaver will then provide a list of HTML tags for you. These are code hints.
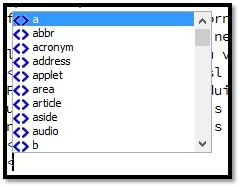
If you're not an expert with HTML, you can scroll through those code hints and select various ones to see what they're for. Don't worry, though. Dreamweaver will keep giving you hints as you type in your tag.
You can also use code hints for:
- HTML attributes.
- Class and ID names
- CSS properties
Using the Code Inspector
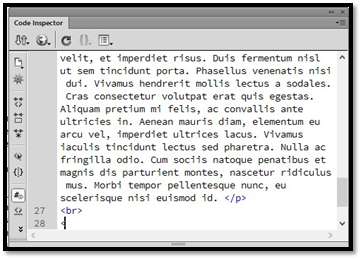
The Code Inspector looks a lot like the Code View, but the Code Inspector opens in a different pop out window. To access to the Code Inspector, go to Window> Code Inspector. One of the benefits of using the Code Inspector is that it allows you to view the code as you design your site without having to split the screen. It's a great option to use if you're not quite ready to write or edit your own HTML, but want to see the code as it's being written.
Cleaning Up HTML
When you're finished with your document, it's a good idea to clean up your HTML before uploading anything to the web. To clean up your HTML, go to Commands> Clean up Word HTML.
This dialogue box will appear:
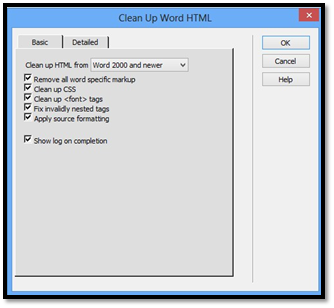
Choose what you want to clean up, then click OK.
Creating Snippets
Snippets are chunks of code that are saved for you to use over and over again instead of having to type them in. Dreamweaver provides some pre-written snippets that you can use. The snippets include headers, footers, logos, scripts, etc.
To save and use snippets, go to Window> Snippets. The snippets panel will then appear.

Click the place in your page where you want the snippet to be placed, then find the snippet you want.
Double click on the snippet to add it to your page.
To add your own snippet, click New Snippet  .
.