WordPress themes are easy to find, and they're even easier to install. Best yet, most of them are free. You can install the WordPress theme that you want to use, then start adding your pictures and content. It really is that easy. In addition, if you want to try your hand at design and CSS, you can customize it to your needs.
You can change themes whenever you want. What that means is that if you pick a theme today, you're not stuck with it. You can try out as many themes as you want, as often as you want, simply by picking a new theme. Unlike using WYSIWYG editors to design a site, you don't have to worry about cutting and pasting text and all that time consuming business. WordPress transfers everything to the new theme for you.
In this article, we're going to talk about choosing a theme, as well as how to work with the default theme. You will learn how to:
-
Work with the default WordPress theme
-
Add a header image
-
Add items to the Media Library
-
Use Widgets
-
Install a new theme
Working with the Default Theme
The default theme in WordPress is Twenty Fourteen. When you login to your WordPress admin, this is what you'll see:

To see the default theme, go to the Home icon at the top left of the screen. It looks like a mouse. Hover your mouse over it, then choose your site from the dropdown menu. Click on it.
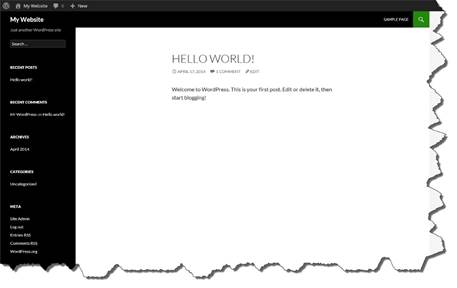
As you can see, the default template has one column for content and a sidebar for widgets.
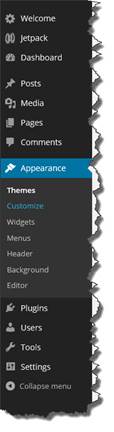
Click the Home icon again. This takes you back to your dashboard. Your dashboard is where you'll customize your site.
Next, click Appearance (on the left), then Customize.
This is what you will see:
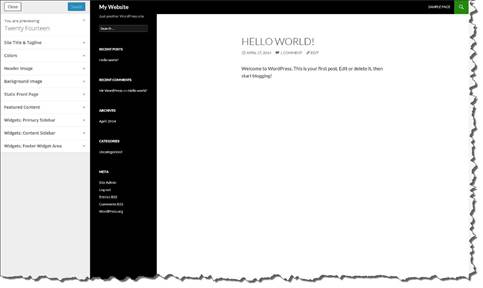
On the left, you can make changes to customize your site, including:
-
Adding a site title and a tagline
-
Changing the colors
-
Adding a header image
-
Adding a background image
Customization options like these will be available with any theme you choose.
Click on Site Title and Tagline.
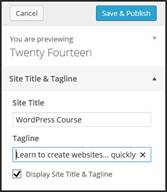
Type in your site title and tagline into the appropriate fields.
If you're finished making changes, click the blue Save & Publish button.
However, we're going to walk you through a few of the other customization options in this section.
Adding a Header Image
A header image is an image that appears across the top of your website. A lot of themes that you'll see in WordPress already have a header image in place. You can change it if you want.
To add or change a header image, click Header Image (below where you found Site Title and Tagline).
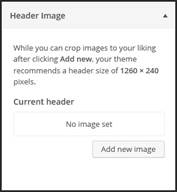
You can also go to your dashboard, then click Appearance>Header.
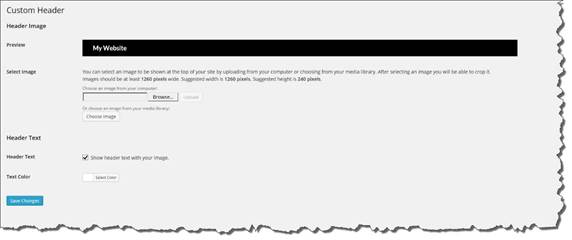
Select the header image from your computer. Note that WordPress recommends that the image is at least 1260 pixels. In fact, WordPress recommends a width of 1260 pixels and a height of 240 pixels.
Click the Browse button to locate the image, then click the Upload button to upload it to WordPress.
You can also choose an image from your Media Library in WordPress.
Once you upload your header, you can crop it. When you crop an image, you cut away its outer edges. This is so you can control the portion of the image you want displayed as your header.
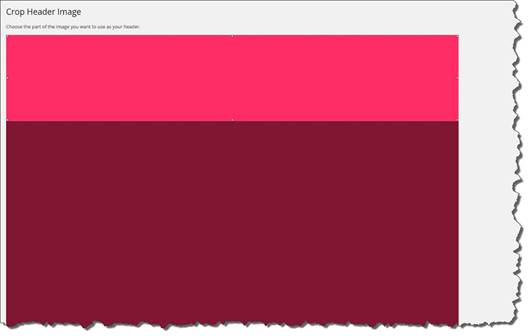
Use the square handles on the sides of your image to resize the image. Drag in to reduce the size. Drag out to increase. Naturally, the highlighted area is the part of your image that will display as your header.
A crop handle is shown below. It is the square in the center of the screenshot.

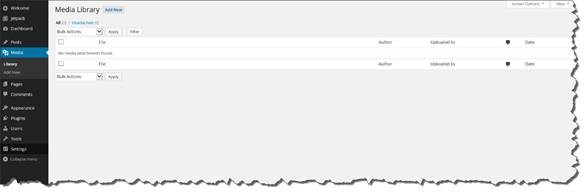
About the Media Library
All images that you upload are stored in your Media Library.
You can also upload media, such as images and videos to your Media Library for future use on your site.
To access the Media Library, go to your dashboard, then go to Media>Library, as shown below.
Create a Custom Navigation Menu
We're going to learn how to add a custom navigation menu to your WordPress site.
To start with, return to your dashboard if you're not already there.
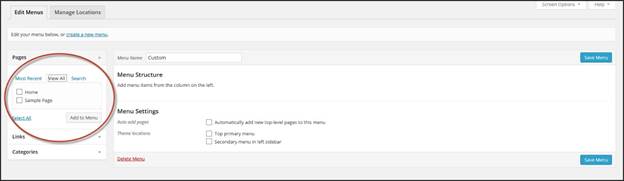
Go to Appearance>Menus.
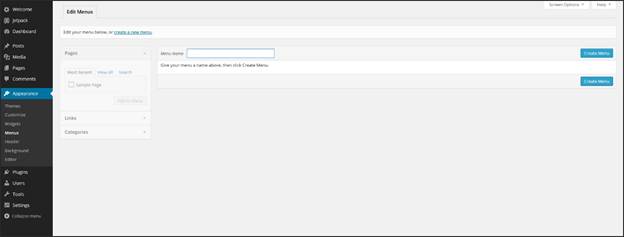
In the Menu Name field, type a name for your menu, as shown below.
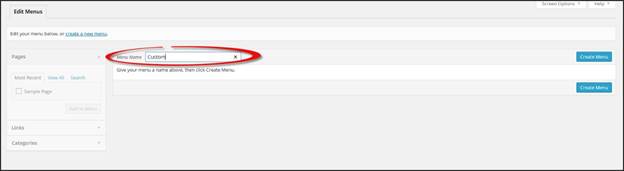
Push Enter on your keyboard.
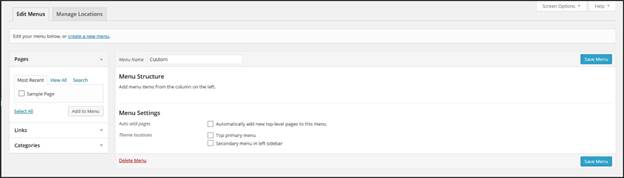
As you can see above, the Menus page reloads.
Now you can add links to your new menu. You can do this in one of three ways:
Pages. Click View All to see the pages you have on your site. Put a check next to the pages you want added to the menu. Click the Add to Menu button.
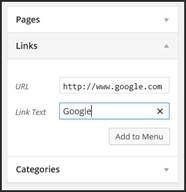
Links (located below Pages). Click the arrow on the right to display the Links module. In the URL field, type the URL of the website you want to link to. Next, type in the name of the text to display in the navigation menu. For example, if we were linking to Google. The text for that link might be "Google."
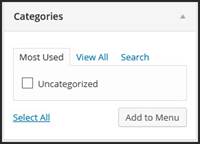
Categories. Located below Links, you can view all the categories you've added to your site. Put a check next to the category names you want added to your menu, then click the Add to Menu button.
When you're finished, click the Save Menu button on the right side of the page.
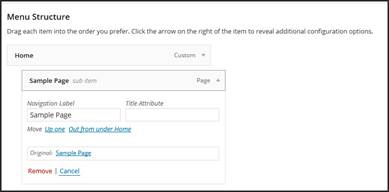
To add a subpage, or a page that's listed below another page in the navigation menu, drag and drop a page below and slightly to the right of another page in the navigation menu, as shown below.
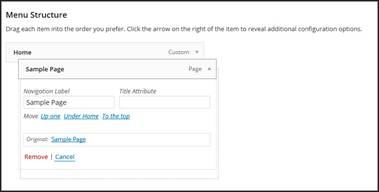
When you release your mouse, the page is then designated as a subpage.
Using Widgets
Widgets are tools in WordPress that allow you to arrange your content, including your blogroll, recent posts, category archive list, and etc. In other words, you can organize and arrange your content in the sidebar of your site without knowing a bit of PHP or HTML. All you have to do to use a widget is drag and drop it from the Widgets page onto the area you want it placed.
To view the widgets, go to Appearance>Widgets.
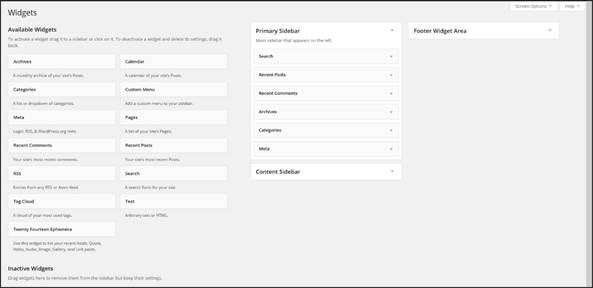
You can see the available widgets you can use, the widgets that appear in the primary sidebar (on the left in the Twenty Fourteen theme), widgets in the content sidebar, and widgets in the footer area (at the bottom of your website).
To add a widget, drag a widget from the available widgets section to where you want it placed: primary sidebar, footer area, or content sidebar.
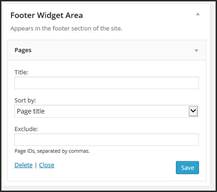
We've added a Pages widget to the footer area.
You could use the Text widget in your main sidebar to display operating hours or newsletter sign up text.
You could use the RSS widget in your main sidebar to allow visitors to follow your blog and receive notifications when you update your website.
Searching for New Themes
Now, comes the fun part. We're going to teach you to find an install a theme in WordPress. Keep in mind that there are endless numbers of free themes. When you search for themes, you'll be able to specify what you want, such as the width, the colors, and even if the theme has featured images.
What you've learned will help you decide on search criteria as you look for a theme.
Let's start by signing into WordPress on your site.
When you sign into WordPress for the first time, you will see something like this:
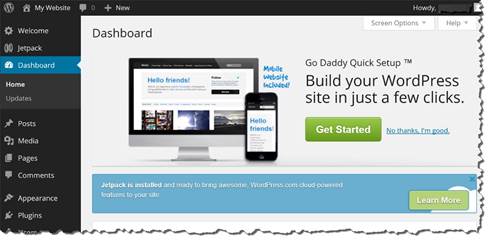
What you see may vary depending on your version of WordPress, as well as your web host.
On the left hand side of the window, you'll see your dashboard. The dashboard is where you'll find all the controls and tools that you need to customize the appearance of your site and add content.
However, for the time being, we just want to find a theme to install.
To look for a new theme (ours is currently the default Twenty Fourteen), click Appearance on the left hand side. Select Themes.
You'll see thumbnails of a few free themes, including the one you're currently using. The default theme is Twenty Fourteen.
|
NOTE: We are using WordPress version 3.9. The default theme for older versions is Twenty Thirteen. If you're using an older version, you may have to go to Appearance, click Install Themes, then search for a theme, as shown below. 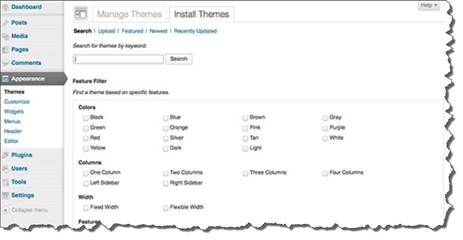 |
You can see the theme thumbnails with our active default theme, Twenty Fourteen, below.
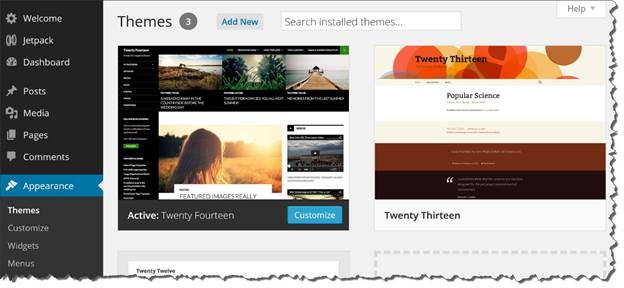
You can use the search box that appears above the thumbnail to search for different WordPress themes.

However, this isn't the most effective method to search for themes. The best way to search for a new theme is to click the Add New Theme thumbnail that appears with the other theme thumbnails. It looks like this:
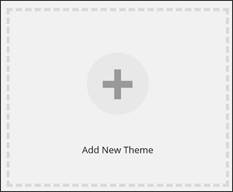
Click on the thumbnail to add a new theme.
This is what you will see:

You can now search themes by Featured, Popular, or Latest.
We aren't going to do that, though. We want to do an advanced search to find the template that fits our needs. That means we are going to click on Feature Filter.
Feature Filter will allow you to search for a theme that matches your color scheme and other features, as well as themes with responsive layouts.
Click on Feature Filter.
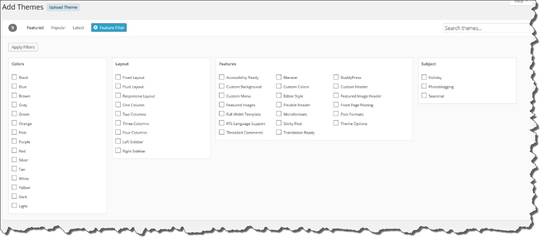
As you can see in the snapshot above, you can choose the colors, the layout (which includes site width and columns), and features.
Look at the features that we chose:
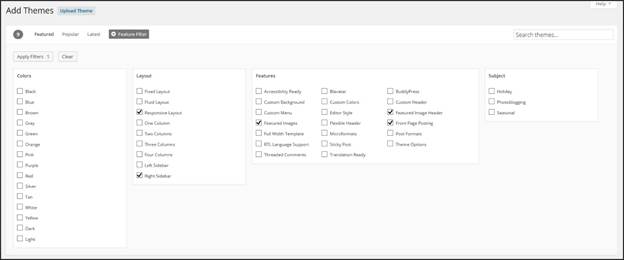
We wanted a responsive layout with the sidebar on the right, so we checked those in the layout column. As you can see, we could have also specified the number of columns.
In the Features section, we chose to have featured images in our theme, as well as a featured image header and front page posting. Because we chose Featured Images and Featured Image Header, the themes that are shown to us will have a header image and featured images to serve as placeholders � or images to mark the areas where we will place our own. By doing this, the themes that are shown to us will have more of a website look and feel, rather than just a blog.
Click the Apply Filters button at the top when you're finished choosing features.
Selecting and Installing a New Theme
Once you've specified your criteria and clicked the Apply Filters button, WordPress shows you the themes that match the features you've requested.
You can see our search results below.
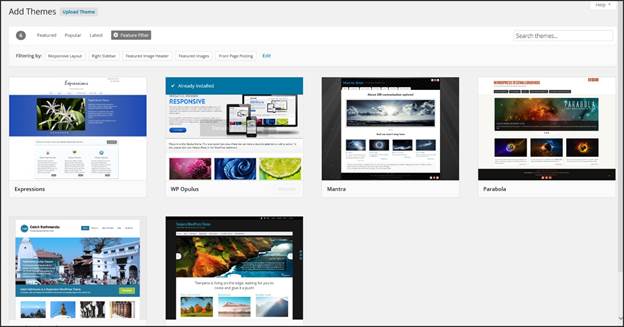
Scroll through the themes. If you don't find one you like, you can search again.
When you find a theme you like, simply mouse over it. You'll see an Install and Preview button, as shown below.
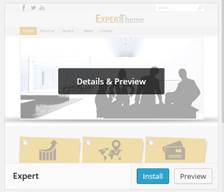
To preview what your site will look like with the new theme, click Preview.
If you want to install the new theme, click Install.
We have chosen WP Opulus for our theme.
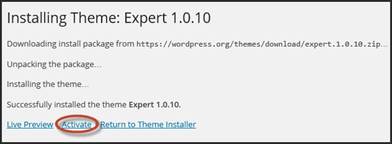
Click Activate to make it the active WordPress theme for your site.
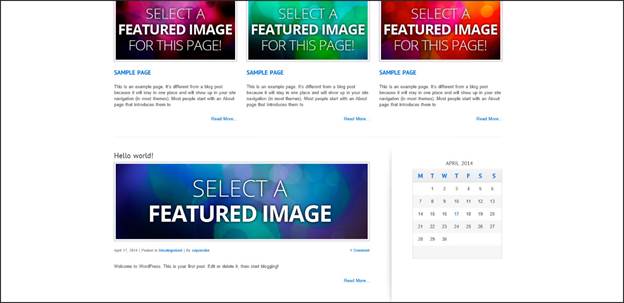
Below is a snapshot of what our theme looks like on our site:
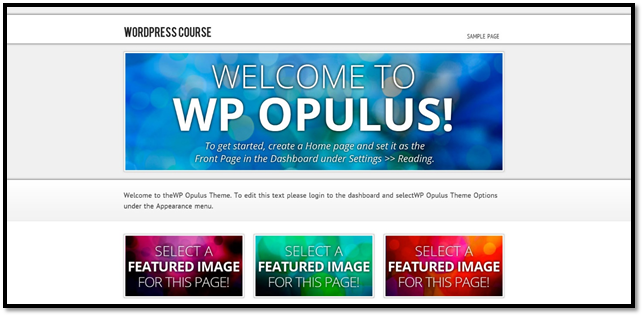
You can see the Featured Image Header, as well as the Featured Images that we chose to search for.
If you scroll down further on our site, you can also see the blog area as we saw in the Twenty Fourteen theme.