Word 2016 is much more than just a word processor. You can also use it to create and format books, brochures, flyers, business cards, and the list goes on! In this article, we're going to start having fun. We're going to create a newsletter, then a tri-fold brochure. The best part is that we're not going to use a template for these either. We're going to do it all by ourselves � from scratch.
Page and Paper Sizes
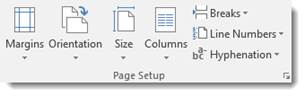
If you're creating something other than a document, you may want to use a different size page than the standard 8.5x11. Word 2016 offers you several page sizes that you can choose from. To choose the paper size you want, go to the Layout tab and choose Size from the Page Setup group.
Choose the page size you want from the dropdown menu.
Textboxes
When you're creating something like a flyer, brochure, postcard, or business cards, you don't just type in a document like you do for most other things. Instead, you create text boxes to enter in text. You can also insert text boxes into reports and articles to help make certain text stand out. Text boxes can easily be moved, resized, and repositioned (along with the text inside them) to make creating a layout easy.
To create a textbox, go to the Insert tab and find the Text Box button in the Text group.
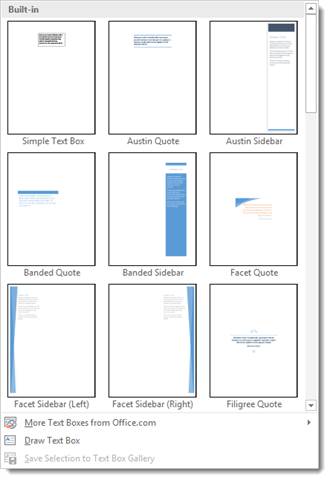
As you can see, there are a lot of built-in textboxes that you can use. However, to show you how to fully use text boxes, we're going to create our own by selecting Draw Text box.
When you do that, your cursor will turn into a plus sign. Simply drag the text box onto the document:
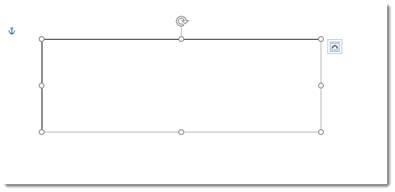
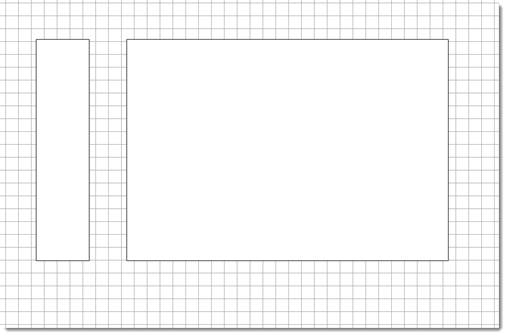
We went ahead and drew another text box. This is the beginning of our layout.
Using the Grid and Rulers
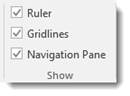
Now that we have our text boxes on the page, we want to line them up and position them correctly. To do this, we're going to go to the View tab and make sure both Ruler and Grid are checked in the Show group.
Our layout now looks like this:
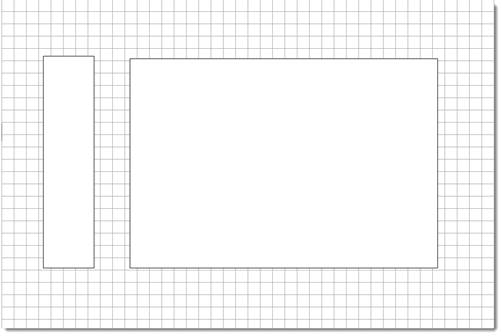
We use the grid to line up our text boxes. We use the ruler to make sure the text boxes are the measurements we want. We have two text boxes that need to be the same, so we'll use the ruler to make sure they are.
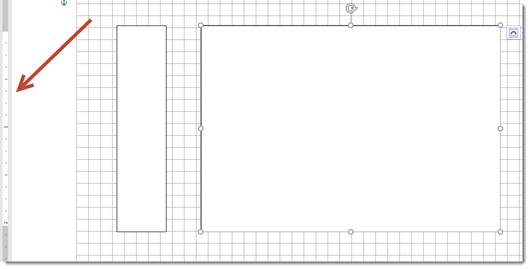
As you can see, we have a text box selected. To the left, we can see a ruler that shows its height.
We can also double click anywhere in a text box to bring up the drawing tools Format menu in the Ribbon and change the width or height in the Size group.
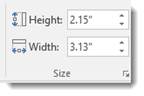
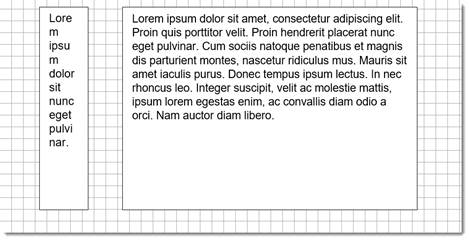
As you can see, our textboxes are measured and positioned evenly:
Adding Text to a Textbox
To add text to a textbox, simply click in the textbox and start typing.
You can select the text just as you would with a normal document and change font, font size, font color, add text effects, etc.
You'll find more text effects under the Drawing Tools Format tab when you double click your text box, including 3-D and transformations, in the WordArt Styles group.
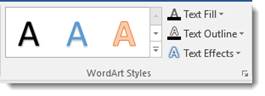
You can also change the text fill color and the text outline color.
Extra Text
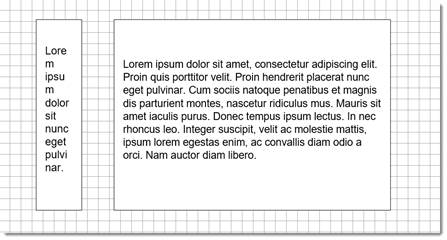
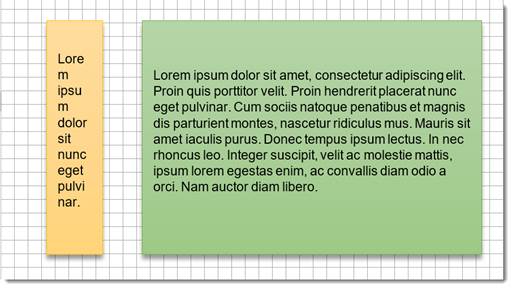
There may be times when you have more text than you do room in your text box. Text boxes have a fixed height and width that you establish when you draw the text box. They will not expand or contract to match the volume of text. This means if the length of your text is longer than the length of your text box, not all of your text will appear, as you can see in the snapshot below.
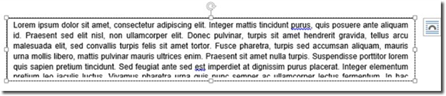
When this happens, you can adjust the font size or the textbox size.
Resize a Textbox
To resize a textbox, drag on the handles (the little squares) to enlarge or reduce it. You can also rotate a text box using the arrow at the top.
Aligning Text in a Text Box
As you can see in our snapshot below, we have white space at the bottom of three textboxes. We want to align our text within the text box so it has a better appearance and not so much white space all at the bottom.
To do this, go to the Drawing Tools Format tab. Go to the Text group, then click the Align Text button.
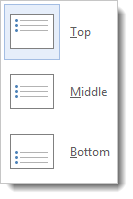
We're going to choose middle.
Formatting Textboxes
Just as you can format text and tables, you can also format text boxes by adding a fill color, outline, or effects.
To format a text box, double click on it.
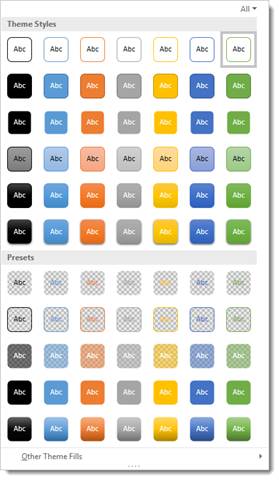
Next, go to the Shape Styles group in the Drawing Tools Format tab.

The Shape Style gallery has different themes that you can apply to a text box.
Or you can create you own by using the Shape Fill, Shape Outline, and Shape Effects tools.
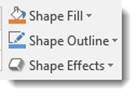
Use Shape Fill to add a fill color. Use Shape Outline to add an outline color. You can use Shape Effects in the same way that you use text effects.
Our text boxes appear below.
We added a theme fill, then added a shadow effect.
Move Text Boxes Forward or Back (Stacking Objects)
Let's say we don't want the white background in the flyer we've created above. We can either add a page background, or we can draw another text box behind the ones we already have. This text box will cover most of the page and serve as background.
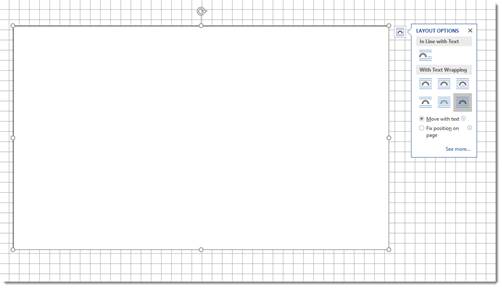
First, draw the text box.
As you can see, the new text box covers all of the elements we added to our flyer:
If you are ever stacking text boxes in a design, you can always remove the fill color so the text box is transparent by going to the Drawing Tools Format tab. Click on the Shape Fill button, then select No Fill from the dropdown menu.
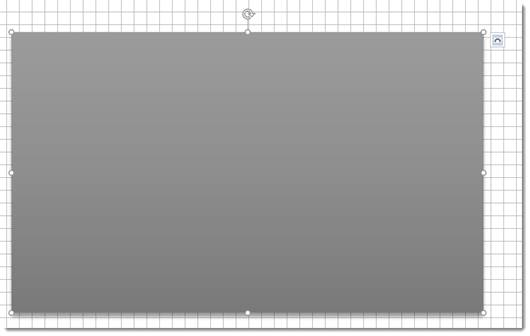
However, we want to add a fill color to this new text box, as we've already done below. We've also formatted it.
Now, we're going to go to the Arrange group under the Drawing Tools Format tab. Click the Send Backward button.
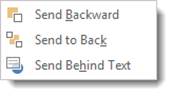
We can choose to send it backward, send it to the back, or send it behind the text.
-
If we choose Send Backward from the dropdown menu, it sends the new text box behind the last text box that we drew.
-
If we choose Send Behind Text, it sends the text box behind all text.
-
If we choose Send to Back, it sends the new text box behind all other text boxes and elements on the page.
We are going to choose Send to Back.

To move text boxes forward, click the Bring Forward button to the left of the Send Backward button. You can then bring the text box forward, which places it on top of the text box that's currently above it. You can also bring it to the front or bring it in front of the text.
This is a simple newsletter layout. Of course, you can add images and graphics to your creations. You can also use WordArt, different fonts, colors, etc.
NOTE: Just as we stacked text boxes in this section of the article, you can also stack shapes, etc.
Adding Drop Caps
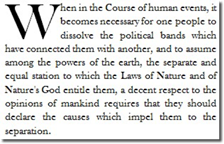
A drop cap is a simple embellishment that, if used correctly, can make your documents look more interesting and professional. Basically, all it is a letter at the beginning of a section or paragraph that is larger than the text that follows it, but instead of extending upward (which is what it would do if you just tried to increase the font size for a single letter) it drops a few lines down:
Creating a drop cap in Word 2016 is incredibly easy. Just go to the Insert tab and click the Drop Cap button in the Text section of the Ribbon. The cursor should be positioned in the paragraph for which you'd like to add the drop cap, but it doesn't necessarily have to be in front of the letter for which you want to add the effect, because it will drop cap the first letter of the paragraph.
When you click the Drop Cap button, you will see these options:
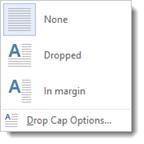
You can choose to place the drop cap within the paragraph or in the margins.
To exercise a little more control over it, click Drop Cap Options.
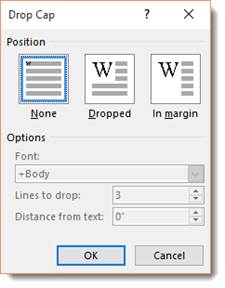
You can have the letter drop as many lines as you'd like, and even choose how much space to put between it and the text that follows.
Click OK when you are finished.
Watermarks
You're probably familiar with watermarks. They can sometimes be seen stamped into expensive bond paper, and they are visible when you hold twenty-dollar-bills up to the light.
A real watermark is stamped into a page with expensive equipment. Word 2016 just allows you to place a light, printable image behind all the text and objects in a document. You can use it to add an effect to the document, mark it as a sample or draft, or even authenticate it. Just remember, a watermark in Word is essentially a background. It cannot be moved or resized like other objects.
Unlike most objects that can be inserted into a document, the Watermark button isn't located on the Insert tab. Instead, to place one in your document, go to the Design tab, then the Page Background group. When you click on the button, you will see this dropdown menu.
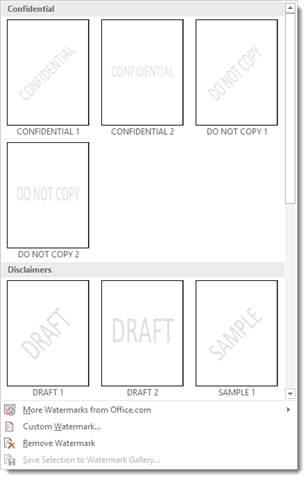
Several watermarks were included with your copy of Word 2016. They are things like "Confidential", "Do Not Copy", "Draft" and "Urgent." If you are connected to the internet, you can easily browse watermarks that were created the Office community by clicking "More Watermarks from Office.com."
You can also create custom watermarks using pictures on your computer or text of your own. Just click Custom Watermark.
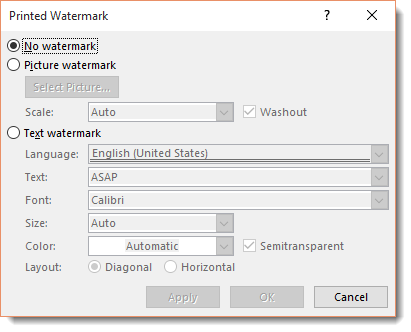
Choose your own language, font size and type, it's orientation to the page (called "Layout") and more. Type your text in the Text field (in the sample above the text chosen is "ASAP.") Click okay to apply it.
Long Documents
Long documents like reports, stories, and novels can be hard to navigate through to find what you need � or to find information about the document itself. In this section, we are going to discuss ways you can organize long documents to make them easier to manage and to navigate.
Managing Documents Over 100 Pages
If you are working on creating and editing a document that is going to be over 100 pages, sometimes it is best to create several smaller documents. You can break the documents up into chapters or sections. Of course, this is not something you have to do. You can create one single document, and you can make it as long as you want. However, when you are working on something and editing it, it can be easier (and quicker) to break it up. You can keep the different chapters or sections (documents) in one folder and name them so they're easily identified (chapter_1, chapter_2, etc.).
Creating a Master Document
The one reason you may shy away from creating several documents that will eventually be combined into one document is because of the work it will take to actually combine the documents together. For this reason, Word offers you a master document feature. The multiple documents you created (as we suggested in the section above) become subdocuments. When you combine these documents, you create a master document.
There are two ways to create a master document. You can start from scratch by opening a blank Word document, or you can convert an existing word document.
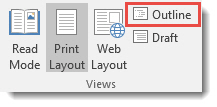
To create a master document, or to add more documents to an existing one, Microsoft insists that you use Outline view. Move over to the View tab and click Outline. (Highlighted in red below.)
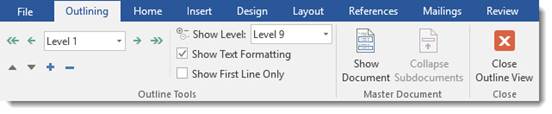
A new tab, titled "Outlining" will open in the ribbon:
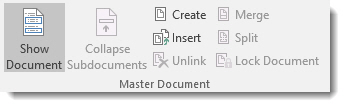
Slide your mouse over to the Master Document group, and click the Show Document button. Doing so simply expands the group, giving you more options.
Now click the Insert button:
In the Insert Subdocument dialogue box, find the documents that you want to insert.

Click Open.
Repeat the steps until all of the sub-documents you want are entered into the master document.
The contents of the documents will initially appear in outline form, but you can easily return to Print Layout View (the default view in Word 2016) by clicking the Close Outline View button. This will show you the actual layout of the document. You can edit the master document just like you would edit any document in Word.
But you must remember that you have not actually inserted the sub-document into the master document. You have created a link to it. Any changes you (or one of your team members) make to the original will automatically appear in the master document and vice versa.
You can delete a sub-document from the master by selecting it in Outline view, and clicking the Unlink button.
If you want to prevent changes made to the master from appearing in the sub-documents, return to Outline view, and in the Master Document group, click the Lock Document button.
Splitting a Document and Creating New Sub-Documents
You can also split text in a master document into more sub-documents. To do so, select the text you would like to use to create a new sub-document, and return to Outline view. Click the Show Documents button, then click the split button.
To create a new sub-document, simply click the Create button in Outline view.
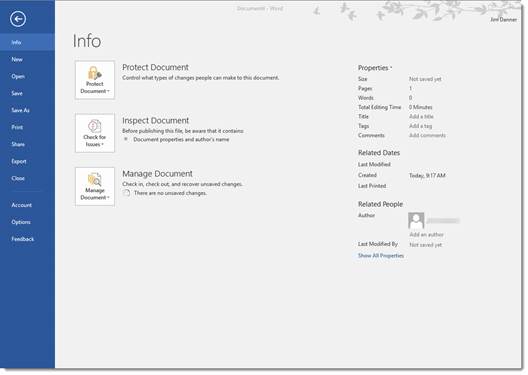
Document Info
Also called �metadata', document info is all of the information that can identify the document. It can include the name of the author, the date the document was created, the number of pages, copyright information, etc. To view document info, simply select the File tab. You will see the document's properties on the right side of the page. On the left, you will be able to encrypt the document, inspect it for errors prior to publishing, or check the document in or out.
Using Heading to Create a Table of Contents
Creating a Table of Contents for any body of work that you create in Microsoft Word is also very quick and easy.
The quickest way to create a Table of Contents is to apply a Heading style to all of the chapter titles, subtitles, section headings, etc. Headings are essentially labels for different sections of your document.
For example, when writing a book, you would use headings to create chapters. Then, headings again to create sections within the chapters � and perhaps sections within sections.
In order to be able to create a Table of Contents in Word, any section or category that you want listed in a Table of Contents should contain a heading.
Heading 1 is the top tier of headings. It uses the largest font and is used for the big sections or chapters of a document. We use it for lesson titles.
Heading 2 is the first "subheading" so to speak. Perhaps we'd use that for sections. Its font is smaller than that of Heading 1.
Heading 3 is the "subheading" of a "subheading." To add subsections to a section, we may use Heading 3.
The same for Heading 4.
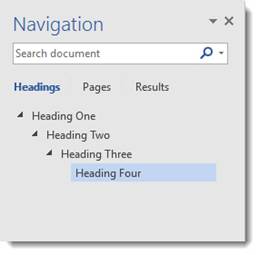
The best way to illustrate this is with the Navigation pane in Word, as in the image below. This image shows the hierarchy of each of the default headings and subheadings in Microsoft Word.
To list categories, chapter titles, etc. as headers:
1. Select the text or simply move the cursor into the paragraph.
2. Go to the Home tab in the Ribbon.
3. Go to the Styles group.
4. Select the heading style you want to apply.
Word 2016 also allows you to see a preview of each heading style without applying it. Just hover the mouse pointer over each style for a few seconds, and the selected text in your document will change. If you do not click on it, you can move to the next style and see what that would look like. Click the style to apply the changes.
Collapsible Headings
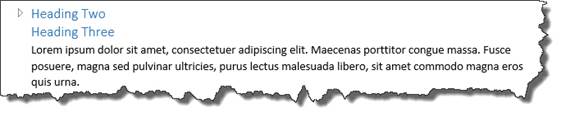
In Word 2016, you can now collapse headings. Typically, when you create a heading, you have paragraphs of text below it. If you want to see the next heading, you have to scroll down or use the Navigation Pane to navigate to it. In Word 2016, a little arrow appears to the left of a heading when you mouse over it, as in the example below.
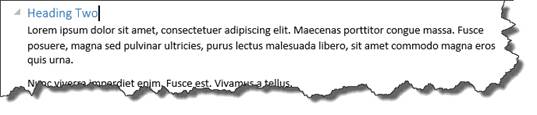
This image shows the text associated with Heading Two. If you click the gray arrow, you can "collapse" all of that text so you are just seeing the next heading under it:
Remember, though, that if you collapse a heading, all of the sub-headings associated with it will also collapse.
To expand the text under a heading, click the arrow again.
Creating a Table of Contents
When you are finished with your document and ready to add a Table of Contents, or TOC, select the place in the document where you want it to appear and put the cursor there.
- Next, click the References tab in the Ribbon.
- Click Table of Contents in the Table of Contents group.
- You will see this drop down menu.
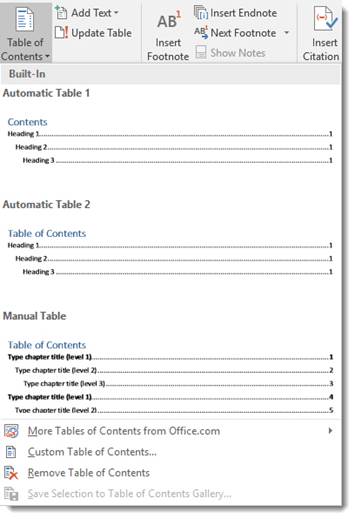
- Select the format you would like to use for your Table of Contents. (Notice how important Headings are in the format.)
Update a Table of Contents
If you have edited your document or made changes to its headings, you can update your Table of Contents without redoing the whole thing.
Here is how:
- Apply all headings to the document so the Table of Contents lists everything.
- Select the References tab in the Ribbon.
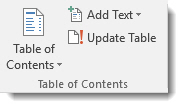
- Select Update Table in the Table of Contents group. This is right beside the Table of Contents button.
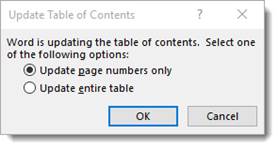
Word will then ask you if you want to update page numbers or the entire table. If you have added headings, you will want to update the entire table.
Add Text to a Table of Contents
You can add headings to your Table of Contents and also create the heading in your document.
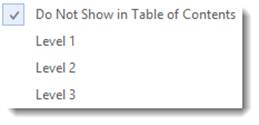
Go to the Table of Contents group, and click the Add Text button.
You can choose that the text not appear in the Table of contents. Or you can choose a level. Level 1 represents Heading 1, Level 2 represents Heading 2, and Level 3 represents Heading 3.