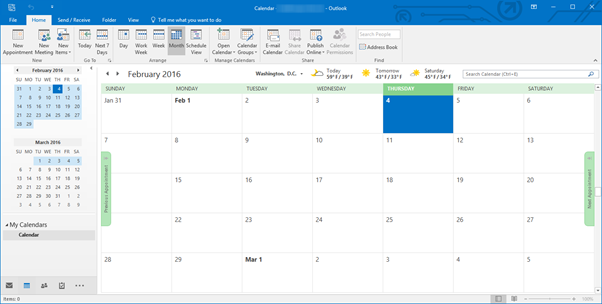
You can use the calendar in Outlook 2016 to enter appointments and meetings, as well as keep track of other things you need to remember. In this article, we're going to explore the ways you can use the calendar to help keep track of appointments, events, and other things you need to remember.
Accessing the Calendar in Outlook 2016
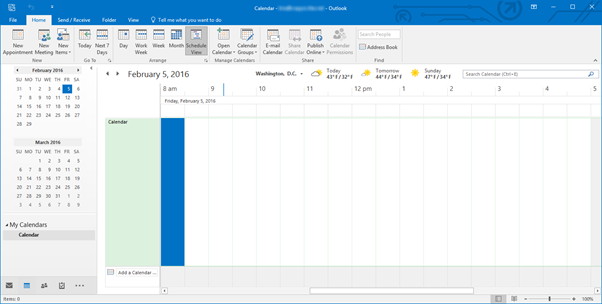
Click on the Calendar button in the Navigation pane to access toe Calendar module.
View and Navigate Within the Calendar
The easiest way to navigate within the calendar to see or find what you need is to view the calendar in the manner that works best for you. In this section, we're going to discuss the various ways that you can view the calendar for easier navigation. We'll also teach you how to navigate to be able to find certain dates, etc.
The first thing we need you to do is go to your Calendar module. Click on the Home tab and look at the Arrange group. This will arrange your view of your calendar to make it easier to navigate.
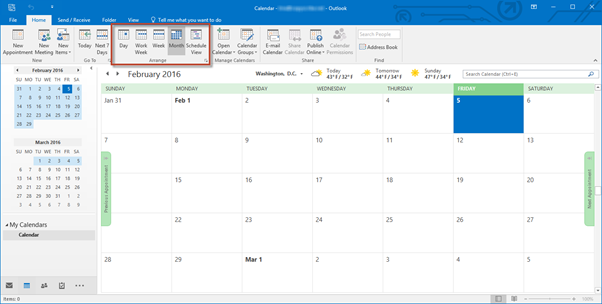
In the Arrange group, you have the Day, Work Week, Week, Month, and Schedule View commands. These allow you to change how many days are displayed in your calendar.
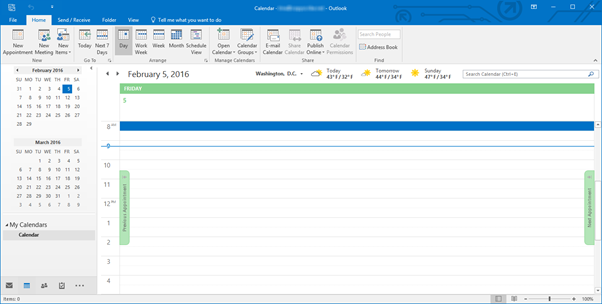
Day View
The Day view shows one day at a time. Use the Back and Forward buttons to go to the next day or to the previous day.
Work Week View
The Work Week button allows you to display your work week.
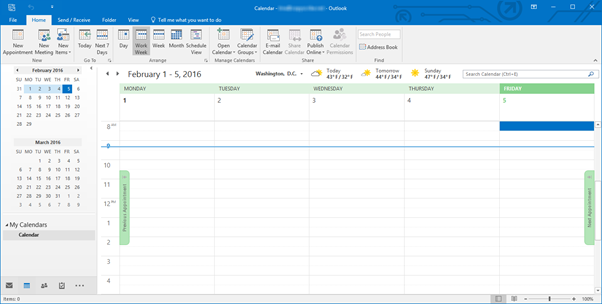
These days are selected in the Backstage view in Calendar options. We'll cover these in just a few minutes.
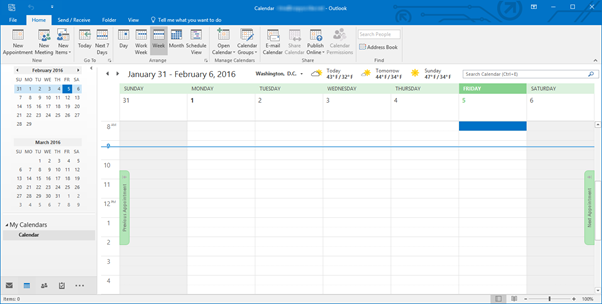
Week View
The Week view shows a seven-day week. Again, set your calendar options to specify the day you want the week to start.
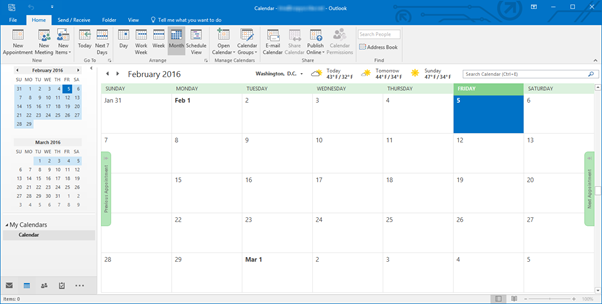
Month View
The Month view shows the current month. This view also gives you three options that allow you to specify the amount of detail you want to show on your calendar. Click the downward arrow below the Month button on the ribbon and you can select if you want to:
- Show Low Detail. Only events will be displayed in the calendar. Events are items that last all day. They do not have a start or end time.
- Show Medium Detail. This shows events and appointments. Appointments are shown as a solid bar within the calendar.
- Show High Detail. This displays events and appointments, but appointments are listed with the start time, subject, and location.
Schedule View
Schedule view shows your schedule for the day. It looks a lot like an appointment book.
Jump to a Date on the Calendar
Let's say you want to view your calendar for a day that's still two weeks away. To do that, click on a date on the little calendar in the pane on the left. It's that simple! You can use the backward and forward arrows to navigate through months to find the date you want to view.
Customize Calendar Options
Outlook 2016 also allows you to customize the way you view your calendar. You can alter and edit your calendar to tailor it to your needs. You can even change the colors of the calendar to better suit your taste or perhaps match your company's colors.
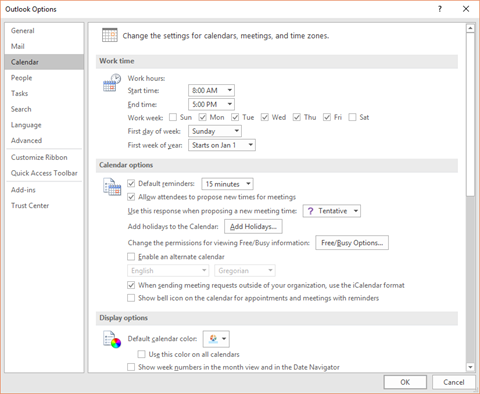
To do this, go to the File tab, then click Options. Click Calendar on the left.
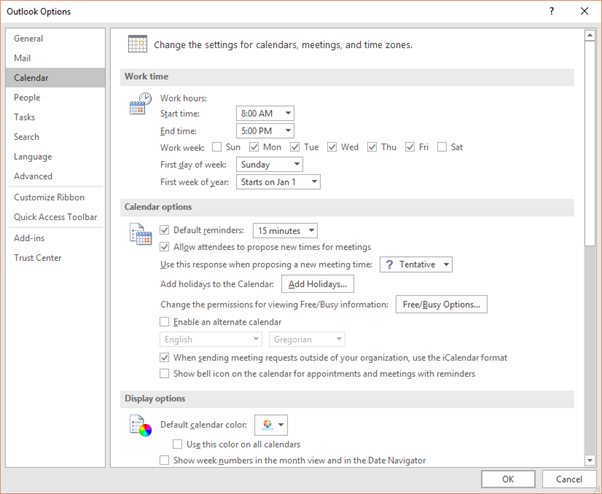
In the Work Time section, specify your work week. You can also set the first day of the week, the year, and your work hours. This section can be used when you're setting your Calendar view (Day, Week, Work Week, Month, and Schedule).
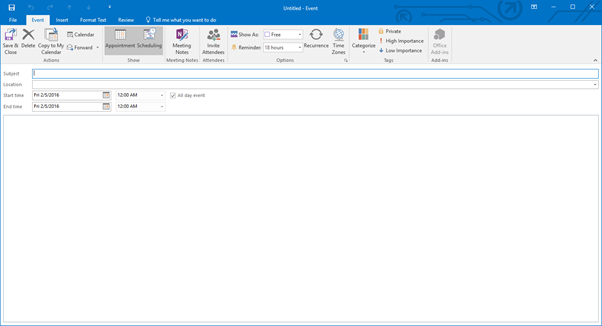
Entering Appointments On the Calendar
Appointments are activities that you enter into your calendar that do not involve inviting other people (meetings) or reserving resources.
Entering appointments in your calendar is really easy to do. You'll be amazed. First, click on the Calendar button in the Navigation Pane to go to the Calendar module. Once you're there, click on the Home tab, then click New Appointment in the New group.

The New Appointment window will then open.
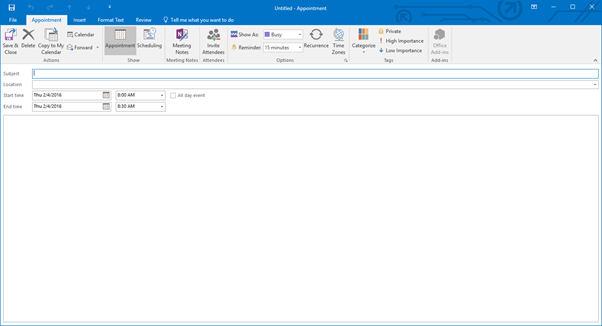
In the Subject line, name the appointment or the subject of the appointment. For example: "Get teeth cleaned."

Enter the location for the appointment in the Location line.
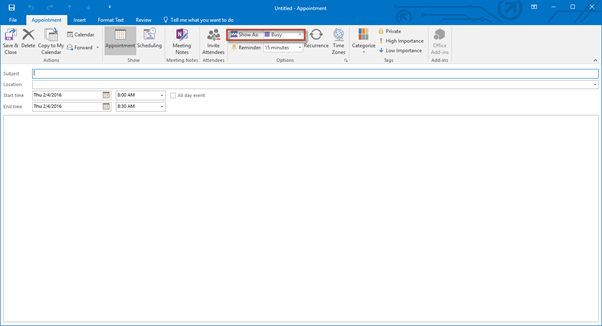
If you want to show others your availability during this time, click on the Appointment tab in the Ribbon. In the Options group, click on the Show As box. Then, click Free, Tentative, Busy, or Out of Office.
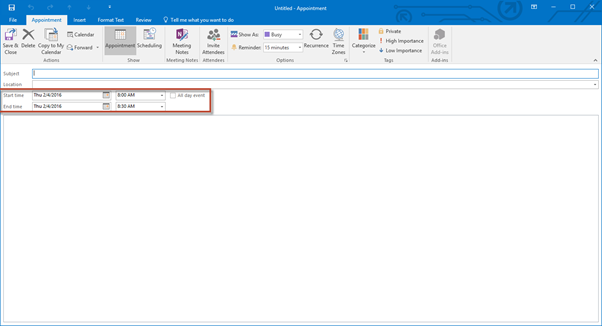
Next, enter the start time and end time for the appointment. If it lasts all day, check the All Day Event box.
In the space below the date, you can write down any helpful notes that you'll need for the appointment.
When you're finished, click Save & Close under the Appointment tab in the ribbon.
Recurring Appointments
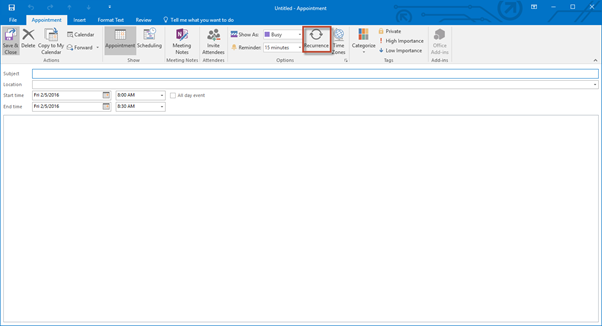
To make an appointment recurring (meaning it happens regularly and not just once), click on the Recurring button when you create an appointment.
You will then see this dialogue box:
In the dialogue box pictured above, you can set the recurrence pattern. Specify if the appointment occurs daily, weekly, or monthly, then specify the days.
In the Range of Recurrence section, specify how long the recurrence will last. You can specify no end date, or you can say that after 10 appointments, it won't occur anymore.
When you're finished, click OK.
Appointment Formatting
Once you've entered in your appointment information, you can then format the text. Just note, that in order to be able to format the text, you must type in the appointment notes area.
To format the text, click Format Text on the ribbon in the Appointment window.
You'll then have the same formatting options that you have with emails. You can:
- Change the font
- Change the font size
- Use boldface, italics, and underline
- Change the font color
- Highlight and use bullet points
- Indent text
- Right align, left align, center and justify
- Add borders to text
- Add styles
- And more
If you are unfamiliar with these formatting options, take the time to familiarize yourself with them. It will improve your experience with Outlook 2016 and any other MS Office 2016 program.
Entering Events
An event is an activity that lasts all day. It does not have a start time or an end time.
To enter an event, go to the Calendar module. Click on the Home tab and look at the New group.

Click the downward arrow beside New Items, then select All Day Event.
Fill out the information just as you did with appointments. You can also click the Invite Attendees button in the ribbon to invite people to your event, as well as display your status during the event as with appointments. When you're finished, click Save & Close.
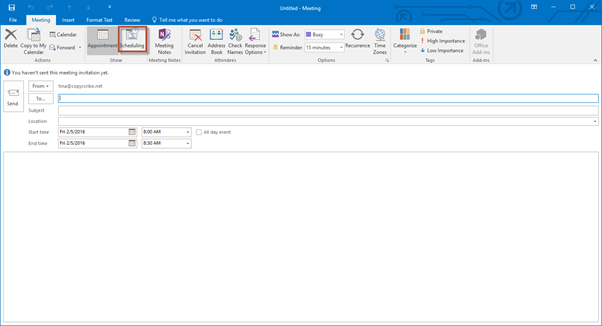
Scheduling a Meeting
In Outlook 2016, a meeting is an appointment that includes other people. It can also include resources, such as meeting rooms. When an invited attendee to your meeting responds to your invitation, you'll get a message in your inbox.
To schedule a meeting, click the Home tab in the ribbon.
Click New Meeting in the New group.

Type a description of the meeting in the subject line, the location in the location line.
Enter the start and end times. If it's an all-day meeting, make sure you check the All Day Event box.
Type any information regarding the meeting in the body (note area). You can also attach files if you want.
Now, go to the Meeting tab and click it. In the Show group, click Scheduling Assistant. We're going to make sure the time we've picked for the meeting is the best time for our attendees. You don't want someone who needs to be at the meeting to not be available.
Click Scheduling in the Show group.
You'll then see this dialogue box:
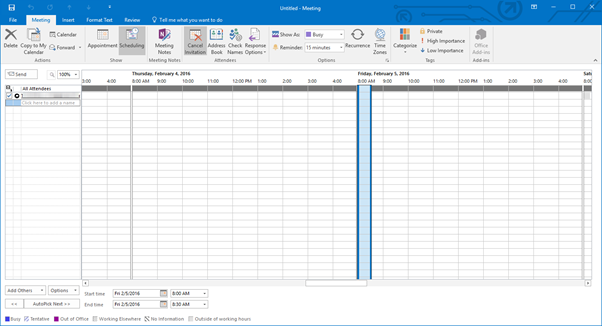
Click Add Others. We've chosen From Address Book from the dropdown menu.
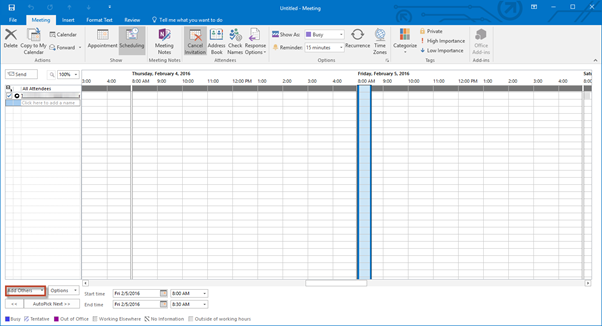
The following dialogue box appears:
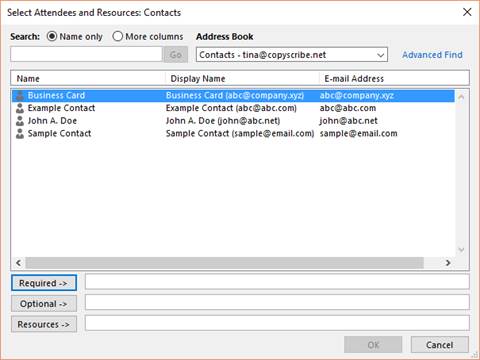
Now you can select attendees. If someone is required to attend, click the Required button. If it's optional, click Optional. Also, click the Resources button for resources.
Required and Optional attendees will appear in the To box on the Meeting tab. Resources appear in the location box.
Now, when you're finished, click OK.

Now you can see which attendees are available. Use the legend at the bottom of the window to be able to tell if they're out of the office, busy, etc.
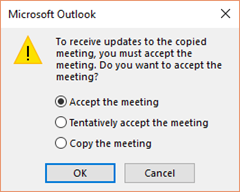
When you have the meeting scheduled click Copy to My Calendar under the Meeting tab in the Ribbon.
Check Save Changes and send meeting to set up the meeting and email attendees. Click OK.
Adding Holidays to the Calendar
Outlook 2016 also lets you add your region's holidays to your calendar. It's also really quick and simple to do.
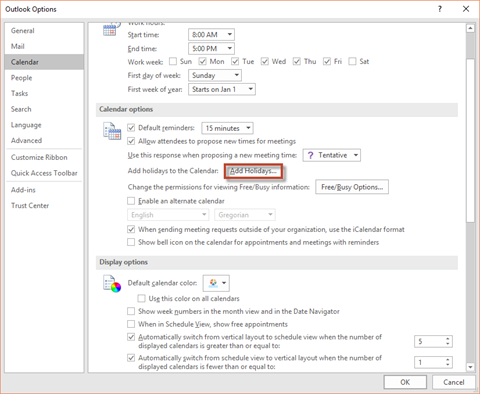
Click on the File tab, then click Options. Click Calendar to go to Calendar Options, then scroll down in the window to the Calendar Options section, as pictured below.
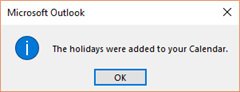
Click the Add Holidays button.
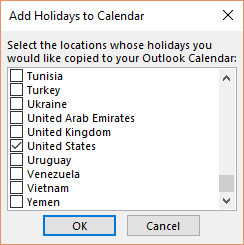
Select your country. You can select more than one if you want.
Printing the Calendar
To print your calendar, click on the File tab in the Calendar and then click Print.
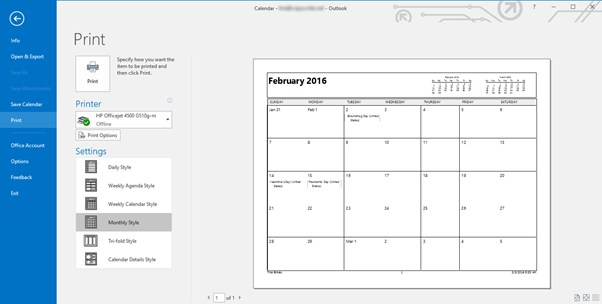
Select the printer you want to use to print your calendar, then select the view that you want to print. You'll see a preview of what it will look like on the right hand side of the window.
Reminders
Outlook 2016 allows you to set reminders for things such as sending emails, appointments, and contacts. In this article, we're going to learn to use and set reminders. If you don't know exactly what a reminder is or how it is used, don't worry. We're going to explain it all.
Setting a Reminder for Meetings and Appointments on Your Calendar
The easiest way to learn about reminders is to learn how to set them. When you set a reminder for a meeting or appointment on your calendar, Outlook 2016 will remind you about this meeting or appointment (that's on your calendar) before it happens.
To set a reminder for a meeting or an appointment on your calendar, click the File tab.
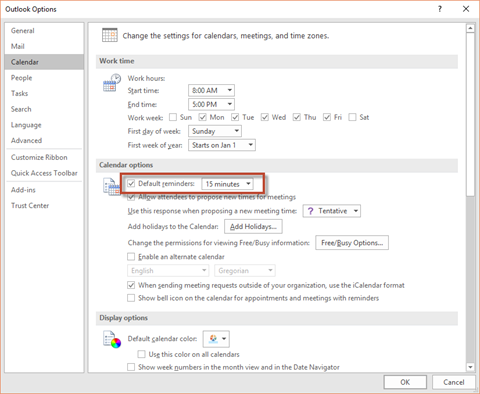
Click Options on the left hand side, then click Calendar.
Under the Calendar Options section, you can turn the default reminders on or off. If you leave it checked, Outlook 2016 will remind you of meetings and appointments 15 minutes ahead of time by default. This is for all meetings and appointments. You can also change the time and be reminded up to two weeks before your meeting or appointment.
NOTE: This is for new appointments and meetings only.
Setting Reminders for Existing Appointments and Meetings
To set a reminder for an existing appointment or meeting, open the appointment or meeting.
NOTE: If the Open Recurring Item dialogue box appears, simply click Open This Occurrence or Open the Series, then OK.
Now, click the Appointment tab.
Go to the Options group and click the drop down list beside Reminder.
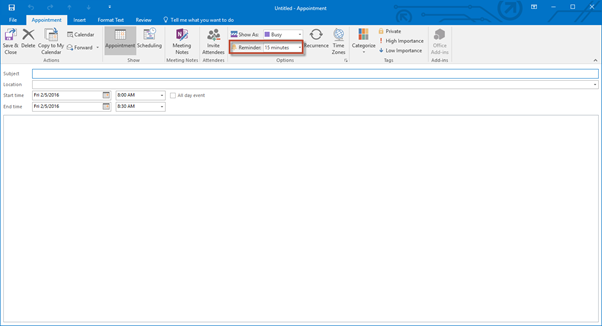
Choose the amount of time before the appointment or meeting that you want to receive a reminder. If you want to turn a reminder off, choose None.
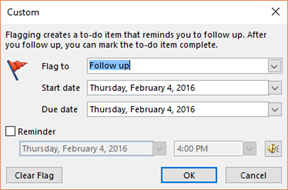
Setting a Reminder for Emails, Contacts, and Tasks
To set a reminder for emails, contacts, and tasks, go to the Mail module. Click on the Home tab. Go to the Tags group, and click Follow Up.
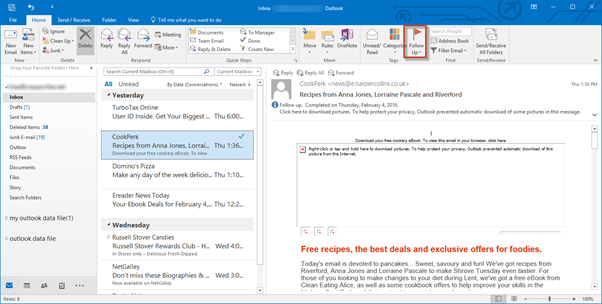
To select or clear a reminder, click on Custom.
Tasks
Perhaps you keep a list of things to do either at home or in the office. Outlook 2016 gives you a to-do list, except they call them tasks. In this article, we're going to learn everything about entering tasks and to-do items in Outlook. Just remember, tasks are not appointments, meetings, or events. They are simply things you have to do, such as organize a birthday party for a co-worker.
Create a Task
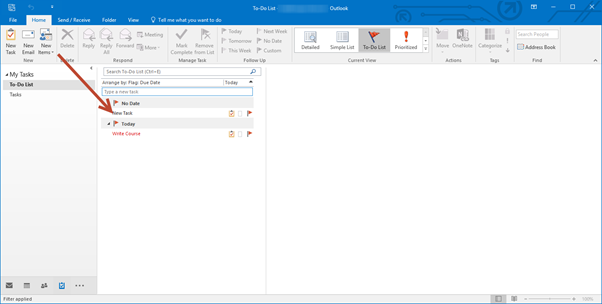
To create a task, start by going to the Tasks module by clicking on it in the Navigation Pane. Then click on the Home tab and look at the New group in the ribbon.
Click on New Task.

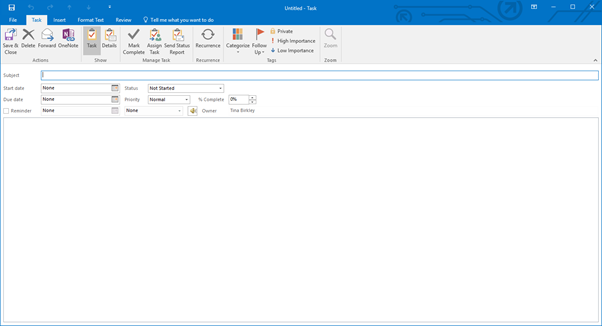
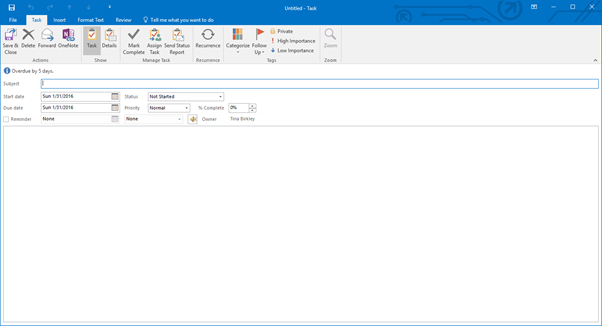
Enter a name for the task in the subject line. Enter a start date and a due date for this task if you need to. Select if you want Outlook to remind you to do this task. If you want to add more detail about this task, enter it in the body (or the white space) of this window.
Click on the Task tab. In the Actions group, click Save & Close to save this task.
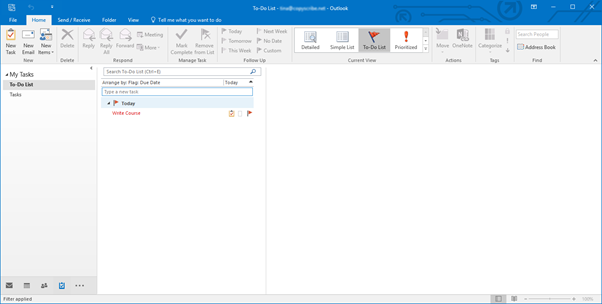
The task now appears in your Task list.
When a task is complete, right click on it and select Mark Complete from the menu.
Create a Task from an Outlook Item
You can create a task from an email message, contact, calendar item, or a note. Simply drag the email message, contact, calendar item, or not to the To-Do bar.
Create a Task from the To-Do Bar
To create a task from the To-Do Bar, click your mouse in the To-Do Bar, then right click. You'll see the following menu:

Select New Task.
Enter the new task as we learned to do in the beginning of this article.
Create a Task in Calendar View
If you use the day or week view of your calendar, you can choose to see your Daily Task List at the bottom of the window. Maybe you'll want to add certain tasks to your calendar or be reminded of what you need to do as you organize your schedule.
To see your task list, go to the View tab of the ribbon, then click on the Daily Task List button in the Layout Group.
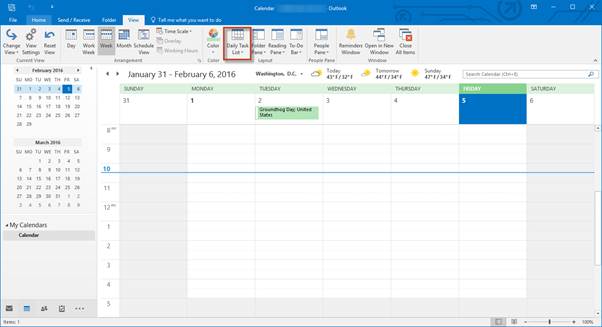
You will now see it at the bottom of the window.
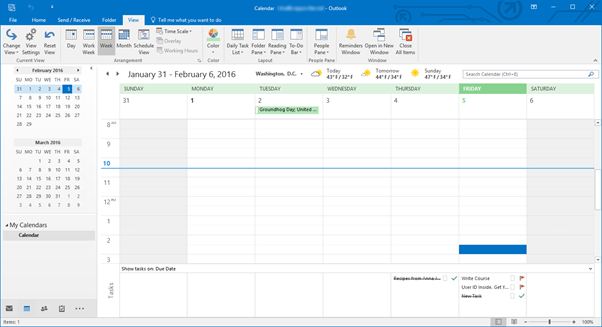
To add a task, click in the box that is below the day for which you want to assign a task. Let's say it's Monday.
A box will appear in the square for that day. You will see the cursor in it. Type a name for this task. Hit enter.
Double click on the task you just added to complete the details about the task. The Task window will appear:
To delete a task, right click on the task (in any view) and select Delete from the menu.
Set Recurring Tasks
To set recurring tasks, create a new task as we've learned to do at the beginning of this article.
Next, click on the Task tab in the ribbon, then click Recurrence.

Set your recurrence pattern and the amount of time for the recurrence, then click OK.
Assign Tasks to Others
Assigning tasks to others is easy. In your new task window, click the Home tab, then Assign Task in the Manage Tasks group.
You'll then see this window:

Select who you want to send the task to and fill out all other information as you did with the new task window. You can also put a checkmark in the boxes to get an updated copy of the task on your task list, and you can also request that a status report is sent to you when the task is complete.
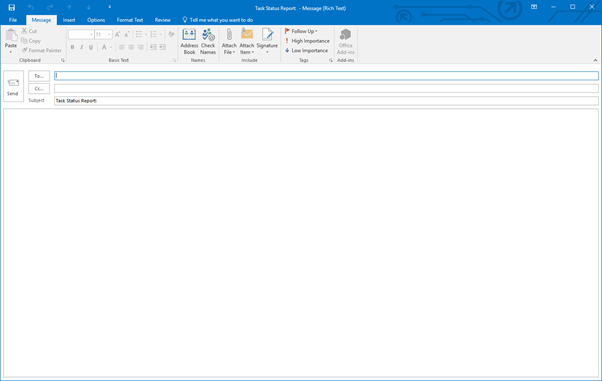
Status Reports
Status reports let you know when tasks have been completed when someone sends them to you. But you can also keep other people in the loop and let them know what you've accomplished by sending status reports to them.
In the task window for which you want to send a status report, click on Send Status Report in the Manage Tasks group under the Task tab.
You'll then see this window: