You can group shapes together to turn multiple shapes into a single unit for moving, modifying, etc., as well as create containers and callouts for shapes.
Grouping Shapes
Visio 2016 offers you the ability to group shapes so that you can add structure to your drawings. As you use Visio, you will find that you group shapes that you want to keep together in your drawing. That way, if you move one, you move them all. It saves time over moving them one at a time, and that saves aggravation.
That said, however, you are the only one who knows when you group shapes together. Nobody else can see the grouping because the border around the group becomes invisible. In addition, you can't add other shapes to the group without ungrouping, then regrouping. That can quickly become a hassle as well.
Before we learn how to group shapes, let's open one of Visio's many tablets. To do this, click the File tab. Go to New, select the Flowchart category.
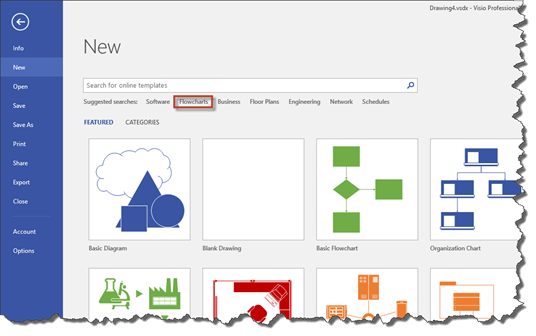
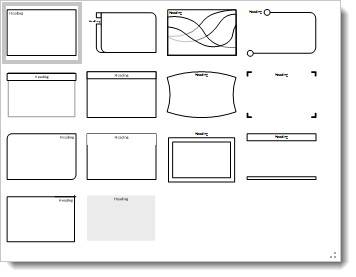
Open the Program Structure template by clicking on the thumbnail.
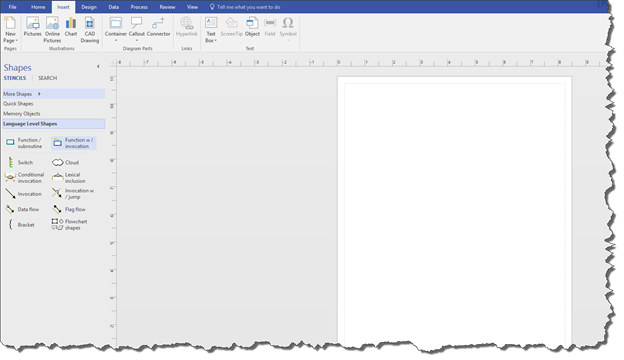
Go to the Shapes window. Choose the Cloud stencil and drag it onto your page in the Drawing window.
Next, drag the Function/Subroutine stencil onto your page. Use the dynamic grid to line these up in the center of the page.
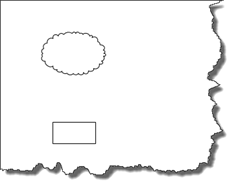
Next, drag to create a bounding box around the shapes. To do this, hold down your left mouse button and drag to create a box around the shapes, as shown below.
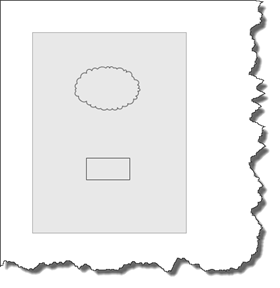
The snapshot above shows the box we created by dragging our mouse. In this snapshot, we are still holding the mouse button down.
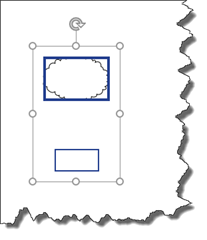
The next snapshot shows the bounding box that we created when we released the left mouse button.
With the bounding box around the shapes, go to Home tab. Click the Group dropdown in the Arrange group.
Select Group from the dropdown menu.
The blue border around our shapes is now gone. This lets us know that the shapes were successfully grouped.
You can now apply borders or fills, add data, or anything that you can do with individual shapes.
About Visible Structure: Containers and Callouts
Visible structure is as important as any other aspect of your drawing. It's as important as connecting shapes together in a flowchart. It's as important as adding shape data to rack diagrams or floor plans. It's as important as organizing your shapes on your page so it looks like a flowchart or diagram � and not a jumbled mess.
When you add visible structure to your drawings, you're guiding viewers where to look and what to look at. You're saying, "here is this information," and "over here is where you'll find that." Even the most organized flow chart can be overwhelming to look at. By adding structure using containers and lists, you make it simpler. You make it more attractive. And you make it more effective.
Containers vs. Grouped Shapes
Before we go any further in this article, perhaps it is important to further clarify the differences between containers and grouped shapes. It will be helpful to know the differences as we move forward in this article, as well as for when you use Visio 2016.
- Containers are collections of shapes that have a visible border around them, while grouped shapes have an invisible border.
- If you delete a container, you delete the shapes in the container. You can't delete a group. You can only ungroup shapes.
- When you move a container, the shapes move with it. The same holds true for grouped shapes.
- If you copy and paste a container, you also copy and paste the shapes. You can copy and paste a group as well.
- Containers have headings, meaning you can add a text label. Groups do not.
- You can choose a container style to customize the look of your container. Grouped shapes, again, have an invisible border.
Adding Containers
It's easy to add containers. The first part of the process is like grouping shapes, so it will seem familiar.
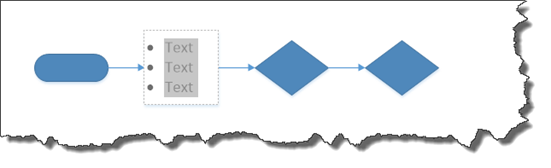
Start out by selecting the shapes that you want to contain.
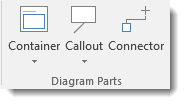
Go to Insert tab, then click the Container dropdown in the Diagram Parts group.
You can hover your mouse over the styles to see a preview of each container on the page.
Click on a style from the Container dropdown menu to apply it.
Type in the heading for the group of shapes.
If you don't have any shapes selected when you add a container, the container is placed in the middle of the view. It will not contain any shapes.
Adding Shapes to a Container
You can add a shape to a container by dragging the shape and dropping it inside the container. When a shape inside a container is selected, the container glows slightly, letting you know it is a contained shape.
If you don't see the container glowing when a shape in it is selected, move the shape a little.
You can also add the shape to the container by right clicking on the shape to see the context menu, then selecting Container>Add to Underlying Container.
Formatting Containers
Visio 2016 gives you tools to format your containers so they look like you want.
To format a container, first select the container.
You'll then see the Container Tools Format tab appear on the ribbon.

Under this tab, you can:
- Set the margins for your container
- Resize containers
- Change the style of the container, which will also change the appearance
- Lock the container. This means that shapes cannot be added to the container or deleted from it.
- Select contents means all the shapes in the container are selected.
- Disband container means that the selected container is deleted, but the shapes it contained are left behind.
You can also go to the Home tab and use the paragraph tools to set the position of the header or the font tools to format the header text.
Using Callouts
A callout is an annotation shape. It describes other shapes in a drawing. A callout can be associated with a shape and will move with the shape if the shape is moved.
Let's learn how to use a callout.
First, select a shape that you would like to associate with a callout.
Next, go to the Insert tab. Click the Callout dropdown in the Diagram Parts group.
Choose the style of callout that you'd like to use with the shape from the dropdown menu.
You can hover your mouse over a callout to see a preview of how it will look in your drawing. Click on a callout to select and associate it with your shape.
If you want to change the callout style after you've selected one, right click on the callout and select Callout Style. Choose another style.
Associating a Callout with a Shape
You can add a callout to your page without selecting a shape. When you do this, the callout appears in the middle of your current view.
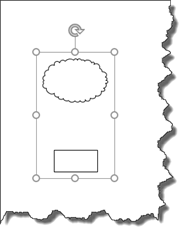
To associate a callout with a shape, click the yellow control handle for the callout, as circled in red below.
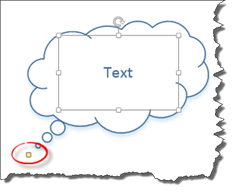
Drag it to the shape that you want to associate it with. Drop the control handle on the shape. It is very important that the control handle is dropped ON the shape, not on the border or near the shape. This is the only way to associate the callout with the shape.
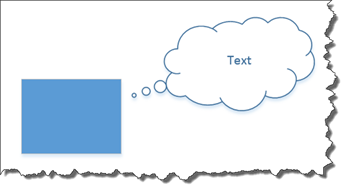
Now you can move the text part of the callout to where you want it.
Working with Layers
If you've ever used a program such as Photoshop before, then you are already familiar with layers. However, if you're not, don't worry. Learning how to use and work with layers isn't difficult at all, and it makes creating more complex drawings easier.
First, it's important to understand what a layer is. By definition, a layer refers to a level on which you place drawings, graphics, or images. The level is then stacked on top of another level. You can have as many layers in a drawing, graphic, or image as you want. Typically, when you save your work, it is flattened to one layer to reduce file size.
As we stated, that's the definition. An analogy may be easier to understand. Think of a square, flat piece of glass. Let's say you glue pictures on that piece of glass. You also have another piece of glass that's tinted a light orange. You glue that piece of glass on top of the first piece to give the picture and the glass an orange tint. Perhaps on top of that, you glue another piece with more pictures. You have three layers. This is an easy way to picture your layers in Visio.
In Visio 2016, you will use layers to arrange objects and control properties for the objects in each layer at once. For example, you can decide if a layer is visible when the drawing is printed. You can also "lock" certain layers so they can't be selected or moved.
To learn how layers work, go to File, then New.
Select the Floor Plans category, then the Office Layout template. Click the thumbnail and open the template.
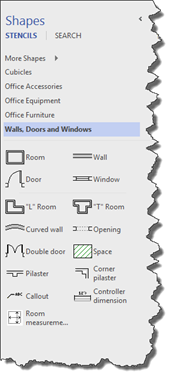
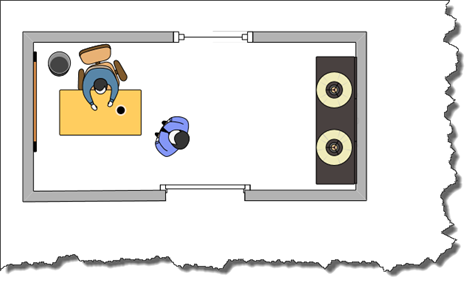
Create a drawing of a room by dragging shapes onto your page. Playing with floor plans is an excellent way to become comfortable with stencils in Visio.
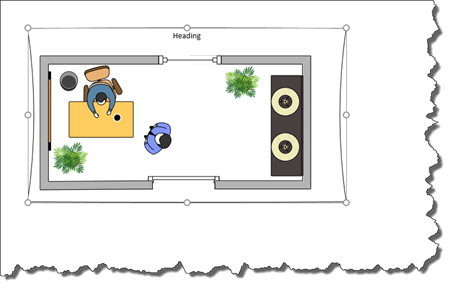
Our office floor plan is pictured below.
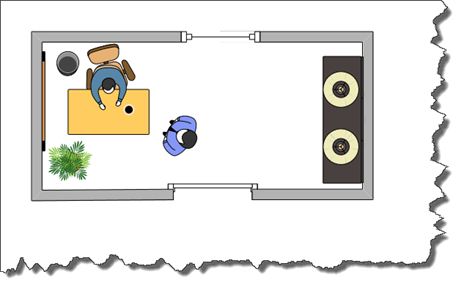
Now let's work with layers in our floor plan.
Select an object in your floor plan. It's preferable if you select one that you may want to move around or change later.
We're going to choose to put our decorative objects on a layer, so we're going to select the plant.
Next, go to the Home tab. Click on the Layers dropdown in the Editing group, and click Assign to Layer.
The Layers dialogue box appears.
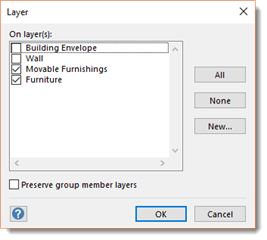
Here you'll choose what you want to put on this layer. As we stated above, we want decorative objects.
To do this, click the New button.
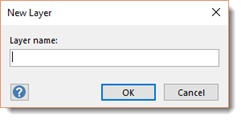
Enter a name for the new layer. Ours will be Decorative Objects.
Click OK.
You'll now see Decorative Objects listed in the Layers dialogue box. Put a checkmark beside it, as well as any other objects you want to appear in the new layer.

Click OK when you're done selecting what you want to go on the new layer.
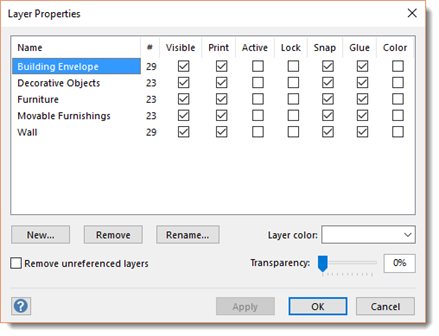
Now go to the Home tab again. Go to the Layers dropdown and click Layer Properties.
-
Visible determines if a layer's shapes are visible on the page.
-
Print will decide if a layer is printed.
-
Active will make it so that all new shapes added to a page or added to that layer. If more than one layer is active, shapes will be added to all active layers.
-
Lock will prevent selecting or moving a layer.
-
Snap and Glue will either allow or disallow snapping or gluing shapes to shapes on a layer.
-
Color will override the objects' colors on the layer. If you don't choose this option, layer shapes appear as their original colors.
As an example to show you how layer properties work, uncheck the visible box for the Decorative Objects layer.
Click OK.
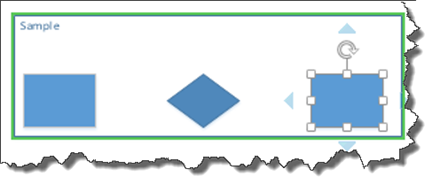
As you can see in the snapshot below, the plant is no longer visible.
Working with Text
Adding text to your drawings is really easy in Visio. Visio 2016 offers you all the formatting tools that you're already familiar with from other Office programs, plus it makes inserting text onto shapes or directly on to the page a snap.
In this section, we're going to cover how to:
-
Adding text to existing shapes
-
Creating text boxes
-
Positioning text on shapes
-
Adding ScreenTips or comments
Adding Text to Existing Shapes
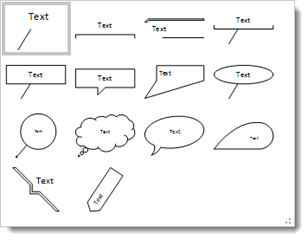
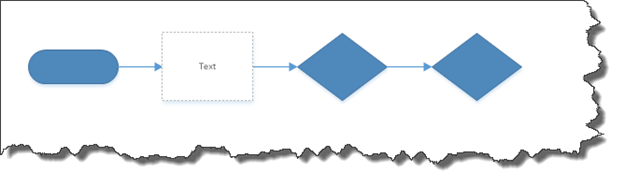
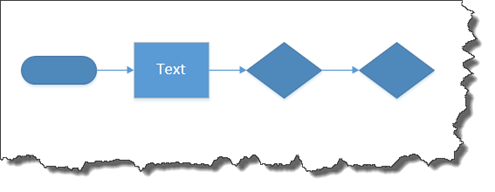
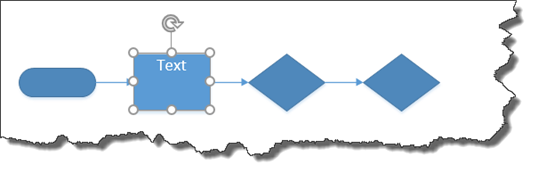
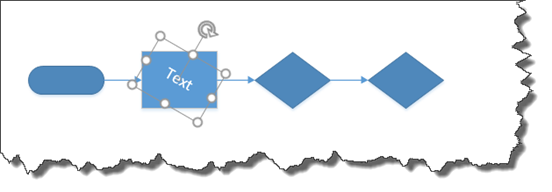
To learn to add text to an existing shape, we're going to use the flowchart below.
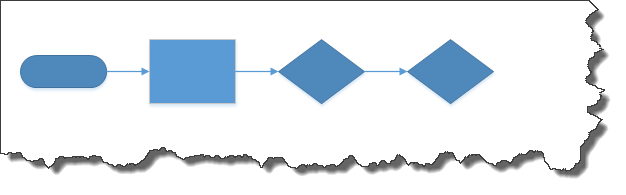
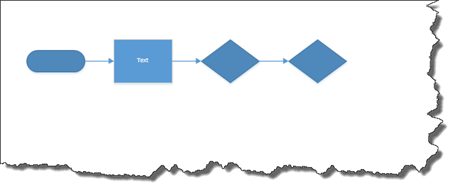
Click on a shape to select it, then type the word Text.
Click outside the shape to add the text to the shape.
To edit the text in the shape, double click on the shape.
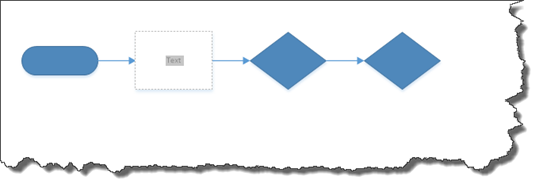
You can now go to the Home tab and format the text.
We're going to change the text size so it's easier to read.
Formatting text in Visio is the same as in Word or other Office programs.
To change the font size, go to the Font group, and click the dropdown menu.
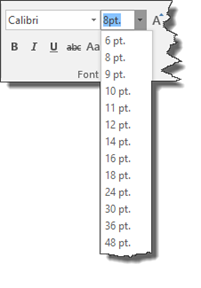
We have chosen 16 pt. font.

Click outside the shape to save the changes.
Creating Text Boxes
In addition to adding text to shapes, you can also add text to use as page titles and the like by creating text boxes.
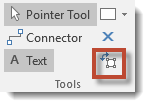
To create a text box, go to Home tab, then click Text in the Tools group, as pictured below.
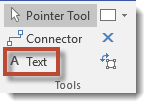
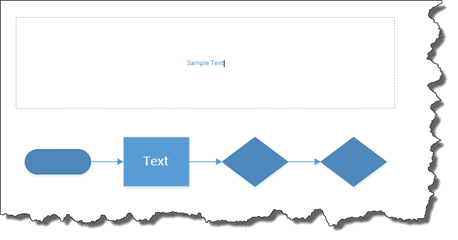
Drag a text box onto your page.
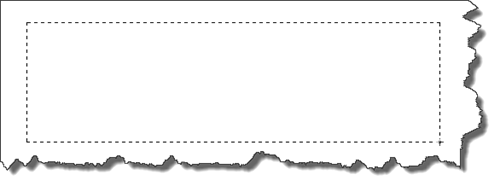
When you release the mouse, you'll see the text box on your page:

As you can see in the snapshot above, your cursor also appears.
Now you can simply type your text.
Now go to Home>Pointer Tool.
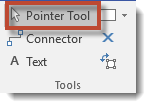
This takes you out of text mode. When you're in text mode (by clicking the Text button), you can add text boxes and text. When you click the Pointer Tool, you're back in "normal" mode, which means you can select and move shapes, including text boxes.
When you leave Text mode and return to the Pointer Tool, you can see that your text box is still selected.
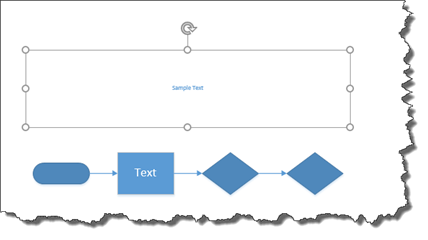
You can then resize the text box using the handles on the sides and corners. You can also rotate the text box using the circular arrow above it just as you would with a shape.
You can also use the tools in the Font and Paragraph groups under the Home tab to apply different fonts, colors, and styles. You can also create lists or align the text within the text box.
Formatting Text
Let's do a quick review of these standard formatting tools.
Below is the Font group.
To change the style of Font, click the Font dropdown menu.
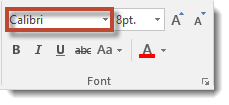
To change the size of the font, click the Font Size dropdown menu. Remember, the text must be selected.
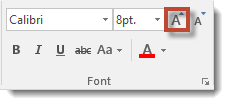
To increase the size by a point, click the Increase Font Size button.
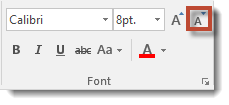
To decrease the font size by a point, click the Decrease Font Size button.
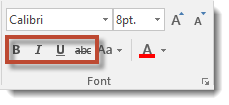
You can also boldface, italicize, underline, or strikethrough text.
Click the Change Case button to change the case of the text.

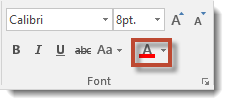
Click the Font Color dropdown arrow to change the font color.
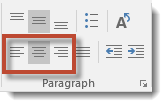
Now let's look at the Paragraph group under the Home tab.

The Align Top, Align Middle, and Align Bottom buttons are highlighted below.
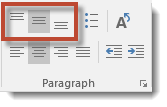
These buttons allow you to align the text within a shape or text box. You can align it to the top, middle, or bottom.
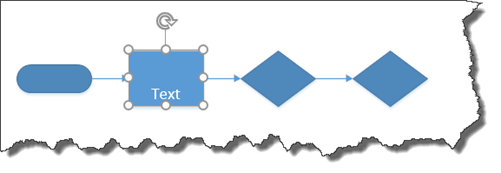
By default, text is aligned to the center of a shape or text box, as shown below.
Let's align it to the top by clicking the Align Top button.
Now let's align it to the bottom.
Remember that, in order to align text in shapes or text boxes, the shape or text box must be selected.
The Bullets button in the Paragraph group allows you to create lists. The button is highlighted below.

To create a list, you can simply select the shape, then click the Bullets button. This will add a bullet point before each line of text.
You can also click the Text button to go into text mode, then select the text you want to turn into a list. Click the Bullets button.
Next to the Bullets button is the Rotate Text button.
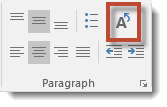
This allows you to rotate the text in the selected shape 90 degrees to the left, as shown below.
The Align Left, Align Center, and Align Right buttons allow you to align text between the left and right sides of the shape.
The Justify button allows you to align text so the first word aligns with the left margin, and the last word aligns with the right margin. The result is a block of text in which all lines are even.
The Decrease Indent and Increase Indent buttons allow you to indent text inside shapes.
Positioning Text on Shapes
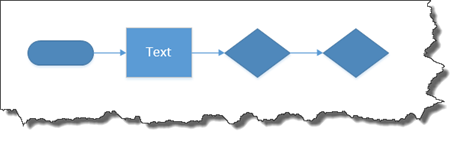
Adding text to a shape is easy, as you already know from this article. However, the problem with adding text to a shape can come when you try to rotate the shape after the text is already on it.
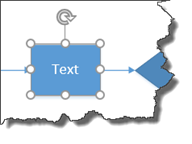
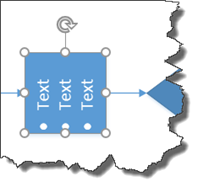
Look at the shape with "Text" written on it:
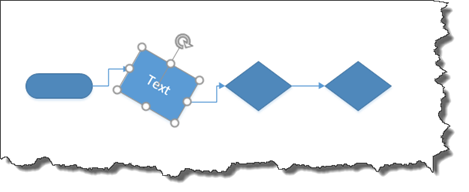
When we rotate the shape using the circular arrow above the shape, the text is rotated with it, but we want the text to remain horizontal.
To fix this, you can use the Text Block tool under the Home tab in the Tools group, as pictured below.
The Text Block tool allows you to rotate text within a shape.
To use the Text Block tool, select a shape with text in it.
Click on the Text Block tool.
You will see the bounding box around the shape. Go ahead and use the circular arrow. When you do, you will notice that you are rotating the text and not the shape.
Adding ScreenTips or Comments
Visio also gives you two methods to provide people who view your drawings with extra information. This information doesn't have to be visible at all times, meaning you don't have to put the information in text boxes are on shapes. Instead, you can add ScreenTips and comments.
If you add a comment to your drawing, there will be an indicator in the drawing to let the viewer know that the comment exists. The comment will include the name of the person who write the comment and the date the comment was made. In Visio 2016, a comment shape can contain multiple comments from different people.
Screen tips, on the other hand, are pop-up text that's only displayed when the mouse points to a shape. You won't know the screen tip is there unless you point at a shape that contains one.
Add a ScreenTip
Before we learn how to add a ScreenTip, let's also explore more templates.
That said, click the File tab. Go to New, then open the Basic Network Diagram template.
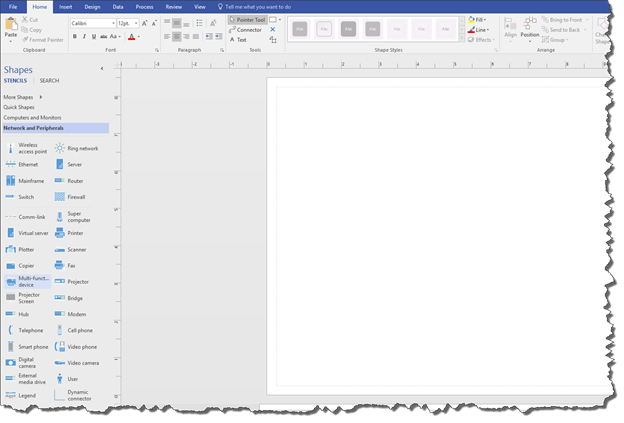
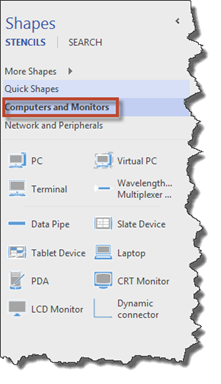
Next, go to the Shapes window. Click Computers and Monitors.
Drag the Tablet Device shape onto the page.
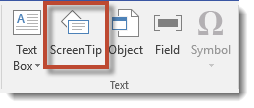
Go to the Insert tab. With the shape selected, click ScreenTip in the Text group, as pictured below.
You will then see the Shape ScreenTip dialogue box.
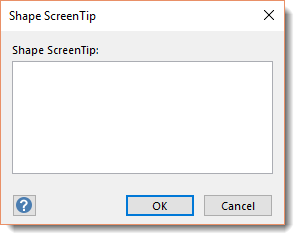
Type in text, then click OK.
When you mouse over the shape, the screen tip will appear.
Add a Comment
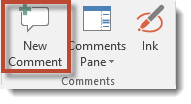
To add a comment, select the shape for which you want to add the comment. Then go to the Review tab and click the New Comment button in the Comments group, as shown below.
The dialogue box below will appear next to the shape.
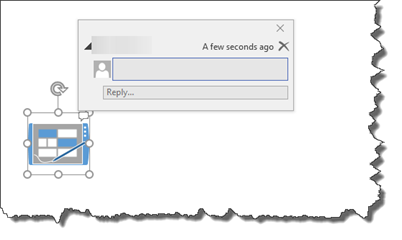
Type in your comment, then push Enter.
When you're finished, click the mouse outside of the dialogue box.
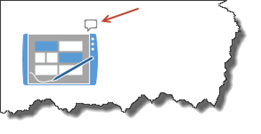
The speech bubble icon will appear near the shape to let you know a comment exists: