Creating a Publication in Microsoft Publisher 2013
You can create just about any type of publication you can imagine using MS Publisher 2013. The templates make it easy, because you don't have to have any design experience. The presentation you create can look like it came from a graphics designer. Best yet, it only takes you a little bit of time to do it.
You can also create several different types of publications that use the same options and information in Publisher 2013. We'll teach you how to do that, too.
In this article, we're going to learn how to create a publication. We're going to use a template. Even though Publisher 2013 gives you the ability to create publications from a blank page, templates can make creating presentations a lot quicker and easier.
Finding a Template to Use
To find a template, either open Publisher or, if you already have Publisher open, click on the File tab to go to the Backstage area, then click New on the left.
You'll see templates pictured to the right of the dark green column.
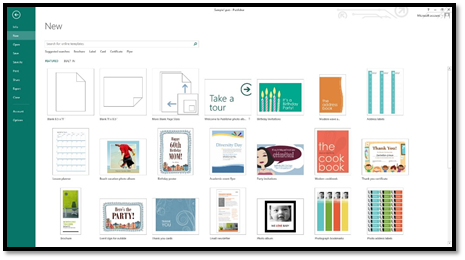
You can choose one of the templates pictured if you see one you want to use. You can scroll down to see more.
You can also use the search feature to find a template you want. The search feature is located at the top, above the pictures of the blank publications.

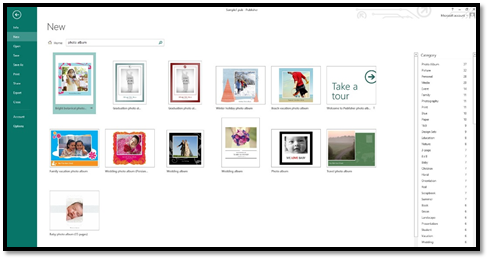
To search for a template, enter the type of publication you want to use.
We are going to search for a photo album.
Below, you can see the templates that match our search:
Choose the template you want to use, by clicking on it.
You'll then see a description of the template.
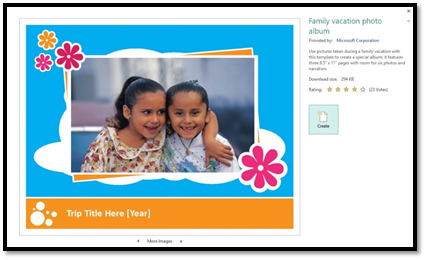
Click the Create button to create the template as a publication. It then opens up in Publisher in the same way your blank publication did.
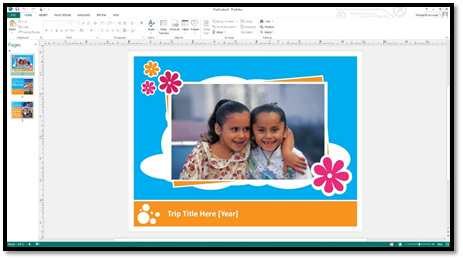
Let's look at the Page Navigation pane for our template.
You can customize any of the pages in the publication, as we'll learn to do in this article.
About Customizing Publications
Each publication you create, whether you create it from a template, or from scratch, is going to be made up of objects. A picture that you insert is an object. A table that you insert is an object. Text that you insert is contained within an object. You get the idea.
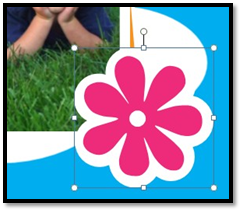
When you customize a publication, you will customize the different objects by first selecting the object, then making the changes. Whenever you select an object, you'll see a bounding box around it, as shown around the image below.

Remembering this simple step will make customizing your publications easier.
Replacing Placeholder Images in a Template
Let's start to customize the template we selected by replacing the images with ones of our own.
Whenever you want to insert an image into a publication, you'll go to the Insert tab on the ribbon. For now, let's talk about the very basics of inserting an image from your computer to replace a placeholder image in a template.
We're going to replace the placeholder image below:

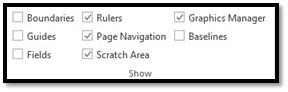
To do this, go to the View tab and put a check mark beside Graphics Manager in the Show group.
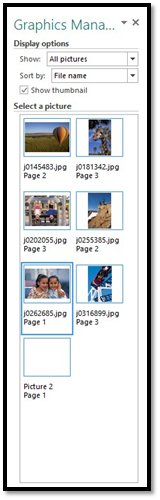
The Graphics Manager pane opens on the right side of your screen.
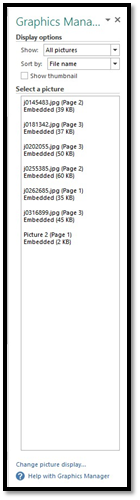
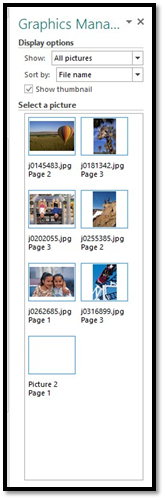
The Graphics Manager shows you all graphics in the template. It's easier to use if you put a check mark beside Show Thumbnail. This way you can see the actual images, instead of the image names.
Select the image you want to replace by clicking on it in the publication, or in the Graphics Manager.
As you can see, it has a thick blue border around it now.
When you hover your mouse over the image in the Graphics Manager, you'll see a downward arrow appear. Click on it to see a context menu, as pictured below.
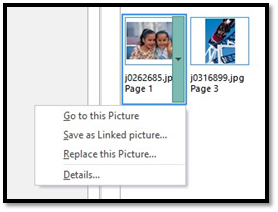
Choose Replace This Picture.
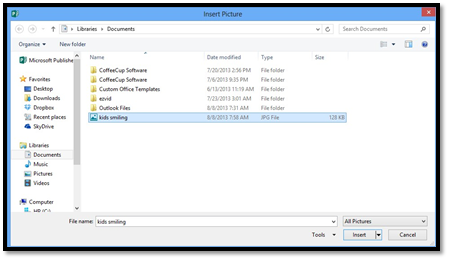
Locate the picture you want to use on your computer, then click Insert.
As you can see, Publisher replaced the image for us, making sure the new image is sized and positioned correctly.

Cropping an Inserted Image
If you look at the snapshot again with our new picture in the publication, you'll see black marks around the edges of the picture.They appear at top, bottom, left, and right center � as well as at all corners.
These are crop marks, meaning that you can now cut away edges of the picture if you want.
To crop the image, click on one of the crop marks and drag inward.

The area below the picture that appears shaded is the area we are going to crop away.
Now go to the Picture Tools Format tab on the ribbon. Go to the Crop group.
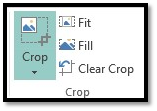
Click the downward arrow on the Crop button. Click Crop.

Edit Text
You can also change the text that is on the template. We're going to teach you the basics of editing text in a template.
In Publisher 2013, all the text you add to a publication is added inside of text boxes. If you've ever used MS Word before, you know that you can just start typing anywhere in a document. In Publisher, it's different. You type inside text boxes. It seems like a hassle, but it's really not, because you can easily drag and drop the text boxes anywhere in a publication.

Now you can just start typing. If you want, you can change the font, font size, color, etc. by clicking on the Text Box Tools Format tab in the ribbon.

Here you can format text in all kinds of ways. Be creative and play around with it. It can be a lot of fun.
Save a Publication
Once you're done creating your publication, it's time to save it. To save it, click on the File tab.
You can click Save on the left to save the publication under the same file name that it already has, if it's an existing file.
If it's a new file, click Save As so you can give it a name to help you identify it later.
You'll see this window appear:
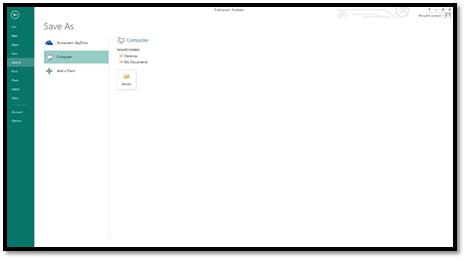
First, choose where you want to save the file.
You can:
-
Save it to the cloud (SkyDrive)
-
Your computer
-
Or you can add a place, such as SharePoint.
Let's choose computer.
As you can see, you can now choose a location on your computer. You can choose one of the recently used folders, or click Browse to find the location where you want to save the publication to.
We're going to choose Documents.
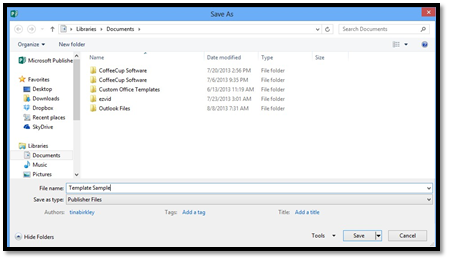
Type in a file name in the File Name field.
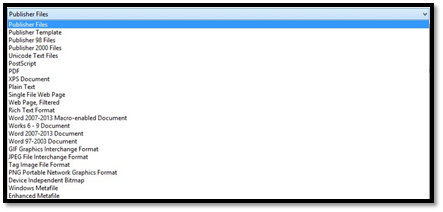
Select a format type for your publication in the Save As Type field.
Click the Save button when you're finished.
Closing a Presentation
To close a publication, you can do two things.
You can click the "X" at the top right of the Publisher window, or you can go to the Backstage View.
Click Close on the left.
Getting Help with Publisher 2013
There may be times when using Publisher 2013 that you forget how to do something, or need assistance completing a task. To access the help files in Publisher 2013, click the question mark symbol at the top right side of the screen.
It looks like this: 
When you click on Help, you'll see this window open:
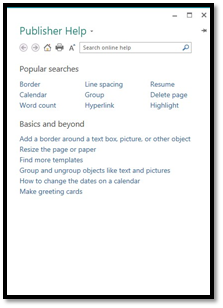
You can search Publisher's online help by entering what you need help with in the search box, or you can choose a popular search topic.
Working With Objects
You'll work with objects a lot in Publisher. Aside from setting up your pages as you'll learn to do in just a bit, almost everything you do in Publisher will involve working with objects.
This article is going to cover some of the basics of working with objects.
Moving Objects
Whenever you click on an object to select it, a bounding box appears around it, as shown below.
Hover your mouse over the box until you see a four-way arrow. We've pointed to it below.

Now click and drag to move the object to the location where you want it to appear in the publication.
Cut, Copy, and Paste
To move or remove objects from a publication, you can choose to either cut or copy. To place them somewhere else in a publication (or in another publication), choose Paste. Let's talk about how to use cut, copy, and paste.
Cut Objects
To cut means to remove an object or text from your page. Don't confuse this with Delete, however. When you use cut, you are cutting it from your page and moving to the clipboard. We'll learn about the clipboard in just a minute. When you delete an object, it's erased.
To cut an object -- such as a graphic, picture, or text box -- click on it. You'll see a box form around it. Move your cursor over a line on the box, then right-click and select Cut. The object then appears on your clipboard.
Copy Objects
When you copy an object, you leave the existing object where it is, but also move a copy of it to your clipboard. You can then put that copy anywhere else on the page � or on other pages. To copy an object, follow the same steps for Cut, but select Copy.
Cut or Copy Text
To cut or copy text, select the text by holding in your left mouse button and dragging it over the part of the text you want to select. Right click, then select Cut or Copy.
Paste Objects
To paste an object, move the cursor to where you want to position the object, right-click and select Paste on the ribbon under the Home tab . 
We selected this object, then right-clicked to choose Copy.
Next, we selected Paste.
Now we can move the pasted object to the location where we want it in our publication.
Paste Text
Pasting text gets a little more detailed, because you have more options for pasting in Publisher 2013. You have three options:
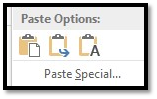
 Paste using original formatting of pasted text.
 Paste using the formatting of the majority of the text in the publication.
 Paste text only. Any graphics or images will not be pasted, only text
Note: To cut, copy, and paste, you can also click on the Home tab and go to the Clipboard group � as well as right-clicking on an object.
The Clipboard
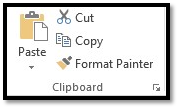
Whenever you cut or copy anything in MS Publisher, it is automatically sent to the Clipboard. The Clipboard does just as its name implies. It holds what you copy and paste for you to use. The Clipboard and its associated tools can be found on the Home tab at the far left end of the ribbon. The Clipboard group looks like this:
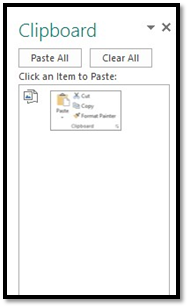
Click the arrow at the bottom right of the Clipboard group to see its contents. The clipboard will open as a long window to the left of your work space. To empty the Clipboard, click theClear All button at the top of the Clipboard menu.
You can remove individual items from the clipboard by moving the mouse pointer over the item and clicking the arrow button that appears to the right of the object. In the drop-down menu, select Delete.
Undo and Redo
Let's say you accidentally delete something, or deleted it and then decided that you want it back. You grit your teeth and start to grumble. It's a lost cause, right? Wrong. Microsoft anticipated this problem and supplied an easy solution. The Undo button! It looks like this:

The Redo button is to the right of the Undo button. It looks like this:  .
.
The redo button allows you redo an action that you just undid, or to repeat the last action. If Publisher cannot redo the last action, the button will be faded.
Rotate Objects
You can also rotate objects in Publisher. Let's show you what we mean.
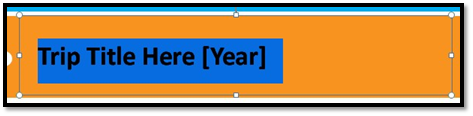
Look at the object we've selected below.
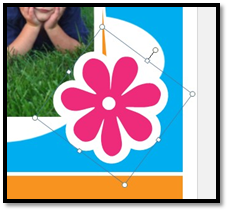
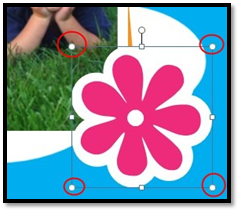
If you look at the bounding box around the object, you'll see a small circle above the box. We've circled it in red below.

Hover your mouse over the circle until you see an arrow that looks a lot like the recycle arrow used nowadays. It looks like this:

When you see this arrow, you can rotate your object to the left or the right � as far as you want.
As you can see, we've rotated ours to the right.
Re-sizing Objects
You can easily re-size objects by dragging on the handles that are on the bounding box. The squares on the top (circled below) allow you to drag in to reduce the size of the object, or out, to increase the size. However, re-sizing like this can cause the object to become distorted.
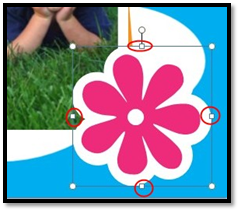
The corner handles allow you to drag in to decrease the size � or drag out, to increase the size. However, doing it this way keeps equal proportions to prevent distortion.
The corner handles are pictured below.
You can also re-size an object by changing its dimensions.
To do this, select the object. Hover over the bounding box until you see the four-way arrow again, then right-click.
Choose Format Object from the context menu, then click on the Size tab.
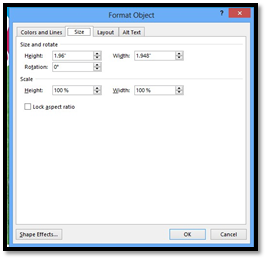
Here you can change the height and width of the object. To prevent distortion, put a check mark in the box beside Lock Aspect Ratio so you preserve the proportions.
Stacking Objects
In addition to re-sizing and rotating objects, you can also stack them on top of each other. You can stack any object. It can be a picture, graphic, text box, etc.
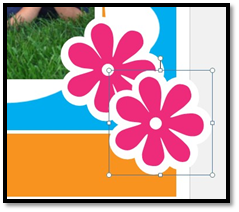
Let's stack the three flowers pictured below:

To start stacking, select an object and move it on top of another.
Below you can see that we've moved the three flowers.

Now we can rearrange the stack order if we want. We can make it so one flower appears in front of another � or behind another.
To do this, select the object you want to move in front of, or behind, another object, then go to the Arrange group under the Drawing Tools Format tab.
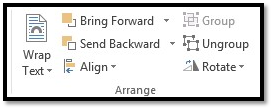
If we choose Send Backward from the drop-down menu, it sends the object behind the previous object in the stack.
If we choose Send to Back, it sends the object behind all other objects in the stack, as well as all other elements on the page.
You can choose Bring Forward and either bring the object forward � in front of the object directly behind it. You can also choose Send to Front and bring it in front of all other objects and elements on the page.
Group Objects
Once you stack objects, you can put them together as a group. This way, if you have to move the objects to another location on the page, the objects that you've stacked will move together as if they were one object.
To group a stack of objects, select all of the objects by clicking on them while holding down the CTRL key. As you can see below, all objects are selected:

Click the Group button in the Arrange group under the Drawing Tools Format tab.
Look at your objects now. They are still selected, but they appear as one object.