Saving a Presentation as a Design Template
You can save any presentation you've made in the past or the presentation you're currently working on as a design template. To do so, click File > New and select From Existing Presentation in the New Presentation task pane. Double click on the presentation you'd like to save as a template or select it and click Create New.
Remove any elements you do not want included in the template, and when you're satisfied, click File > Save As.
Type the name you'd like to use for the template in the File Name box and select Design Template in the Save as type menu as seen below.

Next time you launch PowerPoint, your design template will appear in the Slide Design Task Pane.
Templates are saved with a .pot extension rather than the default PowerPoint extension .ppt.
Editing a Slide Master
Slide Masters are where the style and design elements in a template are stored. They are sometimes thought of as "hidden" slides. That is, the master contains all of the elements you want to appear on every slide that the master is applied to, but the master itself will not be visible during your presentation. Any changes you make to a master are reflected in any slide to which that master has been applied.
Using masters makes it quick and easy to change design elements across a series of slides. For instance, you may want to put a logo in the lower left hand corner of each slide. Instead of the time-consuming task of doing this one slide at a time, you can simply add it to the slide master.
In the following example, we've added a footprint logo to the slide master.
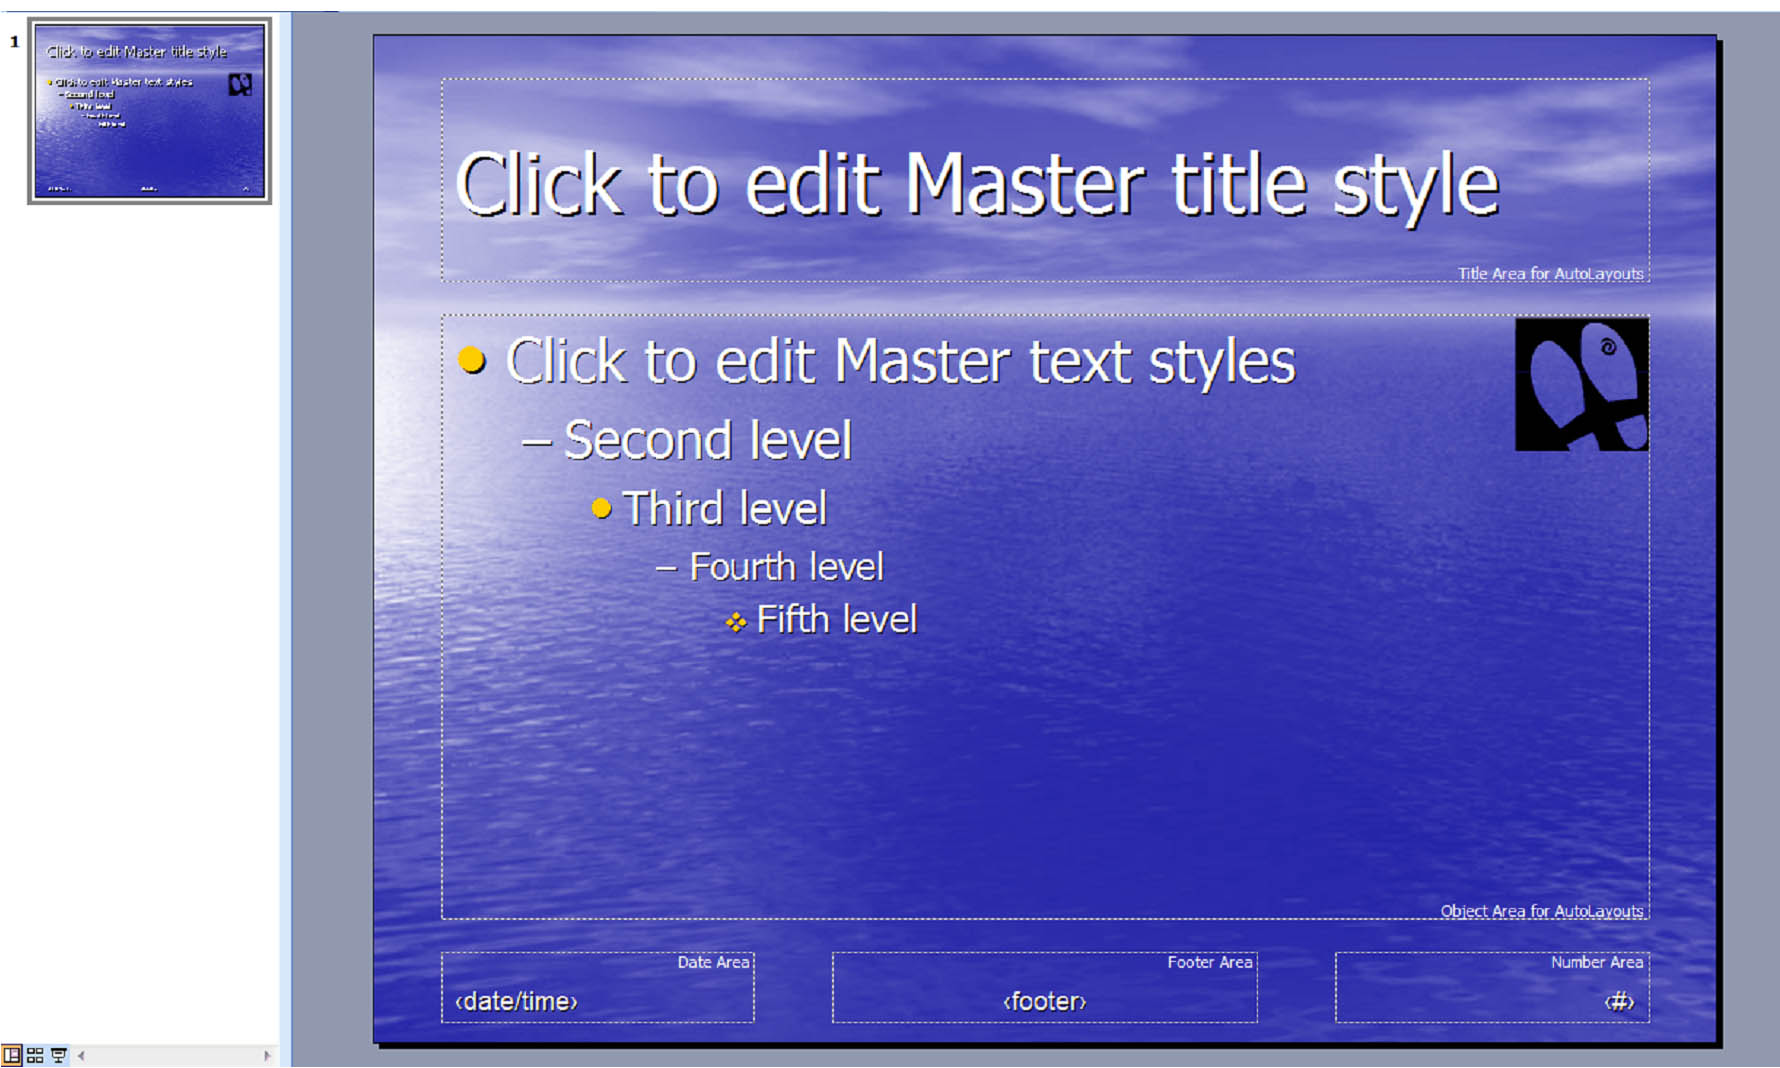
The logo then appears on every slide to which that master has been applied:
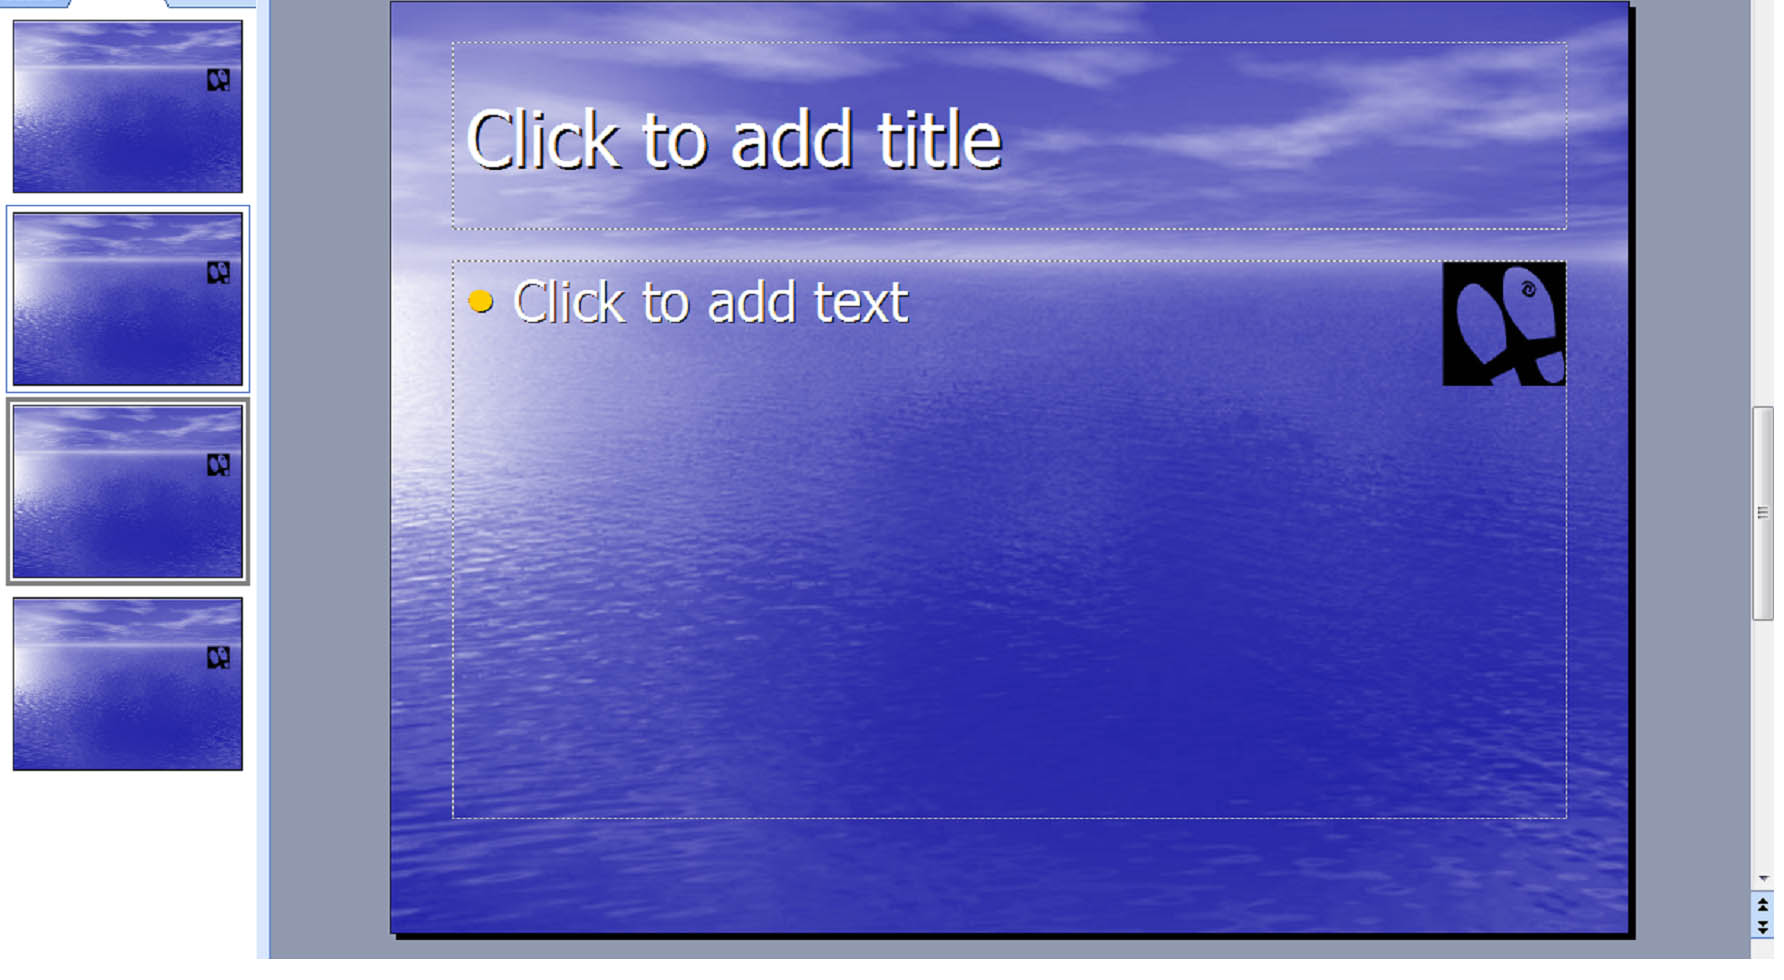
Elements such as the footprint picture above cannot be deleted, moved, or manipulated on the individual slides, only on the slide master.
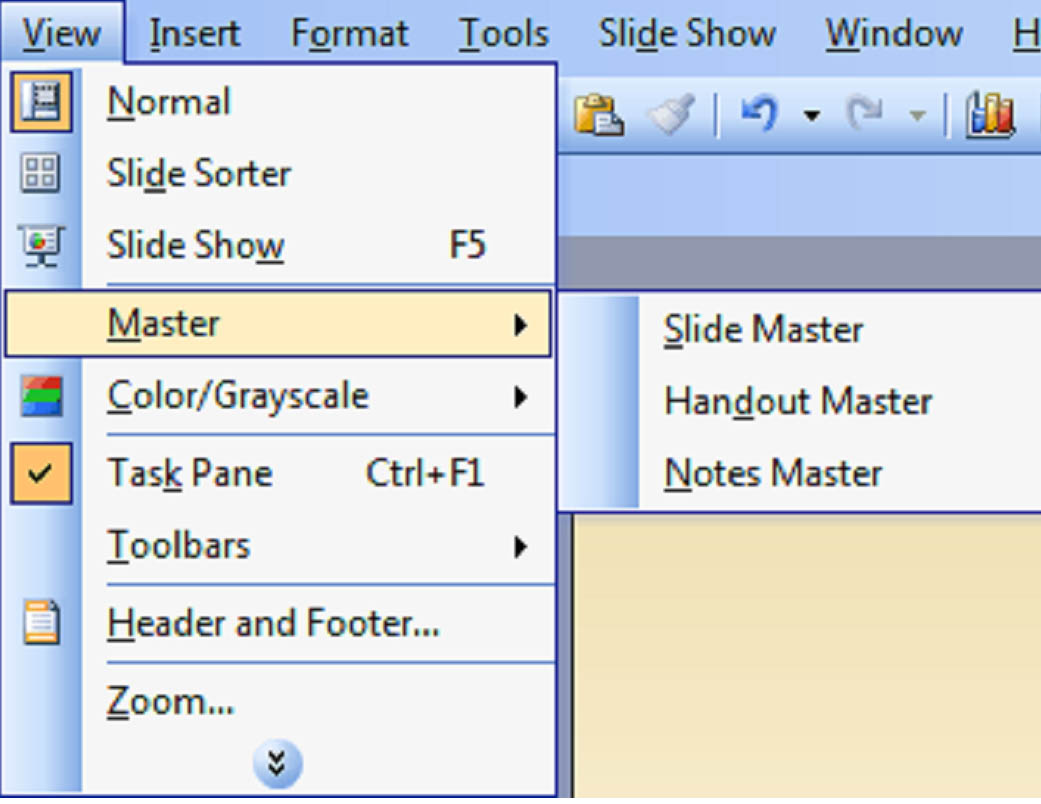
To view or edit a slide master, click View > Master > Slide Master.
A slide master task pane will open to the left of your presentation. This pane contains all of the master slides in the document. Select a master to edit it. You can edit a master the same way you edit an ordinary slide, just remember that any change you make to it will also appear in each slide that it's applied to. You can change the background color, add or remove elements, change font styles, etc.
The slide master view toolbar will also open. This is a floating toolbar that looks like this:
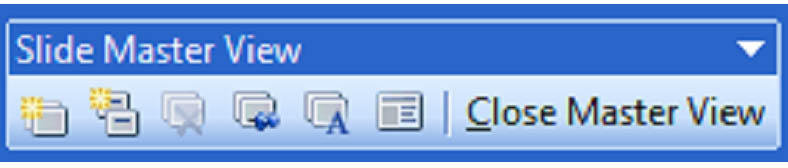
From the toolbar you can add new slide masters and title masters, remove them, rename them, or preserve them. When you preserve a master you prevent it from being automatically deleted. PowerPoint does this sometimes when you delete all the slides that follow the master or apply another design template to all of the following slides. To keep this from happening, select a slide and click the Preserve Master button in the toolbar. Just remember that you can still manually delete a master that has been preserved.
The master layout button in the toolbar shows you all the placeholders that appear on the master. When you click this button, a menu appears that looks like this:
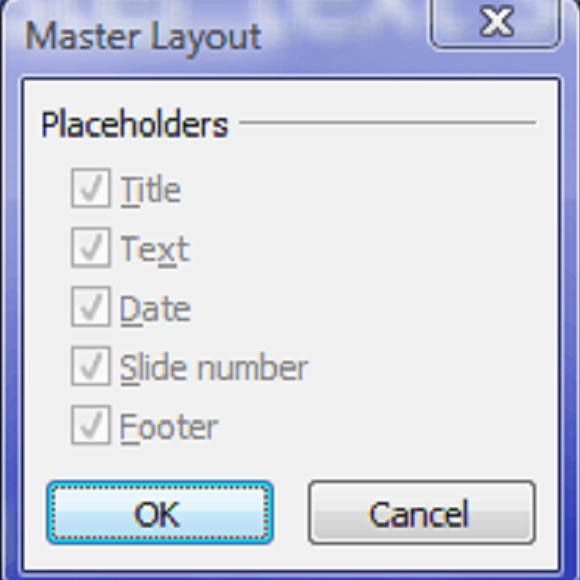
Uncheck the boxes to easily remove the placeholders.
Editing a Title Master
Title masters are like slide masters except they contain all the design elements related to title slides, such as the size and positions of placeholders, color schemes, and backgrounds.
You can view and edit a title master the same way you would a slide master.
Create a Color Scheme
PowerPoint comes with a range of predefined color schemes but you can easily create your own. While editing a slide master or a title master, click the slide design icon  . In the slide design task pane, click Color Schemes. Click Edit Color Schemes at the bottom of the task pane. The edit color schemes window will open.
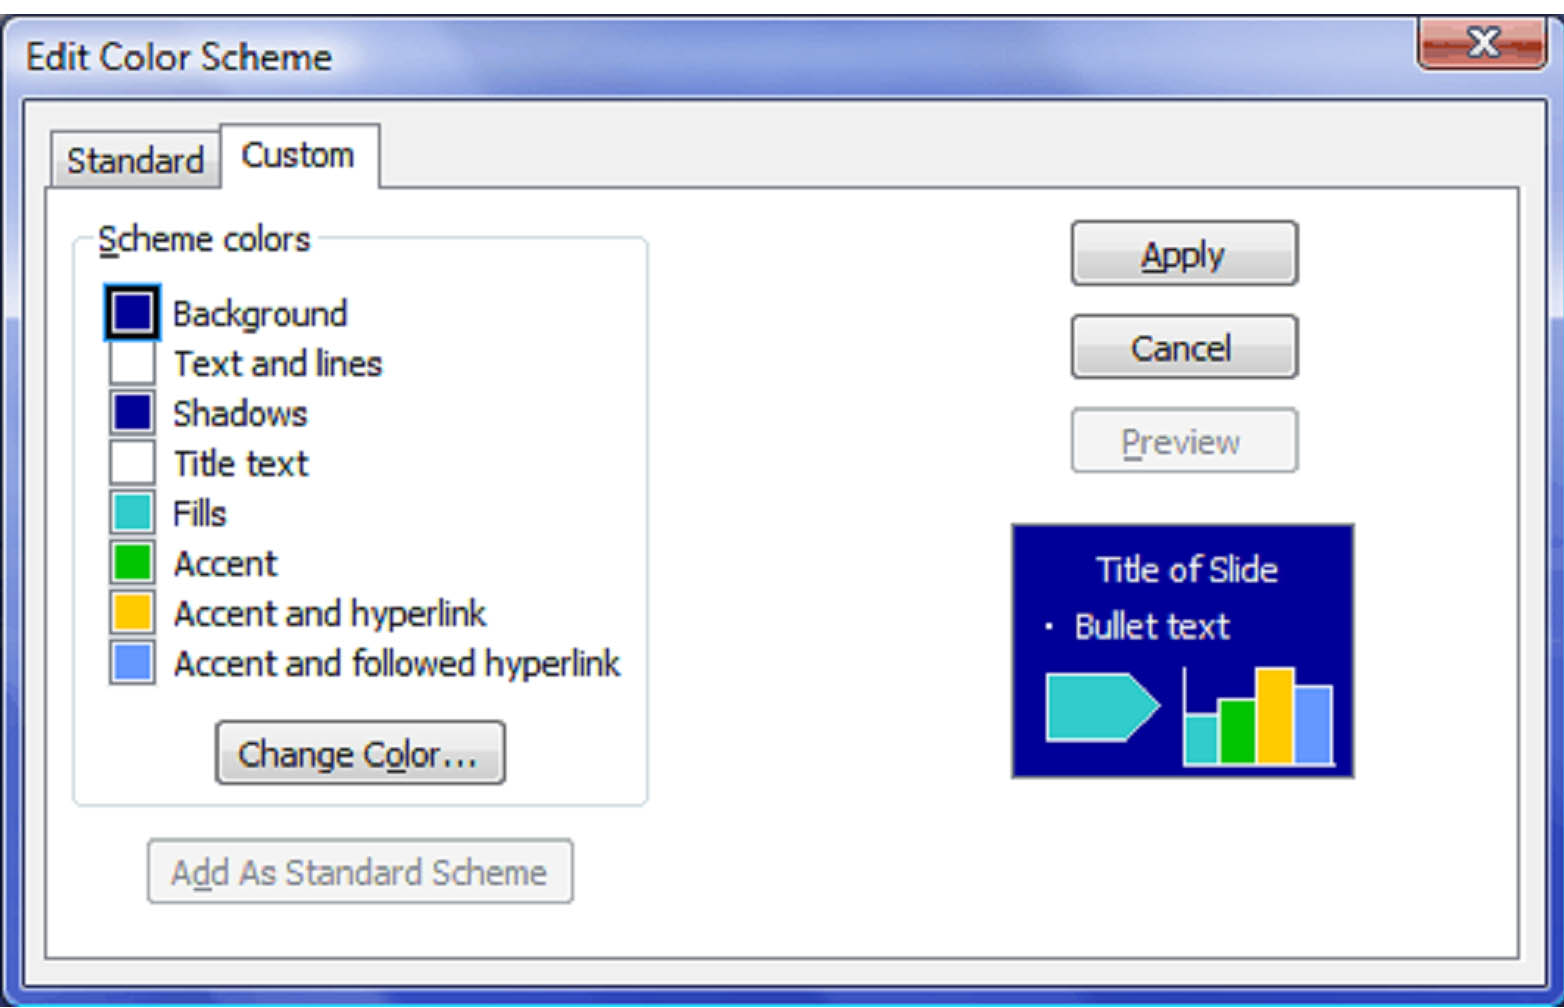
Select the Custom colors tab if it isn't already selected. From here you can specify the color of the background, the shadows, title text, accents, etc. To do so, select the color you'd like to edit and click Change Color.
Another window will open.
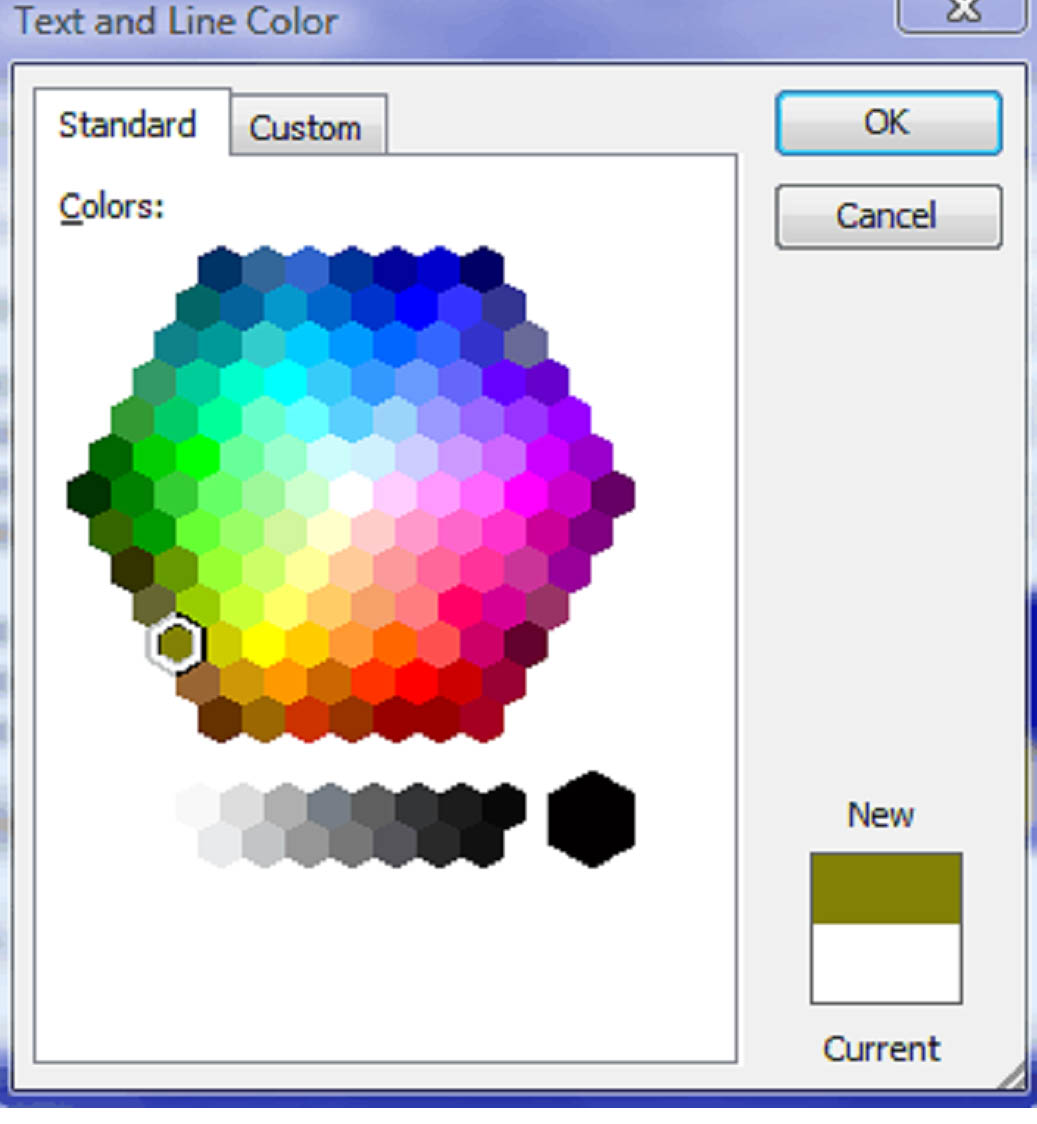
In the standard tab, you can click any color to select it and click okay to continue. If you'd like more precise control or more variations, click the custom tab.

Here you can select the color model. In this case it's RGB (Red, Green, and Blue.) You can click anywhere in the Colors window to select one, drag the slider, or if you know the exact shade you'd like, type the amount into the color boxes. A preview of the selected color appears in the lower right hand corner, contrasted against the current color for that element.
Click OK to accept the new color.
Clicking OK returns you to the Edit Color Scheme window where you can edit the color of another element.
When you are finished click Apply.
Creating a Background
You can change the background of a slide, or a master. This can be a color, a picture, texture, or text. Changing the background can add visual appeal or emphasize specific aspects of your presentation.
To change the background of a slide, select the slides or slide master, and click Format > Background.
Another window will open that looks like this:
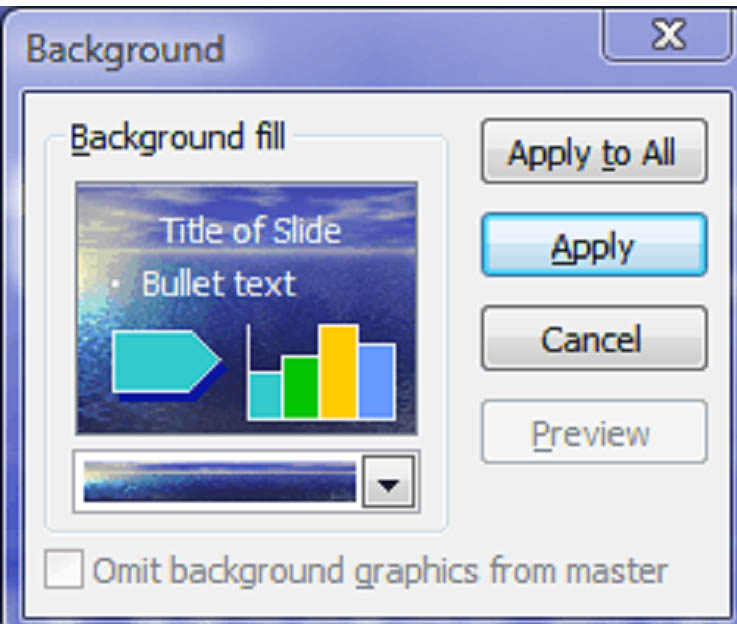
You can select a new color from the dropdown menu or click Fill Affects for more options. When you click Fill Affects you'll see a window like this:
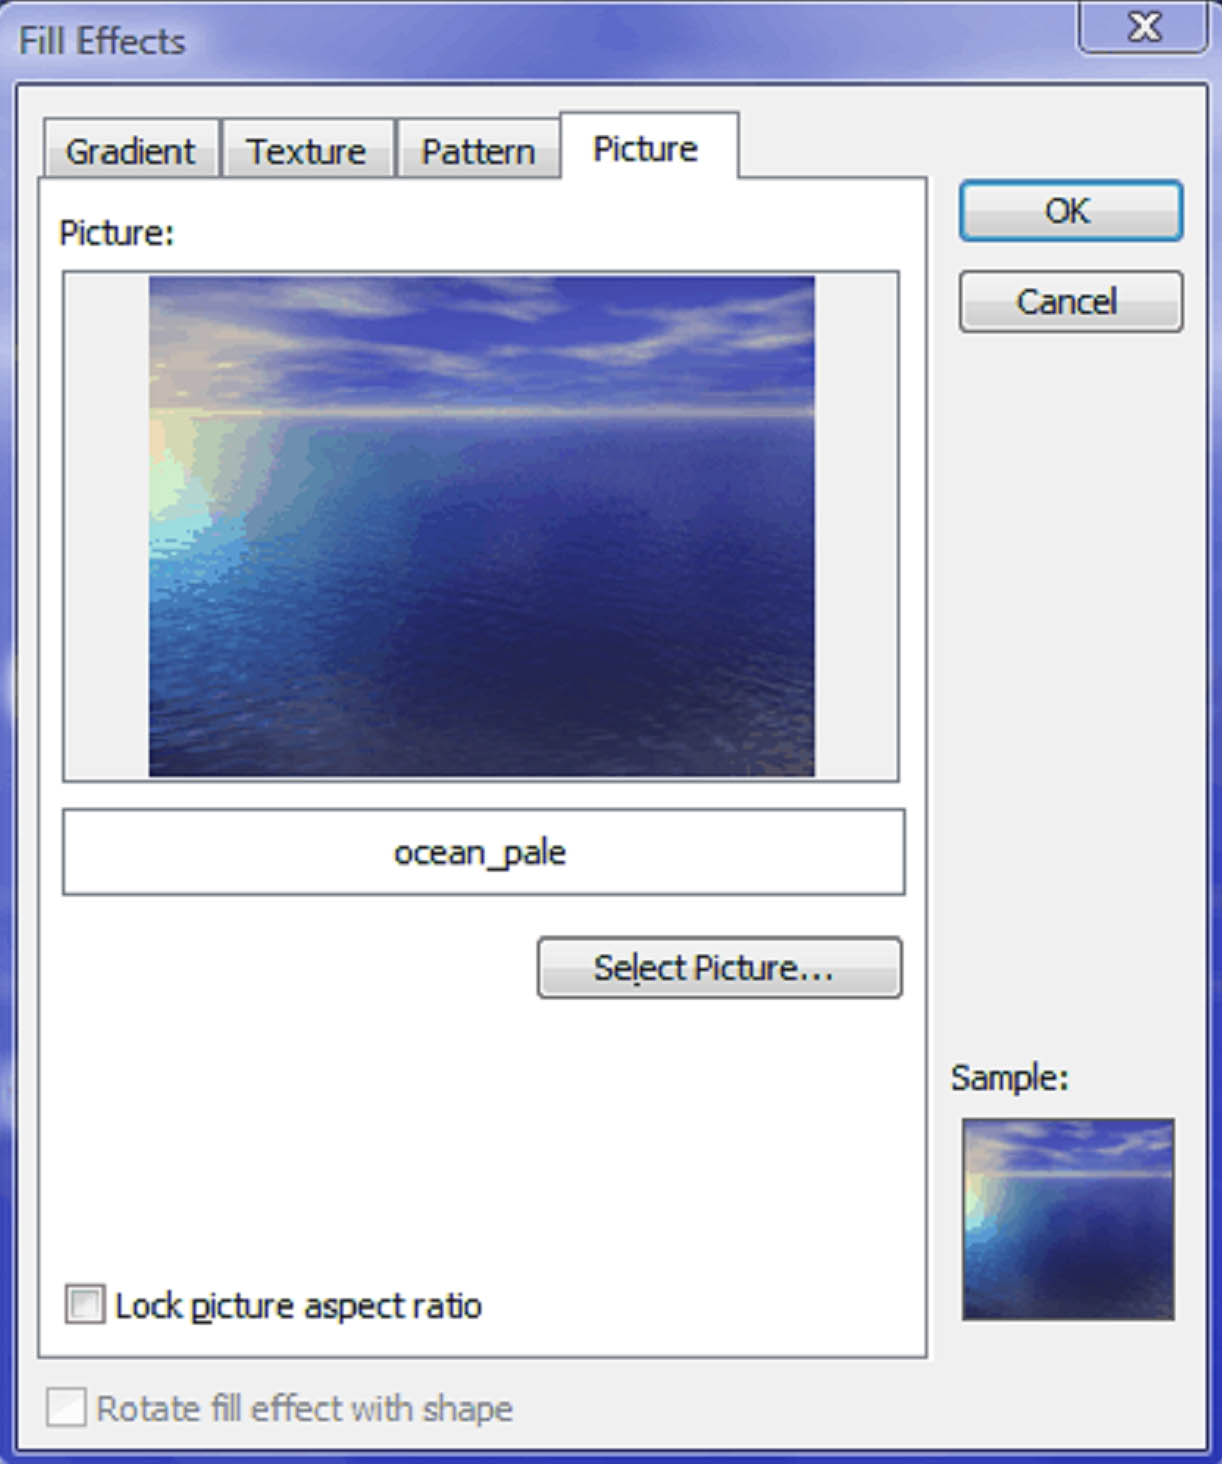
As you can see in the example above, the current background picture appears in the preview window. Click select picture to browse for a picture on your computer. Select the Lock Picture Aspect Ratio box to prevent the picture from being stretched out of shape or distorted when it's placed onto a slide.
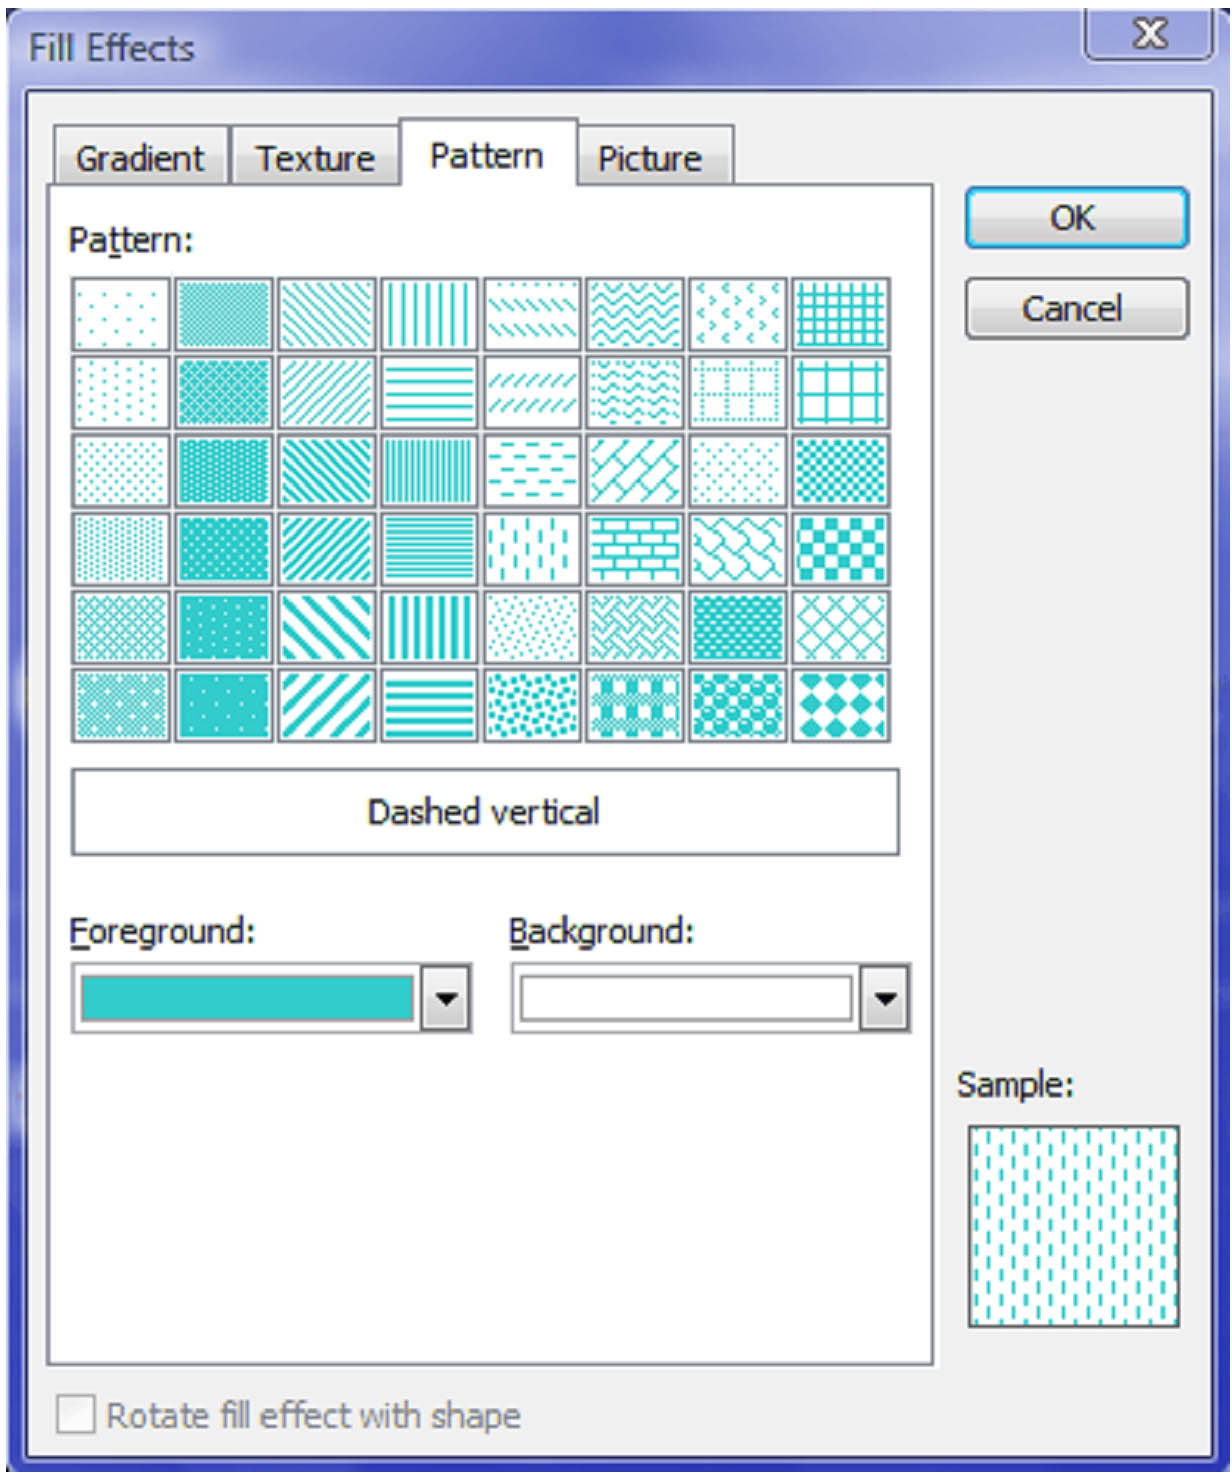
Use the pattern tab to select a background pattern. Use the Foreground and Background dropdown menus to change the colors.
Use the Texture tab to select a texture and the gradient tab to define a gradient. When you're finished, click OK. Then Apply or Apply to all. Clicking Apply to all applies your changes to every slide in your presentation.
Make a Design Template in Black and White or Grayscale
Designs can be created and saved with black & white and grayscale settings. To do so, open a presentation or template and click View > Grayscale/Black & White then select either Grayscale or Pure Black & White. Grayscale turns colors into varying shades of gray. For instance, a yellow might appear as a light grey, while a dark blue may appear as a dark grey or near black. Pure black and white changes colors to black or white only.
When you select Grayscale view, you will see the grayscale view floating toolbar. It looks something like this:
The pure black & white view toolbar is almost identical. Except it says Close Black & White View instead of Close Grayscale View. The tools associated with each view are the same.
When you launch Grayscale view, all the color in your presentation will be converted to grayscale, including all objects, backgrounds, pictures, and text.
The settings menu in the toolbar gives you a number of options to apply to an object.
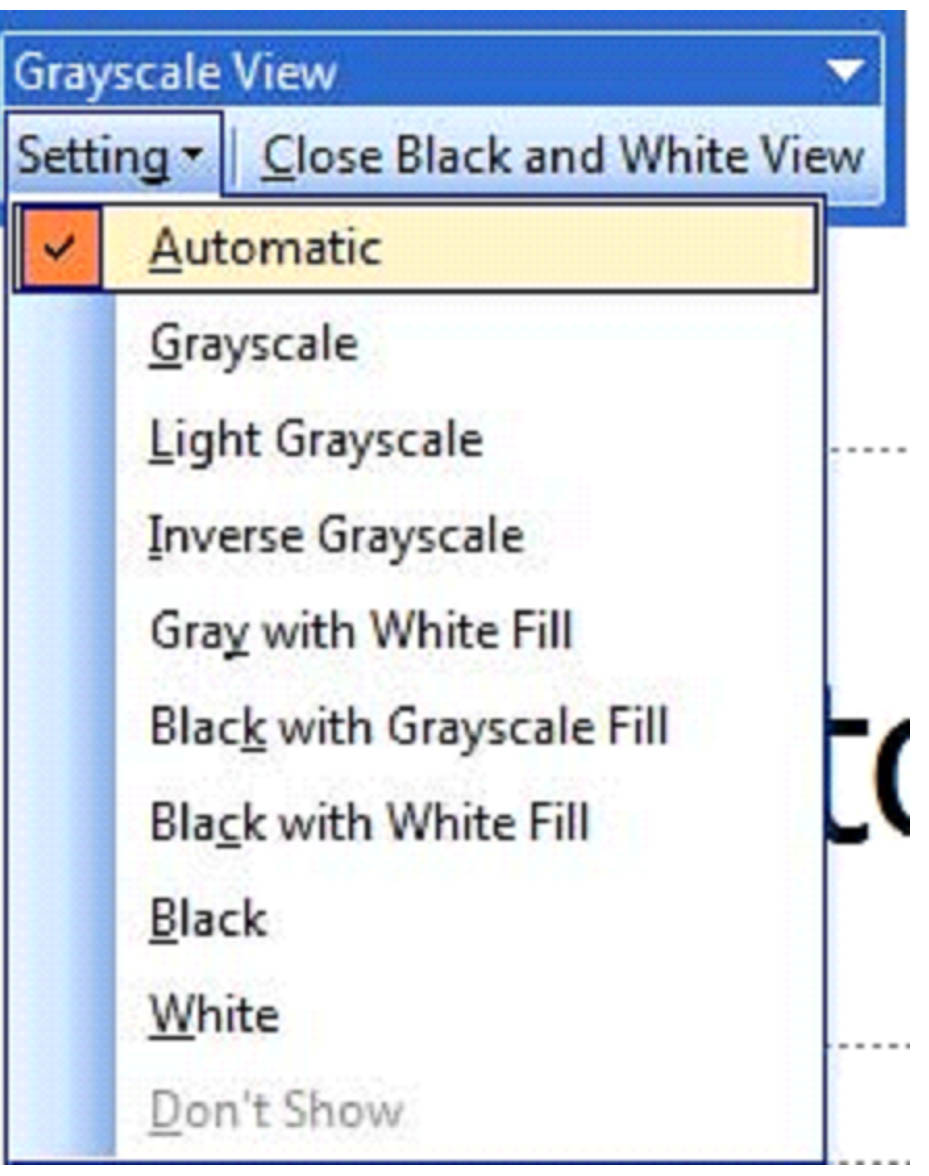
Different options can be applied to different objects on the same slide. You can also apply these options to an object by right clicking on it, and selecting Black & White Settings.
You can save these settings in your template by saving the template in the normal way and grayscale view can be printed.
These changes do not affect the colors or design of the original presentation.