In this article, you're going to learn how to create basic presentations. It is helpful if you have MS PowerPoint 2003 open on your computer so you can refer to it when needed.
AutoContent
If you don't want to create a presentation from scratch or simply don't have the time, MS PowerPoint 2003 will create it for you. This feature is called AutoContent. Using the AutoContent wizard you can select a presentation from several different topics and quickly customize it as your own.
When you're first learning PowerPoint 2003, you'll find the AutoContent feature very helpful because it does a lot of the work for you. You don't have to worry about trying to create a professional presentation by yourself.
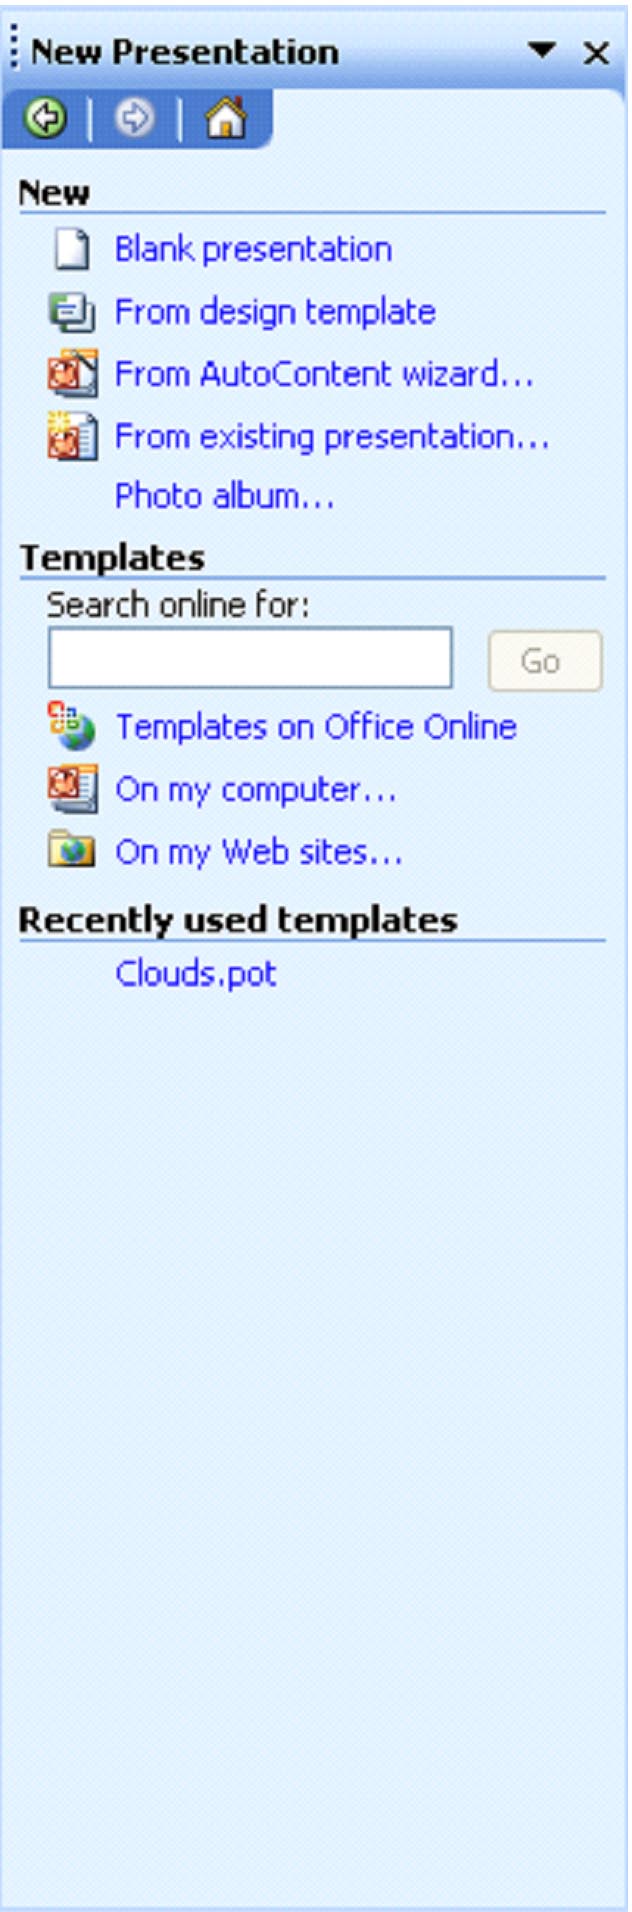
To access the AutoContent Wizard, go to the menu bar, then File>New. The task pane will open on the right hand side of the window.
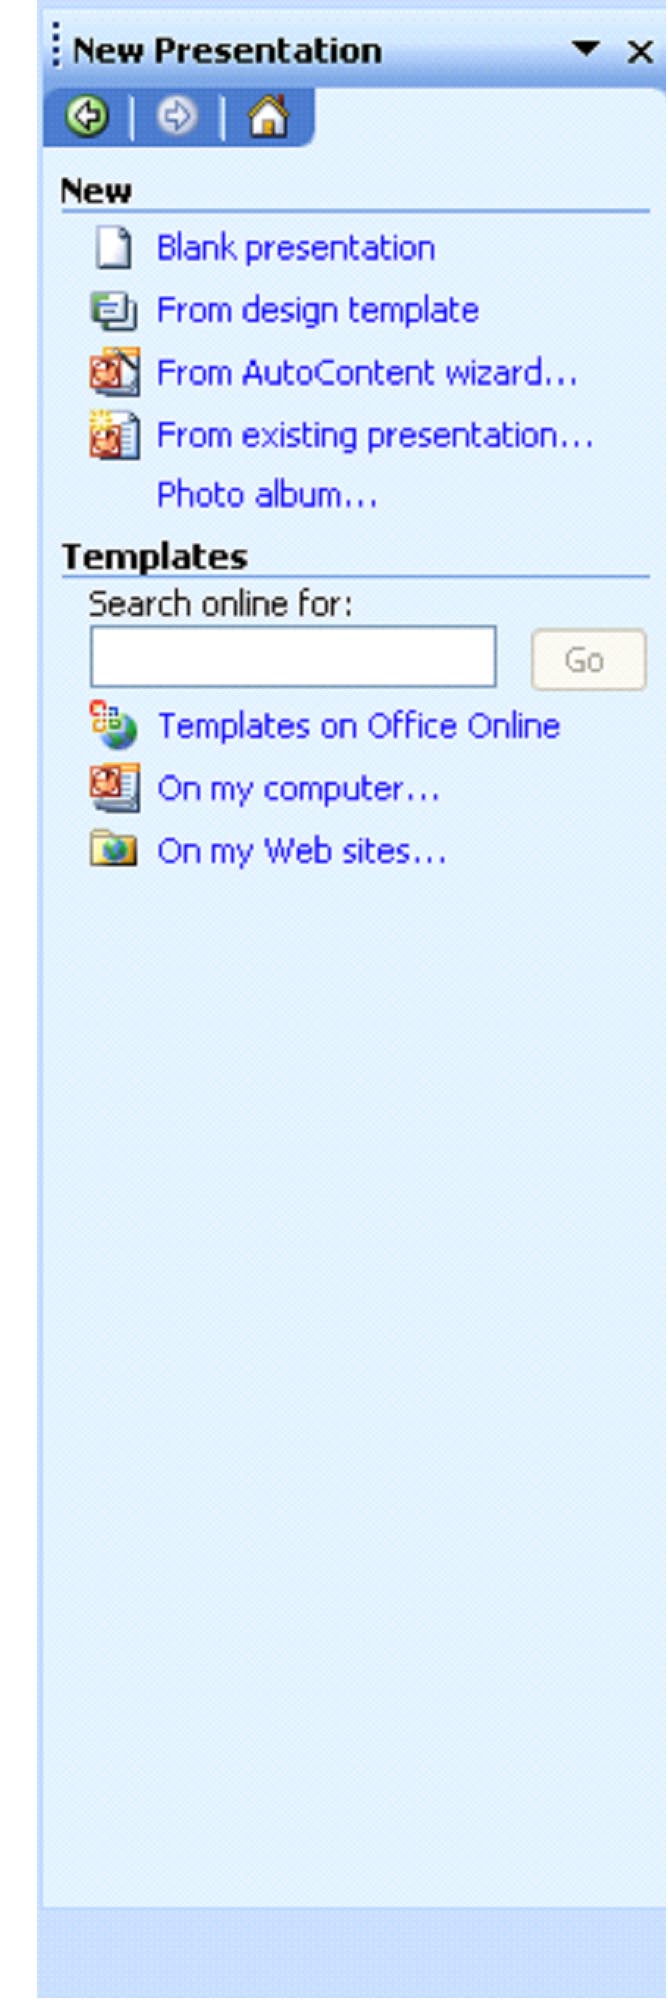
Under the New heading, select From AutoContent Wizard.
Click Next.

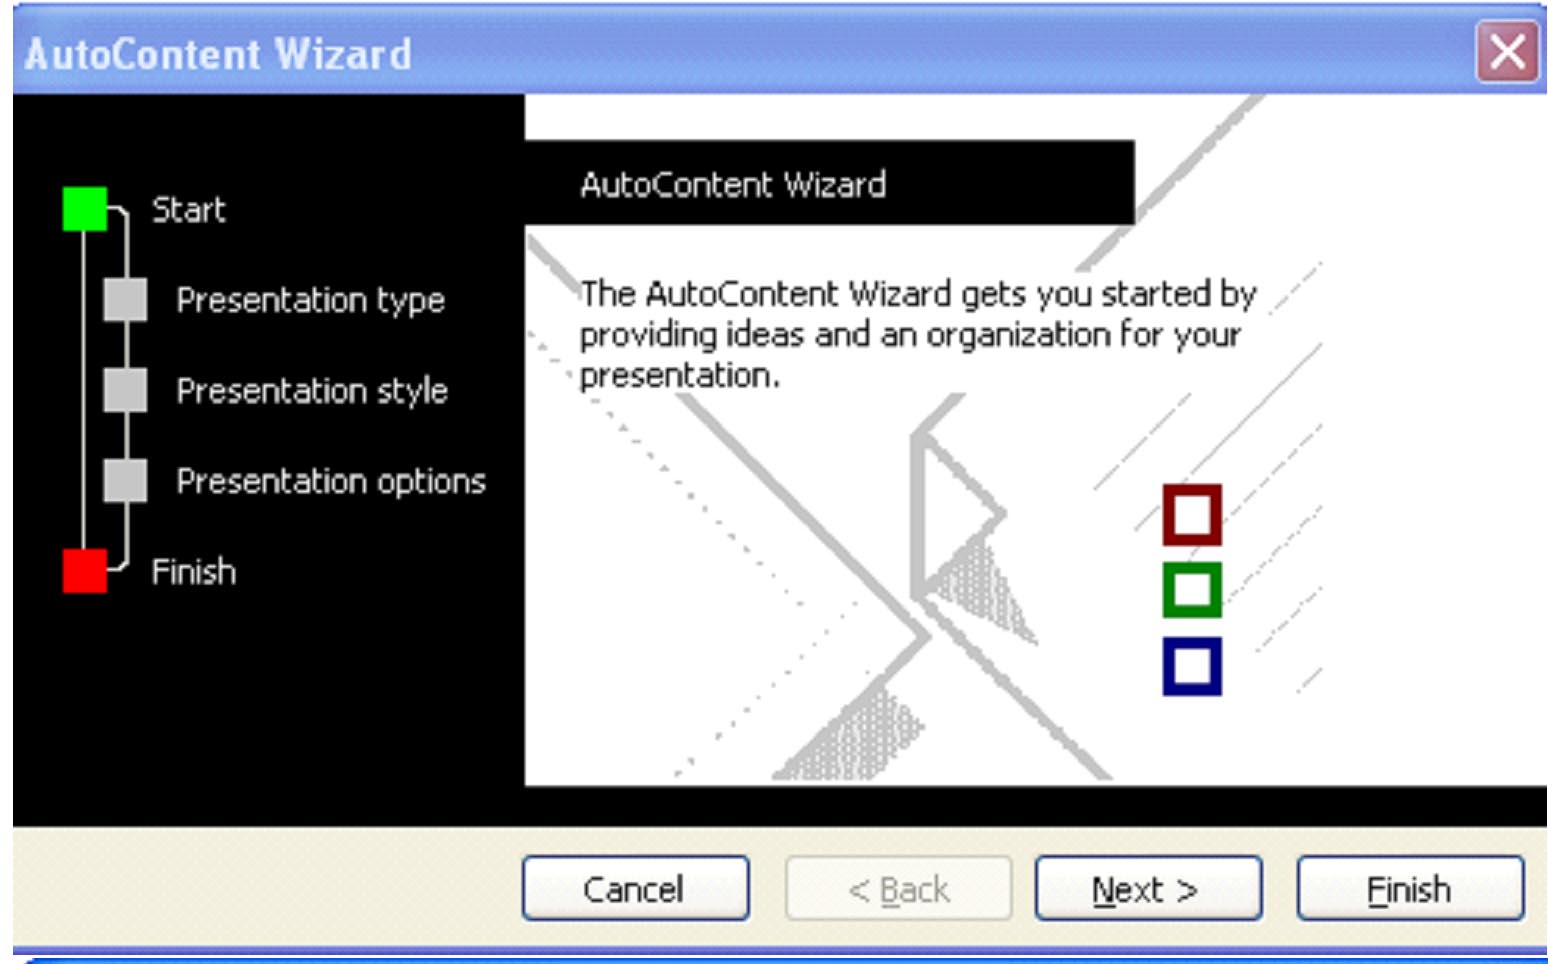
Select the type of presentation you're going to give. We've selected All to get a look at all the different types of presentations offered. However, you can feel free to select a category that better applies to you and the reasons you'll use PowerPoint.
For this example, we're going to select Generic in the All category, then click Next.
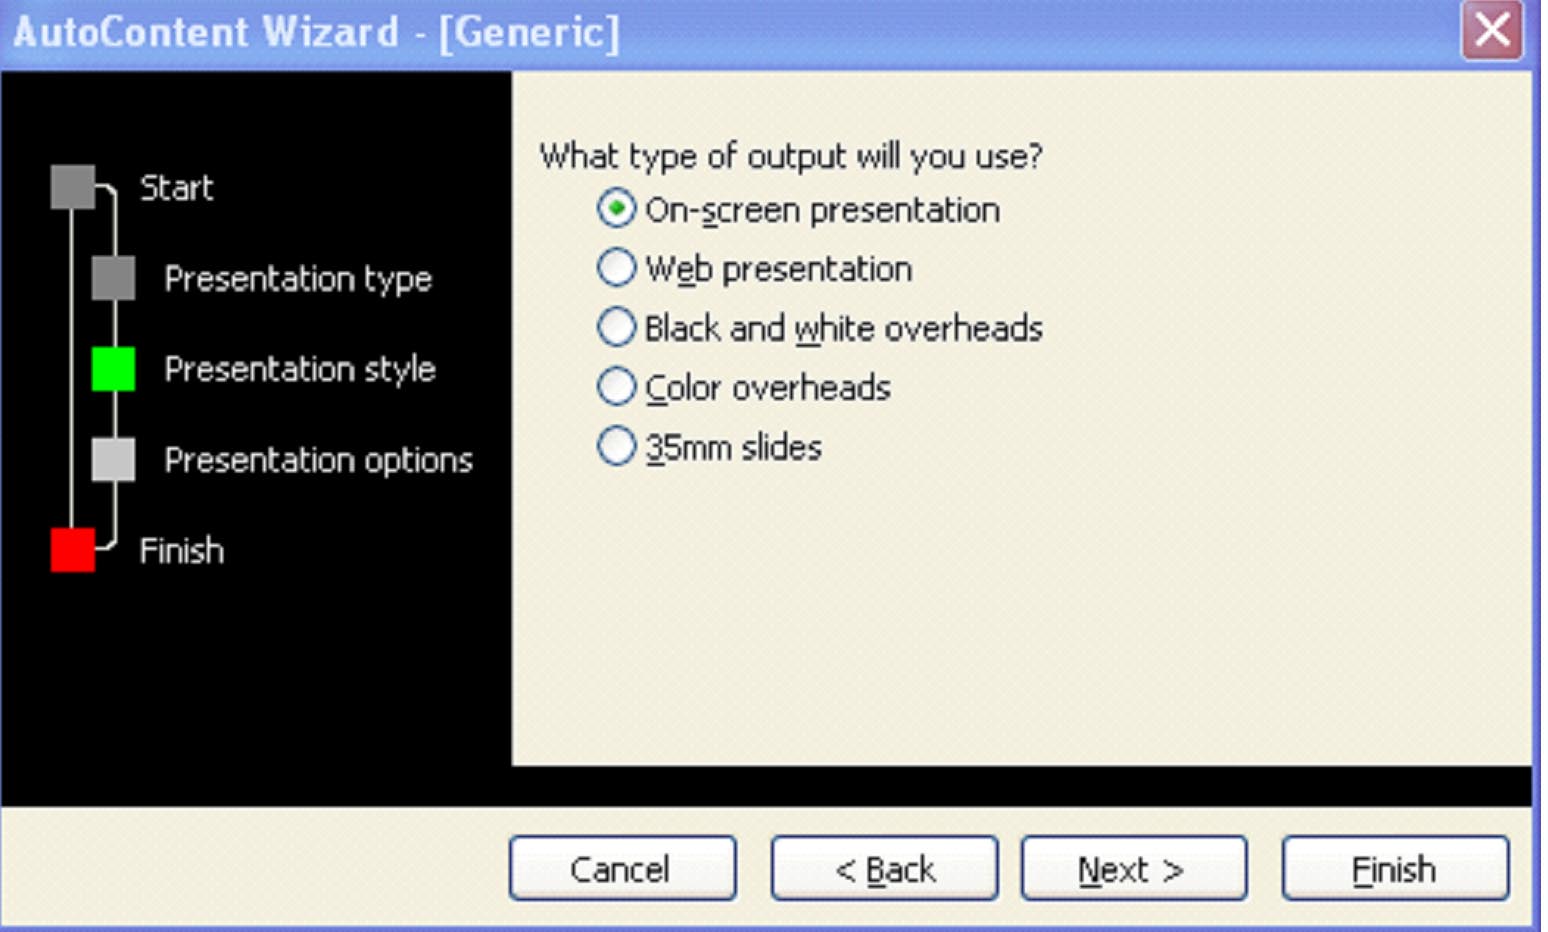
You'll then be asked (as in the window above) how you will use the slides. On-screen presentation is checked by default.
What type of output will you use?
- On-screen presentation. This simply means that you will be showing your presentation (slide show) on the computer screen.
- Web presentation. Select this if your presentation will be shown on the web. If you're going to upload your presentation to a website or shared workspace on the web, you'd select this choice.
- Black and white overheads. A black and white transparency for an overhead projector.
- Color overheads. Color overheads for an overhead projector.
- 35mm slides. Remember the old fashioned slides? If you want to create actual 33mm slides to use in a presentation, you'd select this.
Today, we're going to choose on-screen presentation and then click Next.
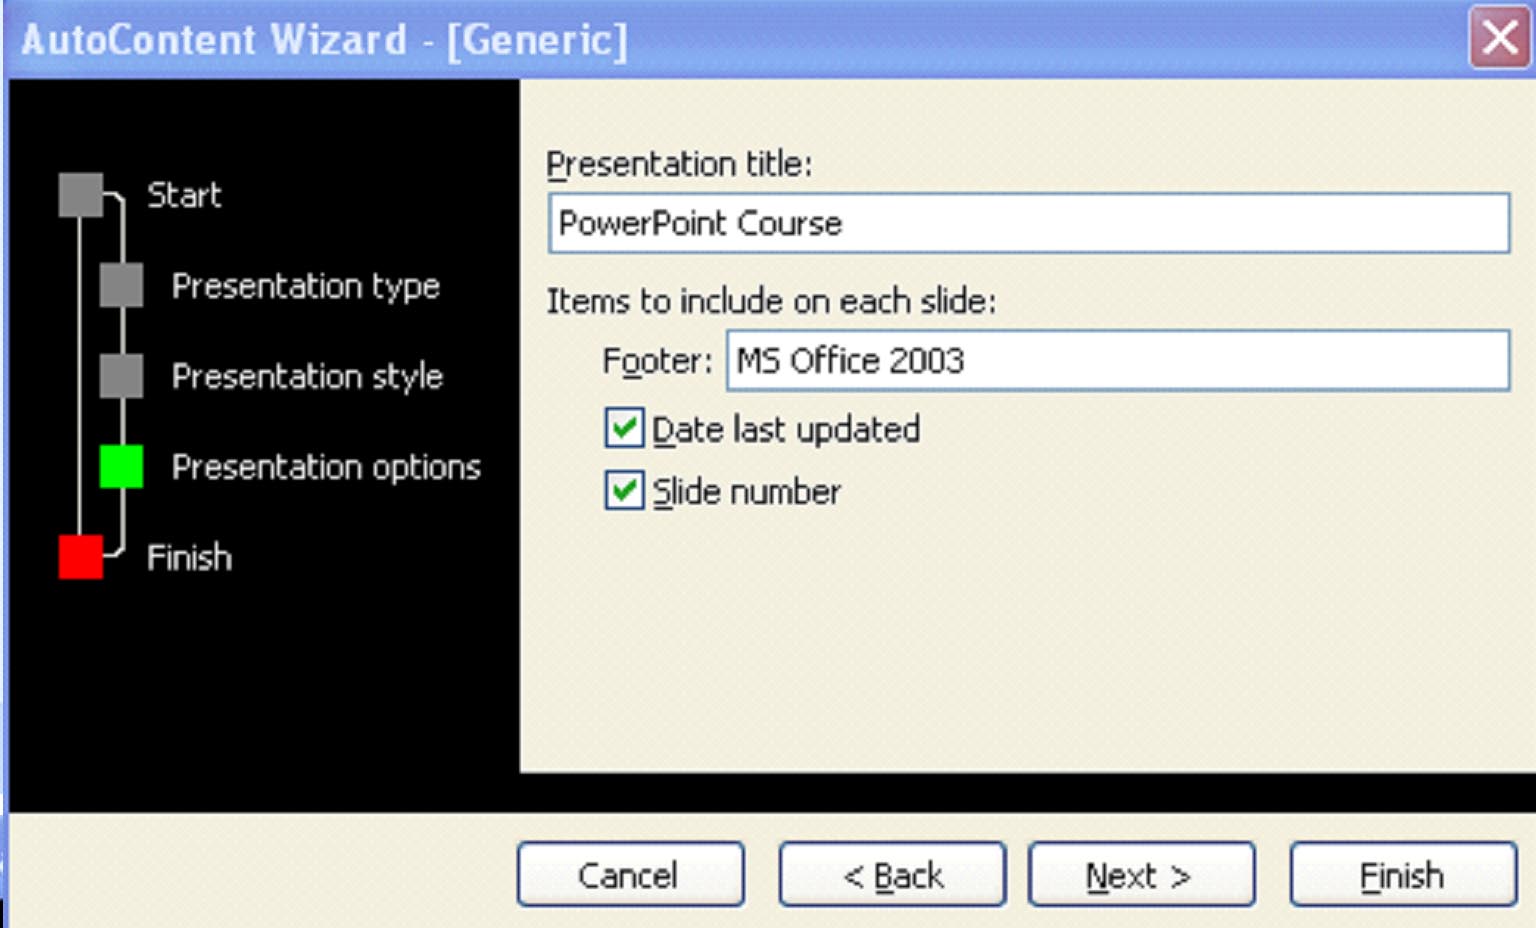
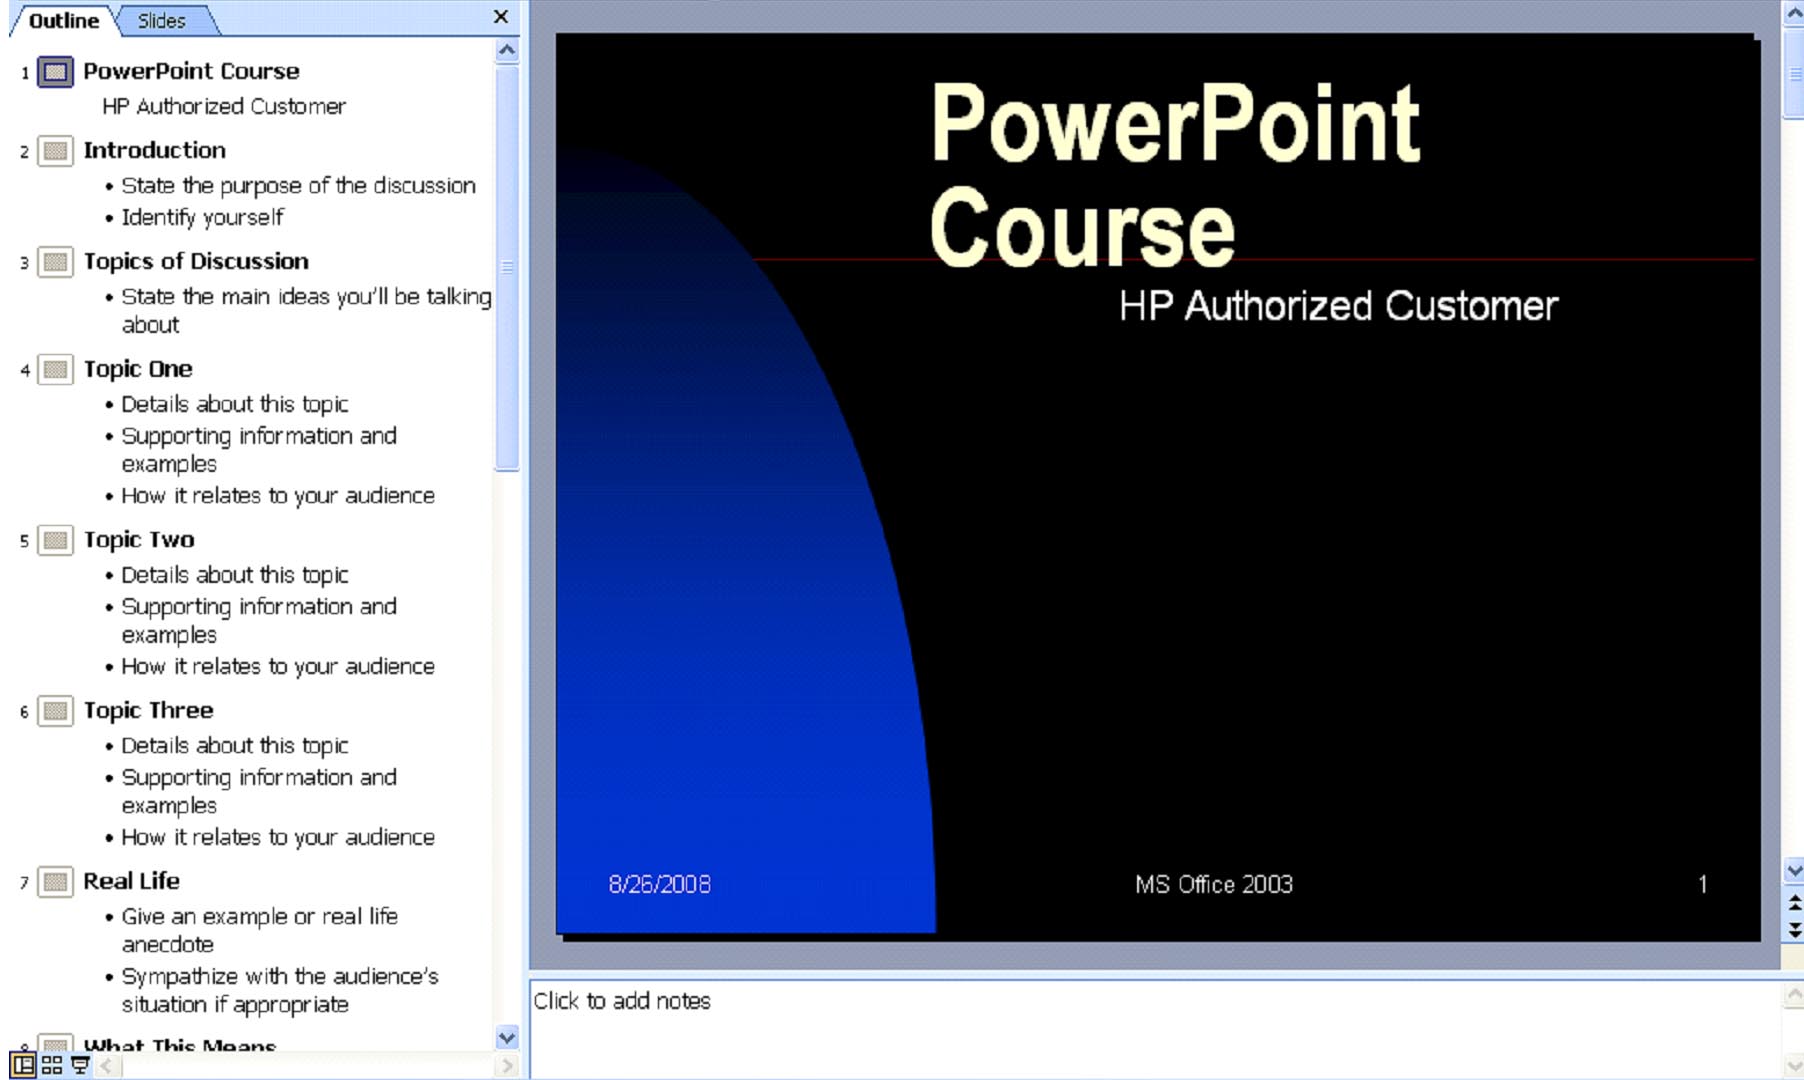
Next, PowerPoint 2003 will want you to input information about your presentation. We've given our presentation the title "PowerPoint Course." Input your Presentation Title in the box.
You can also specify information that you want to appear on each slide, such as footers, the date the slide was last updated, and the slide number. We've chosen to enter a footer, MS Office 2003, and to have the date and the slide number appear.
When you have all your information filled in, click Next.
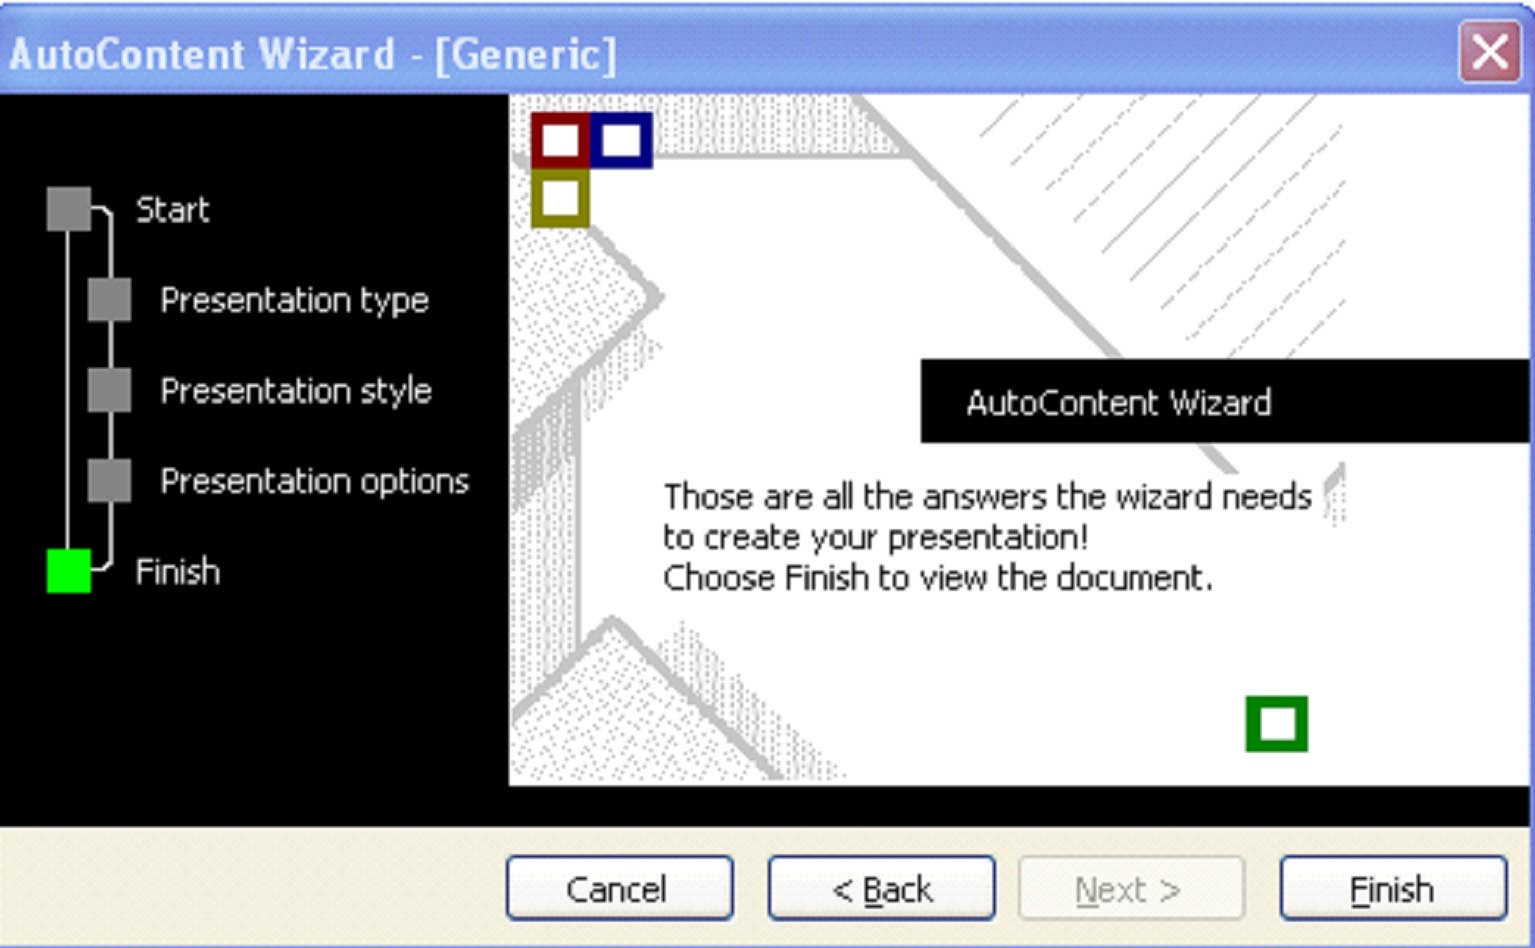
If you want to change anything, just click Back until you get to the appropriate window where the changes need to be made. Otherwise, click Finish and view the document. Your presentation will open in the slide panel.
Now you can click on any slide in the outline pane and it will appear in the slide panel. To change the text in any slide, select the slide in the outline pane, then click on the text that you want to change in the slide panel.
Let's change HP Authorized Customer, just to show you how easy it is. We clicked our mouse by the word HP.
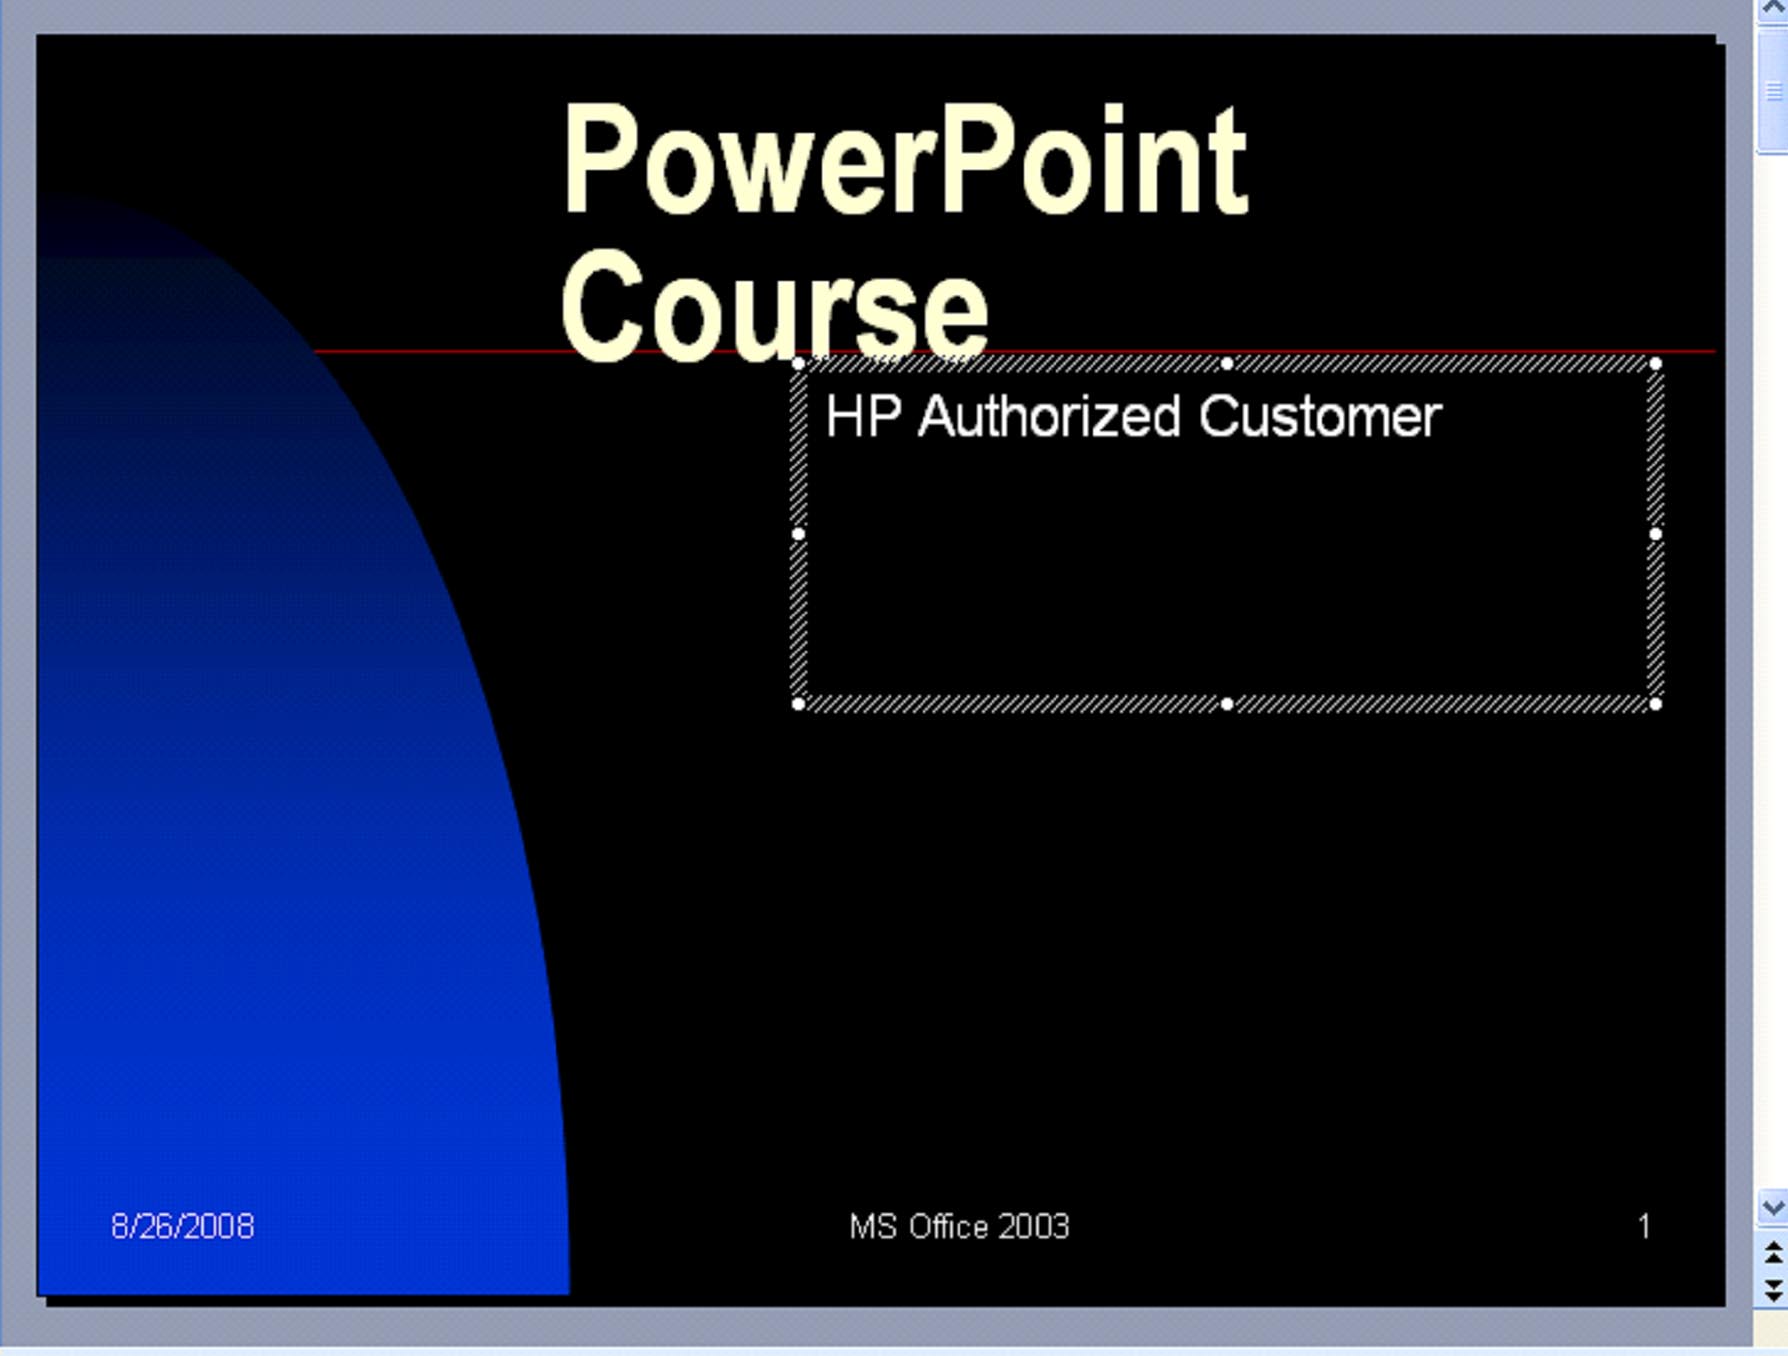
Notice the text box that appeared. This means we can now edit the text.
You can start typing, then delete the remaining text that you don't want, or select the text, then replace it.
|
How to Select Text To select the text, click at the beginning of the word(s) you want to select, then � holding the mouse button down, drag the mouse over the text. The text you've selected will then be highlighted. You can leave the text selected and just start typing. Whatever you type will replace the selected text. Or you can cut or paste the selected text. Cut. Cutting removes the text and allows you to paste it somewhere else. Go to Edit>Cut. Copy. Copying leaves the text in place, but places it on the clipboard also so that you can paste it somewhere else as well. To copy, go to Edit> Copy.
|
When you're finished editing the text, simply click outside of the text box to save it.
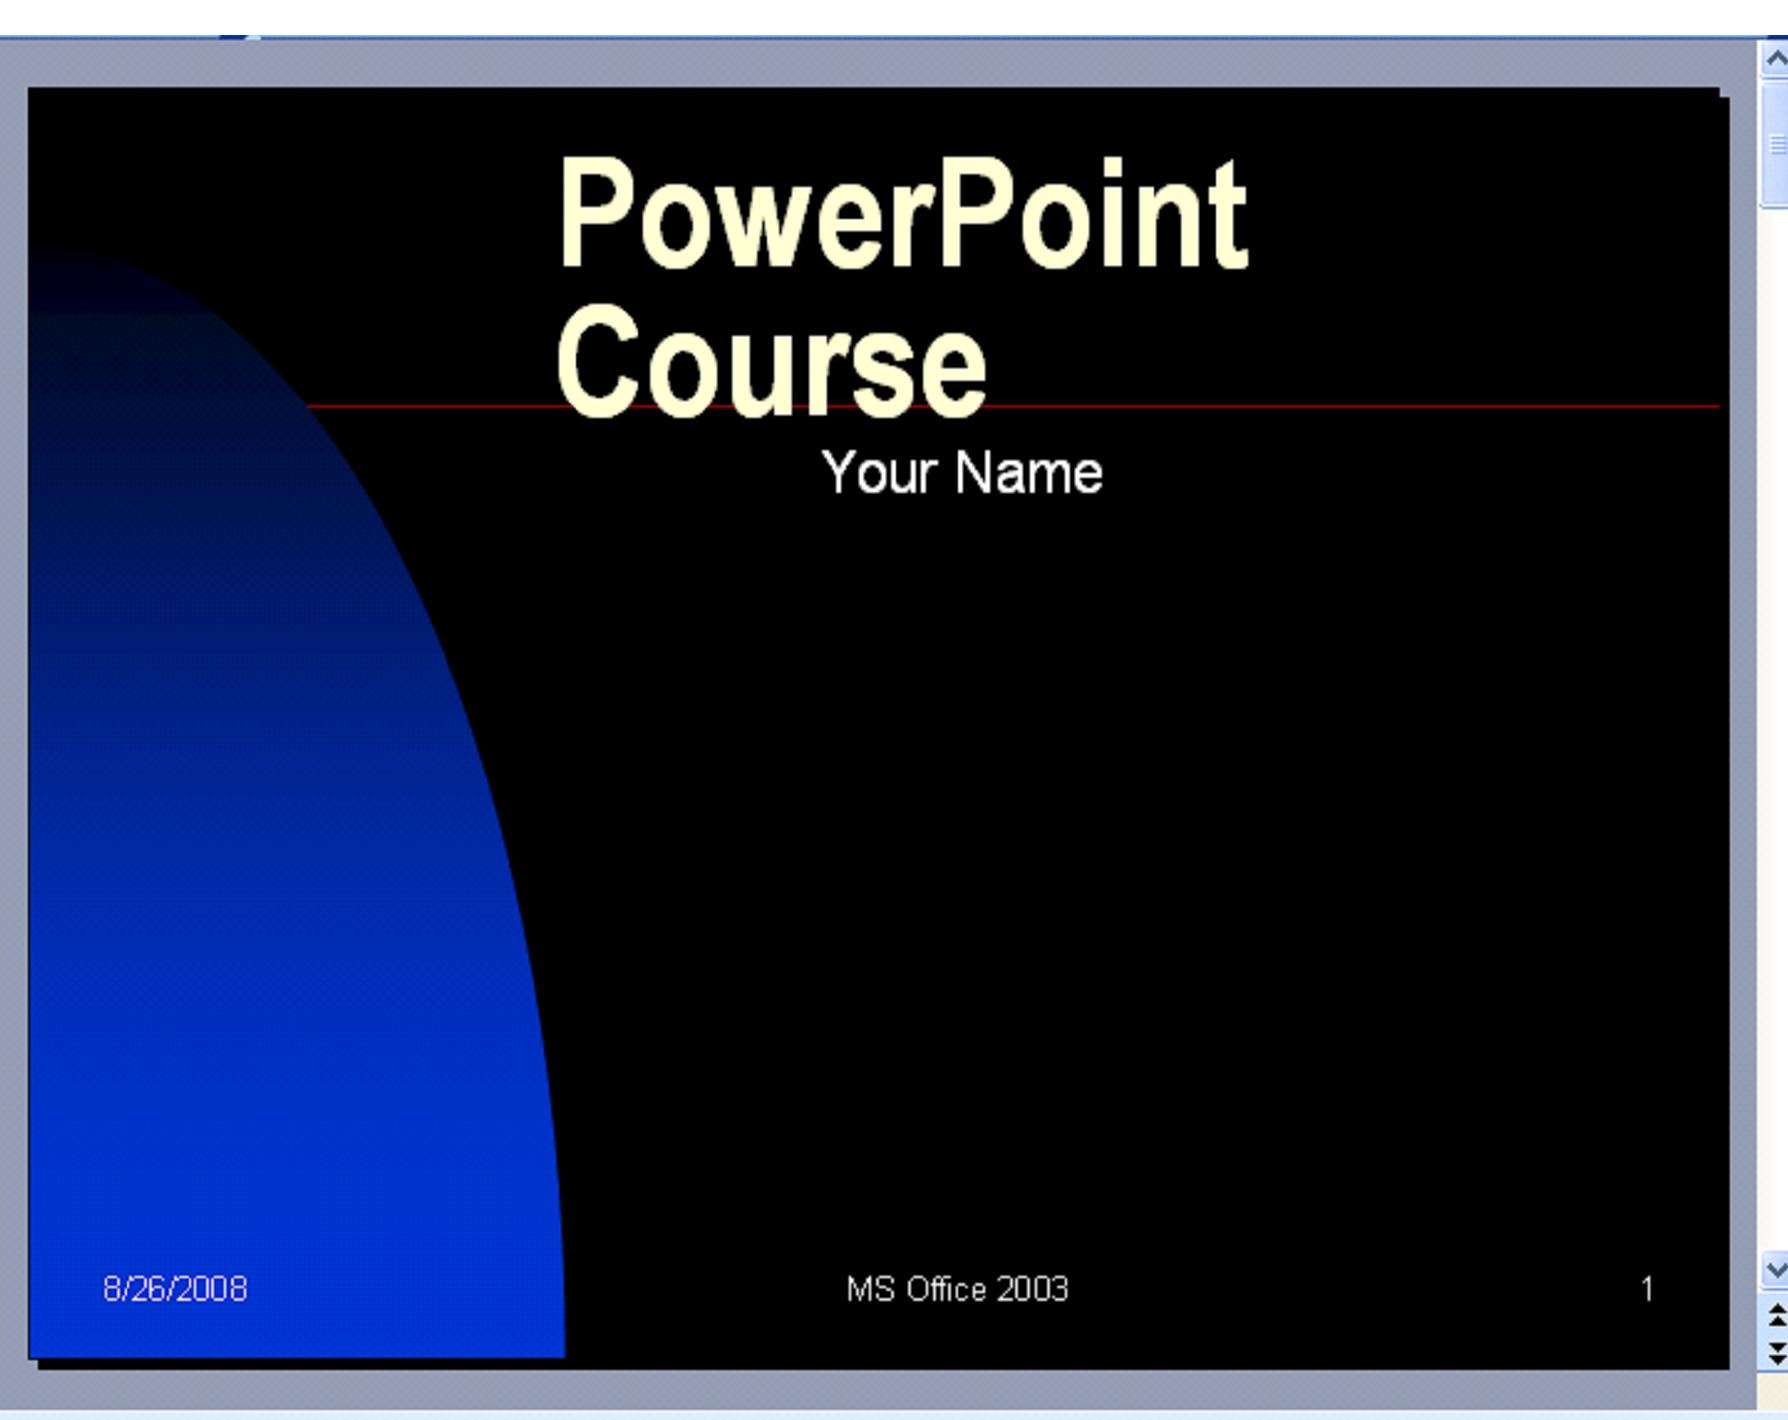
AutoContent has already outlined the content for you. Now you can go through and fill in your own content in the appropriate places.
Design Templates
If you don't want to use the same design for every slide, but don't want to create your own, MS PowerPoint offers design templates that you can use.
To access these design templates:
Go to Format> Slide Design. The Slide Design menu will open in the task pane on the right hand side of the screen.
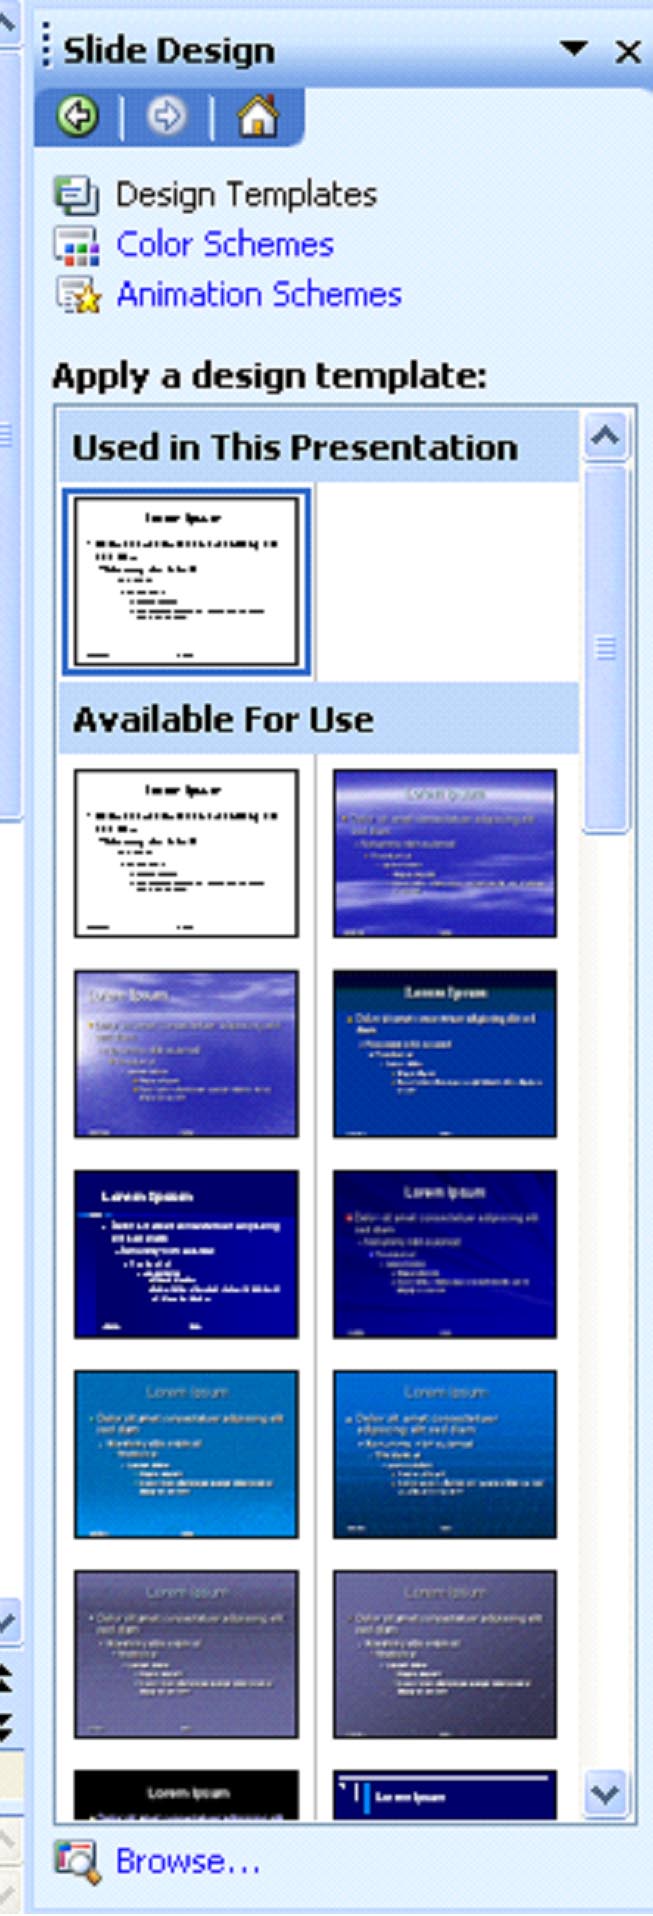
Under the Apply a Design Template, select the design you want to use. Then, right click on your mouse.
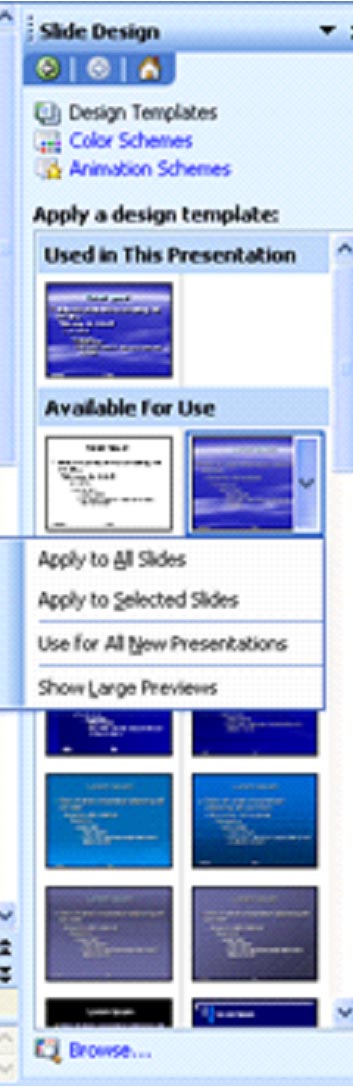
Select if you want to apply the design to all slides, only selected slides, or if you want to use the design in all new presentations.
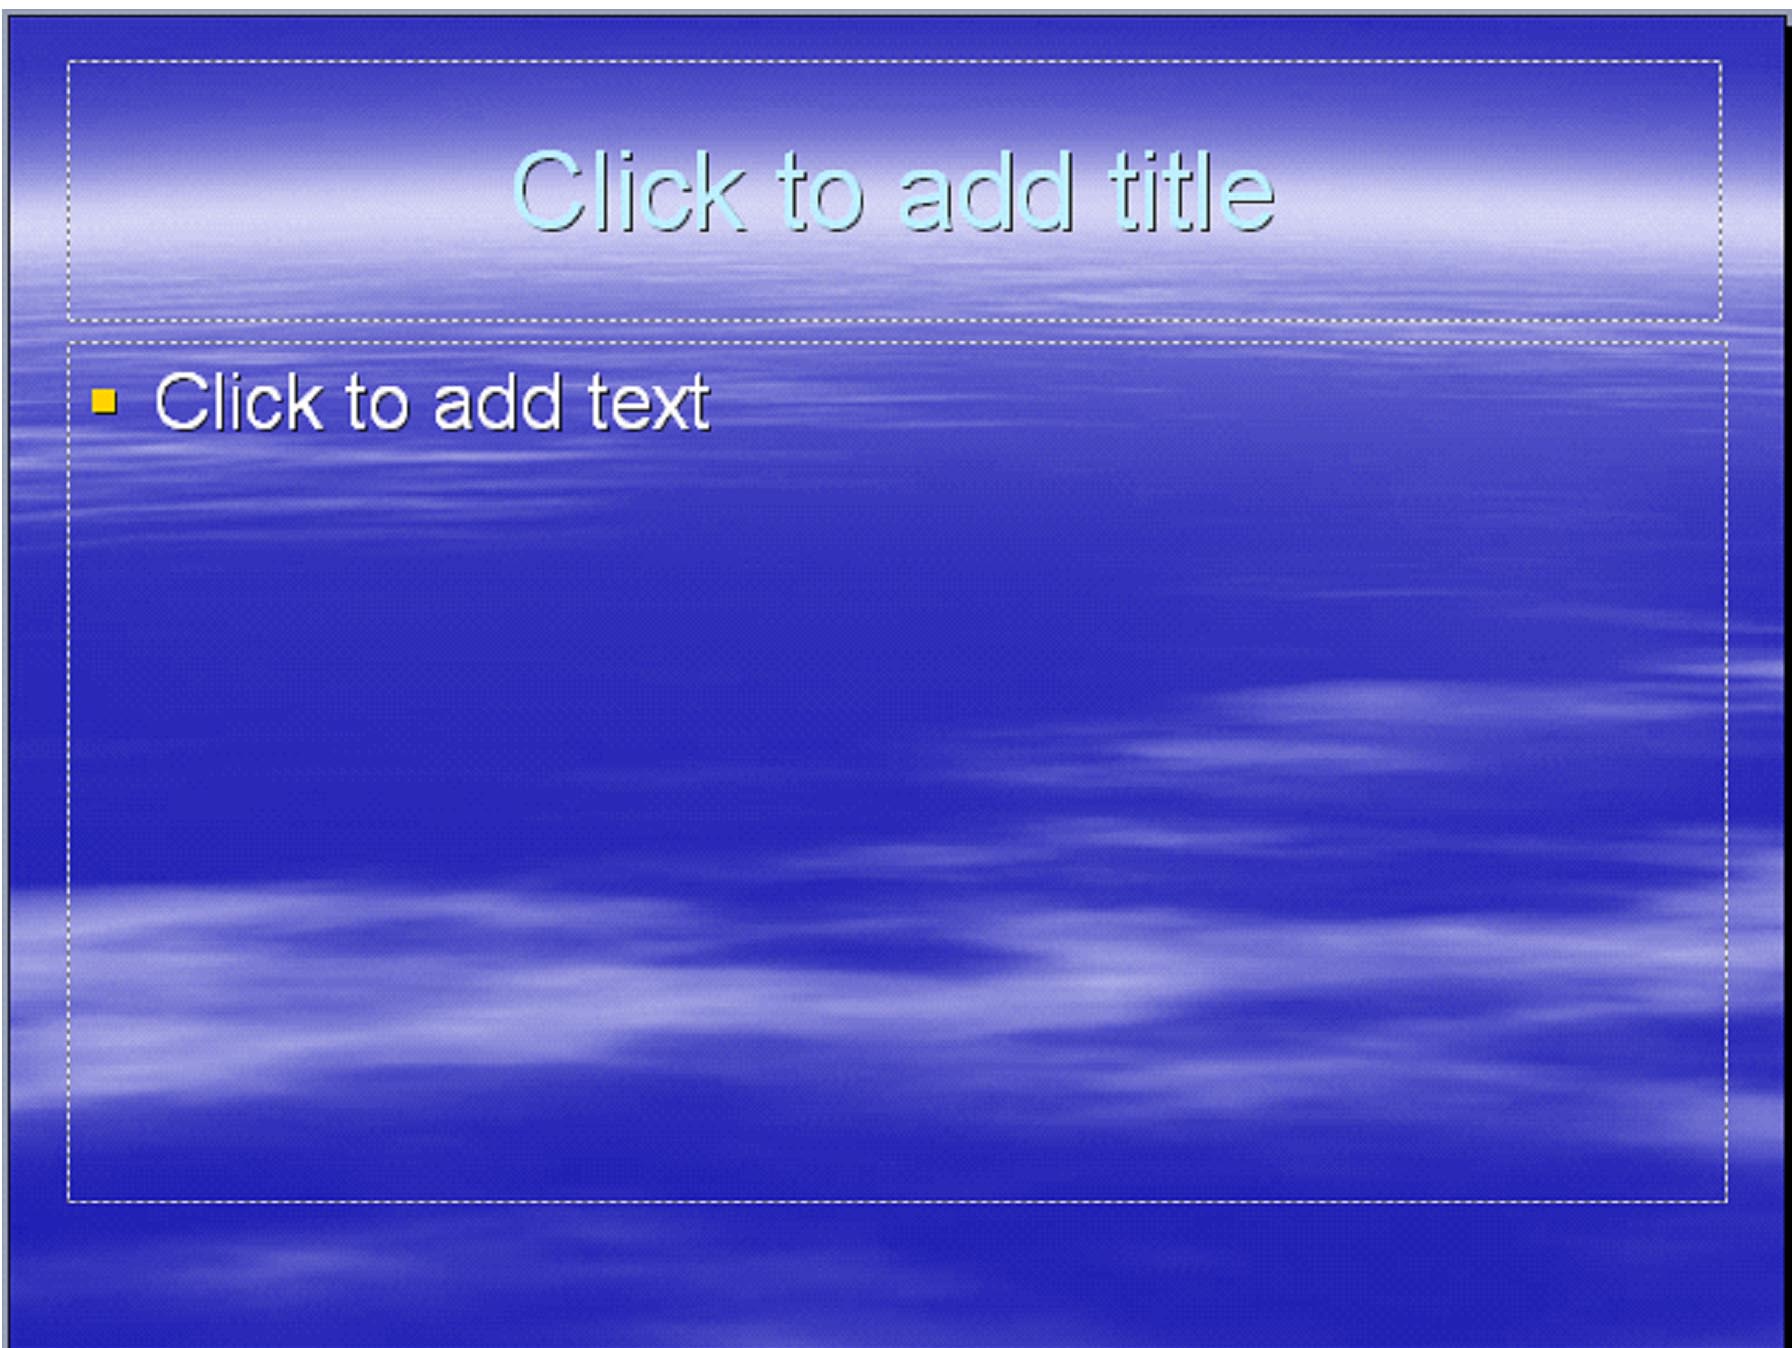
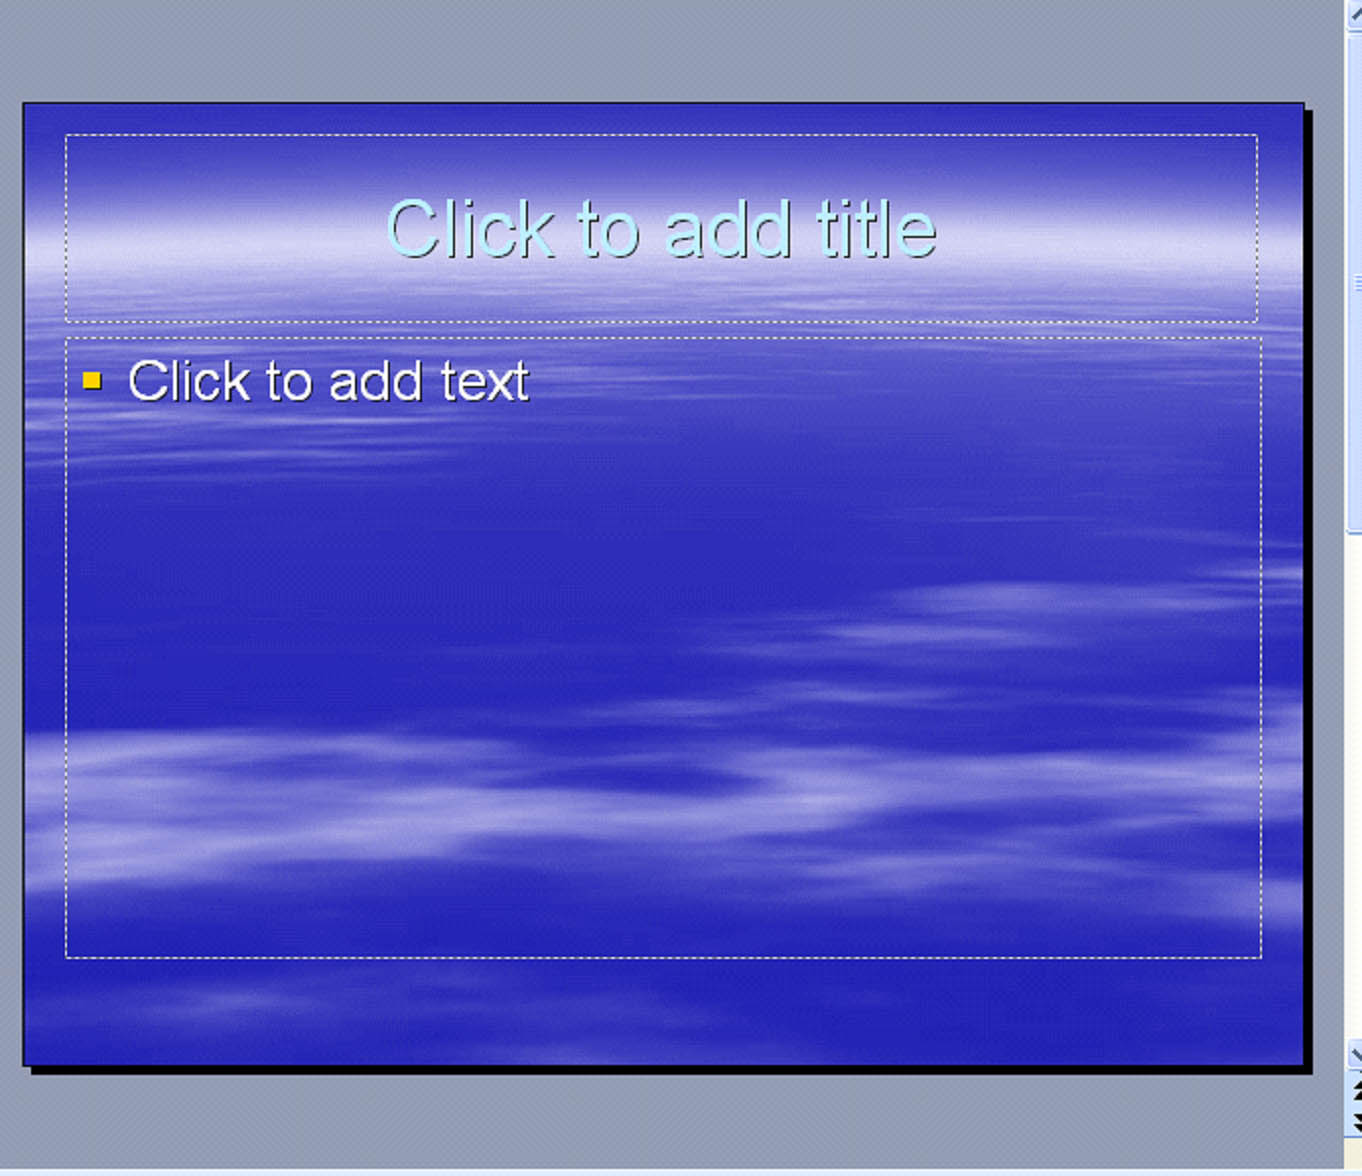
The design is automatically applied to the slide, as shown below.
Note: You can get new design templates online by going to File> New, then selecting Templates On Office Online under the Templates heading.
Creating a New Presentation from an Existing Presentation
There may be a time when you want to create a new presentation using a presentation that you already have. However, you don't want to change or lose the existing presentation.
Go to File>New. The task pane will open up on the right hand side of the screen.
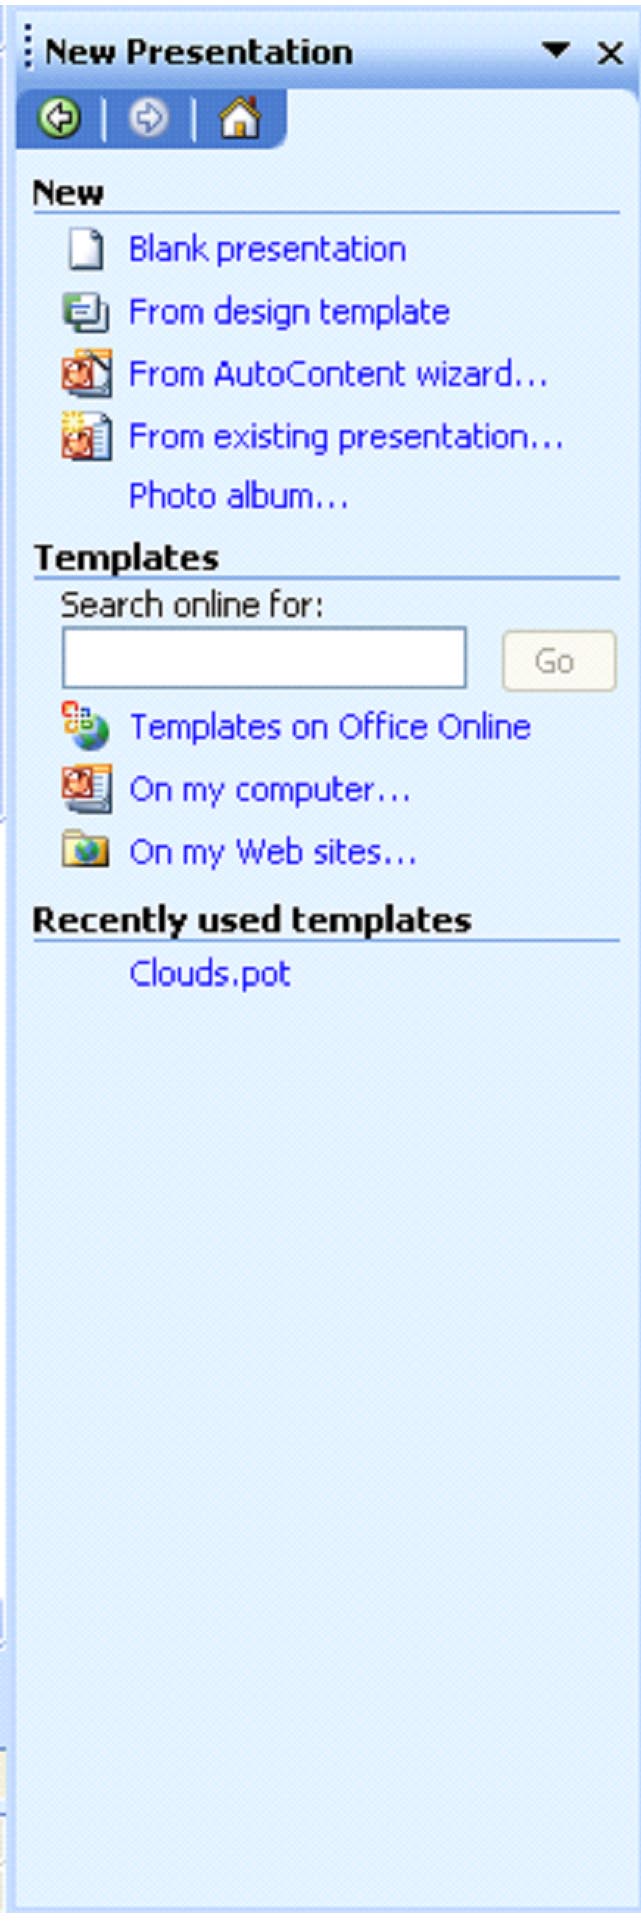
Select From Existing Presentation.
A window will then open to let you select the existing presentation and open it.
Click Create New.
Make the changes you want, then go to File> Save As. Select a name for the new presentation and click Save.
Blank Presentation
To create a new blank presentation, simply go to File> New. Select Blank Presentation from the task pane under the New heading.
A new blank presentation will appear.
Note: If you have an existing presentation open, the new, blank presentation will appear as a new presentation using the default PowerPoint 2003 file name Presentation1, etc.
Slide Layout
Whenever you open a new blank presentation, the slide layout menu will appear in the task pane.
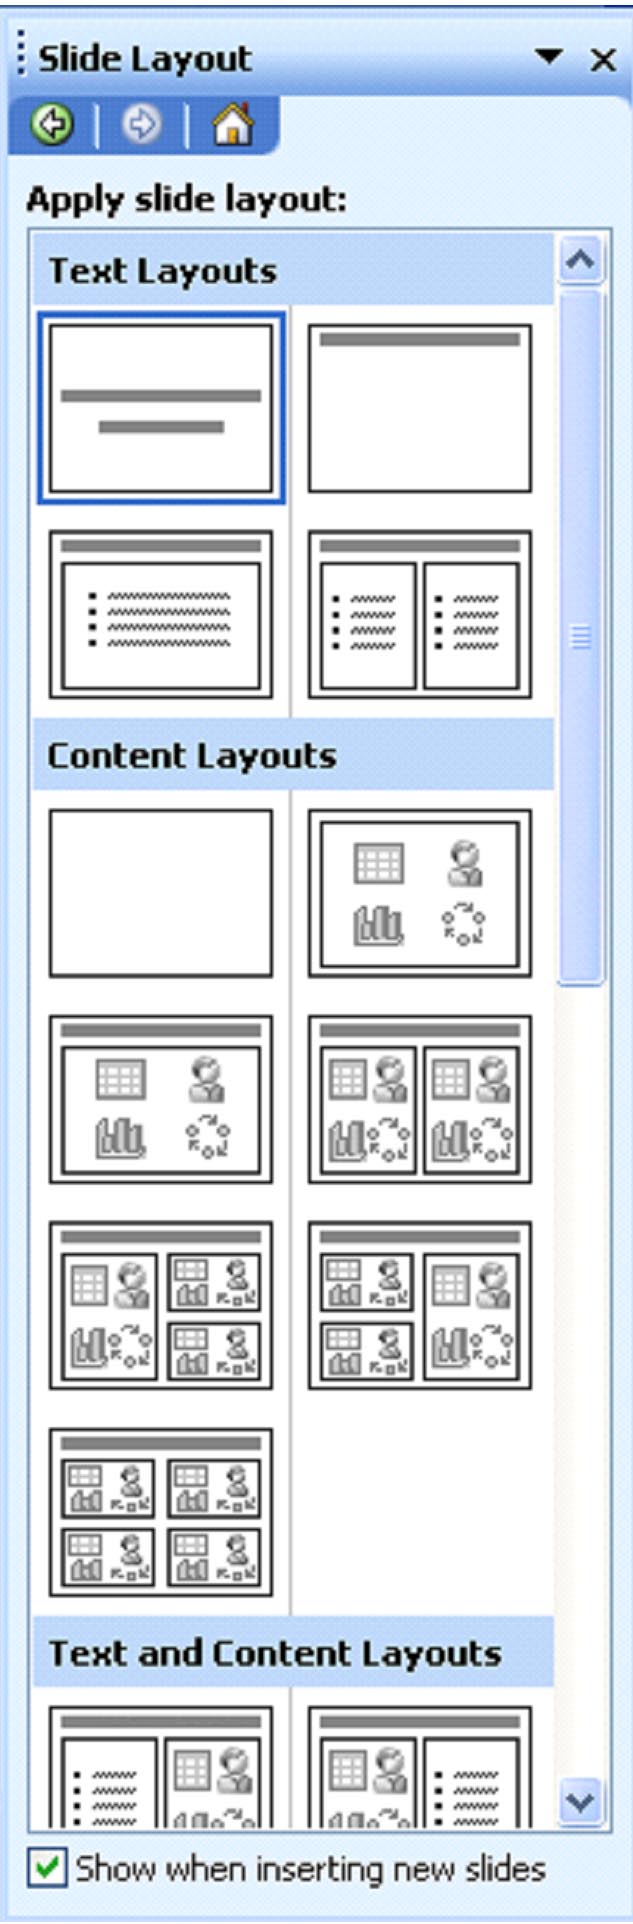
You can also access the slide layout menu in the task pane by going to Format> Slide Layout.
You can select the type of layout that you want for a slide or for an entire presentation. If your presentation is going to be all text, select a text layout. If you're going to include graphics, pictures, and charts, then select a content layout.
We're going to select a content layout for an example.
When you move your mouse over a layout thumbnail, a down arrow will appear beside it. If this is the layout you want to use, click on the arrow.
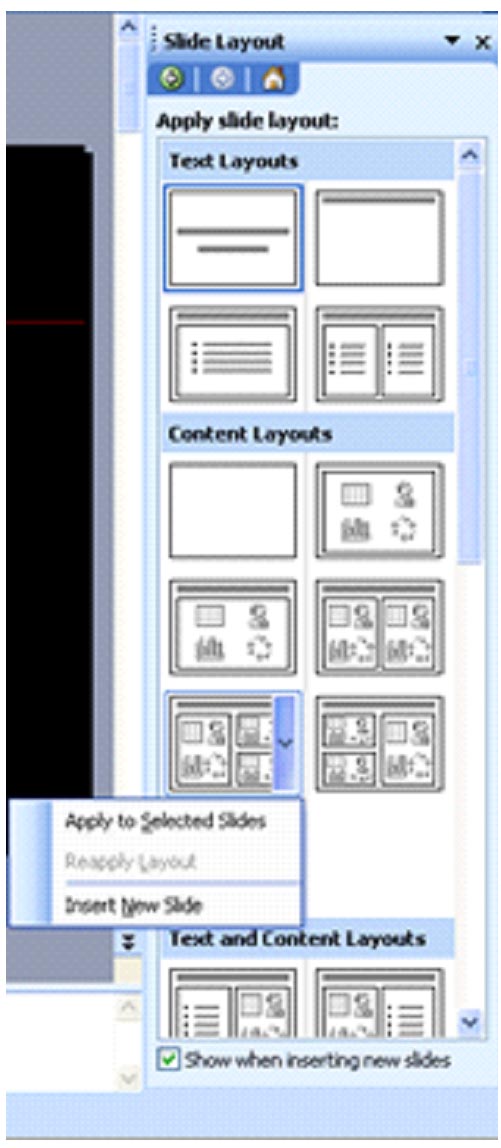
Select either Apply to Selected Slides or Insert a New Slide. Inserting a new slide inserts a new slide with the selected layout.
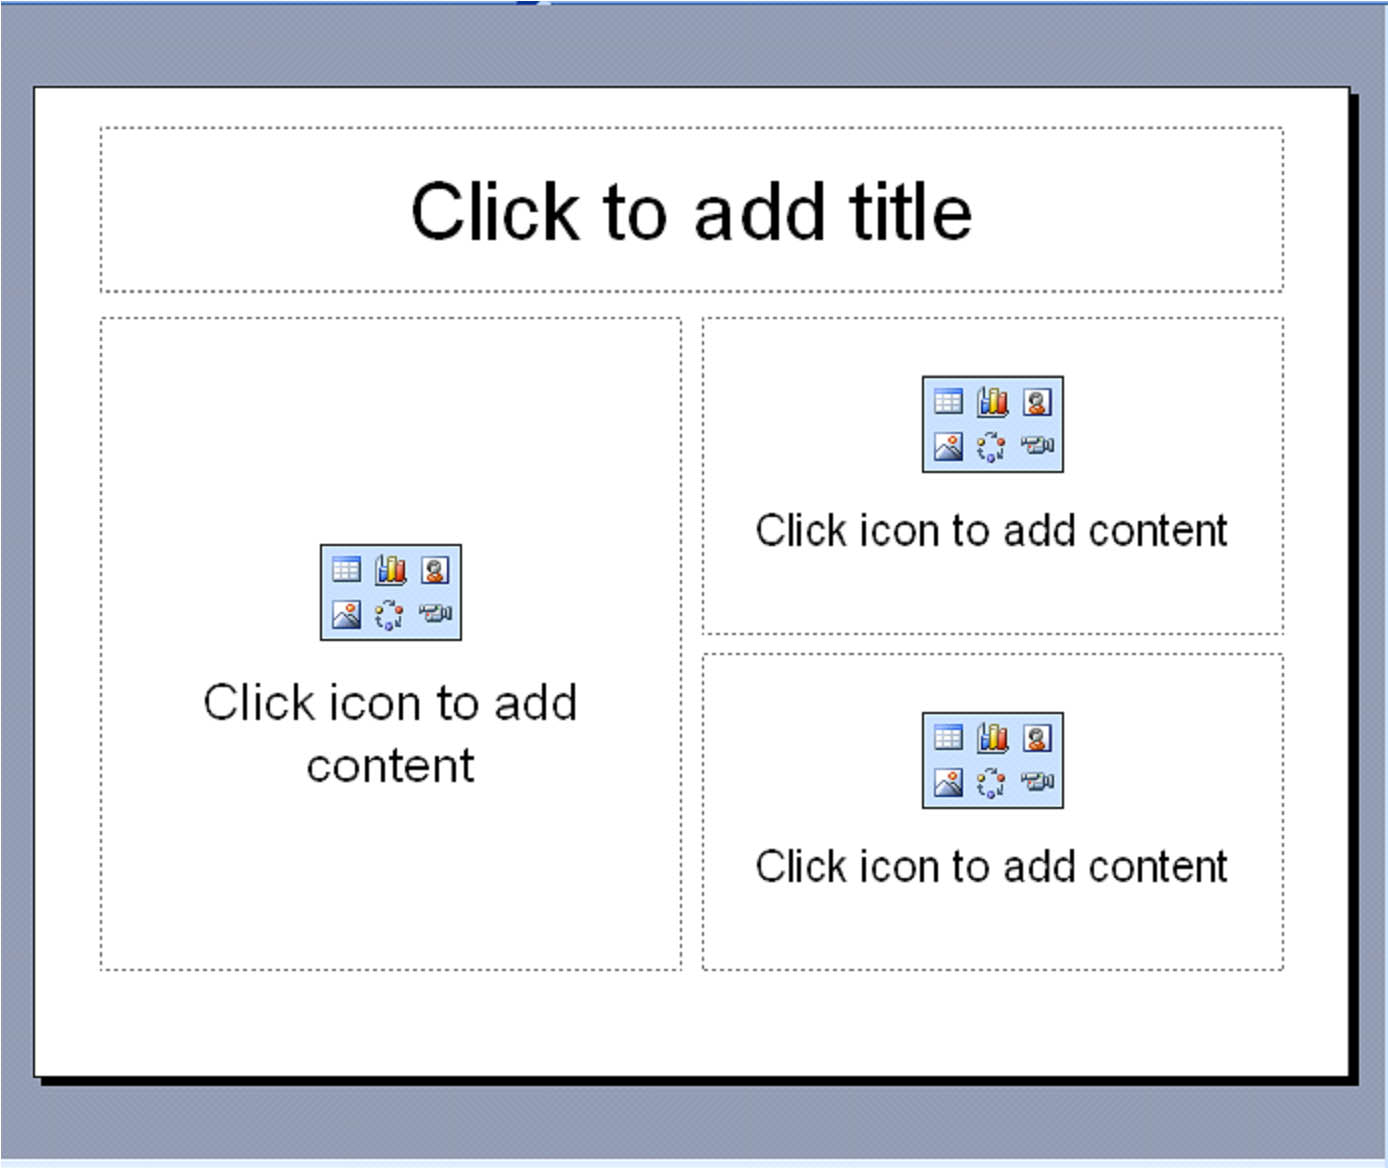
The layout now appears in the slide panel. You can now add pictures, graphics, and text. We'll learn how to do that later in this course.
Creating New Slides
To create a new slide in an existing presentation, click on the slide before where you want the new slide to appear in the outline pane. Go to Insert> New Slide. A new blank slide will appear.
Color Schemes
PowerPoint 2003 templates come with their own color scheme. These were selected by "color professionals" to give your presentations a uniform, attractive look � when you use these templates.
Each color scheme used in PowerPoint 2003 templates has eight colors, with each color given a certain use.
- Background color. Used for the slide background.
- Text-and-lines color. This color is used for any text written or lines drawn on the slides, except for the title text. It is a color that contrasts with the background color. If the background color is dark, this color will be light.
- Shadows color. Used to produce shadow effects for objects drawn on the slide.
- Title text color. This is used for the slide's title text. It also contrasts with the background color and compliments the text-and-lines color.
- Fills color. When you create an object such as a rectangle, this is the color used to fill the object.
- Accent colors. These are the last three colors that you can use in your slide. They can be used for bar graphs and are always used for hyperlinks.
Every slide in a presentation can have its own color scheme. The Slide Master (which we'll learn about later) has its own color scheme which is applied to slides that don't have a chosen color scheme.
Editing A Color Scheme
If you don't like the color scheme being used on a slide or in a presentation, you can change it. First, make sure the presentation view is set to Normal.
Go to Format> Slide Design. The task pane will open to the right.
Select Color Schemes.
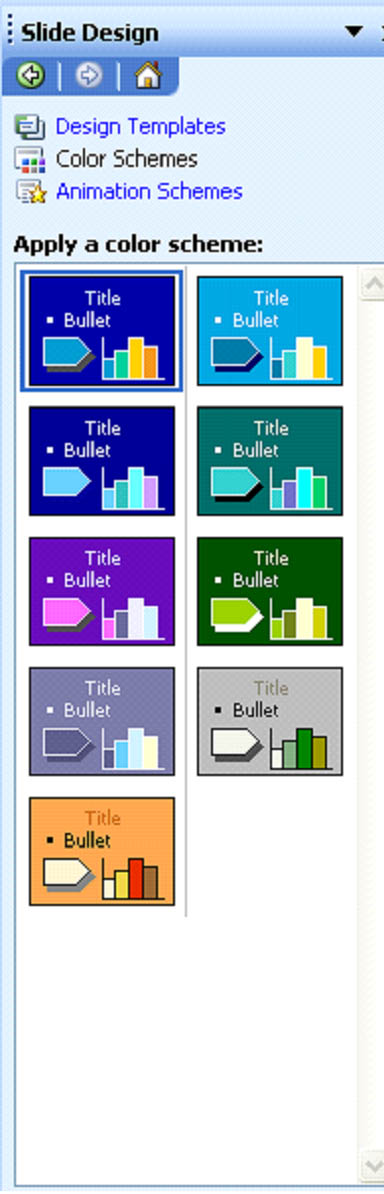
The color schemes available then appear, as shown above. Select the color scheme you want to use. We'll choose the purple.
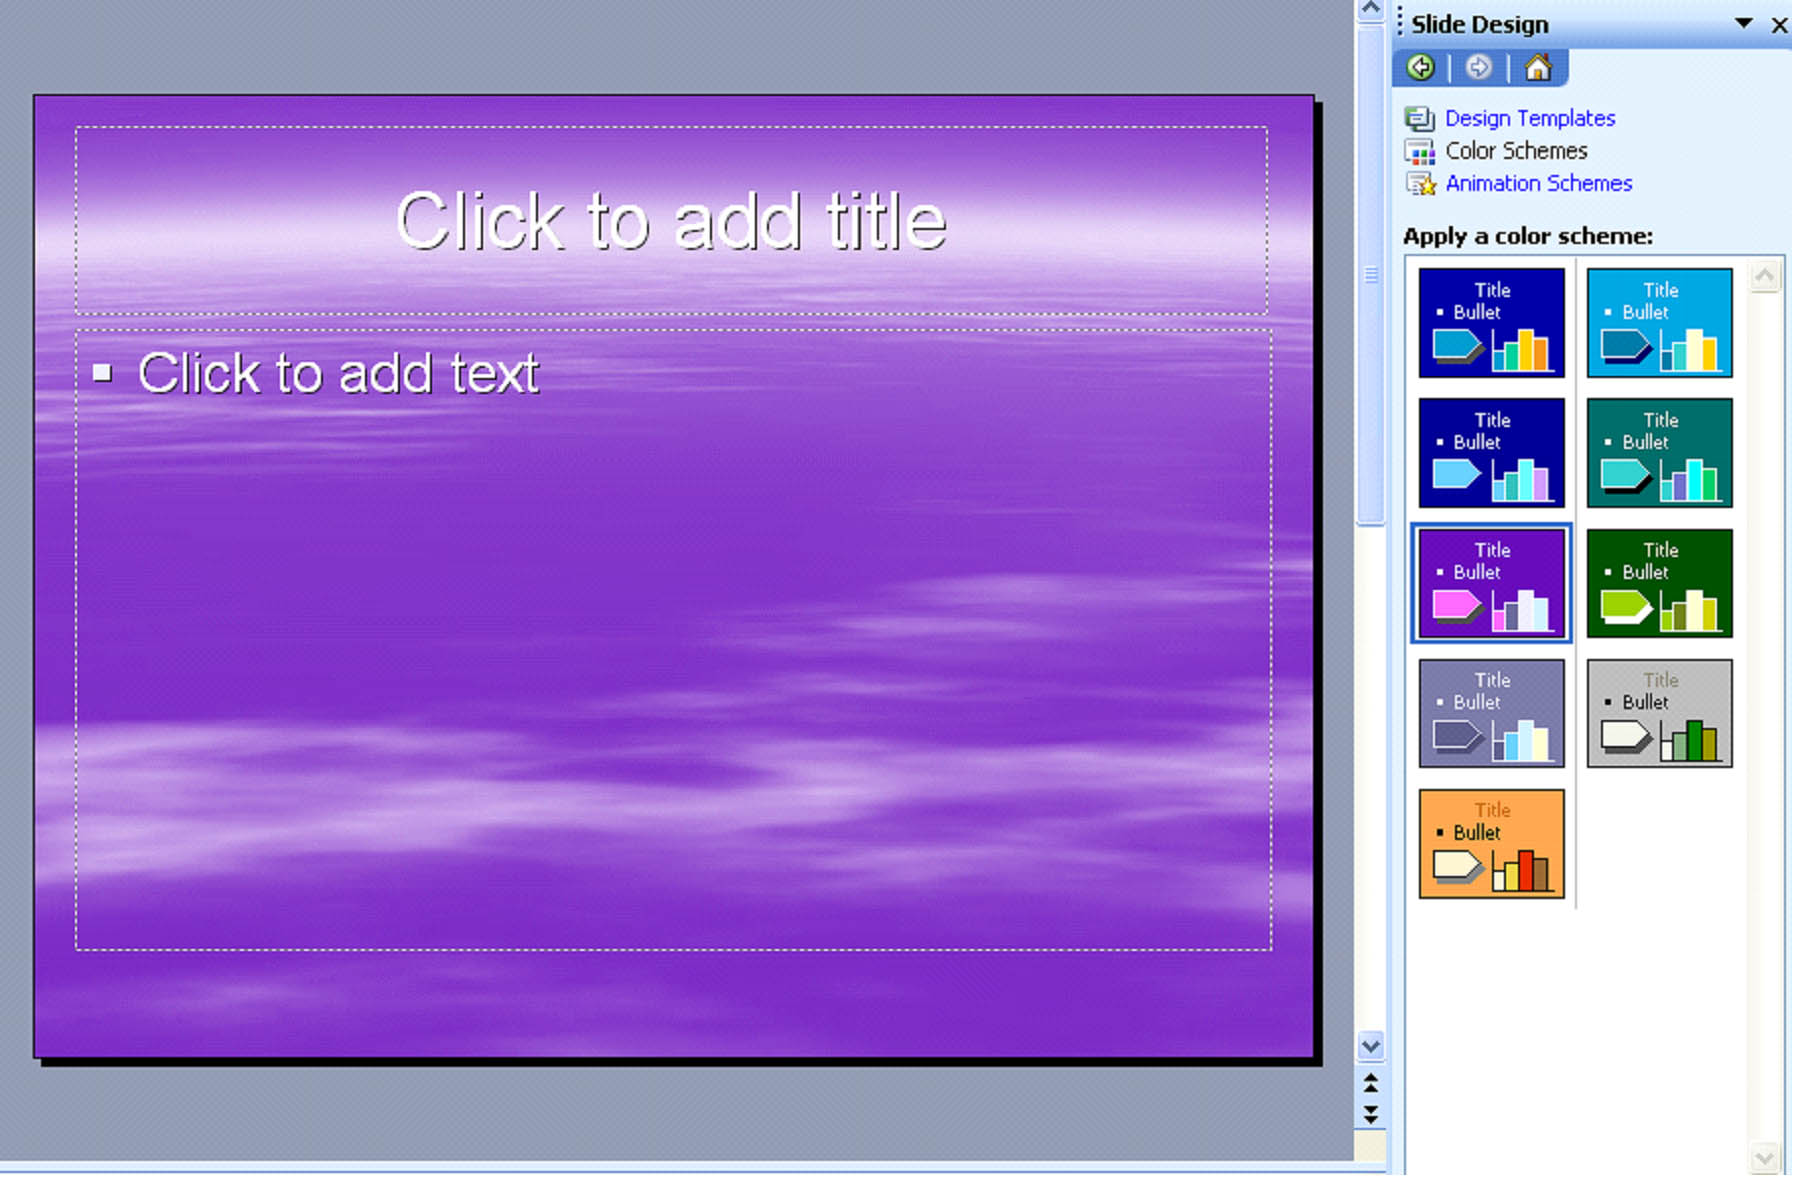
The new color scheme is then applied. It's that easy!
Saving Presentations
To save a presentation, go to File> Save As. Name the presentation, then click Save.

and click on the floppy disk icon
 .
.