Edit a Presentation
Before you can edit a presentation, you have to set the presentation view to Normal. You can do this by using the View buttons or by going to View> Normal.
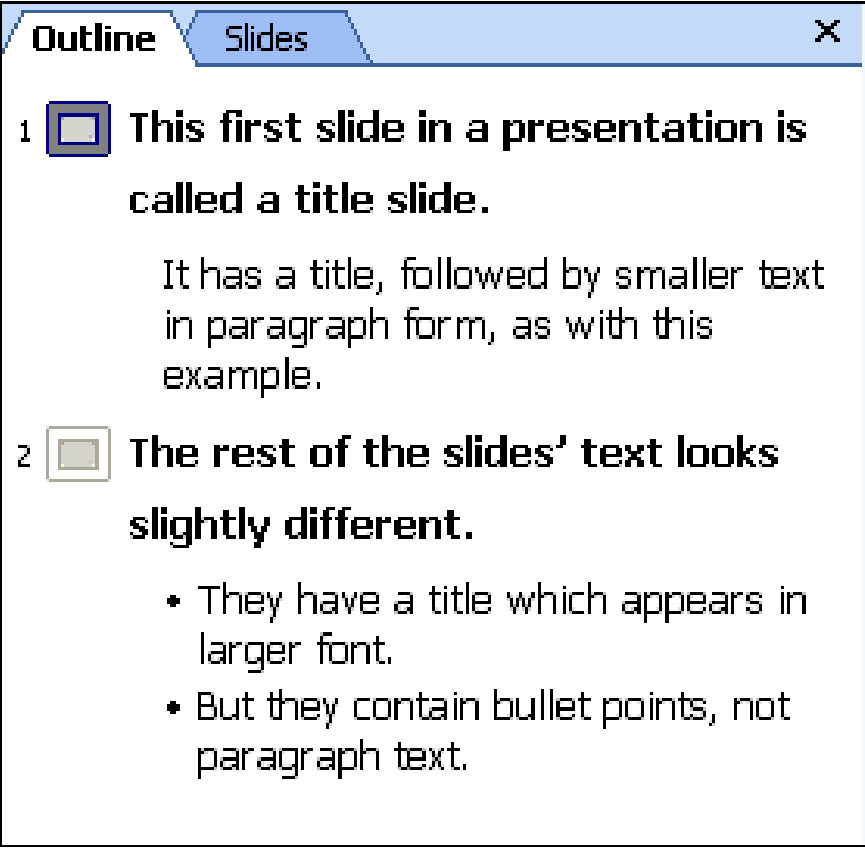
- In the Outline pane, click on the Outline tab.
- You will see the text from your slides. The text from each slide will appear beside slide icons, as in the example below.
- Place the cursor in any text or title of a slide and click in the Outline pane. This will bring the slide up in the Slide Panel.
- Now you can modify text in the slide. You can also change fonts and colors. However, the changes you make to fonts and colors will appear on the slide in the Slide Panel. You won't be able to see the changes in the Outline tab.
- To delete a slide, select all the text (Outline tab) and click Delete. You can also click the slide icon, right click, then select Delete Slide.
Use Spell Check
MS PowerPoint, like all MS Office products, offers you an easy-to-use, convenient tool to check your presentation for spelling and typing errors. Spell Check, as it's called, can be used at any time while creating your presentation.
To access Spell Check, go to Tools> Spelling.
If there are any spelling errors or typos, a dialogue box will appear like the one pictured below.
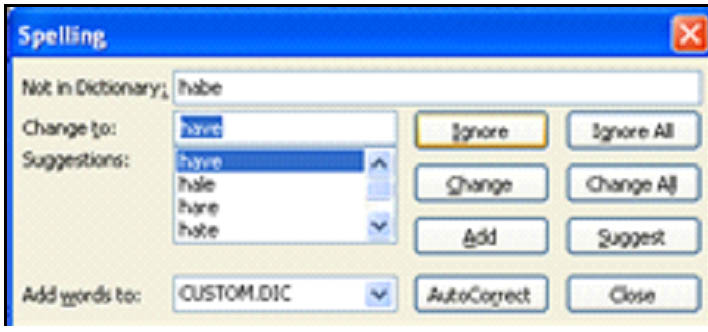
A misspelled word will appear in the Not in Dictionary box. It may be that the word is misspelled, or you may have intentionally spelled it that way.
To edit the spelling, choose the correct spelling from the Suggestions box. The word that you select will then appear in the Change to box.
Click Change when you're finished.
If you do not want to change the spelling of the word, you can click Ignore. No changes will be made.
If you want MS PowerPoint to ignore all instances of that word in the presentation, click Ignore All. That way you don't have to worry about it popping up as an error each time that you use Spell Check.
You can also click Add to add a new word, or a word you use frequently that PowerPoint doesn't recognize, to add it to the program's dictionary. This will also prevent it from appearing as a misspelled word again.
MS PowerPoint can also monitor your spelling as you type. Any words that it recognizes as misspelled will be highlighted in red. To activate this feature, go to Tools> Options> Spelling and Style.
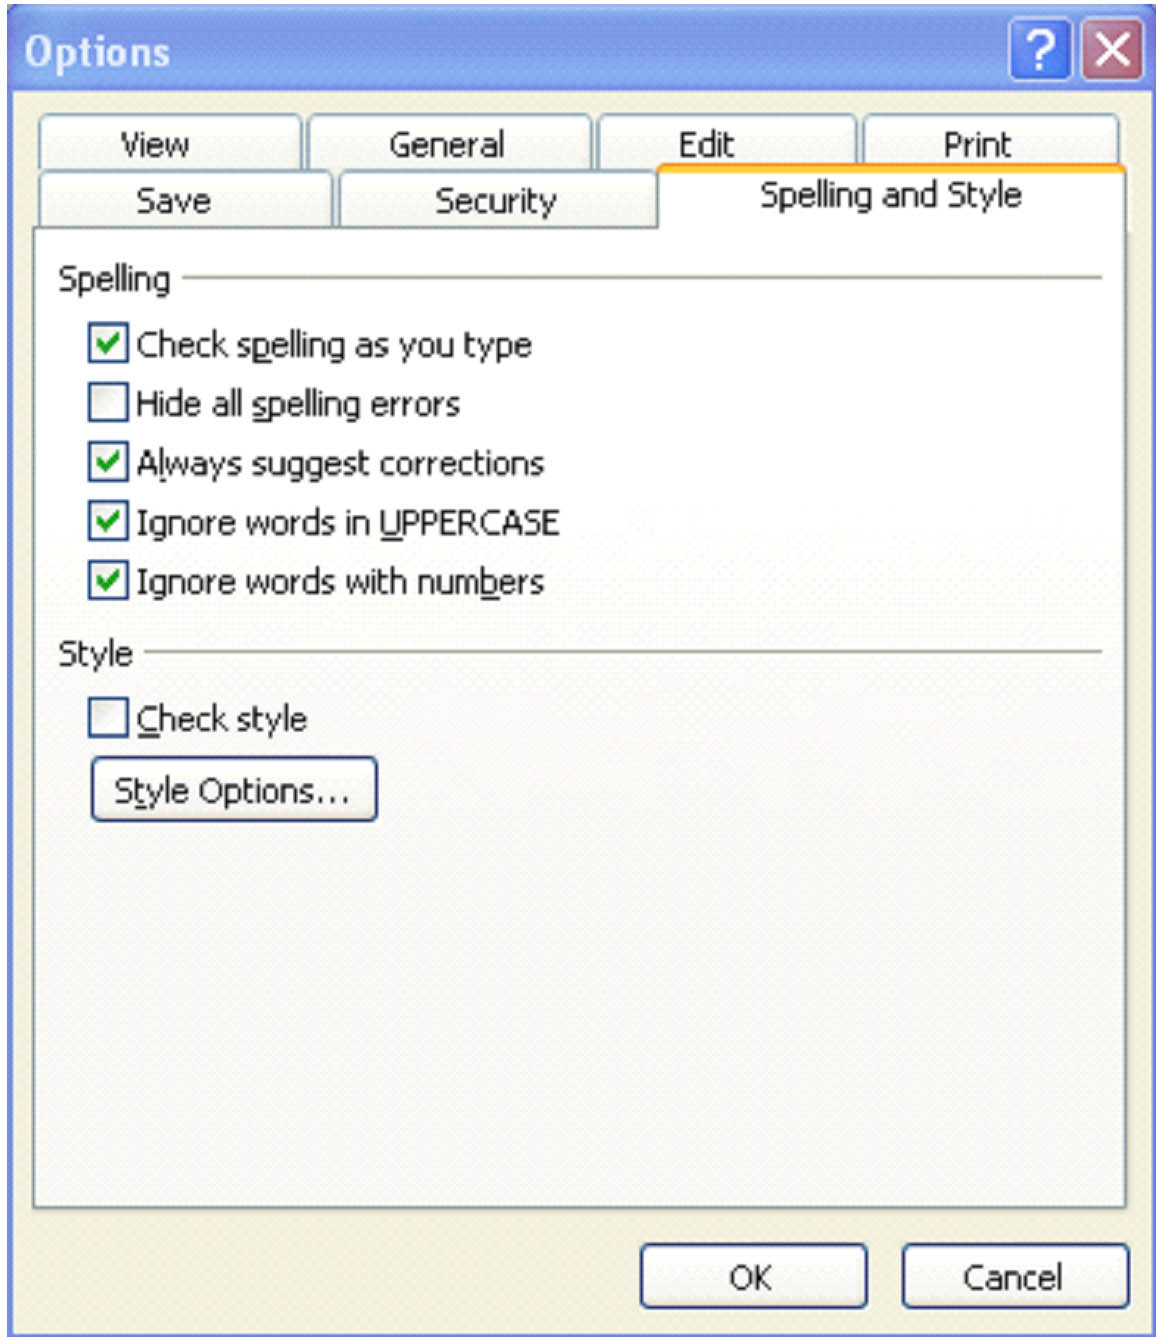
Make sure the Check Spelling as You Type box is checked, then click OK.
Set Up a Show
Once you've created your presentation, it's time to start setting it up for delivery. To set up your slide show, go to Slide Show> Set Up Show.
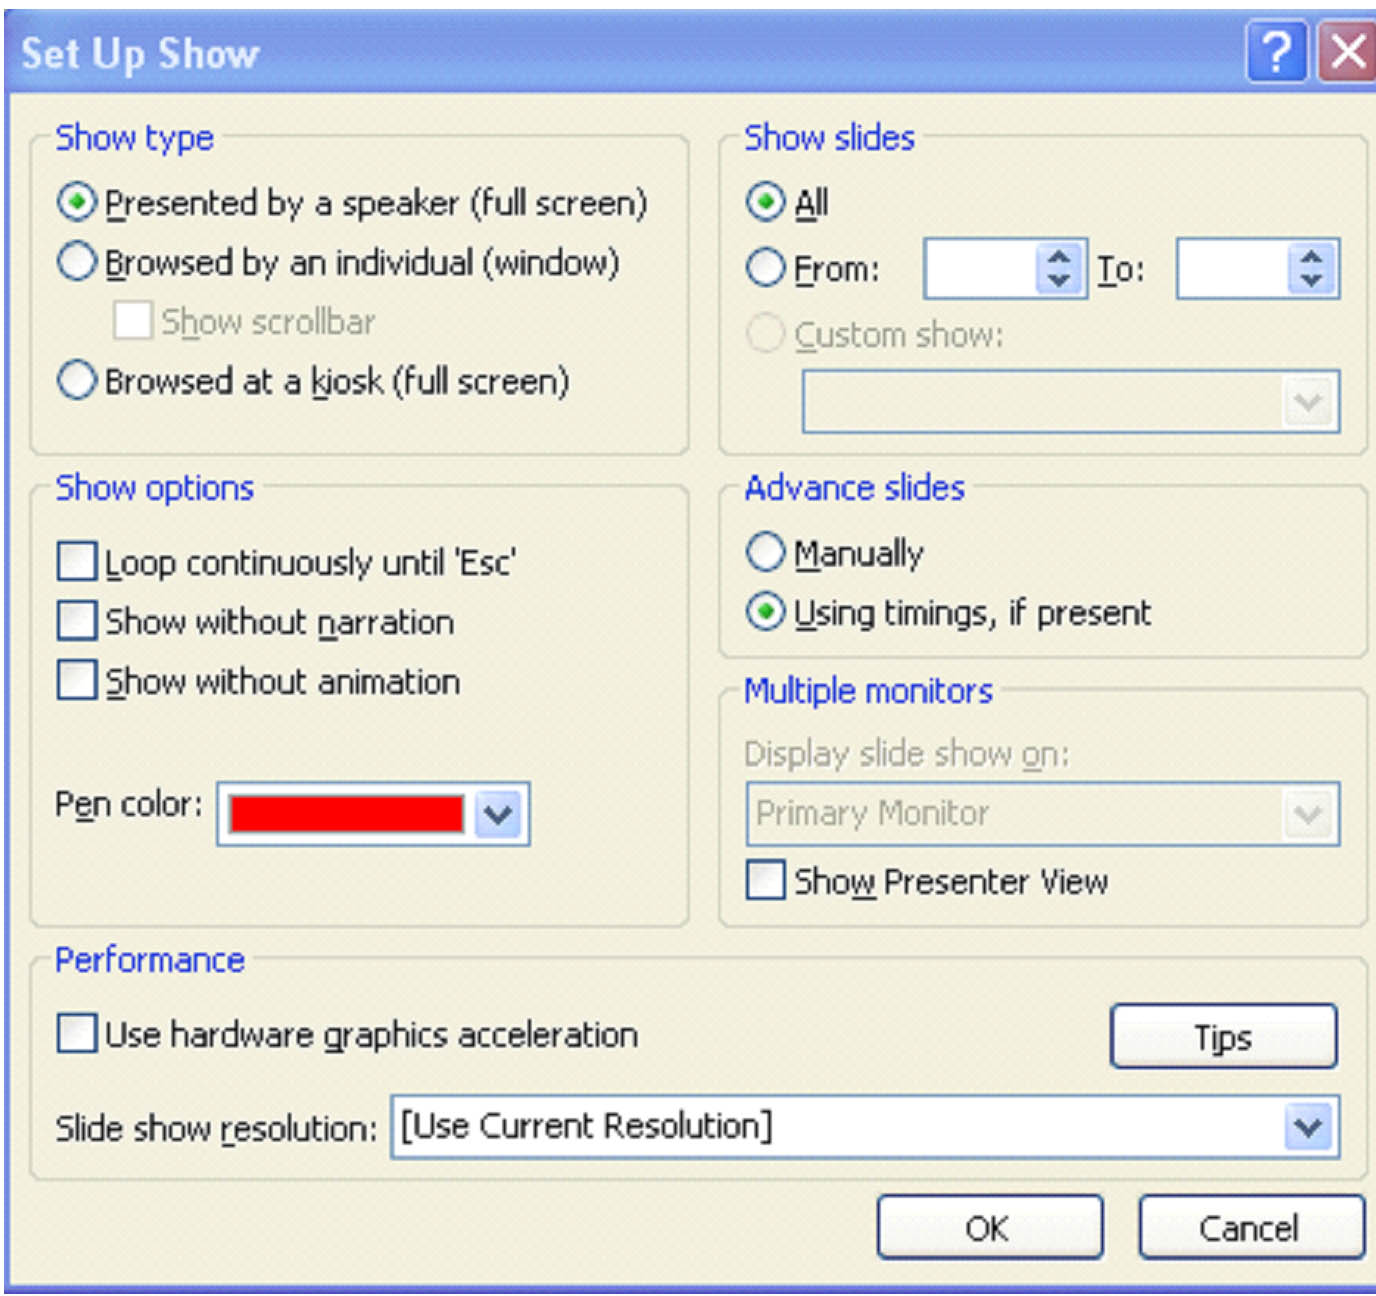
Using the dialogue box above, you can set all your preferences for your slide show.
Show Type
These options give you the choice of having your slide show presented in full screen or in a computer window.
Show Options
Decide if you want the slide show to keep playing over and over again until Escape is pressed. Also, if you want to show it with or without narration and animation.
Show Slides
Do you want to show all of the slides or just some of them? You can specify the slides that you want to show.
Advance Slides
The slides can either advance manually or by using the established timers.
Multiple Monitors
Use this if your slide show will be playing on more than one computer.
Performance
Reducing the resolution of your slide show can make it run quicker. If you notice your slide show is going extremely slow as it waits for graphics and clips to load, try reducing the resolution.
Rehearse a Show
It's always a good to idea to rehearse your slide shows before you present them. Not only can you catch things that aren't running as smoothly as you'd like in the slide show, it also gives you a chance to perfect your presentation. Maybe you're talking too fast or saying "uh" or "um" too many times. Listen, the best performers rehearse, so this isn't a step that you should ever skip over.
When rehearsing your slides:
Run through the slides using the Set Up Show feature we discussed above.
Make sure every aspect of the presentation is as you want it.
Check for graphics or clips that may be taking too long to load.
When rehearsing narration:
Record yourself to catch places where you are stumbling, not annunciating clearly, and to find other trouble spots. Something that sounds good on paper may not sound as good when you actually speak, so read your presentation out loud and record it.
Rehearse your narration with the slides. Yes, go through your whole presentation as you will deliver it.
When you do this, PowerPoint 2003 offers you a neat feature called Rehearse Timings. You can read your narration aloud as you go through the slide show and see how long it takes you to speak the narration for each slide. This way, the slide transitions are timed to match the narration, giving you enough time to talk and your audience enough time to hear you and read the information on the slide.
To rehearse timings, go to Slide Show> Rehearse Timings.
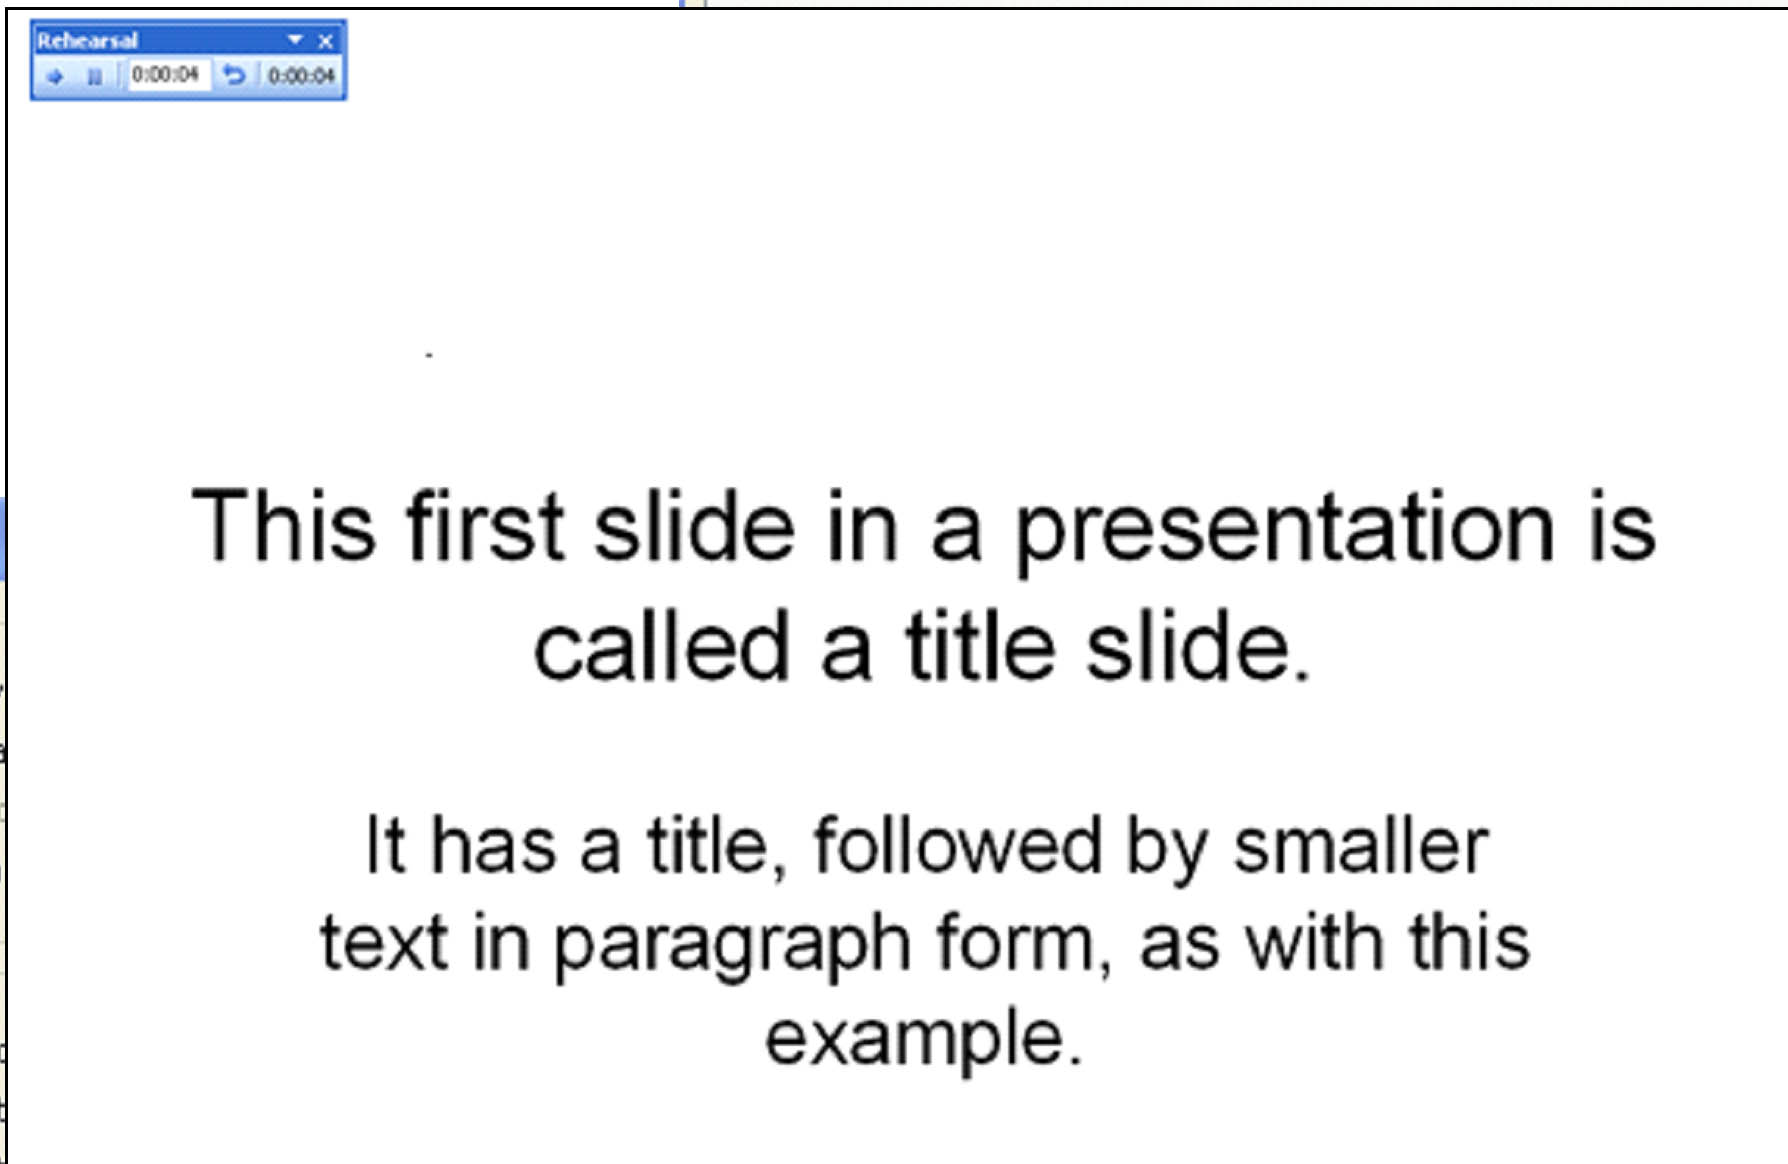
The slide show will then begin to play in the mode you selected in Set Up Show. In the top left corner, you'll see a little blue box entitled Rehearsal. The timer in that box runs from the second the slide comes on the screen.
Start your narration.
When you've finished the narration for that slide, click the forward arrow.
If the time on the timer is different than the timing you set when you created the presentation, MS PowerPoint 2003 will ask you if you want to change the timing.
Note: You can also rehearse individual slides or a range of slides, rather than going through the whole slide show. Go to Set Up Show and specify the slides you want to rehearse. You can go back and change it back later when you're ready to give the presentation.
Creating and Saving Custom Shows
You may create one presentation that's going to be shown to various groups of people. For example, you may create a presentation for work that's going to be shown to the Accounting, Marketing, and Sales departments, but you may not want to show the entire show to all of these groups. After all, marketers only want to see information relevant to them, as do accountants and sales staff. You may want to show slides 1, 2, and 6 to all of them, but you only want Marketing to see 9 and 10, Sales to see 10, 11, and 12, and only the Accounting department to see the rest.
The good news is that you do not have to create different presentations for all of them. You can create and save custom shows to show each of these groups. The custom shows will only display the slides you want them to see.
To Create a Custom Show...
Open the presentation for which you want to create custom shows. All slides must be showing.
Go to Slide Show> Custom Shows> New.
Click New.
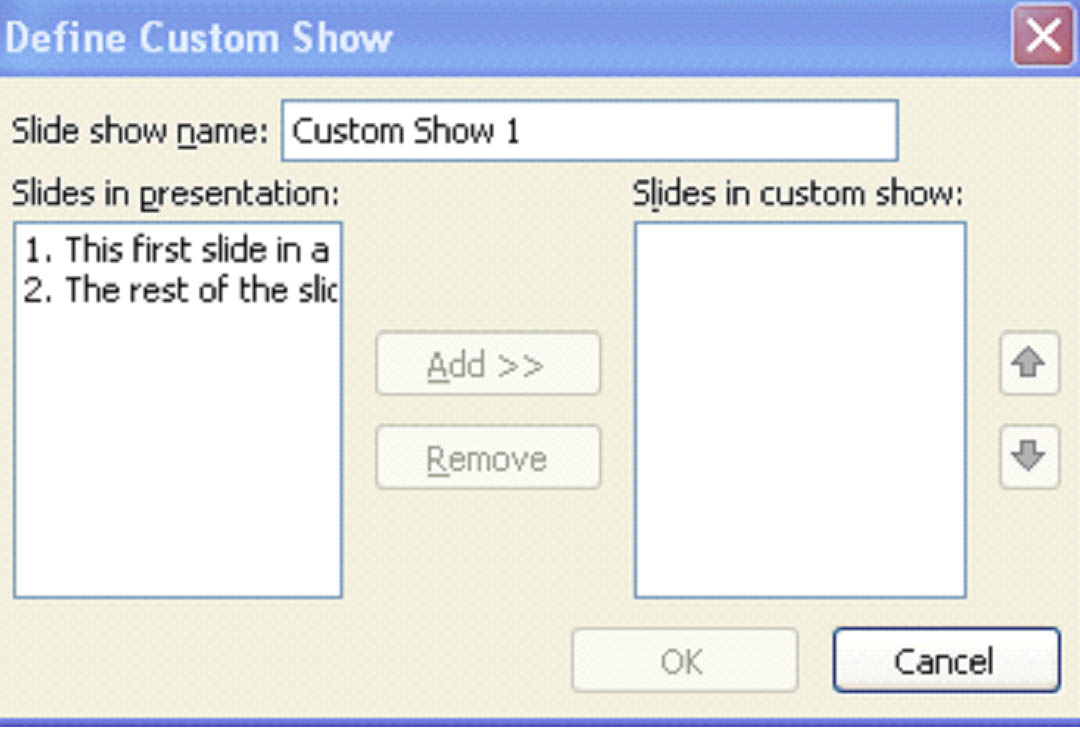
Specify a name for the custom show.
Select the slides you want to appear in the custom show, then click Add.
Click OK.
Click OK again in the Custom Shows window.
Set up and View a Custom Show
To set up your custom slide show and view it, go to Slide Show> Set Up Show.
Under Show Slides, click Custom Show, and then select the custom show that you want. Then click OK.
To view the show, click the Slide Show button located in the lower left of the PowerPoint window.
Use Hidden Slides
As well as create custom shows, you can also hide slides in a presentation. You will still be able to see it, but your audience won't.
To hide a slide:
Click Slides on the Outline tab. You should see thumbnails of all your slides.
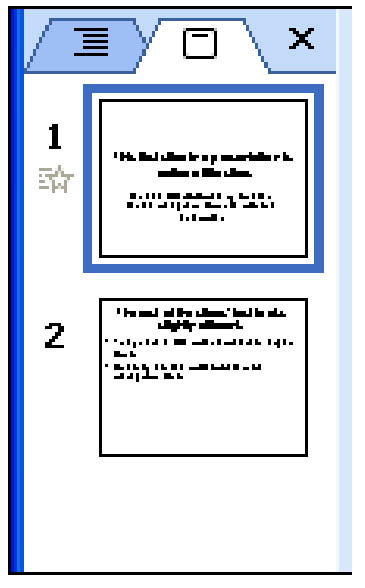
Select the slide you want to hide.
Go to Slide Show> Hide Slide.
You will now see a faint diagonal line through the slide number.
To unhide the slide, follow the steps up and select Hide Slide again.
Print Audience Handouts
When you're ready to deliver a presentation, you can also print audience handouts. Audience handouts are printed versions of your slide show. You can print these so your audience can follow along, or so they have a copy of the presentation to refer to at a later date.
You can print your slide show with just one slide per page or several slides per page. You can also choose other layout alternatives such as printing the slides in MS Word.
To print a handout, go to File> Print.
Click the Print Preview button.
This is how your slides will look once they're printed. Notice that there is just one slide per page.
You can easily change this and other options by using the Print Preview toolbar located below the title bar. It is pictured below.

If you want to print more than one slide per page, click on the Print What box and look at the drop down menu.
You can then choose to print 1, 2, 3, 4, 6, or 9 slides per page. The print preview will then change to show you how those slides will look printed onto one page. You can then change any other layout options that you want.
To Print to MS Word
If you want to print your slides using MS Word, go to File> Send To> MS Word, then select a layout option.
Print Speaker Notes
To print speaker notes, you'll follow a few of the same steps we did when we learned to print slides.
Go to File> Print. Select the Preview button.
In the Print What box, select Note Pages.
How to Deliver a PowerPoint 2003 Presentation
Moving Between Slides
When you're ready to show your presentation, there are several ways that you can move from one slide to another. The way you move between slides will be based on how you give your presentation: browser, full screen, etc.
Outline Pane
The first way is to go to the Slide/Outline tab. Select the slide that you want to view.
Toolbar
Using the Slide toolbar, navigate through the slides using the forward  and back
  buttons.
Slide Show View
To view your presentation as a slide show, go to Slide Show View button  (located with the view buttons).
To move to the next slide, click your mouse button.
To move to the previous slide, right click and select Previous.
Using Screen Options
Screen options refer to how your audience will view the PowerPoint 2003 presentation. They may view it in a browser window or in full screen.
To specify this for your slide show, go to Slide Show> Set Up Show.

In the Show Type section, select if it will be viewed on a full screen or in a browser window.
Use Pointers
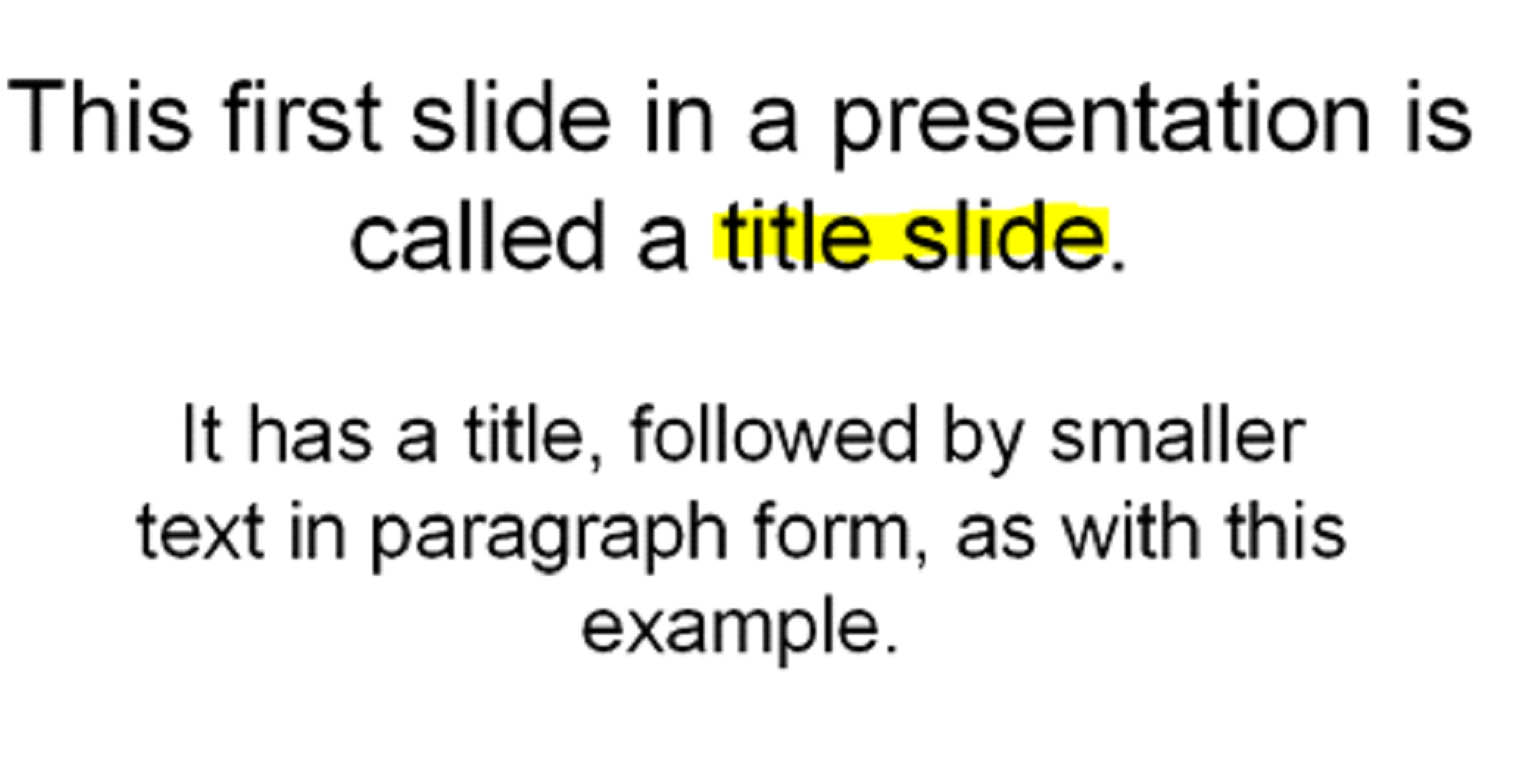
Pointers are virtual pens that you use during a slide presentation to write, highlight, underline, circle, or point to areas of your presentation. For example, if the sales figures for the 3rd quarter of your company were covered in this presentation, and you wanted to reiterate the fact that they were drastically lower than the 2nd quarter sales numbers, you could use a pointer to underline the 3rd quarter numbers as the presentation was playing.
To use pointers, first go to Slide Show view.
When the first slide appears, move your mouse to the lower left hand corner.
You'll see this toolbar:

Right click the second icon from the left .
.
Select Pointer Options.

Now you can select the type of pointer as well as the ink color that you want to use.
Below is an example of using a highlight pointer:
Delivery Tips
Below are ten tips that will help you deliver even better PowerPoint presentations. Remember, the key to delivering great presentations is in the creation and the delivery.
- Disable pop-ups on your computer during delivery. There's nothing more unprofessional than a pop-up interrupting your slide show.
- Have a conversation with your audience. Structure your presentation as a conversation. Nobody wants to be lectured. That's boring.
- Save a presentation to a CD that runs automatically. That way, everyone can refer to it, or watch it, as needed.
- Have a good opener. Get their interest in the beginning.
- Don't look at the screen. Look at your audience. You already know what's on the screen because you created the presentation. Your audience and your delivery to your audience should be your focus.
- Collect feedback. Let them know at the beginning that you're going to want their feedback at the end. This will make your audience pay even more attention.
- Start a presentation at a specified time. That way, everyone's present that needs or wants to be, and you don't have to go back over part of the presentation for late-comers.
- Create a background for your handouts. Presentation is everything!
- Have sounds or music play when you simply move your mouse over an icon.
- Create a timer that counts down the seconds to the beginning of the show, like there used to be in old movies. This creates anticipation and excitement.