Introduction
In this article, we will cover basic PowerPoint 2007 terminology and how it relates to the elements of a presentation. We will discuss the different uses of each slide layout, toolbar and task pane as well as detail what can be found on each Ribbon tab.
Demonstrate understanding of templates
Demonstrate understanding of slide layouts
Demonstrate understanding of Ribbon tabs
Templates
Template Tip: If you have used earlier versions of PowerPoint, please note that there is an important distinction between templates and design templates.
Simply put, a template is a reusable blueprint for a certain type of slide or group of slides. You may create your own templates or use one of the templates provided by PowerPoint. Usually, a template includes a certain layout along with specific colors, text, fonts, effects, background and content.
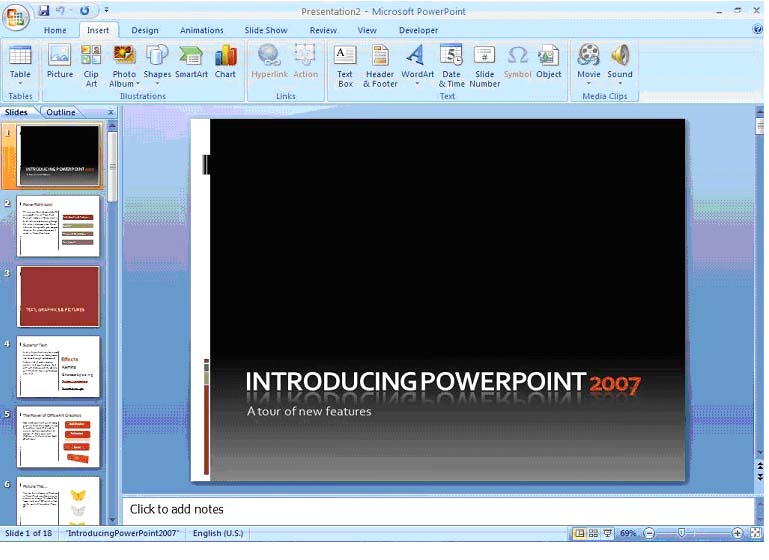
For example (see Figure 1.1), with every copy of PowerPoint, Microsoft includes a sample presentation entitled "Introducing PowerPoint 2007: A tour of new features." A limited number of installed templates can be found without accessing the internet and literally hundreds of templates are available for use from Microsoft Office Online, which is accessible directly through a registered copy of PowerPoint 2007.
Slide Layouts
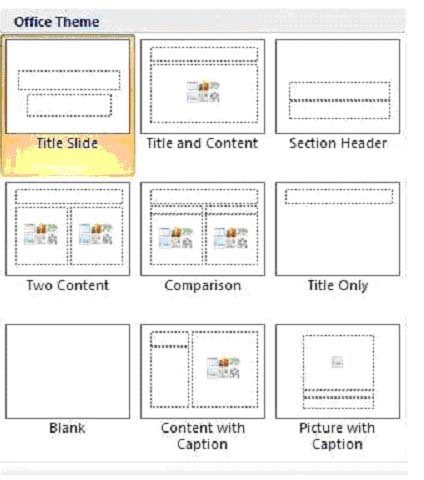
PowerPoint contains nine built-in slide layouts; the default slide layout is the title slide. Although you may create your own customized layouts, Figure 1.2 shows visual displays of the nine built-in layouts:
Ribbon Tabs
As mentioned previously, Office 2007 has integrated all toolbars, task panes and commands into a single feature called the Ribbon. Figure 1.3 through Figure 1.10 provide a general idea of the appearance and purpose of each tab.

Figure 1.3 � The Ribbon � Home Tab
The Home Tab is the default tab upon opening PowerPoint 2007. In addition to the cut, copy and paste features of the Clipboard, most standard text and font formatting commands are available in the Font and Paragraph sections of the tab. The Drawing section allows for insertion of hundreds of shapes, arrows, callouts and action buttons. With the Editing section, you can easily find, select and replace specific text and objects located throughout your presentation.

The Insert Tab is a good example of the larger icons that make navigation through PowerPoint 2007 much easier than earlier versions. This tab is an umbrella over nearly anything you might want to insert into a presentation, including tables, pictures, clip art, objects, hyperlinks, text boxes, sound and other media.

Figure 1.5 � The Ribbon � Design Tab
The Design Tab allows you to choose from pre-installed themes, vary the page setup of a single slide or an entire presentation, change and edit colors, fonts, and effects, and personalize backgrounds.

Figure 1.6 � The Ribbon � Animations Tab
The Animations Tab not only provides a variety of programmed slide transitions ranging from basic to complex, but also enables you to create customized animations to completely personalize your presentation. The Transition to This Slide section provides the options of controlling timing and method of advancing each slide, such as clicking the mouse or pressing the space bar.

The Slide Show Tab contains all the necessary commands to set up, begin, and control the presentation of your slide show. Additionally, this tab allows you to insert recorded narrations, link to a pre-recorded narration and insert pre-planned timing of slide show events to ensure that your presentation goes smoothly.

Figure 1.8 � The Ribbon � Review Tab
Office 2007's new and improved proofing tools are available on the Review Tab which includes translation into fifteen different languages. For collaborating on the creation of a presentation, the Comments section allows users to insert notes without altering the content.

Figure 1.9 � The Ribbon � View Tab
The View Tab contains the slide sorter and the slide master, which allow you to arrange slides and maintain all vital themes and layouts of a presentation, respectively. This tab also contains the commands required to view your presentation from various perspectives, including contrasted against other presentations.

Figure 1.10 � The Ribbon � Developer Tab
The Developer Tab is where the macro magic happens � don't worry, we'll walk you through it. Basically, a macro is a group of commands bunched together to make the process of creating a presentation easier for you.
Creating a Basic Presentation
Introduction
In this section, we will cover the different options available for creating your presentation including using an existing template, creating from an existing presentation and creating from scratch. We will also discuss different ways to view and save your presentation.
Learning Outcomes
Create a presentation from an existing presentation (using compatibility mode and conversion)
Creating from a Template
- Easy access to frequently and recently used templates
- Allows for total customization of every slide in a presentation
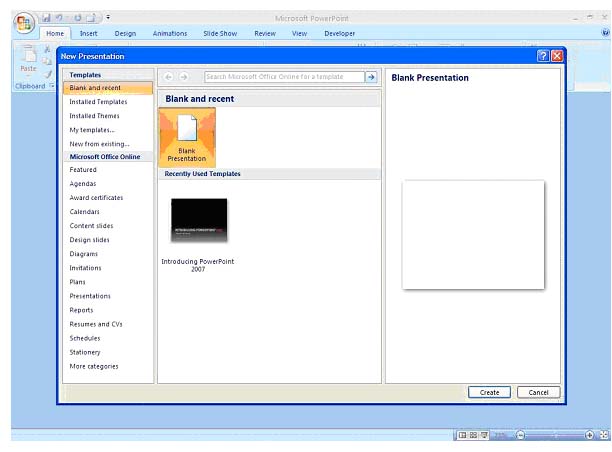
Figure 2.3 � New Presentation Dialog Box
In this dialog box, template and theme options are offered in the column on the left hand side of your screen. The top left section displays templates that are available in your copy of PowerPoint 2007 and the lower left portion displays templates that are available online from Microsoft Office.
The center portion of the screen gives you the options of creating a blank presentation which will allow you to create a presentation from scratch or to create a presentation from a recently used template. For the purposes of this section, we will select "Installed Templates." Figure 2.4 is a screenshot of what the Installed Templates dialog box will look like once it has been opened.
- Click on "Create"
- Select "Introducing PowerPoint 2007"
Figure 2.4 � Installed Templates
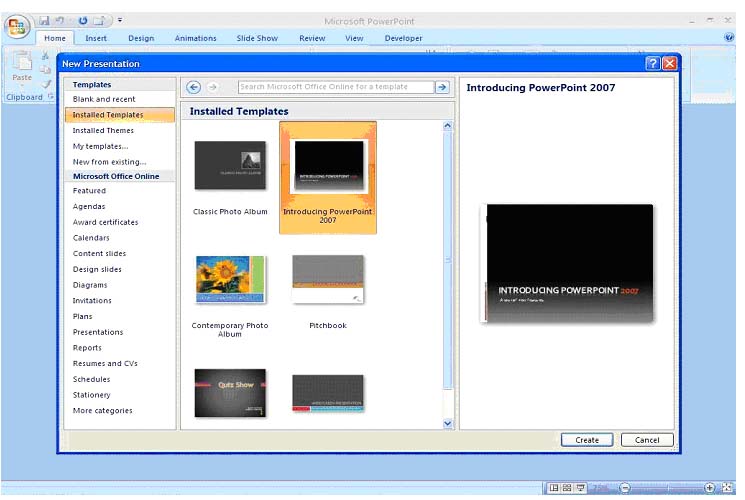
Figure 2.5 � Complete Presentation from a Template
To use a web template from Microsoft Office Online, simply select any of the options in the lower left hand column and PowerPoint will connect you directly to all available templates, provided that you have internet access. Selecting the "Download" button will install the template of your choice into your version of PowerPoint 2007 so that you will not have to access the internet should you wish to use it again.
- Click on "Download"
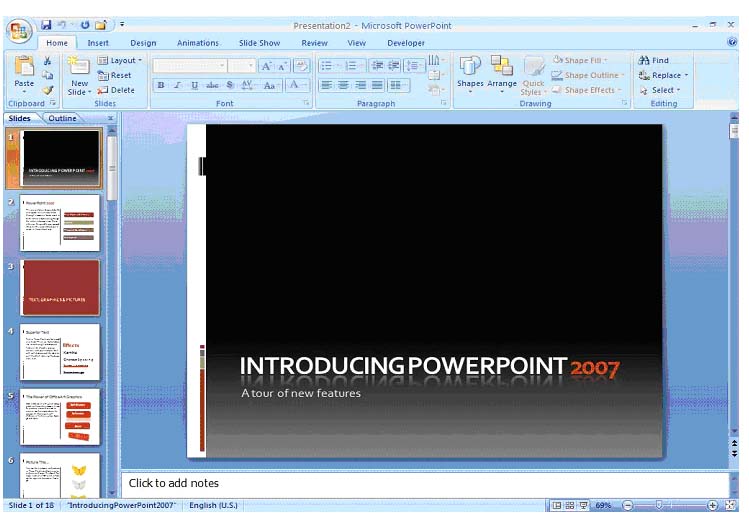
Figure 2.6 � Accessing Templates from Microsoft Office Online
Using Compatibility Mode and Conversion with an Existing Presentation
Although the final product may look quite similar, presentations created in earlier versions of PowerPoint do not have all of the options and functionality of presentations created with PowerPoint 2007, such as Smart Art and graphics options. Additionally, users who have earlier versions of PowerPoint will not be able to view presentations created in the 2007 version. It was because of this that Microsoft created Compatibility Mode.
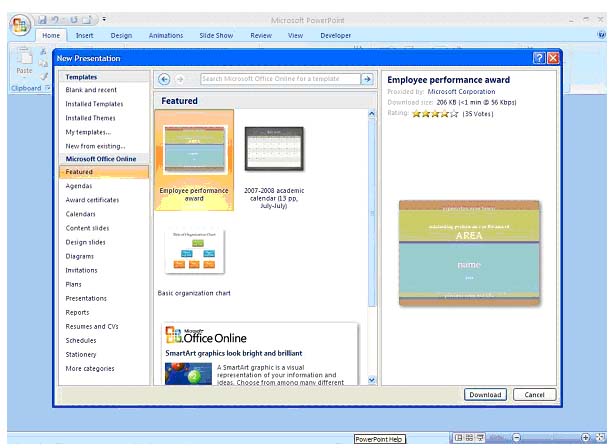
Figure 2.7 � Making Presentations Compatible
This process will bring up the "Compatibility Checker" dialog box which details every change in editing capability that accompanies conversion (see Figure 2.8). Usually, this will include Smart Art graphics and charts, tables and text that utilize any of the new features of PowerPoint 2007. When working in Compatibility Mode, the top of the Ribbon will display [Compatibility Mode] right next to the name of the presentation (see Figure 2.9).
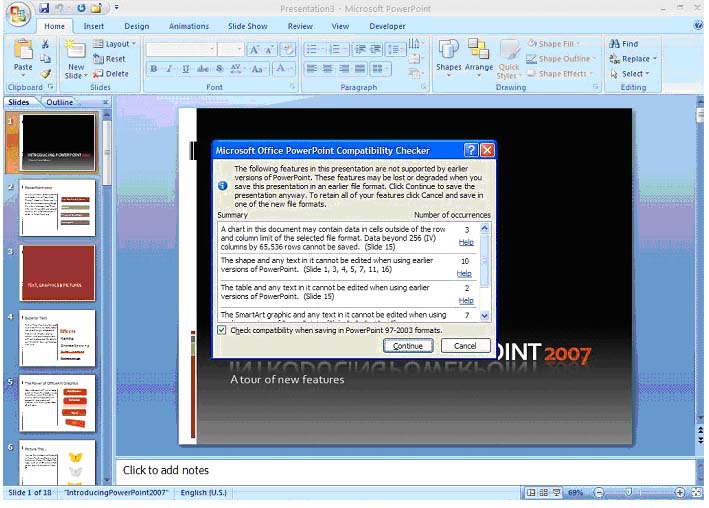
Figure 2.9 � Compatibility Mode
Creating from Scratch
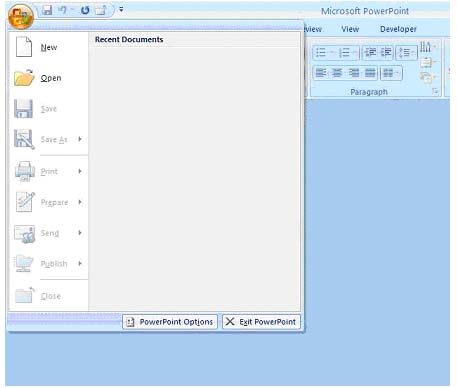
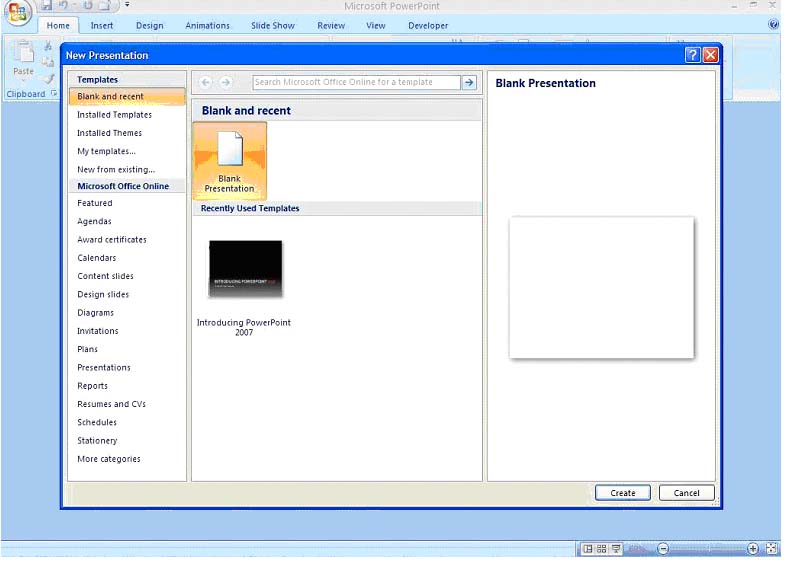
To create a presentation from scratch, click on the Microsoft Office Button and select "New." The New Presentation dialog box will appear (see Figure 2.10); clicking on "Create" will bring up a blank presentation, ready for your customization (see Figure 2.11).

Figure 2.10 � New Presentation Dialog Box
View Options
PowerPoint 2007 offers three main view settings: Normal;Slide Sorter;and Slide Show.
Normal view, which is the default, shows three panes: The main pane, which includes the Slides and Outlines tabs; theNotes pane on the bottom of the screen; and the Slide pane in the center of the screen which displays the current slide. Figure 2.12 illustrates the Normal view.
Slide Sorter view, illustrated in Figure 2.13, shows all slides in the presentation. This view is ideal for organizing your presentation and switching slides around if necessary. It also affords you the option of seeing your entire presentation at a glance.
Slide Show view, illustrated in Figure 2.14, allows you to see your presentation exactly as it will look when you present it. This means that you must exit this view in order to access any toolbars or commands.
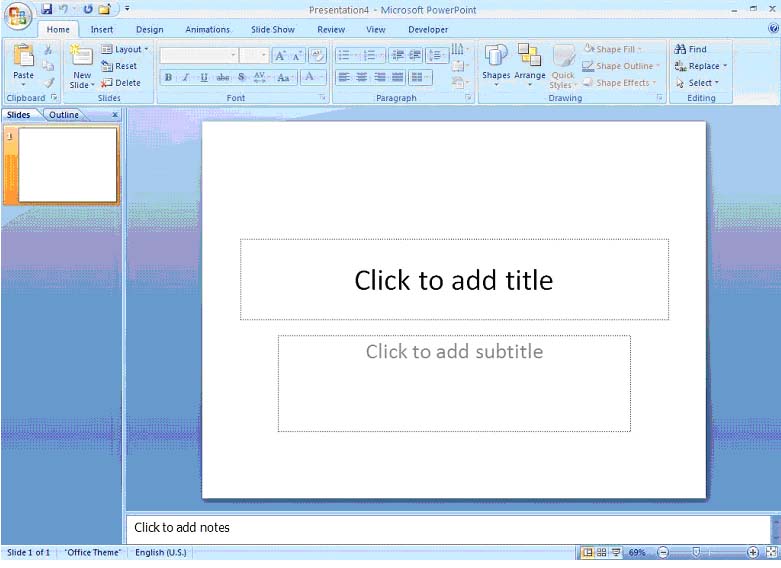
Figure 2.12 � Normal View
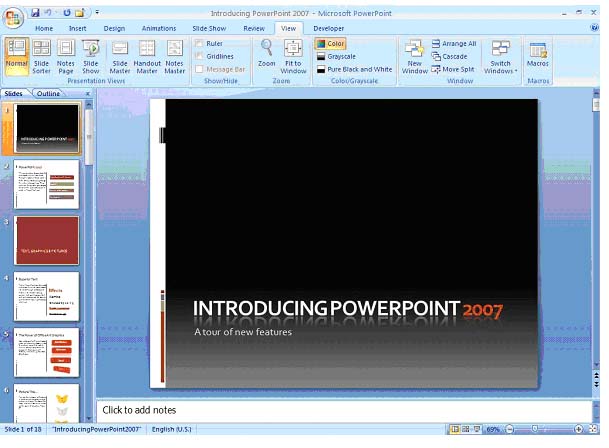
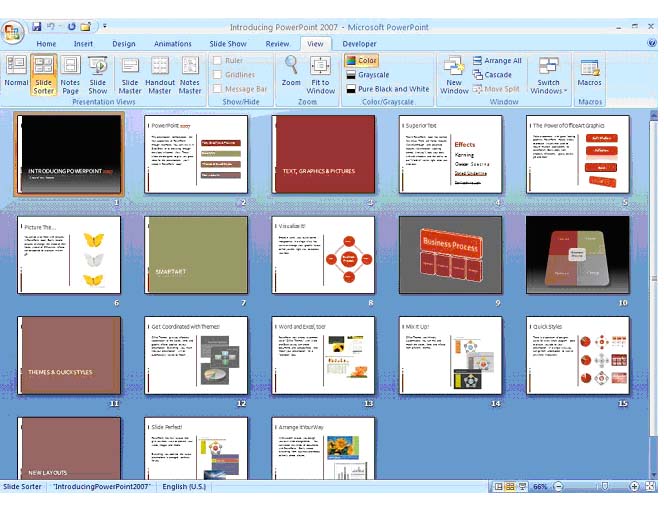
Figure 2.14 � Slide Show View
Saving Options
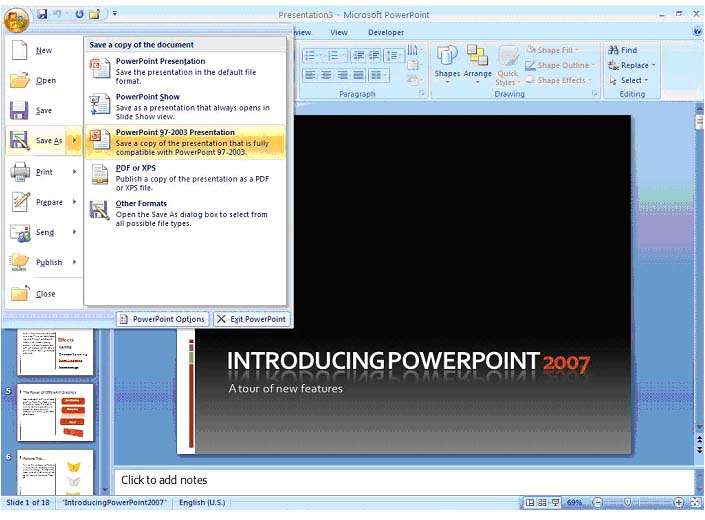
When saving files in PowerPoint 2007, there are four main options. First, you may simply save the presentation as it is. Next, you may use the Save As option which allows you to save a copy of the presentation under a different name. Another use of the Save As option allows you to save a copy of the presentation in a different format, including an earlier version of PowerPoint or as a PDF or web page. The final saving option in PowerPoint 2007 is the Auto Recovercommand.
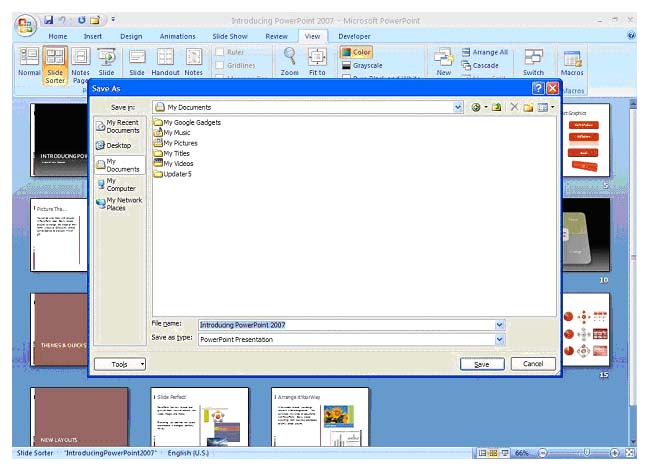
To save your presentation for the first time, click on the Microsoft Office Button and select Save. The Save As dialog box will appear and allow you to browse to the location where you wish to save your file. By default, PowerPoint brings up a working folder, usually "My Documents" or its equivalent (see Figure 2.15).
To save a copy of your presentation as it is but under a different name, click on the Microsoft Office Button and selectSave As. The same dialog box will appear. In the File namefield, type the name you wish this copy of the presentation to have and using the navigational buttons at the top of the dialog box, select the location where you wish to save it (see Figure 2.16).
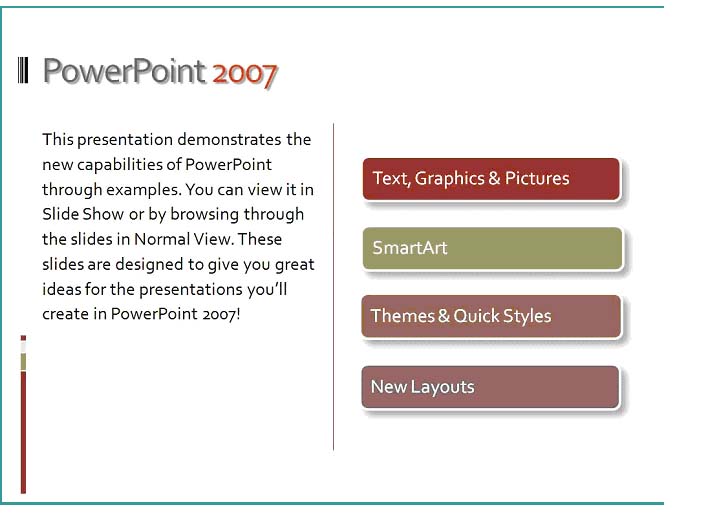
Figure 2.15 � Saving a Presentation for the First Time User
-
"File name" Field
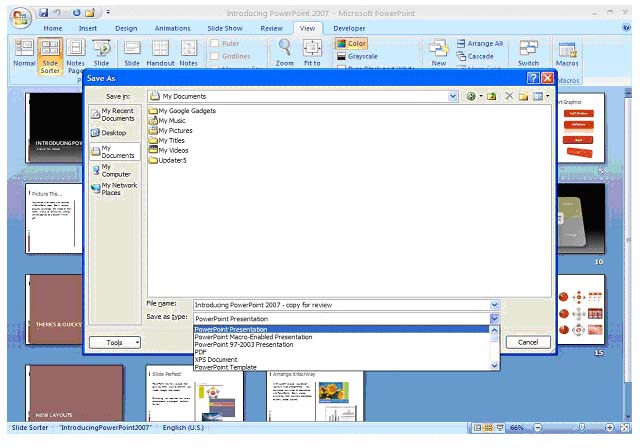
To save a copy of your presentation in a different format, follow the Save As steps and in the drop-down box of theSave as Type field, select the format in which you wish to save the presentation (see Figure 2.17).
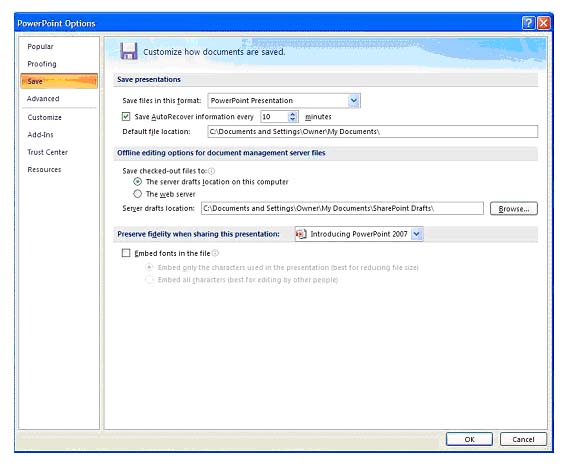
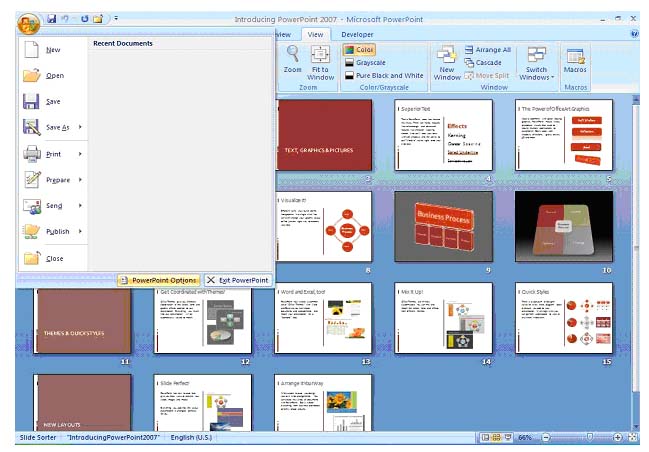
PowerPoint's Auto Recover is a valuable feature that automatically saves your work at intervals specified by you. To use this feature, click on the Microsoft Office Button and select PowerPoint Options (see Figure 2.18).
-
Select "Power Point Options"
Click on Save and then select the Save Auto Recover information every check box. In the Minutes box, you can specify how frequently you would like PowerPoint to save your work (see Figure 2.19).