Introduction
In this article, we will provide an overview of how to insert and format Smart Art, pictures, clipart, shapes and objects in PowerPoint 2007.
Learning Outcomes
Working with Smart Art
One of the most noticeable and useful improvements to the 2007 Microsoft Office Suite is the addition of Smart Art. Basically, Smart Art is a visual way to show relationships, processes, lists and organization; in other words, all of the diagrams in previous versions of PowerPoint have been upgraded and enhanced under the umbrella of Smart Art.
As with charts and tables, the easiest way to insert Smart Art into PowerPoint is to use a Title and Content slide layout which contains an Insert Smart Art button (see Figure 7.1). Smart Art can also be inserted by using the Insert Smart Art Graphic command in the Illustrations group of the Insert tab.
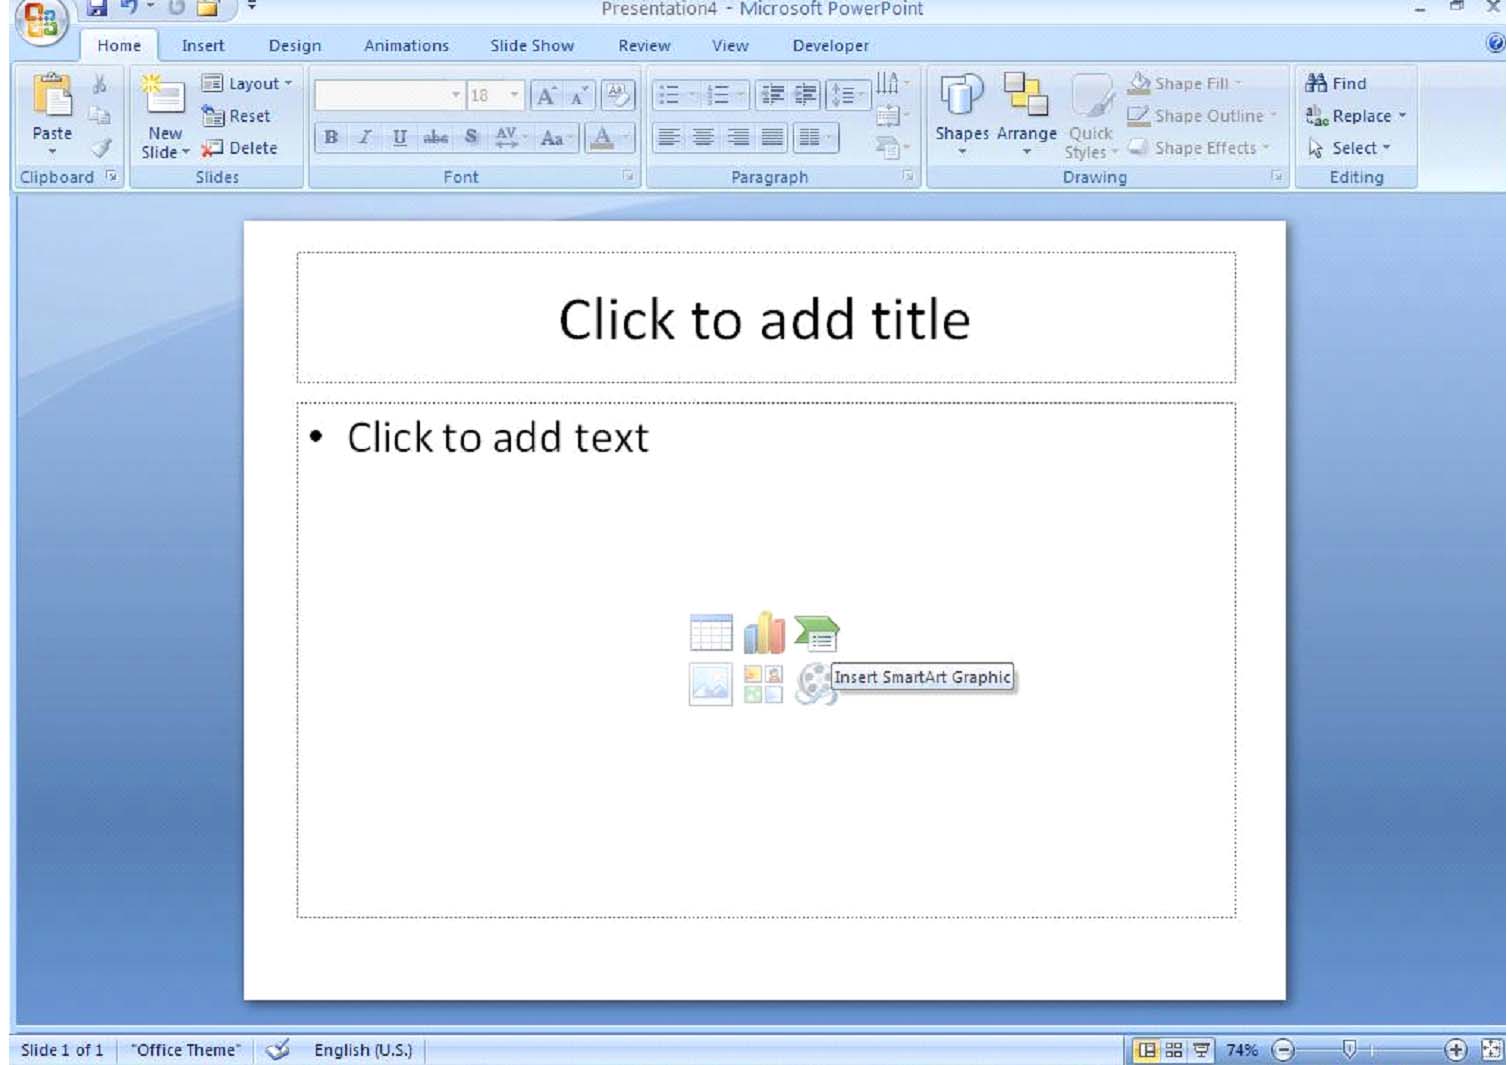
Figure 7.1 � Insert Smart Art Graphic Button on Title and Content Slide
Once you have clicked on the Smart Art command, the Choose a Smart Art Graphic dialog box will appear. The three panes of this dialog box help you to choose the category of Smart Art that best suits your purpose, then select a particular style within that category, and finally view a larger sample and explanation of that particular graphic.

Figure 7.2 � Smart Art Graphic Dialog Box
Smart Art Tip: If you have created a bulleted list on a PowerPoint slide, you can convert it to a Smart Art graphic by right clicking on the text box and selecting Convert to Smart Art on the context menu that appears.
As soon as you click OK in the Smart Art Graphic dialog box, the Smart Art Tools tabs, Design and Format, will appear. Figure 7.3 shows a formatted Smart Art graphic.
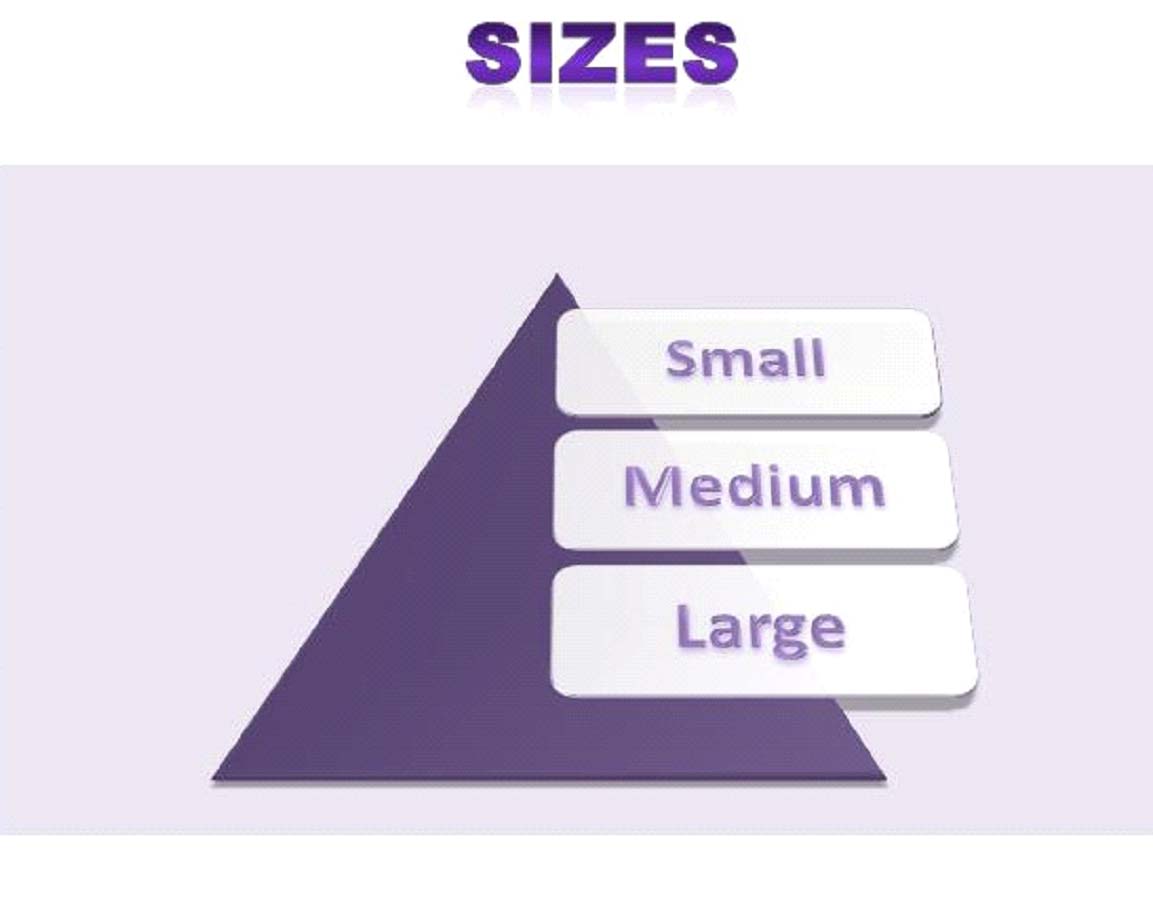
Figure 7.3 � Sample Formatted Smart Art Graphic
For the layout, we chose "Pyramid List." In the Smart Art Styles group of the Design tab, we selected the "Flat Scene" layout and changed the color to a purple "Gradient Loop � Accent 4." For the text in the graphic we used the Word Art feature on the Format tab and selected a light purple fill with an outer shadow and soft edge bevel. Finally, for the fill color, we chose an 80% transparent purple from the Shape Fill feature in the Shape Styles group on the Format tab.
Using Organizational Charts
One of the most commonly used diagrams, or in the case of PowerPoint 2007, Smart Art graphics, is the organizational chart. We feel that it is necessary to cover organizational charts separately from other Smart Art graphics because, due to certain nuances in formatting and applications, they create a class of their own. Although other Smart Art graphics allow you to add shapes before and after the active shape, an organizational chart varies in the shapes to be added. In short, an organizational chart has the following options:
1. Add shape after
2. Add shape before
3. Add shape above
4. Add shape below
5. Add assistant
To add an organizational chart, follow the steps to insert a Smart Art graphic. Once the Choose a Smart Art Graphic dialog box appears, select Hierarchy and choose the organizational chart that best suits your purpose from the seven pre-installed options.
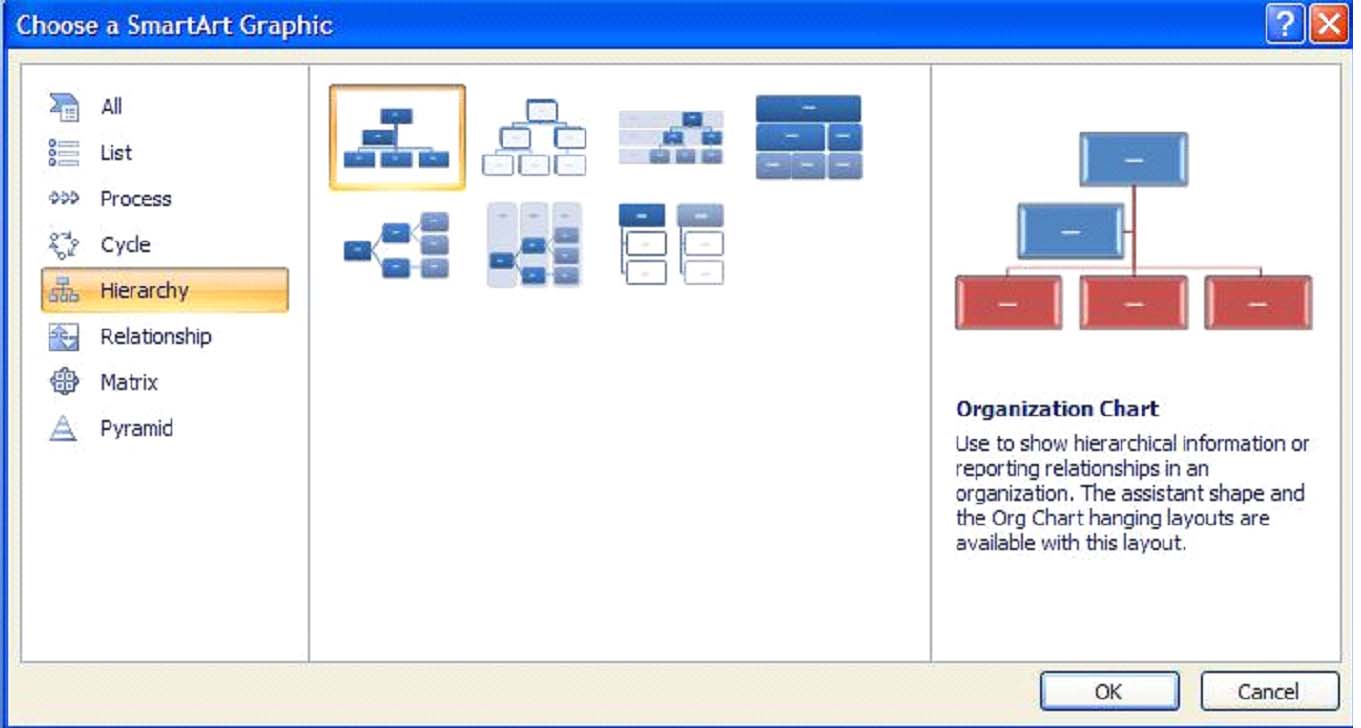
Figure 7.4 � Organizational Chart Dialog Box
Organizational Chart Tip: It is very easy to make an organizational chart seem cluttered and difficult to read. The key to a reader-friendly is pure simplicity. If you think you might not need something, then most likely you don't.
Figure 7.5 shows a sample organizational chart that has been filled out, formatted and customized. We chose to use the simplest organizational chart. To demonstrate that the Associate Executive Director is on an equal footing with the Executive Assistant, we used the Add Shape After command in the Create Graphic group on the Smart Art Tools Design tab. We chose the "Intense Effect" style for the graphic and changed the color variation to blue and green. Finally, we used the Word Art feature on the Smart Art Tools Format tab to enhance the text of the graphic.
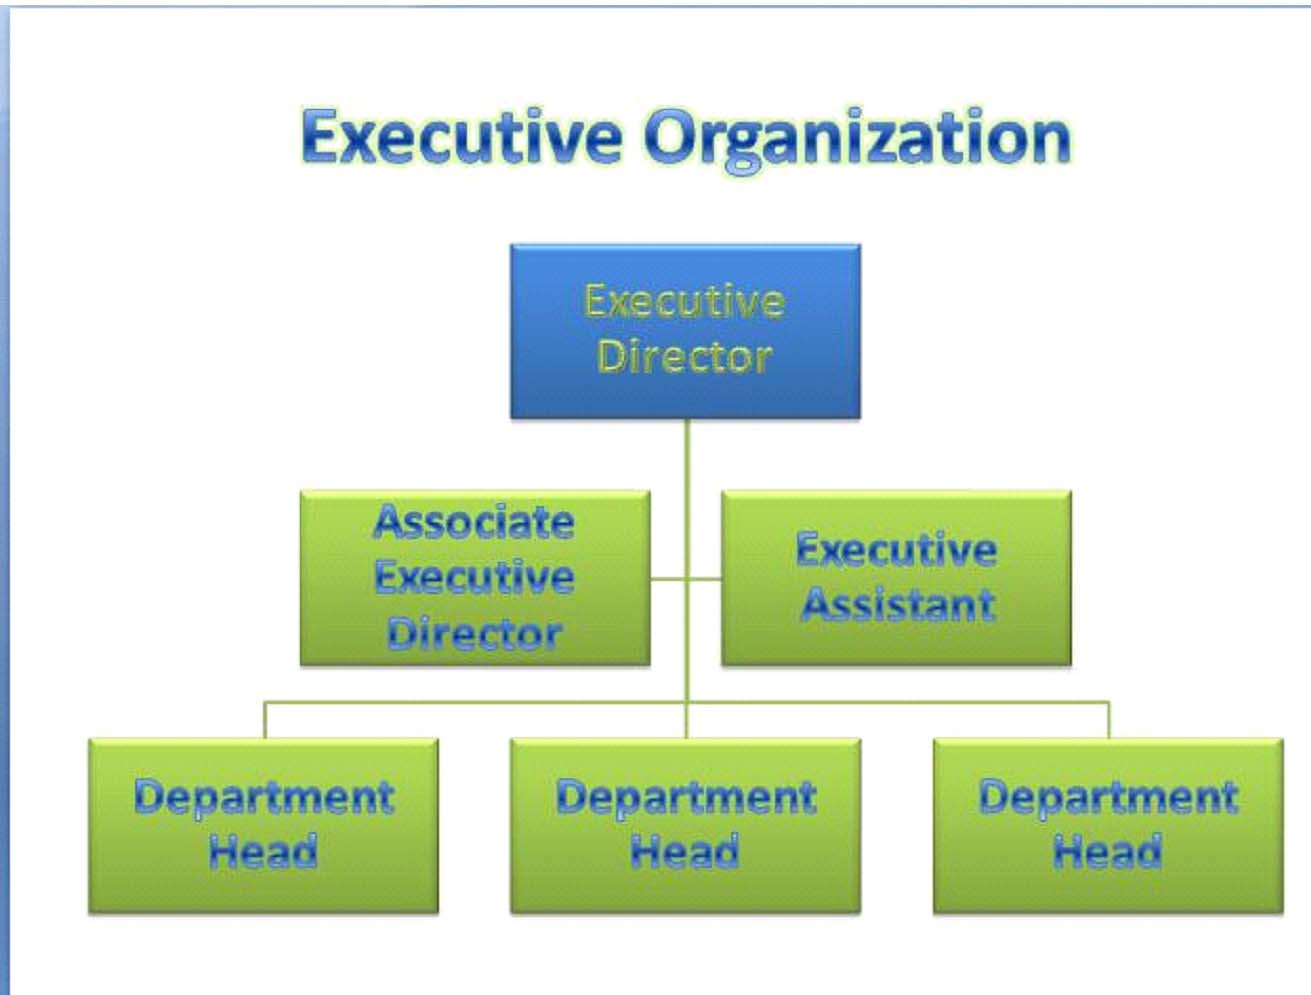
Figure 7.5 � Sample Formatted Organizational Chart
ClipArt and the Microsoft Clip Organizer
Microsoft's famous ClipArt has become a staple in PowerPoint presentations. To integrate Clipart into your presentation, you have the same options as with charts, tables and Smart Art: you can go to the Insert tab and in the Illustrations group click on Clipart or you can insert a new Title and Content slide and use the Insert Clipart button on the slide. Either way, the Clipart Task Pane will appear on the right of your screen. Using keywords, you can search through the Clipart collection for the specific clip you need.
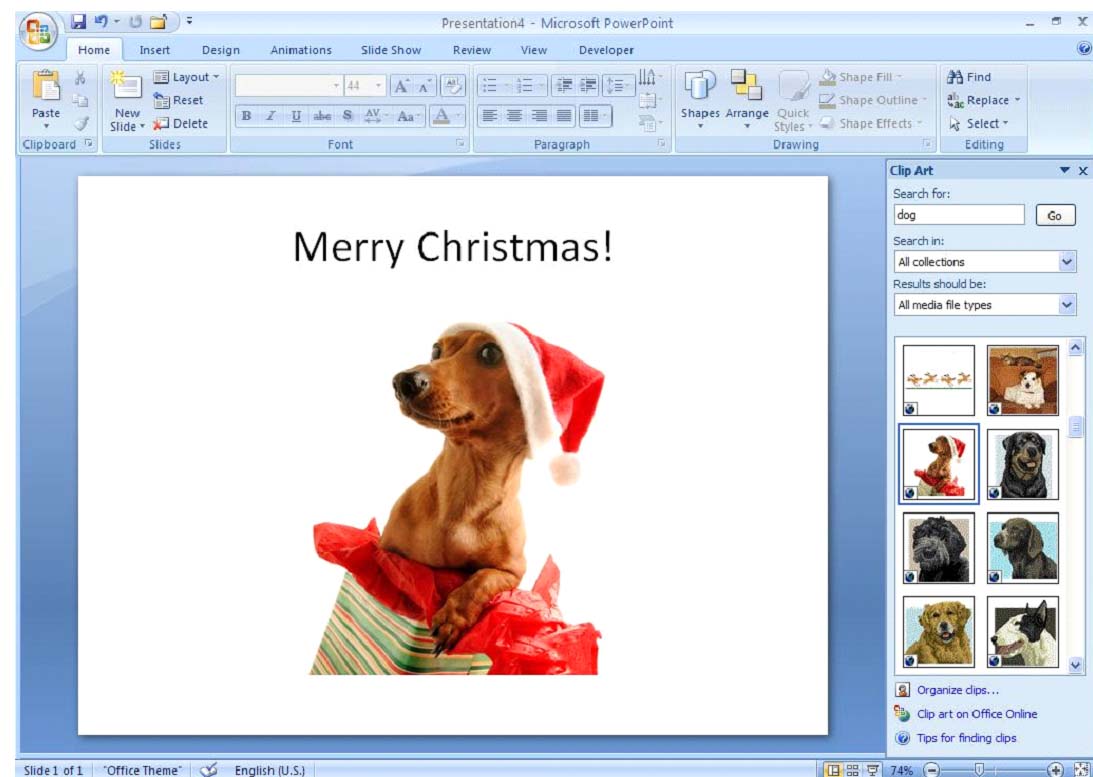
Figure 7.6 � Inserting Clipart
Once you have found the perfect item, simply click on the thumbnail of the graphic and it will appear in the body of your slide. Figure 7.6 shows a slide with the Clipart task pane and the selected graphic inserted into the slide.
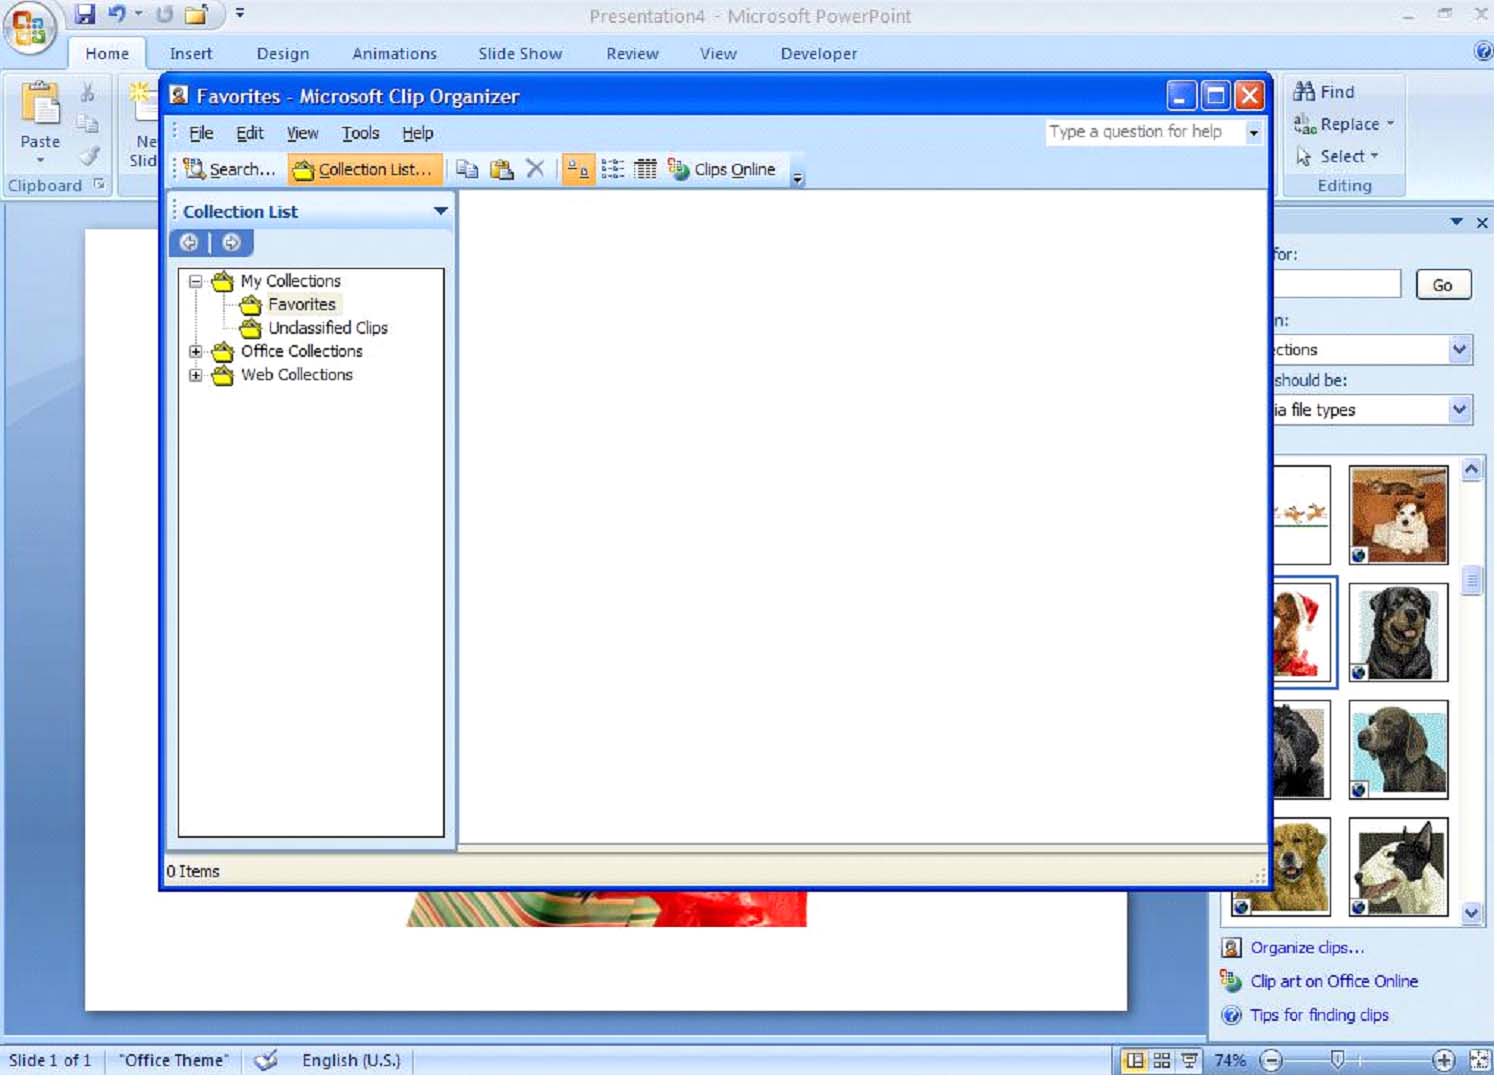
Figure 7.7 � Microsoft Clip Organizer Dialog Box
The Clip Organizer already has thousands of clips available for your use. However, if you have pictures that you would like to add to the organizer to make them readily available, simply choose Add Clips to Organizer from the File menu and then select Automatically.
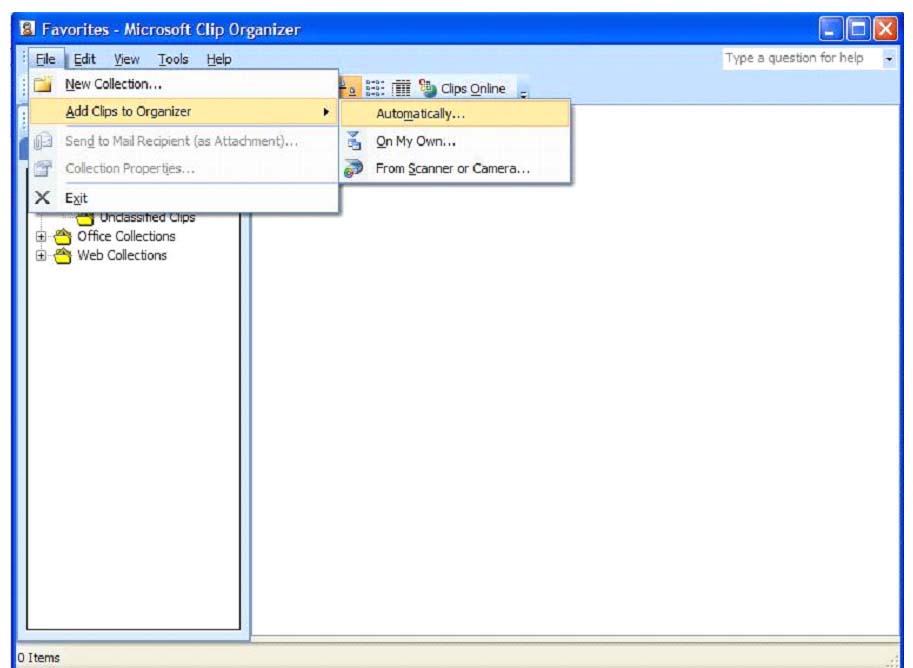
Figure 7.8 � Select Mode of Adding Clips
The Add Clips to Organizer dialog box will appear and then PowerPoint will automatically pull all of the clips from your hard drive and organize them so that they will be readily available when you need them.
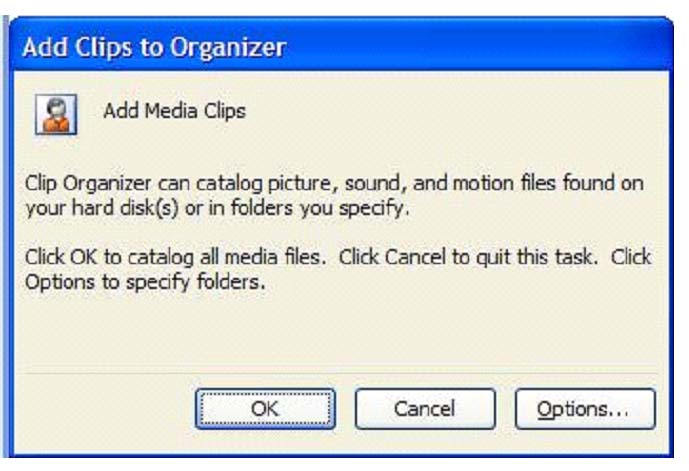
Figure 7.9 � Add Clips Automatically
If you prefer, you can select On My Own rather than Automatically, which will allow you to pick and choose which clips are included in the organizer.
Working with Pictures
To add a picture to a PowerPoint slide, choose Picture in the Illustrations group of the Insert tab. This will bring up the Insert Picture dialog box.
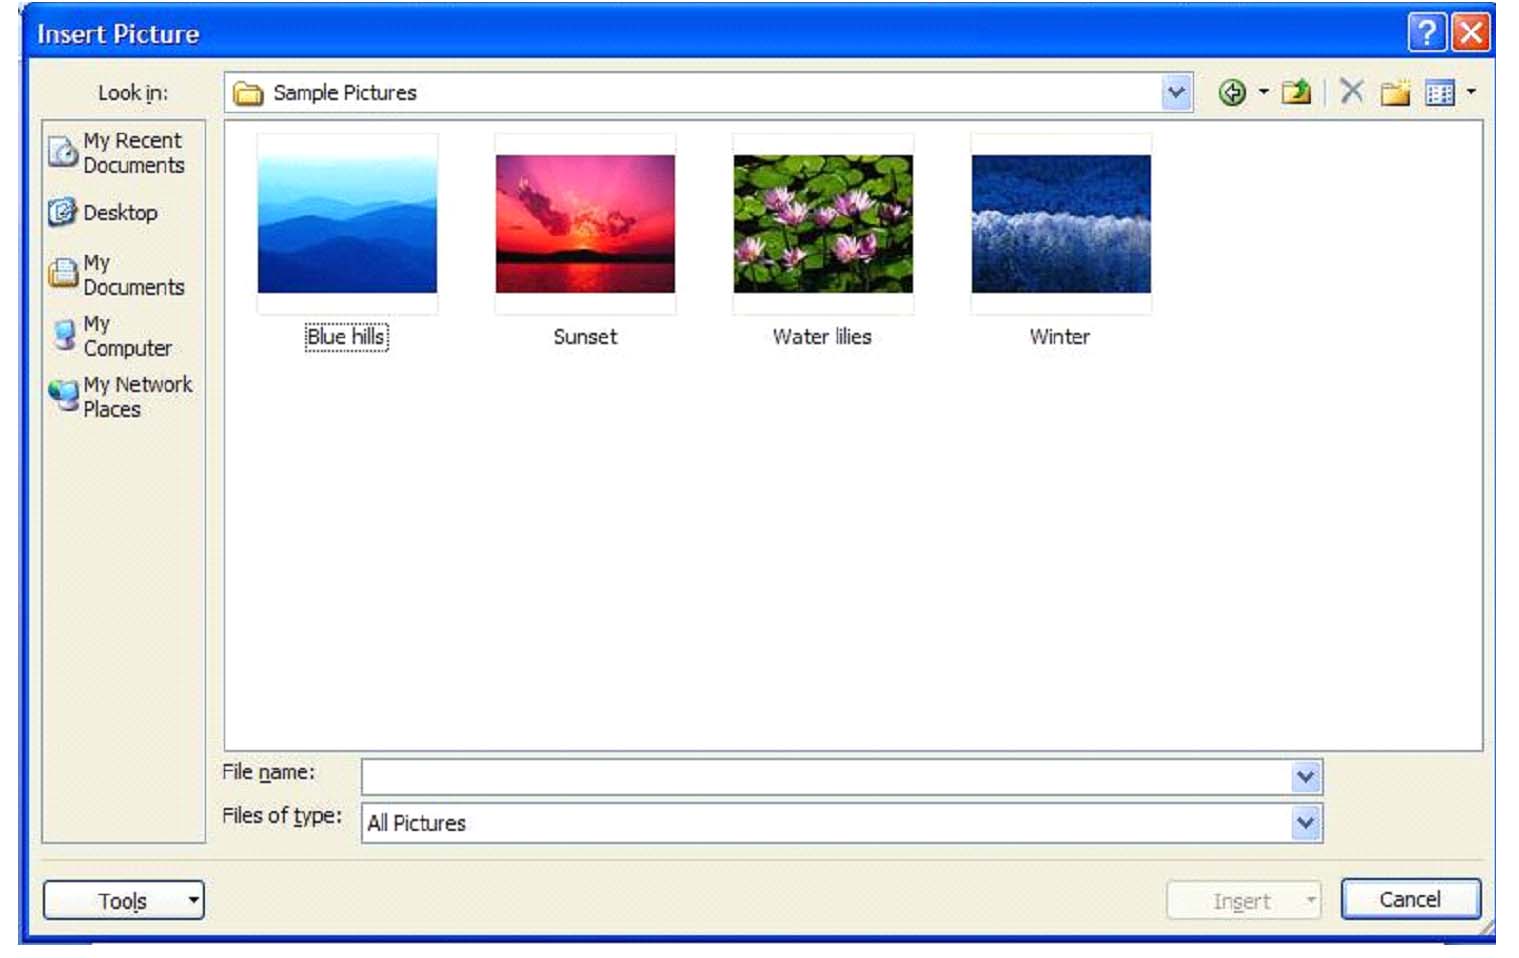
Figure 7.10 � Insert Picture Dialog Box
You can browse to find the picture you wish to use. Once you have clicked on Insert the picture will appear on the slide and the Picture Tools Format tab will appear on the Ribbon (see Figure 7.11). Figure 7.12 shows a picture that we have formatted and customized. Using the Picture Effects command in the Picture Styles group, we chose a "Soft Round" bevel, changed the shape of the picture to an oval using the Picture Shape command, and changed the 3-D rotation to "Perspective Above."
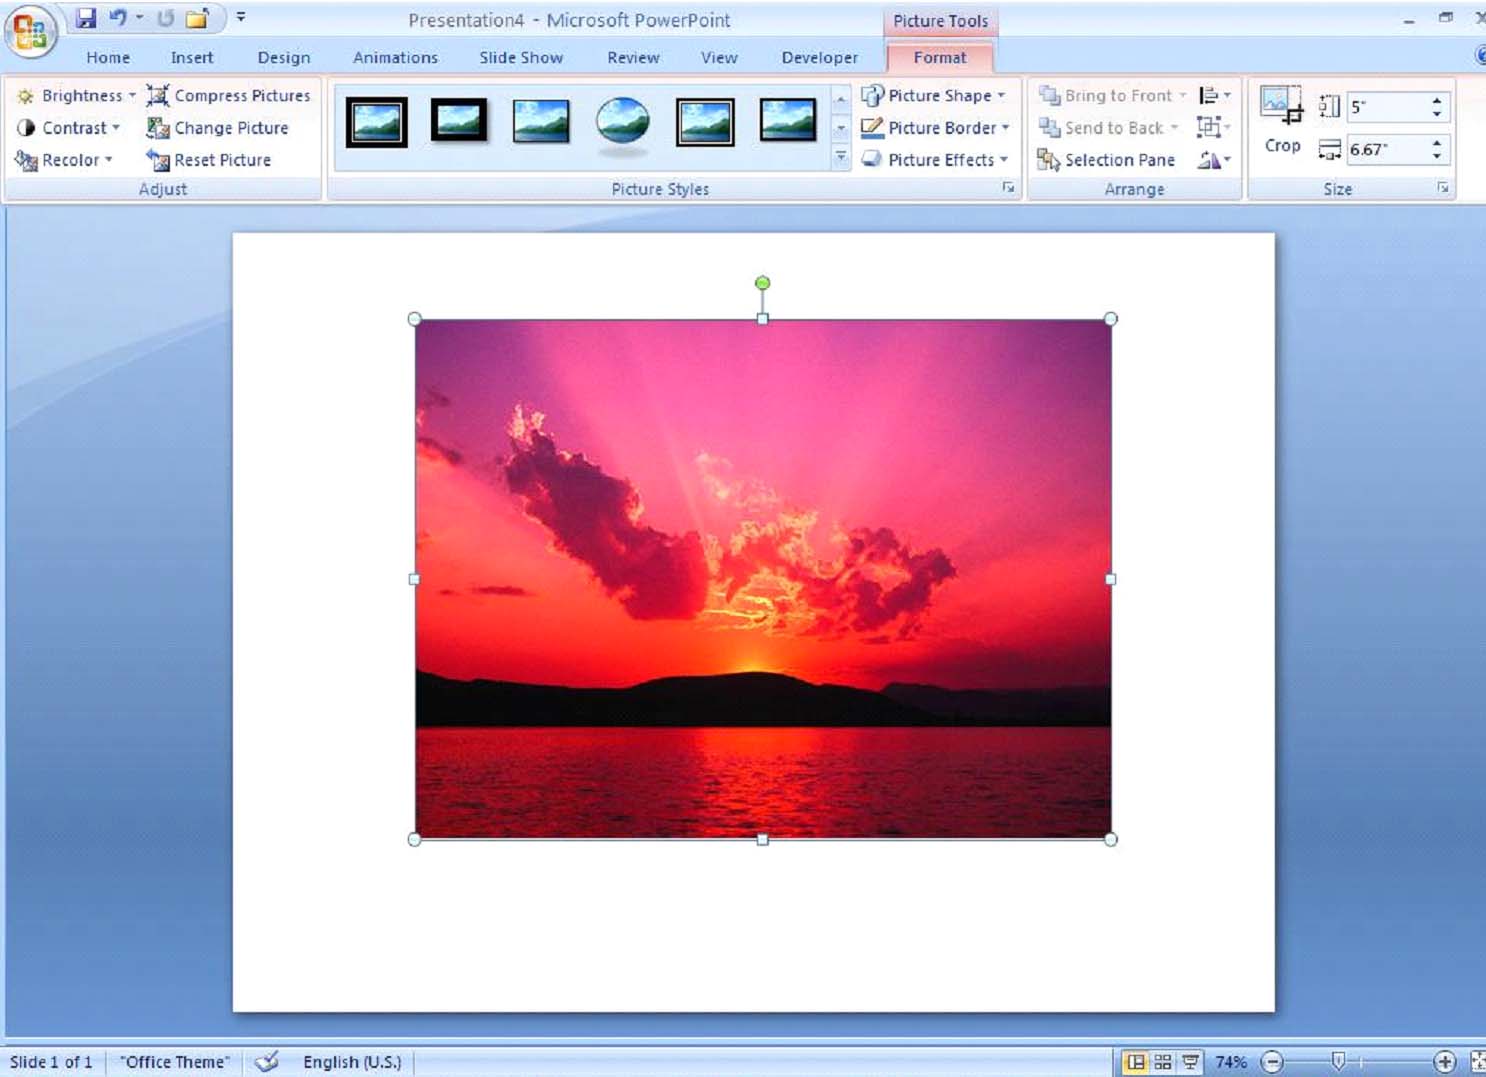
Figure 7.11 � Inserted Picture and Picture Tools Format Tab

Figure 7.12 � Formatted Picture
Working with Shapes and Objects
An object is any shape, text box, Smart Art, Word Art, picture or Clipart that can be manipulated as a single item. Specifically, a shape is a basic object that can be placed on a slide such as a callout, a circle, an arrow, a square, and so on.
To insert a shape into your PowerPoint presentation, use the Shapes command in the Illustrations group on the Insert tab. As you can see from Figure 7.13, there are many different options when it comes to shape selections.
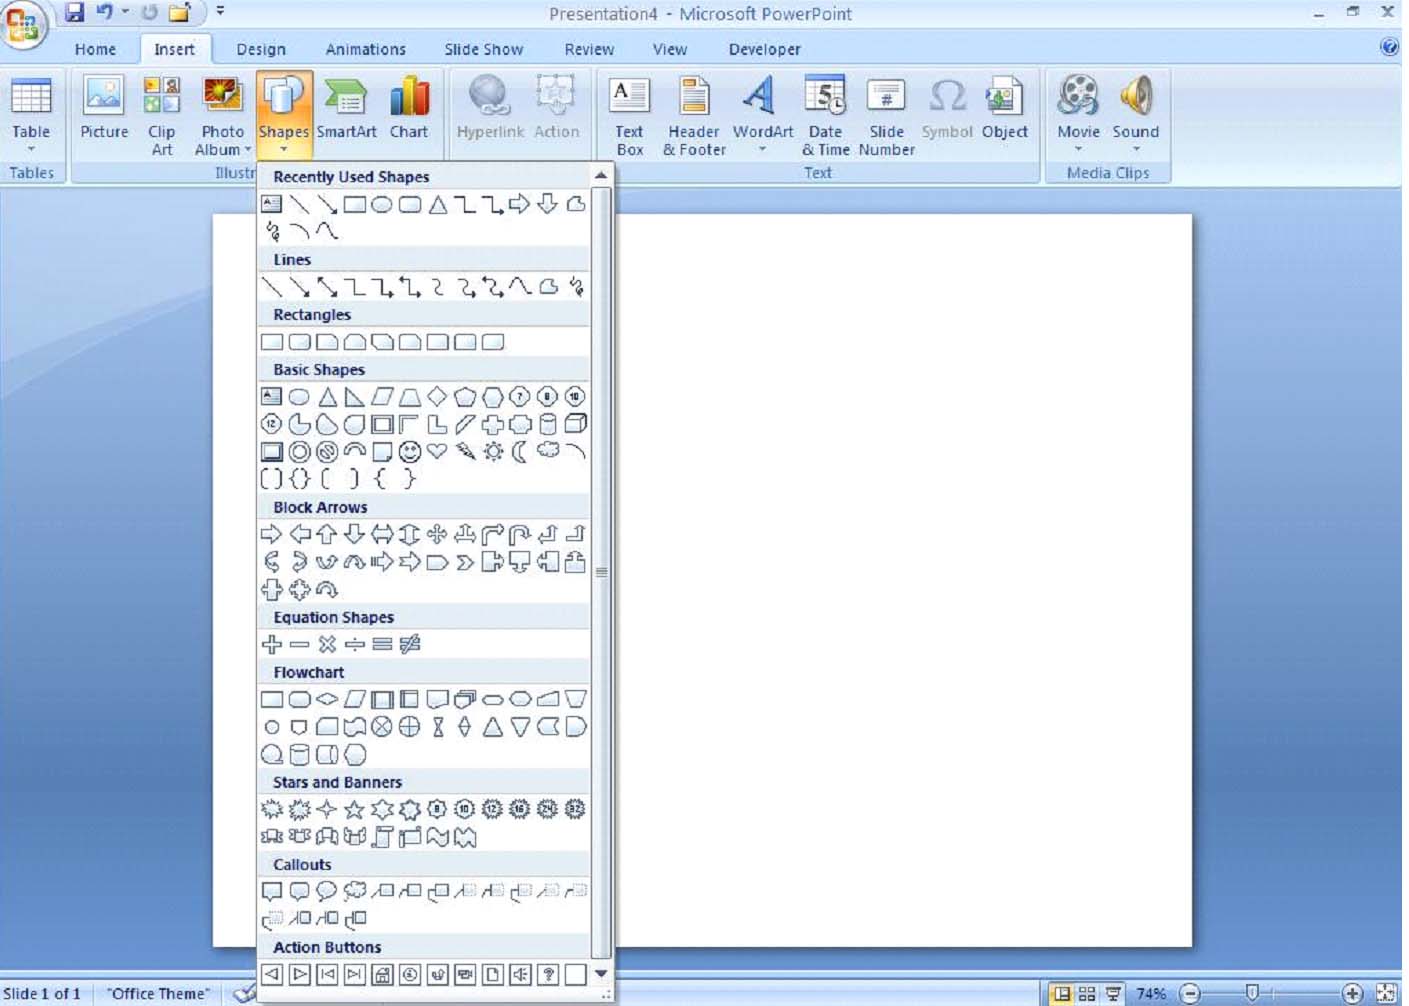
Figure 7.13 � Insert Shapes Options
Once you have selected your shape, click on it and much like drawing a text box (see Lesson 4), you use your mouse to create the length, width and location of your shape. When a shape is active, the Drawing Tools Format tab appears on the Ribbon.
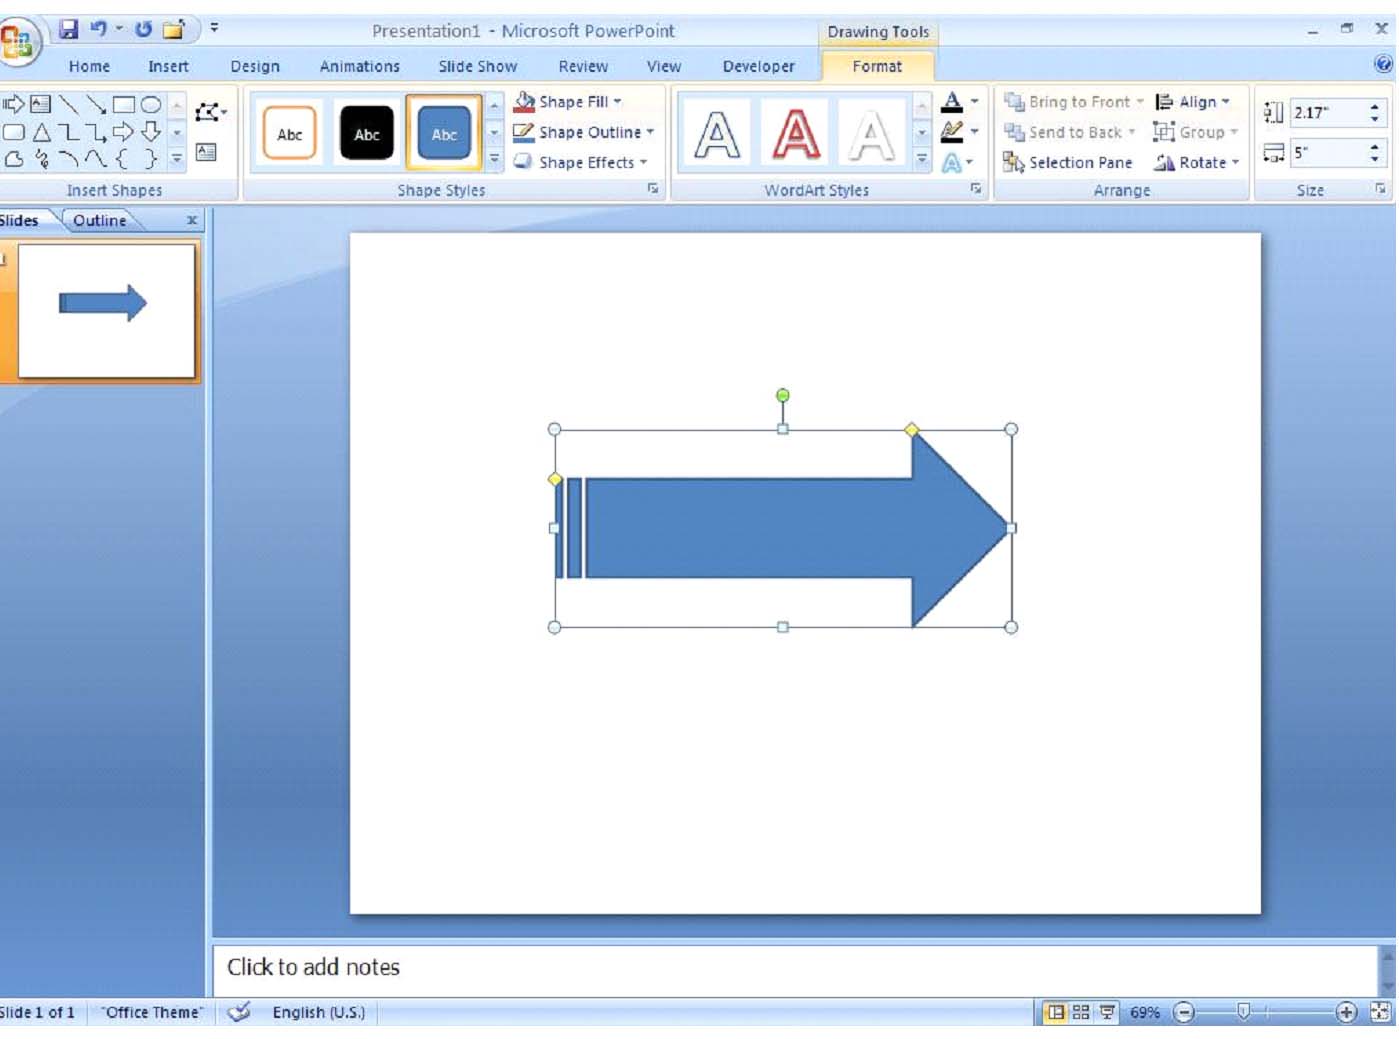
Figure 7.14 � Inserted Shape
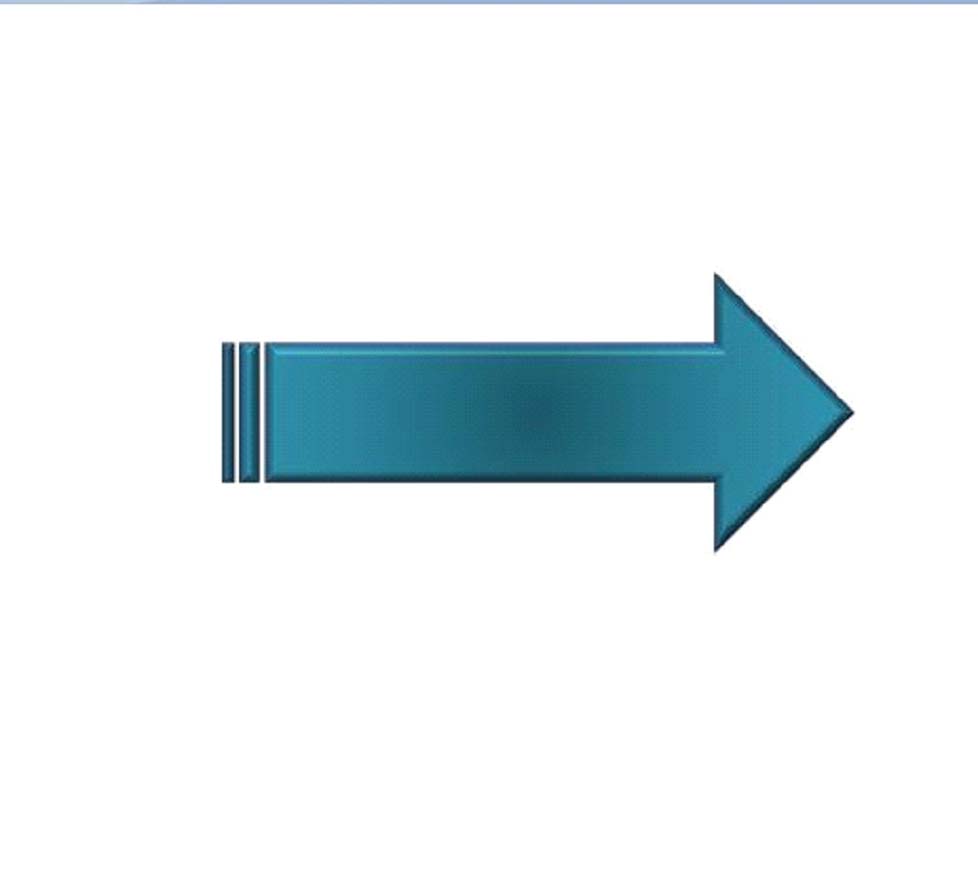
Once your shape has been inserted, you can format it exactly as you would any object. In Figure 7.15, we chose a "Cool Slant" bevel from the Shape Effects command in the Shape Styles group on the Drawing Tools Format tab. From the same group, we chose the color aqua and added a gradient from the center using the Shape Fill command.
Working with Media Clips and Animation
Introduction
In this section, we will provide an overview of integrating sound, video and animation into a PowerPoint 2007 presentation.
Learning Outcomes
Integrating Sound and Movies
One of the best ways to enliven a PowerPoint presentation is to integrate sound and/or video clips. However, it is important to remember that multimedia should always add to the message of your presentation rather than distracting attention from it.
To insert a sound or movie clip, simply select either the Movie or Soundcommand from the Media Clips group on the Insert tab. Let's say we want to add the sound of applause at the end of a presentation. Once you click onSound, a drop down menu appears, from which can select Sound from file,Sound from Clip Organizer, Play CD audio track, or Record sound.
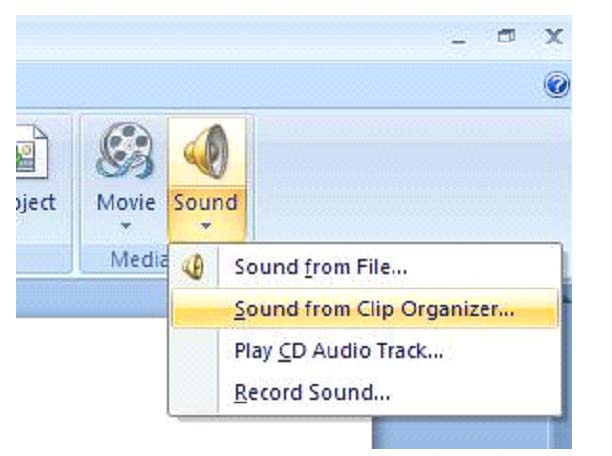
Figure 8.1 � Insert Sound
PowerPoint 2007 offers a wide selection of clips in the media collection, including the sound of applause. After selecting Sound from Clip Organizer, the Clip Arttask pane will appear on the right hand side of the screen, allowing you to choose your clip (see Figure 8.2). Once you have selected the appropriate clip, the Insert Sound dialog box will appear, asking you if you want the clip to play automatically or only when clicked (see Figure 8.3). The clip will appear as an icon on the slide.
Sound and Movie Clip Tip: Although there are certain circumstances where you would prefer to have the sound or the movie play only when clicked, if you choose to have it play automatically, you can drag the icon off the area of the slide so it is not visible in the presentation, but it will still play.
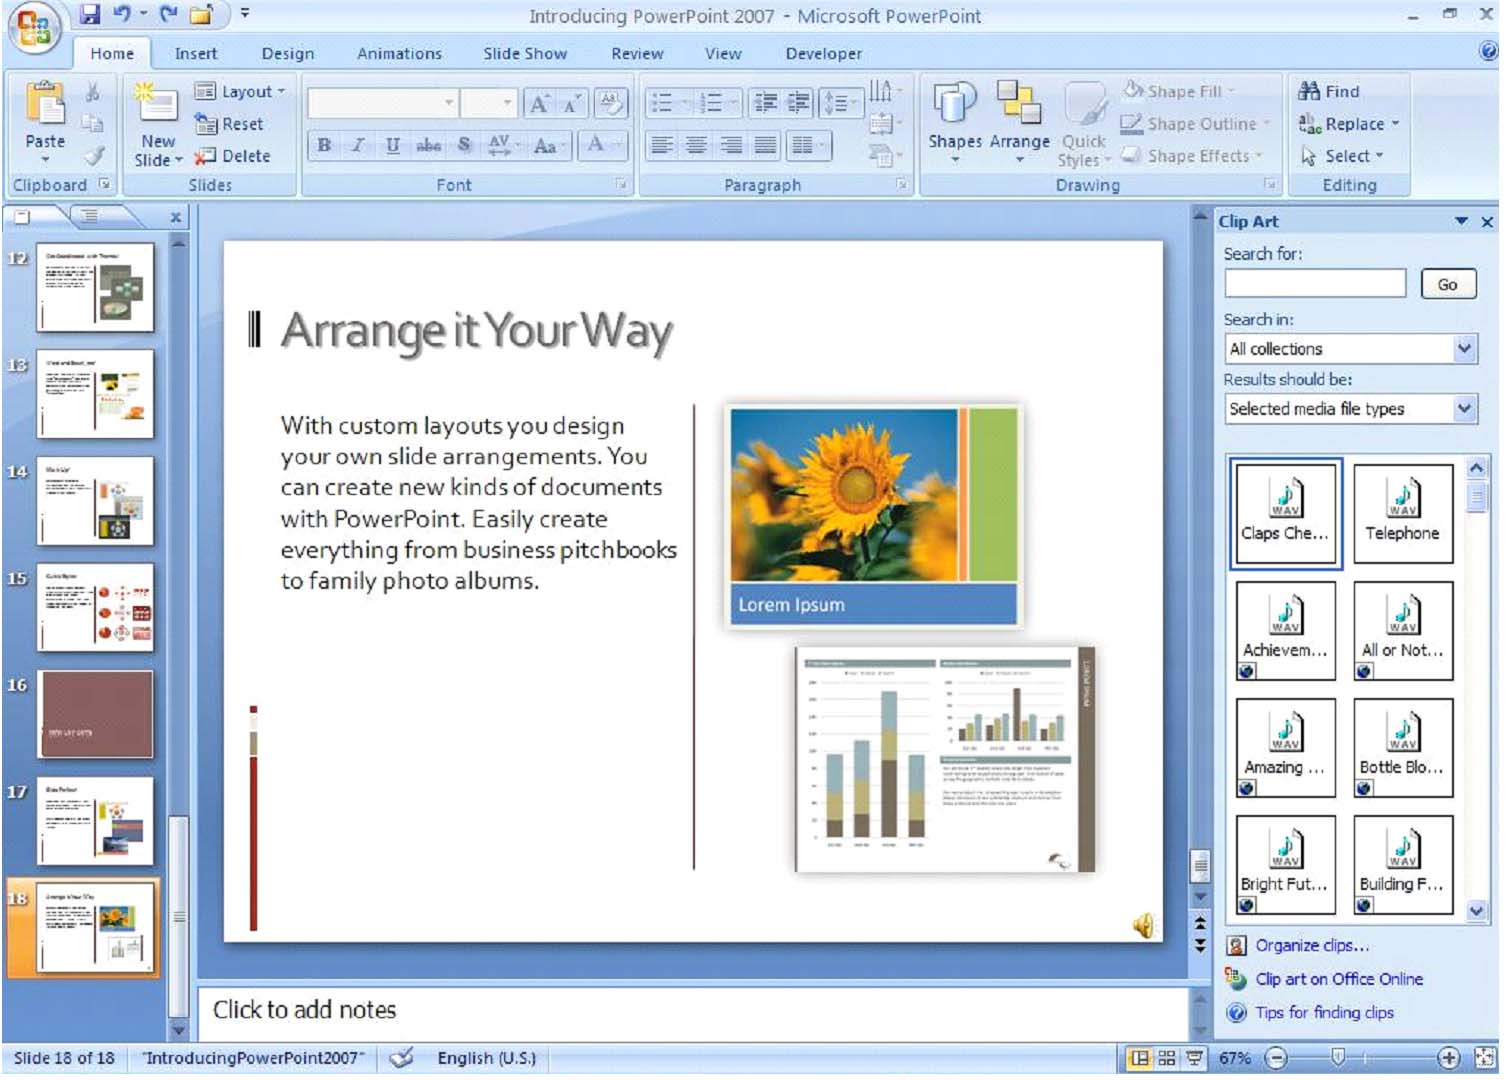
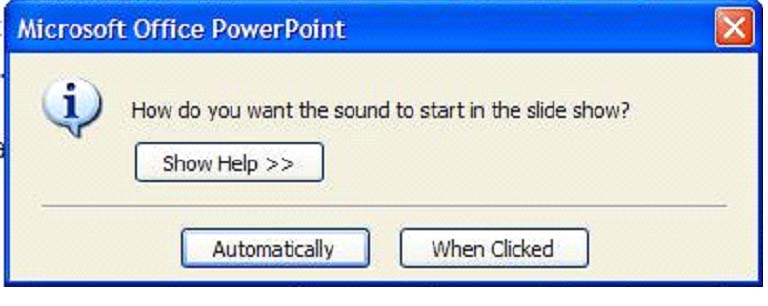
Figure 8.3 � Insert Clip Dialog Box
Sound and Movie File Formats
The following is a summary of the compatible sound file formats for PowerPoint 2007:
1. WAV � although WAV files are extremely easy for PowerPoint to play, they are frequently very large files.
2. MP3 � this is a high-quality compressed file format that usually achieves CD-like sound. Because they are compressed, they are more difficult to edit than WAV files, but if you are not editing sound files, MP3 is a very good choice.
3. MWA � this format is almost exactly like MP3 except it was created specifically by Microsoft, so it compresses into a smaller file and plays very well in PowerPoint.
4. MIDI � (Musical Instrument Digital Interface) this kind of file does not contain actual music; instead, it carries music notations written in programming language. MIDI files only sound good when used with a high-quality sound card.
The following is a summary of the compatible movie file formats for PowerPoint 2007:
1. AVI � this file format works well with PowerPoint even though it is one of the oldest movie file formats.
2. MPEG, MPG � this file format works very well as long as it is not programmed as a DVD.
Customizing Sound and Movies
Once you have inserted your selected sound or movie clip, there are ways you can customize the manner in which they are presented. For example, you can loop the clip to play indefinitely, hide the icon during the slide show, or completely customize the icon to fit right into your presentation with the Picture Tools tab. Figure 8.4 shows the Sound Tools Options tab.

Figure 8.4 � Sound Tools Options Tab
Working with Animations
There are two main ways you can apply animation to your PowerPoint presentation. The first is to animate the transitions between slides and the second is to apply animation to objects.
Slide transitions can be set using either Slide Sorter View or Normal View. To set transitions, simply select the slide(s) to which you wish to apply an animated transition and in the Transition to this Slide group, select the animation of your choice.
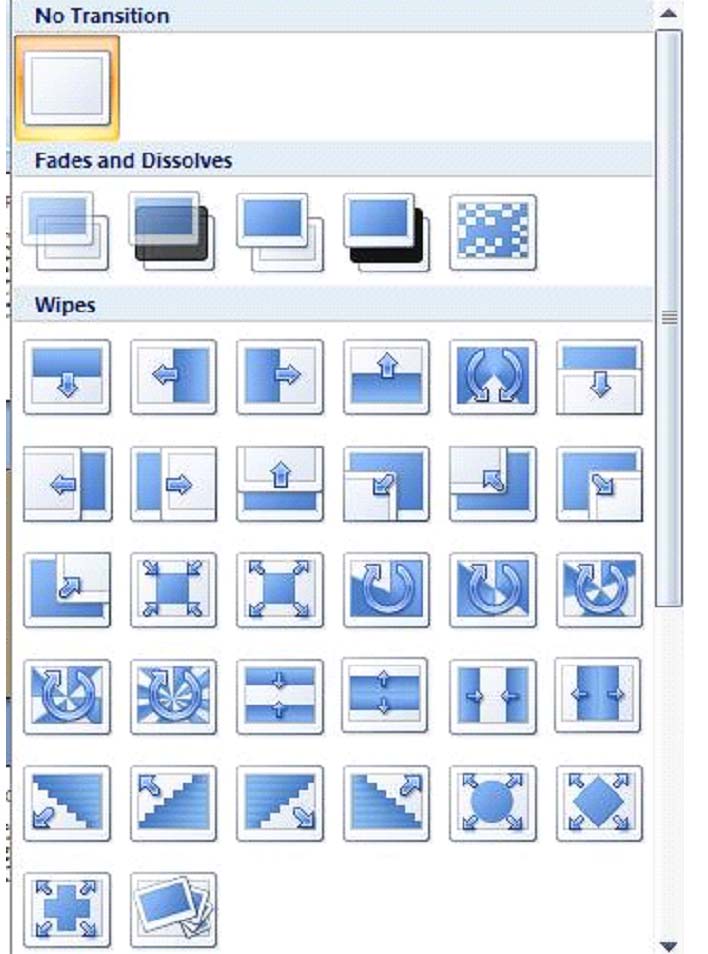
Figure 8.5 � Slide Transition Options
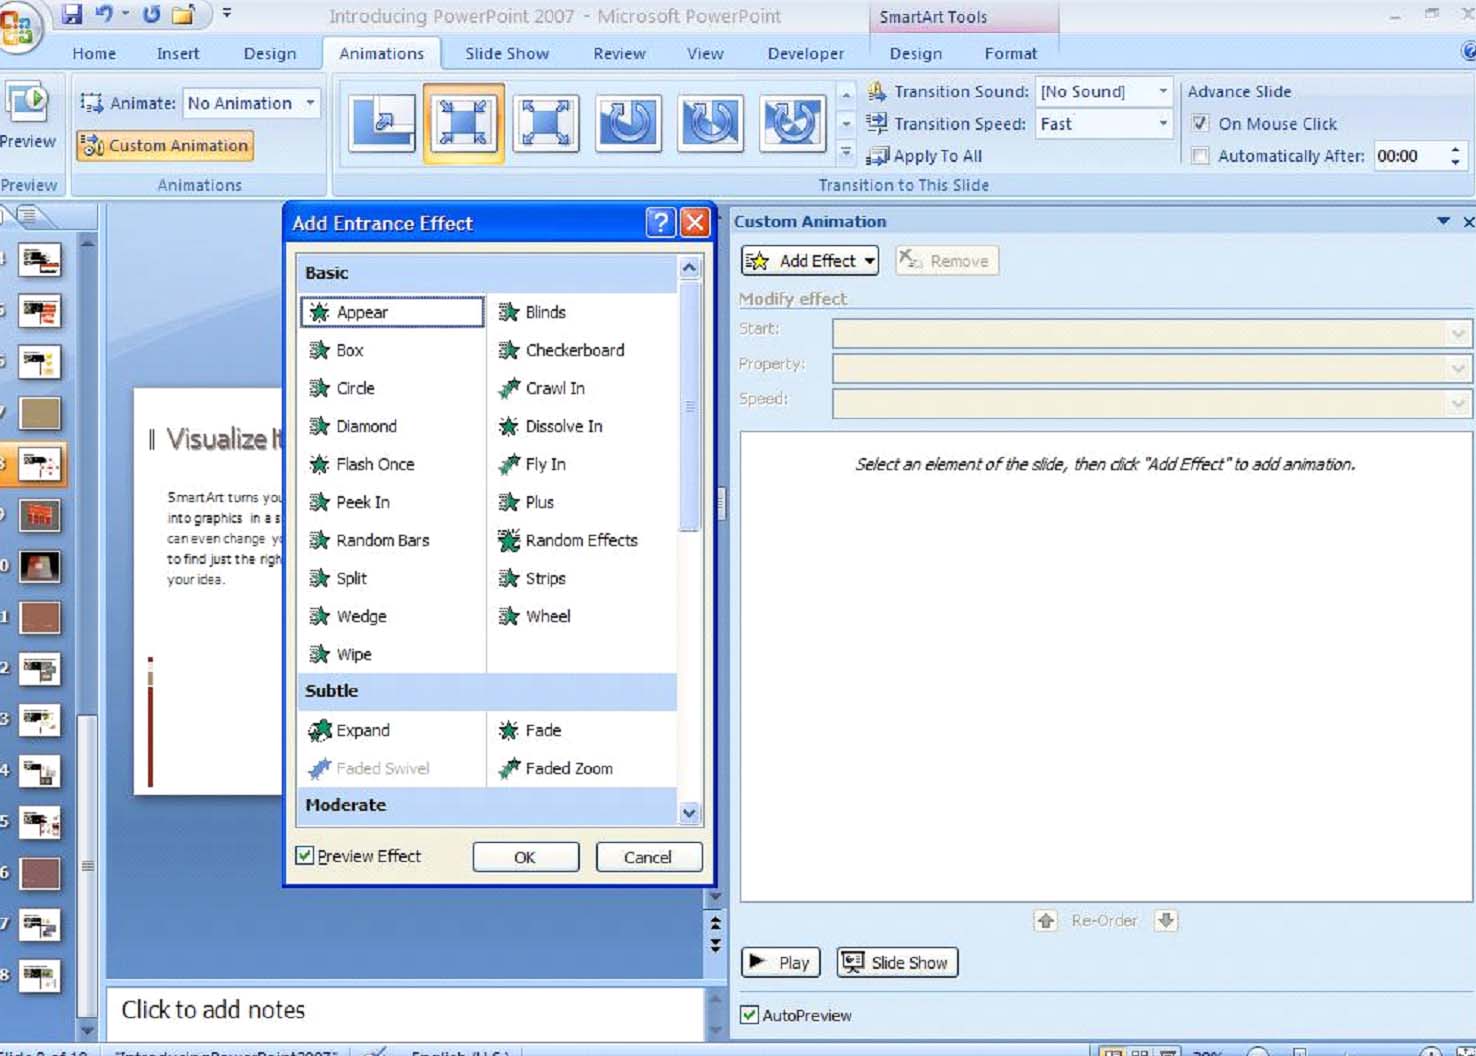
To apply animation to an object, select the object you wish to animate and then use the Custom Animation button on the Animations tab, which will bring up the Custom Animation taskbar on the right hand side of your screen. The four main options for custom animations of objects are Entrance, Exit, Emphasisand Motion Paths; each of these has several animation options to choose from.