If you've already used MS Word before, you may already know the basics of formatting a document, and it may just be a matter of learning to do is using MS Word 2007. Either way, this article will cover the subject of formatting an MS Word document using MS Word 2007, making it an easy task for you to accomplish.
Selecting Text
The first step in formatting any amount of text or an entire document is selecting the portion of text that needs formatting.
You may want to:
- Boldface a section
- Add italics
- Underline
- Change the color
- Change the font
- Highlight
- Cut/copy and paste
- Add bullets
To do any of this, you must first select the text that the formatting will be applied to within the document. Selecting text is easy and done in three easy steps.
1. Move the cursor to the beginning of the text that you want to select.
2. Click and hold in the left button on your mouse.
3. Drag it over the text you want to select. It will highlight the selected text in blue. Simply release the mouse button when you are finished selecting text.


Applying a Font

The type of font you're currently using will appear. In the picture above, the current type of font is Calibri. The notation of (body) after Calibri lets the user know that it's the font used in the body of text, not in headers, footnotes, etc. You can click on the arrow in that window to display other types of font available to use.
To change the type of font within a document or for the entire document, simply select the text to be formatted, then select your new font. It's really that easy.
Note: You can also do all font formatting by selecting the arrow key beside the word Font, located directly above the document body. By clicking on this arrow, you can also alter character spacing.
Changing Font Size
Next to the type of font under the 'Home' tab is a box that states the size of font currently being used. Using the picture above, the font size is 11. Once again, you can use the down arrow key to either enlarge or reduce the font size. To change the size of the font, simply select the text that you want to change, then select the new font size. You can change an entire document or just a portion. The choice is yours.
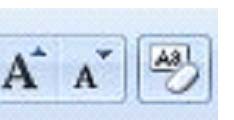
You can also use the two uppercase A's beside the font size box to change the size of fonts you're currently using. Pushing the larger A will increase your font size by one for each time it's clicked. On the other hand, clicking the smaller A will decrease the font size by one for each time it's clicked.
Font Attributes

To add italics, boldfaced, or underlining to any portion of a text within a document, select the desired text, then click the appropriate button (B for boldfaced, I for italic, or U for underline.)
Next to the commands for boldfaced, italics, and underline, you'll see an 'abc' with a line through it. (abc) This is for strikethrough. When clicking on this button, it will put a line through any text you have selected.
Next to the strikethrough command, you'll see 'X2'. This simply puts smaller text below the text line of the normal text. This command was used when typing X2 into this course. X2 is just the opposite, putting smaller text above the text line. This makes creating footnotes easier than it had been with previous versions of Word.
The uppercase A and lowercase A that are situated side by side allow you to change the case of selected text. You can change from lowercase to uppercase or vice versa , toggle tHe CaSe, or select other common capitalizations.
Font Color
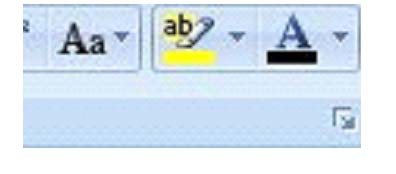
Select your text, then click on the button to choose the color you want to apply to the selected text.
You can also highlight selected text. To the left of the font color button, you'll see a lowercase 'ab' with a marker near it. It is highlighted in yellow. Simply select the portion of text you want to highlight, click the button, and select the color of highlight that you want to apply.
Clear Formatting
Text Alignment
As with all word processing programs, you can either left, right, center or justify your text. You can either do one of these things to a portion of text or to the entire document.
This is an example of text that is aligned to the left.
This is text that is aligned to the right.
This text is centered.
The following text, selected from this lesson, is justified so that it is aligned between the left and right margins, adding space between letters if necessary. It gives the document a clean look.
|
Next to the strikethrough command, you'll see 'X2'. This simply puts smaller text below the text line of the normal text. This command was used when typing X2 into this course. X2 is just the opposite, putting smaller text above the text line. This makes creating footnotes easier than it had been with previous versions of Word. |
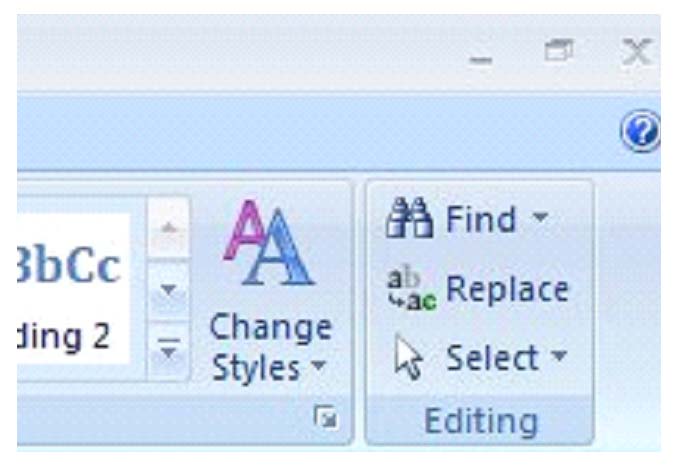
The buttons or commands for aligning text are located under the 'Home' tab above the 'Paragraph' label, as shown below.
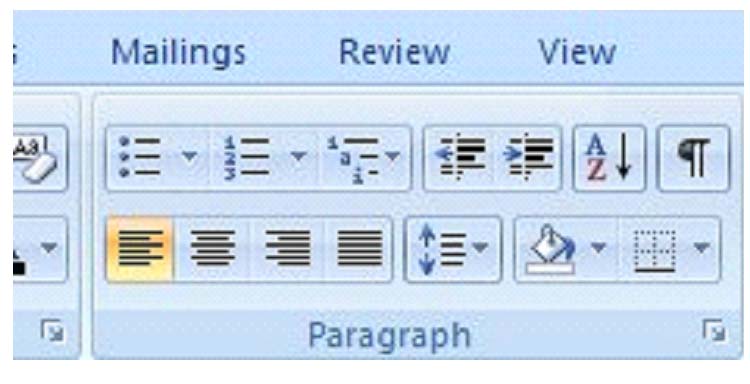
In the above picture, the left alignment button is highlighted. Beside it is the center, then right, and then justify. To use these, simply select the text you want to align, and click on the appropriate button.
Conclusion
Copying and Moving Text and Objects
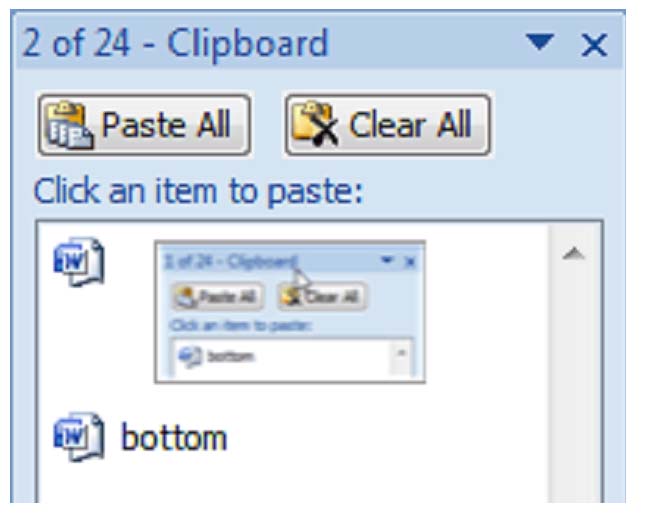
The Clipboard
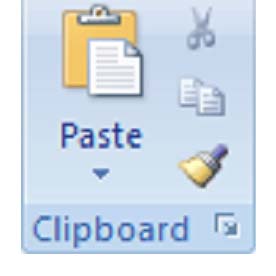
Click the arrow at the bottom of the Clipboard group to see its contents. The clipboard will open as a long window to the left of your document. It can only hold 24 objects. When a 25th object is added, the first copied item is removed. To empty the Clipboard, click the Clear All button at the top of the Clipboard menu.
There are three ways to copy text and objects to the clipboard.
1. Select the text or object to be copied and click the copy icon in the Clipboard group.
2. Select the text or object to be copied, position the mouse pointer over it and right click. Then select Copy from the menu.
3. Select text or object to be copied and hit CTRL + C.
If you'd like to delete text or objects from one position in the document to Paste into another position, use the Cut command:
1. Select the text or object to be cut and copied and click theCut icon  in the Clipboard group.
2. Select the text or object to be cut and copied, move the mouse pointer over it and click the right mouse button. SelectCut from the menu.
3. Select text or object to be cut and copied and use CTRL + X.
Delete and Cut should not be used interchangeably. When you Cut an object, it is copied to the Clipboard. When you Delete an object, it is simply removed from the document and the only way to restore it is by clicking the Undo Typing button.
Paste
The Paste command allows you to copy an object from one location in the document to another, or from another MS Office Program into MS Word 2007. Once an object is copied to the clipboard, you can Paste it anywhere in your document.
There are three ways to Paste text or an object into a document:
1. Move the cursor to the point in your document where you want to place the item and click the Pasteicon  .
.
2. Move the mouse pointer to the place you wish to insert the item and click the right mouse button. Select Paste from the menu.
3. Move the cursor to the point in your document where you wish to place the item and press CTRL + V.
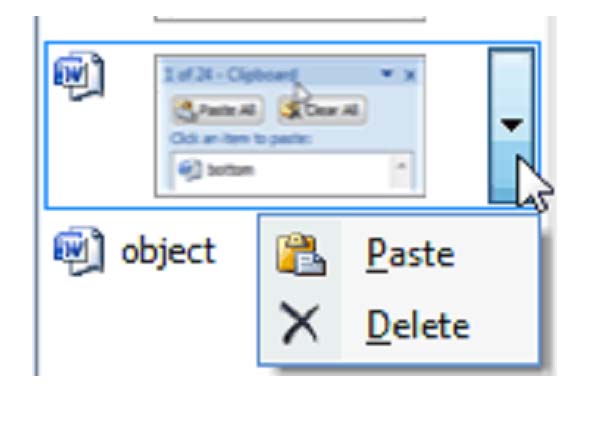
Ordinarily, MS Word pastes the most recently copied item. To paste an object that was copied earlier, position the cursor at the point in your document you wish to paste the item, then open the clipboard and click the item you wish to paste. You can also move the mouse pointer over the item to be pasted, and click the arrow that appears to the right of that item. Then select Paste.
Formatting
The text that you cut from one place in your document to another may be formatted in a style drastically different from that of the text at its destination. In the same way, text copied from another document or MS Office application may also be very different. Word 2007 gives you the option of preserving this source formatting or discarding it.
 Click this icon and a menu will appear that looks like this:
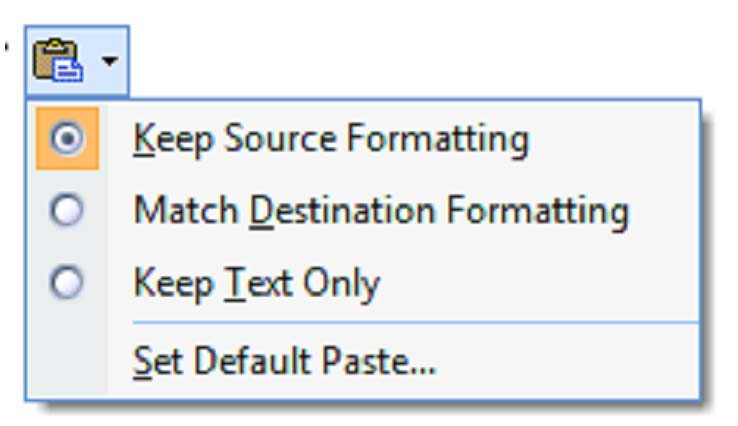
Keep Source Formatting: This option preserves the original character formatting of the copied text. If the original font was 14pt Times New Roman in italics with red lettering, that is exactly the way it will be pasted into your document.
Match Destination Formatting: If, however, the text at the destination is 12pt Calibri in black lettering, and you'd like the copied text to match, select this option. Formatting used for emphasis, such as the italics in the example above or bold will be saved. The copied text will also take on any attributes of the text to the immediate left of the cursor.
Keep Text Only: This button is pretty much the same as the option above, except all source formatting is discarded, including pictures. Tables will be turned into a series of paragraphs.
Changing Defaults
 and selecting Word Options in the lower right hand corner of the menu.
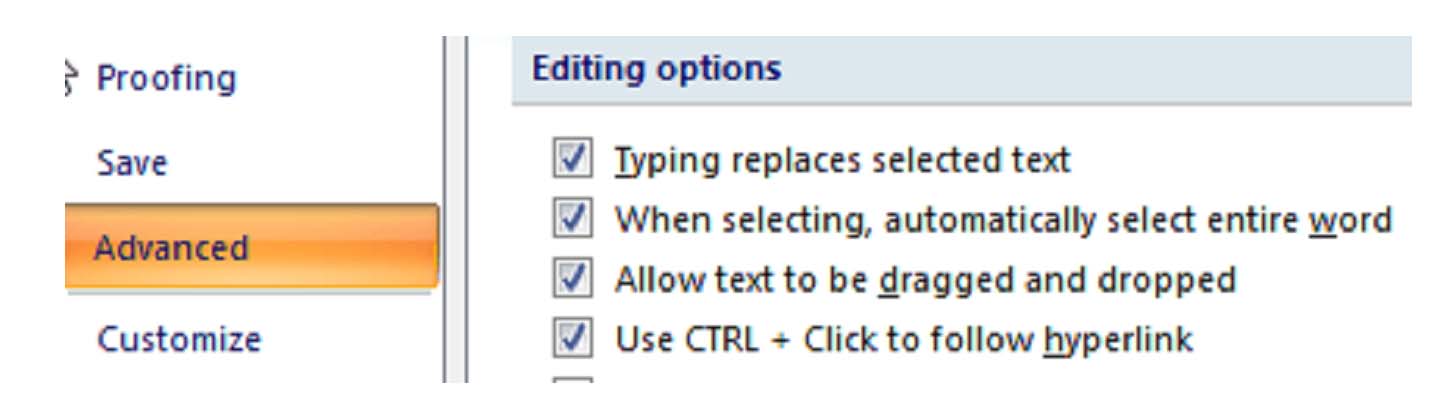
From the Word Options menu, select Advanced. Scroll down to the section labeled Cut, copy, and paste. It looks like this:
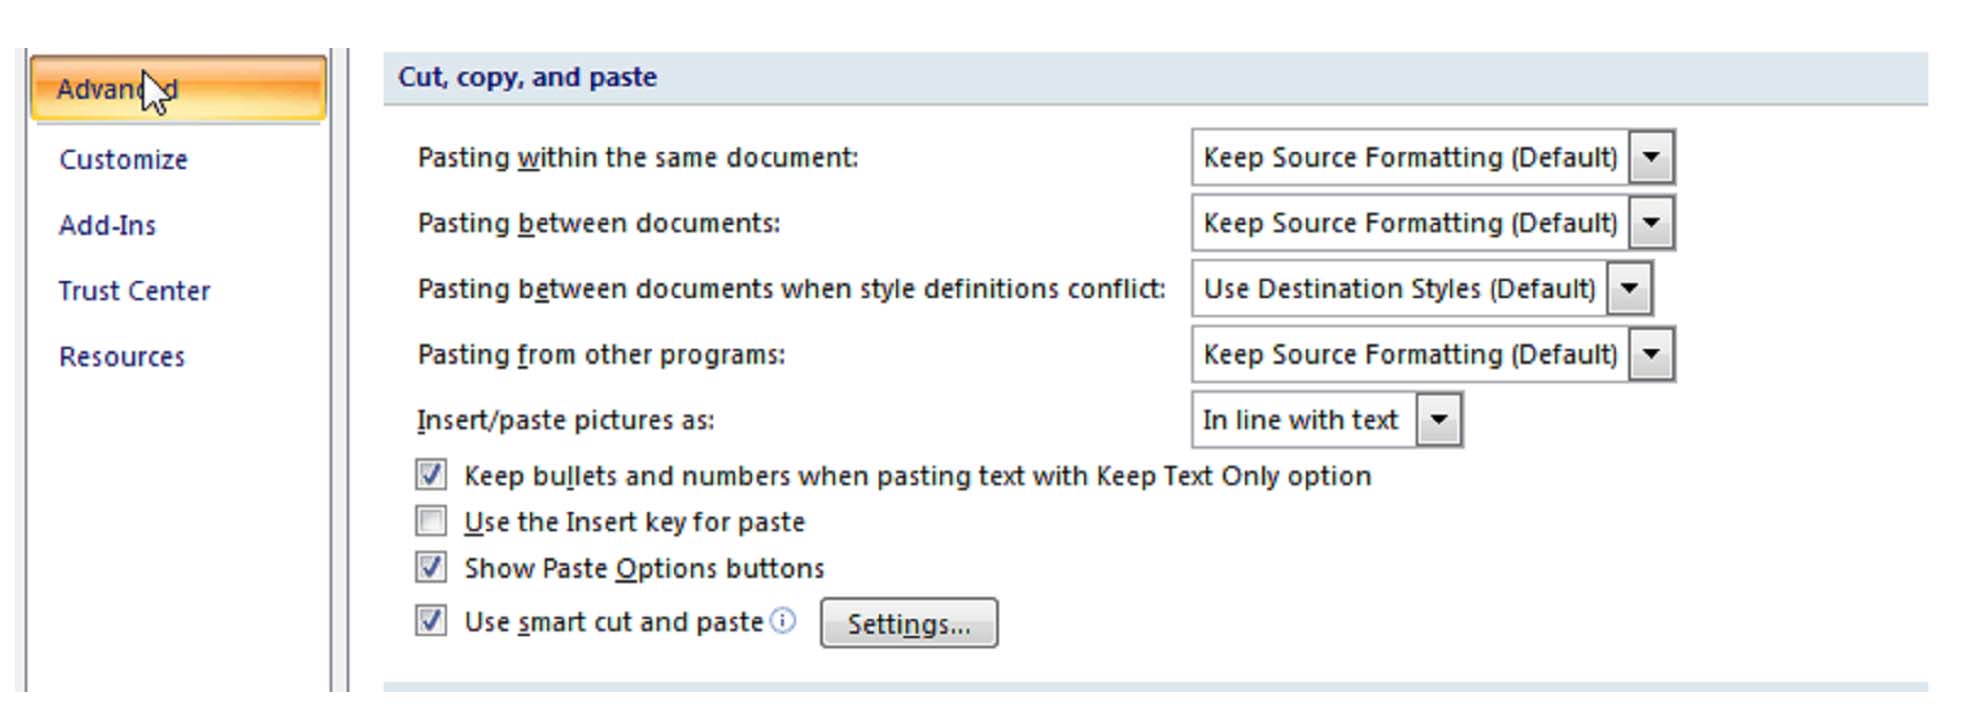
Simply select the options you use most frequently, and click Okay.
Drag and Drop Text
You can quickly and easily move text from one location to another within a document using the Drag and Drop feature. To do this, select the text you'd like to move, be it a single character or the contents of an entire page. Move the mouse pointer over the selected text and click and hold the right mouse button. A small box will appear next to the mouse pointer, letting you know that the pointer is "loaded", and the cursor will become a ragged line. Position the pointer over the place in your document where you'd like to move the text. The cursor moves with the mouse pointer to let you know exactly where the words will appear.
You can also drag and drop text and objects from another Word document or another application.
 thenWord Options. Select the Advanced tab and find Allow text to be dragged and dropped in the Editing options group. It will look something like this: