Changing Paragraph Alignment
Paragraph alignment refers to how you want your text to appear. You can choose to center the text, align it left, right, or justify (which means aligning it between both the right and left margins).
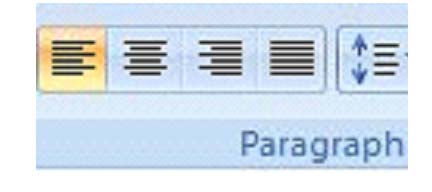
The highlighted button allows you to align your text to the left. To align your text, simply select the text you want aligned to the left, then click on the button.
The next button is to center your text, followed by right align, then justify. When you justify your text, all lines will be exactly the same length. MS Word 20007 will alter character spacing to make this happen and give your document a clean look.
Indenting Paragraphs
Indenting paragraphs simply allows you to set different margins for different lines of text.
You have several options for indenting paragraphs:
- First line: This controls the left boundary for the first line of the paragraph.
- Hanging: Controls the left boundary for every line in the paragraph except the first one.
- Left: Controls the left boundary for every line in the paragraph.
- Right: Controls the right boundary for every line.
- To indent paragraphs, you have two different options:
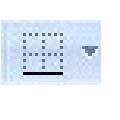
Option 1: Go to the 'Home' tab on the Ribbon. Select the indent buttons in the 'Paragraph' group. They are pictured below.
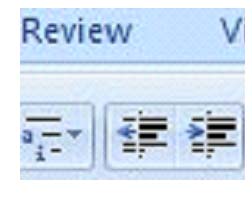
These allow you to indent left or indent right. The indention increases each time you click on the button.
Add Borders or Shading to a Paragraph
Just as you can add a border or a color to an entire page, you can also add a border or color to an entire paragraph or a group of paragraphs.
To do this:
- Select the 'Home' tab on the Ribbon.
- Click the Borders button in the 'Paragraph' group.
- A dropdown menu will open and allow you to select what type of border you want.
Apply Paragraph Styles
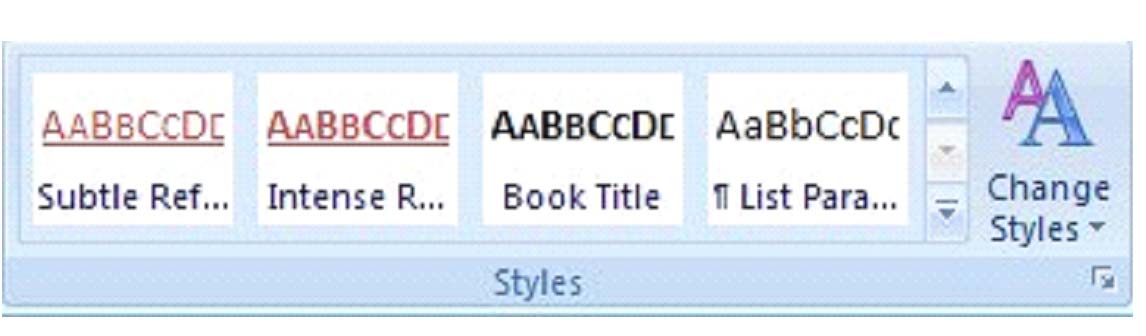
Below are some different styles applied to text.
Subtle reference: The girl ran to the store to get some bread for dinner.
No spacing: The girl ran to the store to get some bread for dinner. (This style leaves out any spaces between lines that may have been inserted in prior paragraphs.)
Paragraph list: The girl ran to the store to get some bread for dinner. (Note the indention in this line that would signify a list.)
Getting to know the different styles and what they do to your text is a matter of using MS Word 2007 frequently.
Note: You can also apply a style to an entire document or individual lines, as well as paragraphs.
Creating Links within a Document
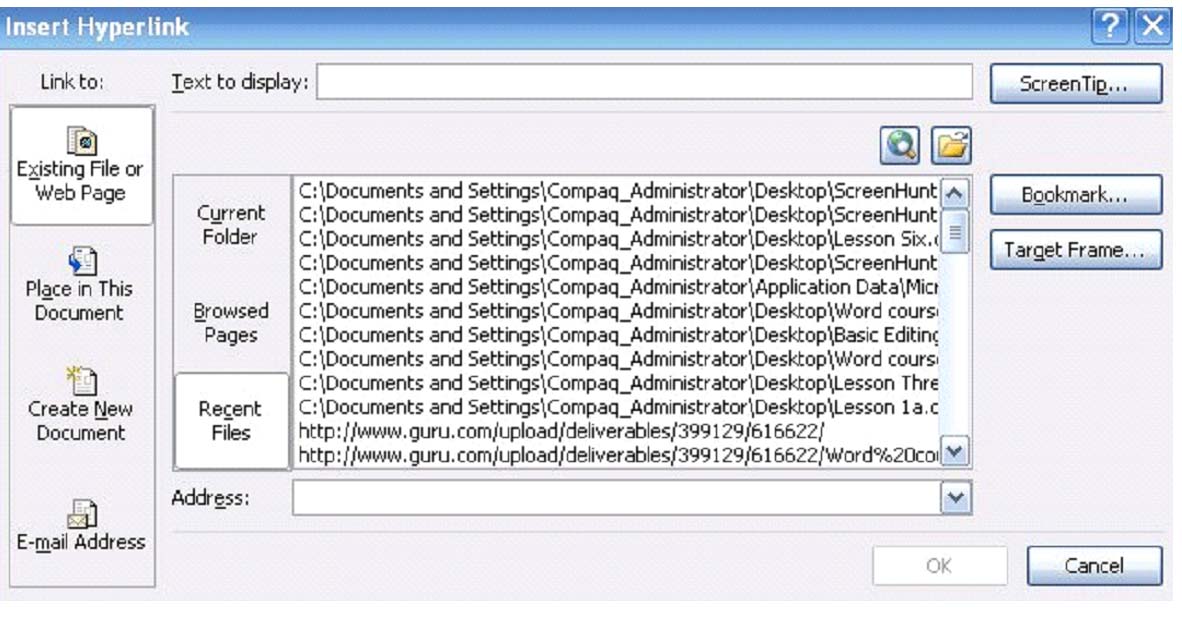
Did you know that you can place URLs, or addresses of Internet websites, that readers can click? When they click on those URLs they will be taken to the website.
Creating links with MS Word 2007 is very easy.
- Go to the 'Insert' tab, then the 'Links' group.
- Click the Hyperlink button.

- A dialogue box will open that will prompt you to add the text that you want to appear. This text will be the word(s) your readers click on to go to the website. It will be the link.
- Next, it will ask you for the address of the website. If it's on your computer or in your recent files, you can select it. However, you can also type the address in.
Change Spacing Between Paragraphs and Lines
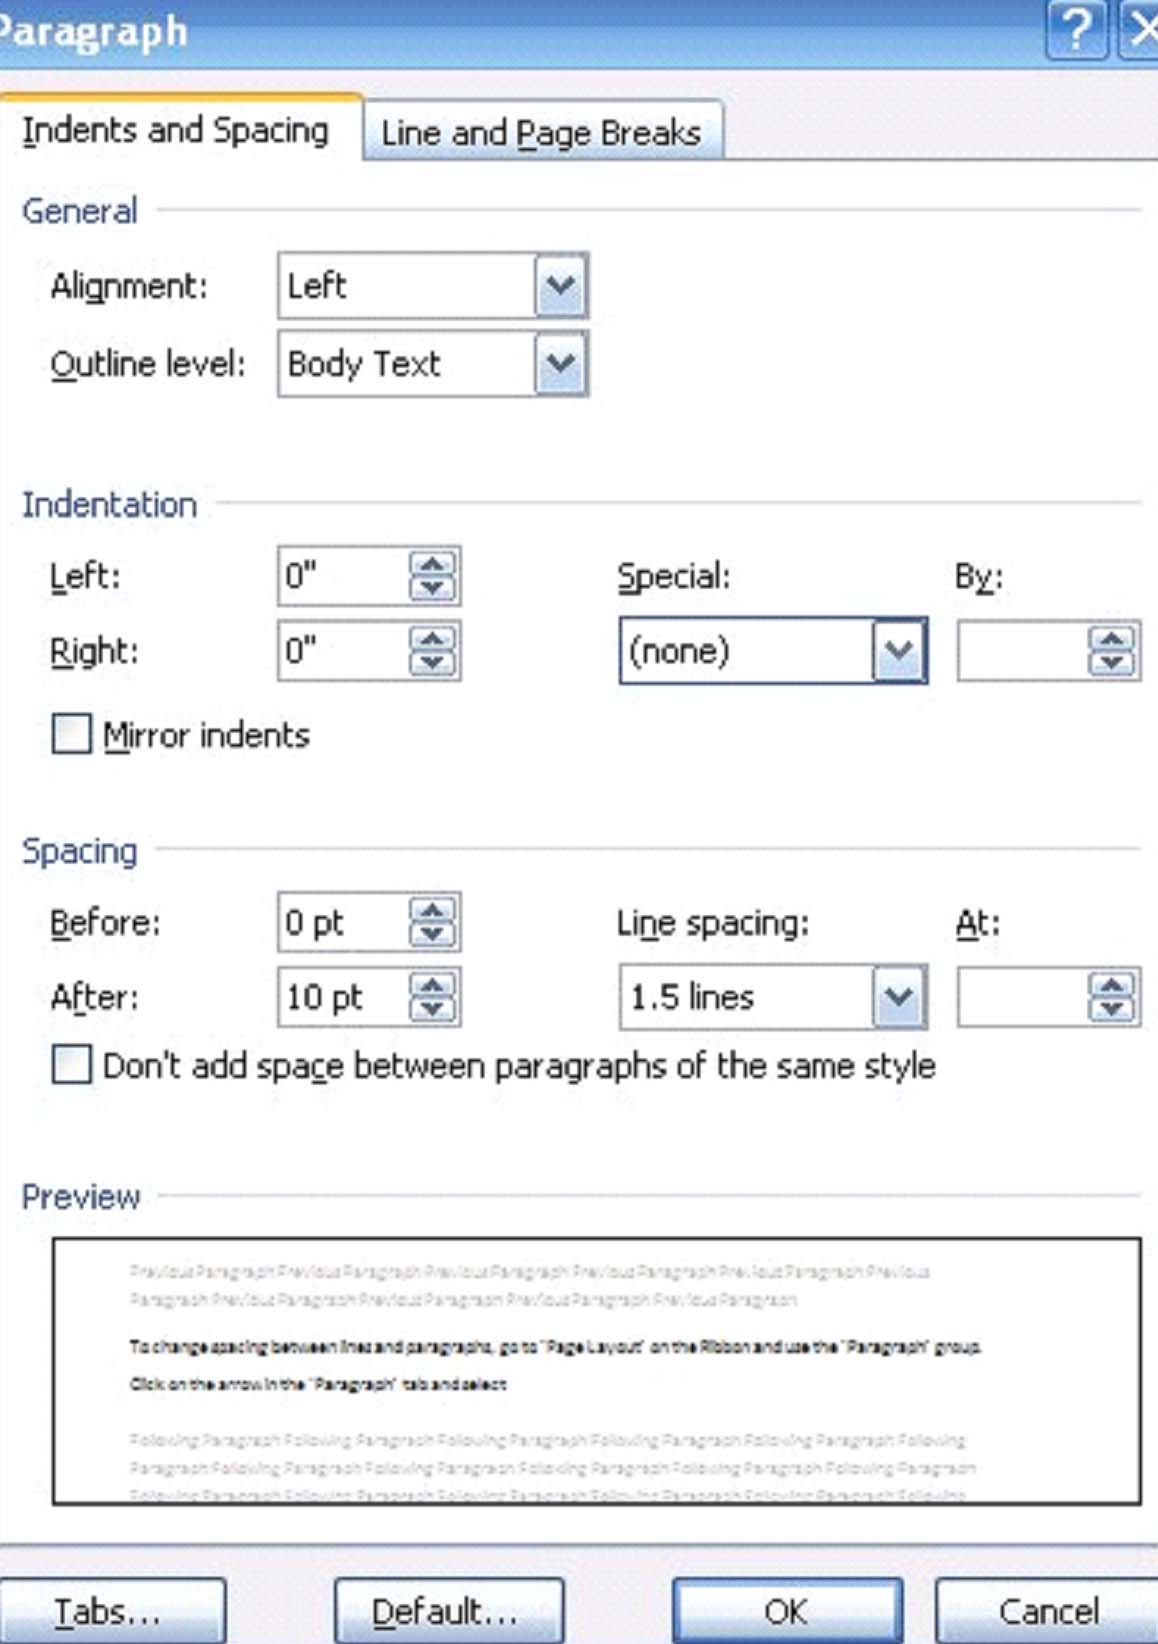
You can use MS Word's features to change the spacing between paragraphs and lines. This paragraph, for example, is double spaced. That is called changing the spacing between lines and paragraphs.
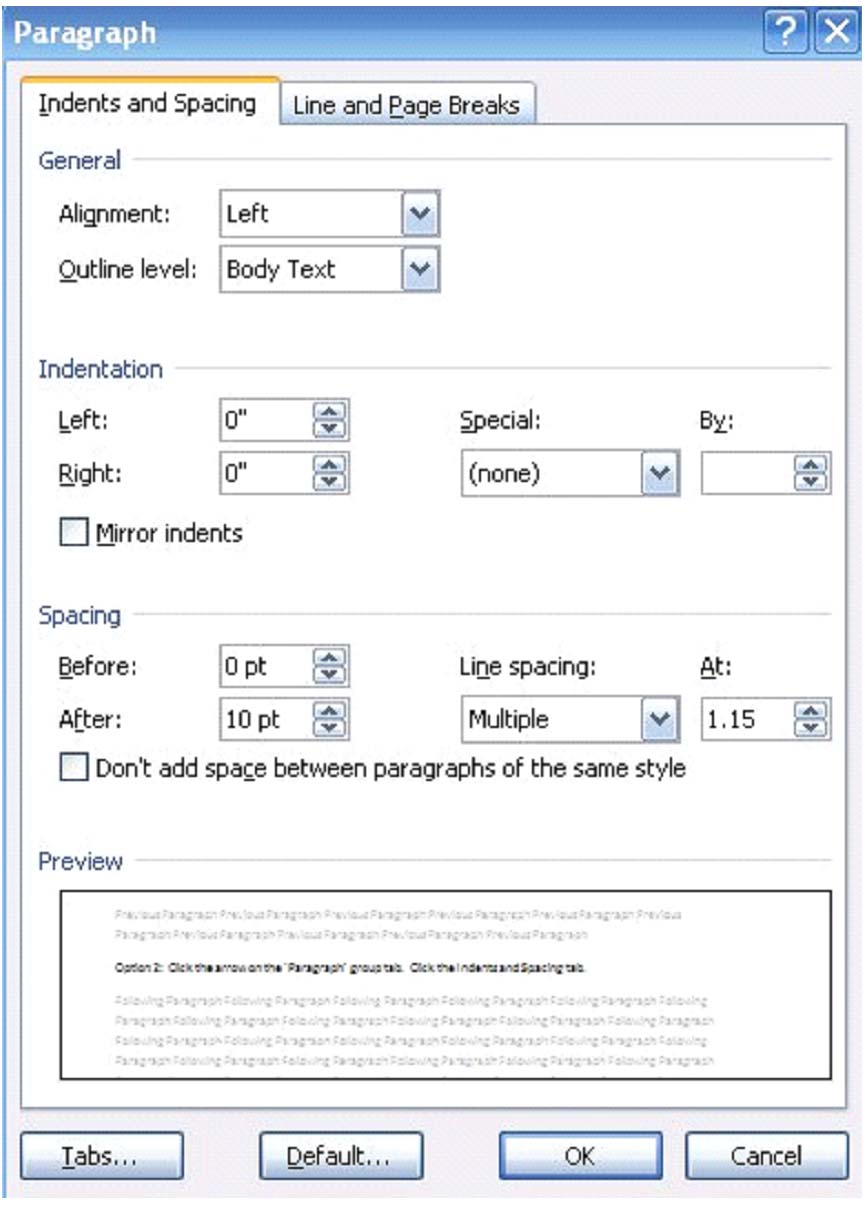
To change spacing between lines and paragraphs, go to 'Page Layout' on the Ribbon and use the 'Paragraph' group. Click on the arrow in the 'Paragraph' tab and go down to Spacing. There you can select the points between lines, or the more common single, double, and multiple spacing from the drop down box.
cell into then click OK.
Split a table by clicking the Split Table button.
Adjusting Column Width
You can manually adjust the width of an entire column or row by positioning the mouse pointer over the border to be adjusted, holding the left mouse button, and dragging it left or right.
You can also adjust the width of columns and height of rows by locating the Cell Size group on the Layout tab. Use the boxes to set the width and height of cells. 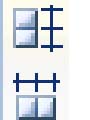
To distribute the rows and columns evenly, use the buttons to the right of the width and height windows. Use the button on top to distribute columns evenly, and the button on bottom to distribute rows evenly. You can also set the Autofit rules from this group.
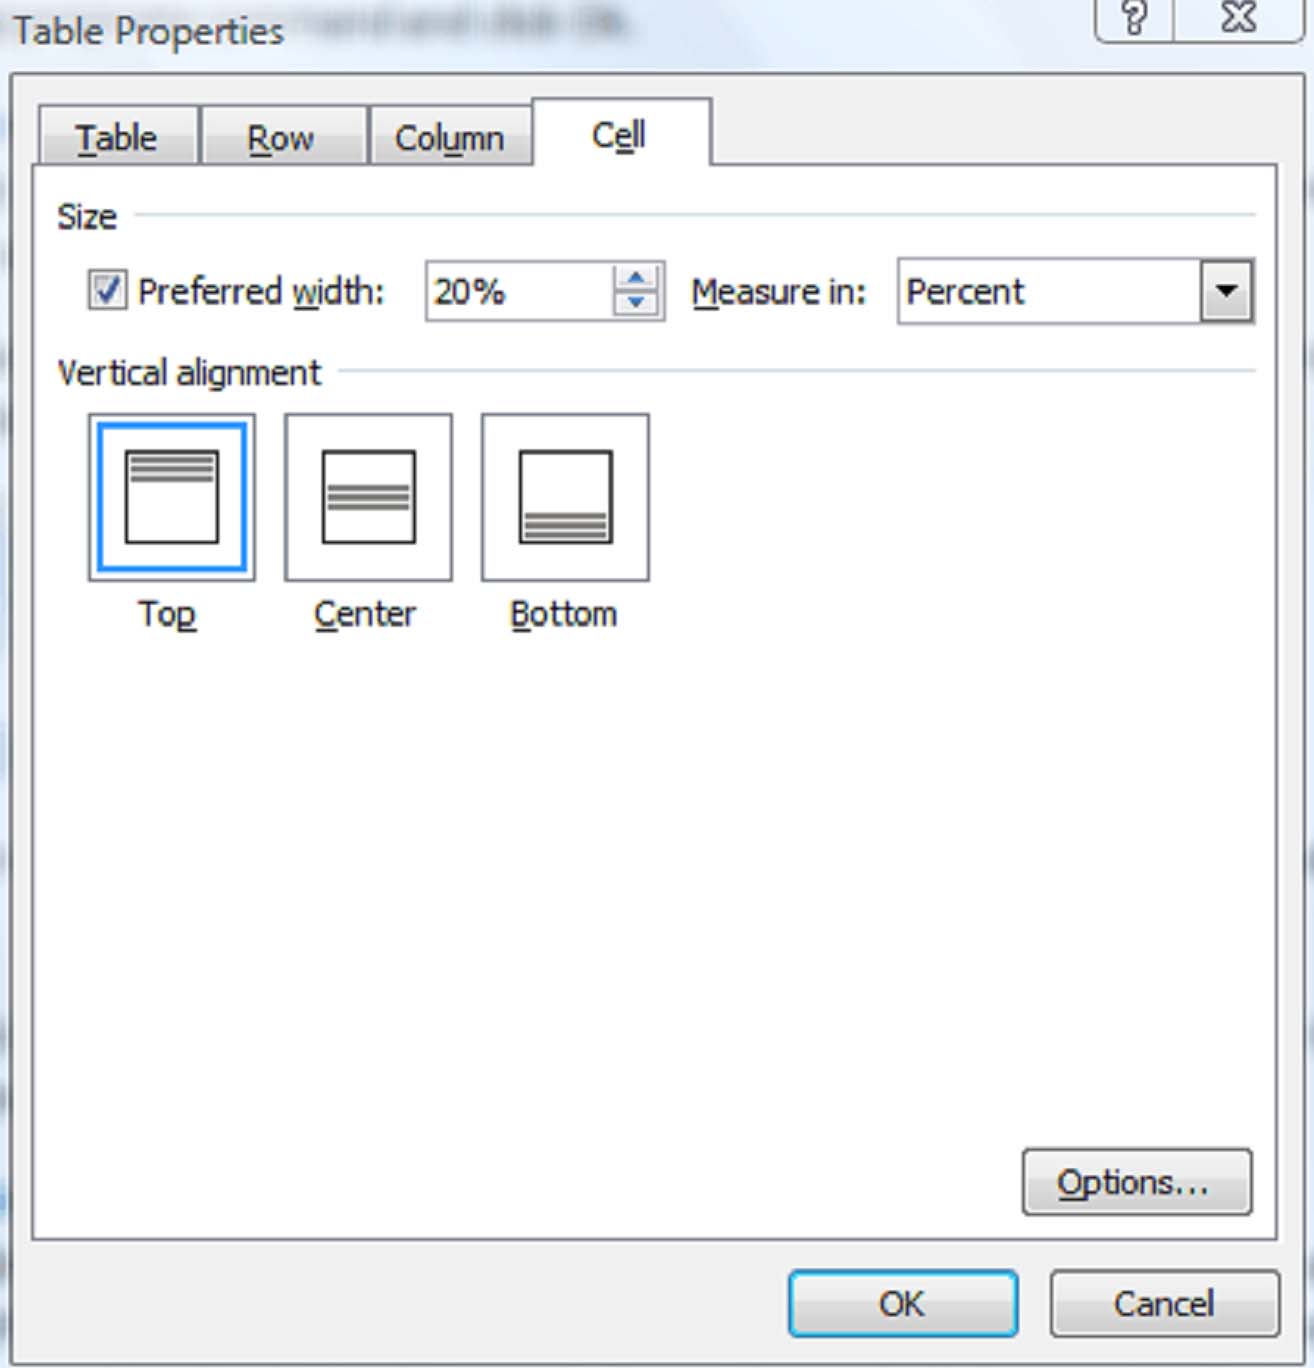
Position Text Within A Cell
Borders and Shading
The way information in a table is presented determines how easily it can be understood. Use the borders and shading features to control the look of a table.
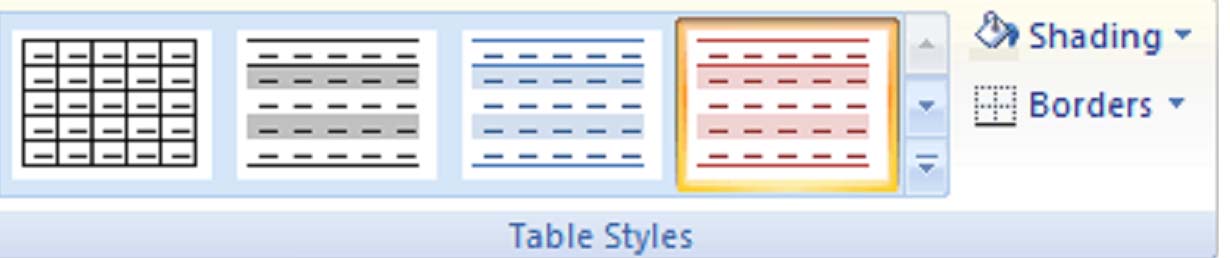
Microsoft Word 2007 provides some customizable templates. Roll your mouse over one of them, and you will see a preview in your selected table.
Tables
Tables help you organize and present information in way that stands out from other text on the page. MS Word 2007 has included many new features that make drawing and designing tables a snap. Literally.
Creating Tables
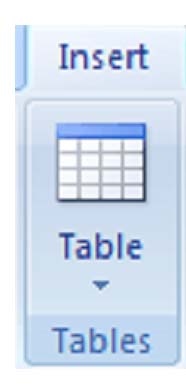
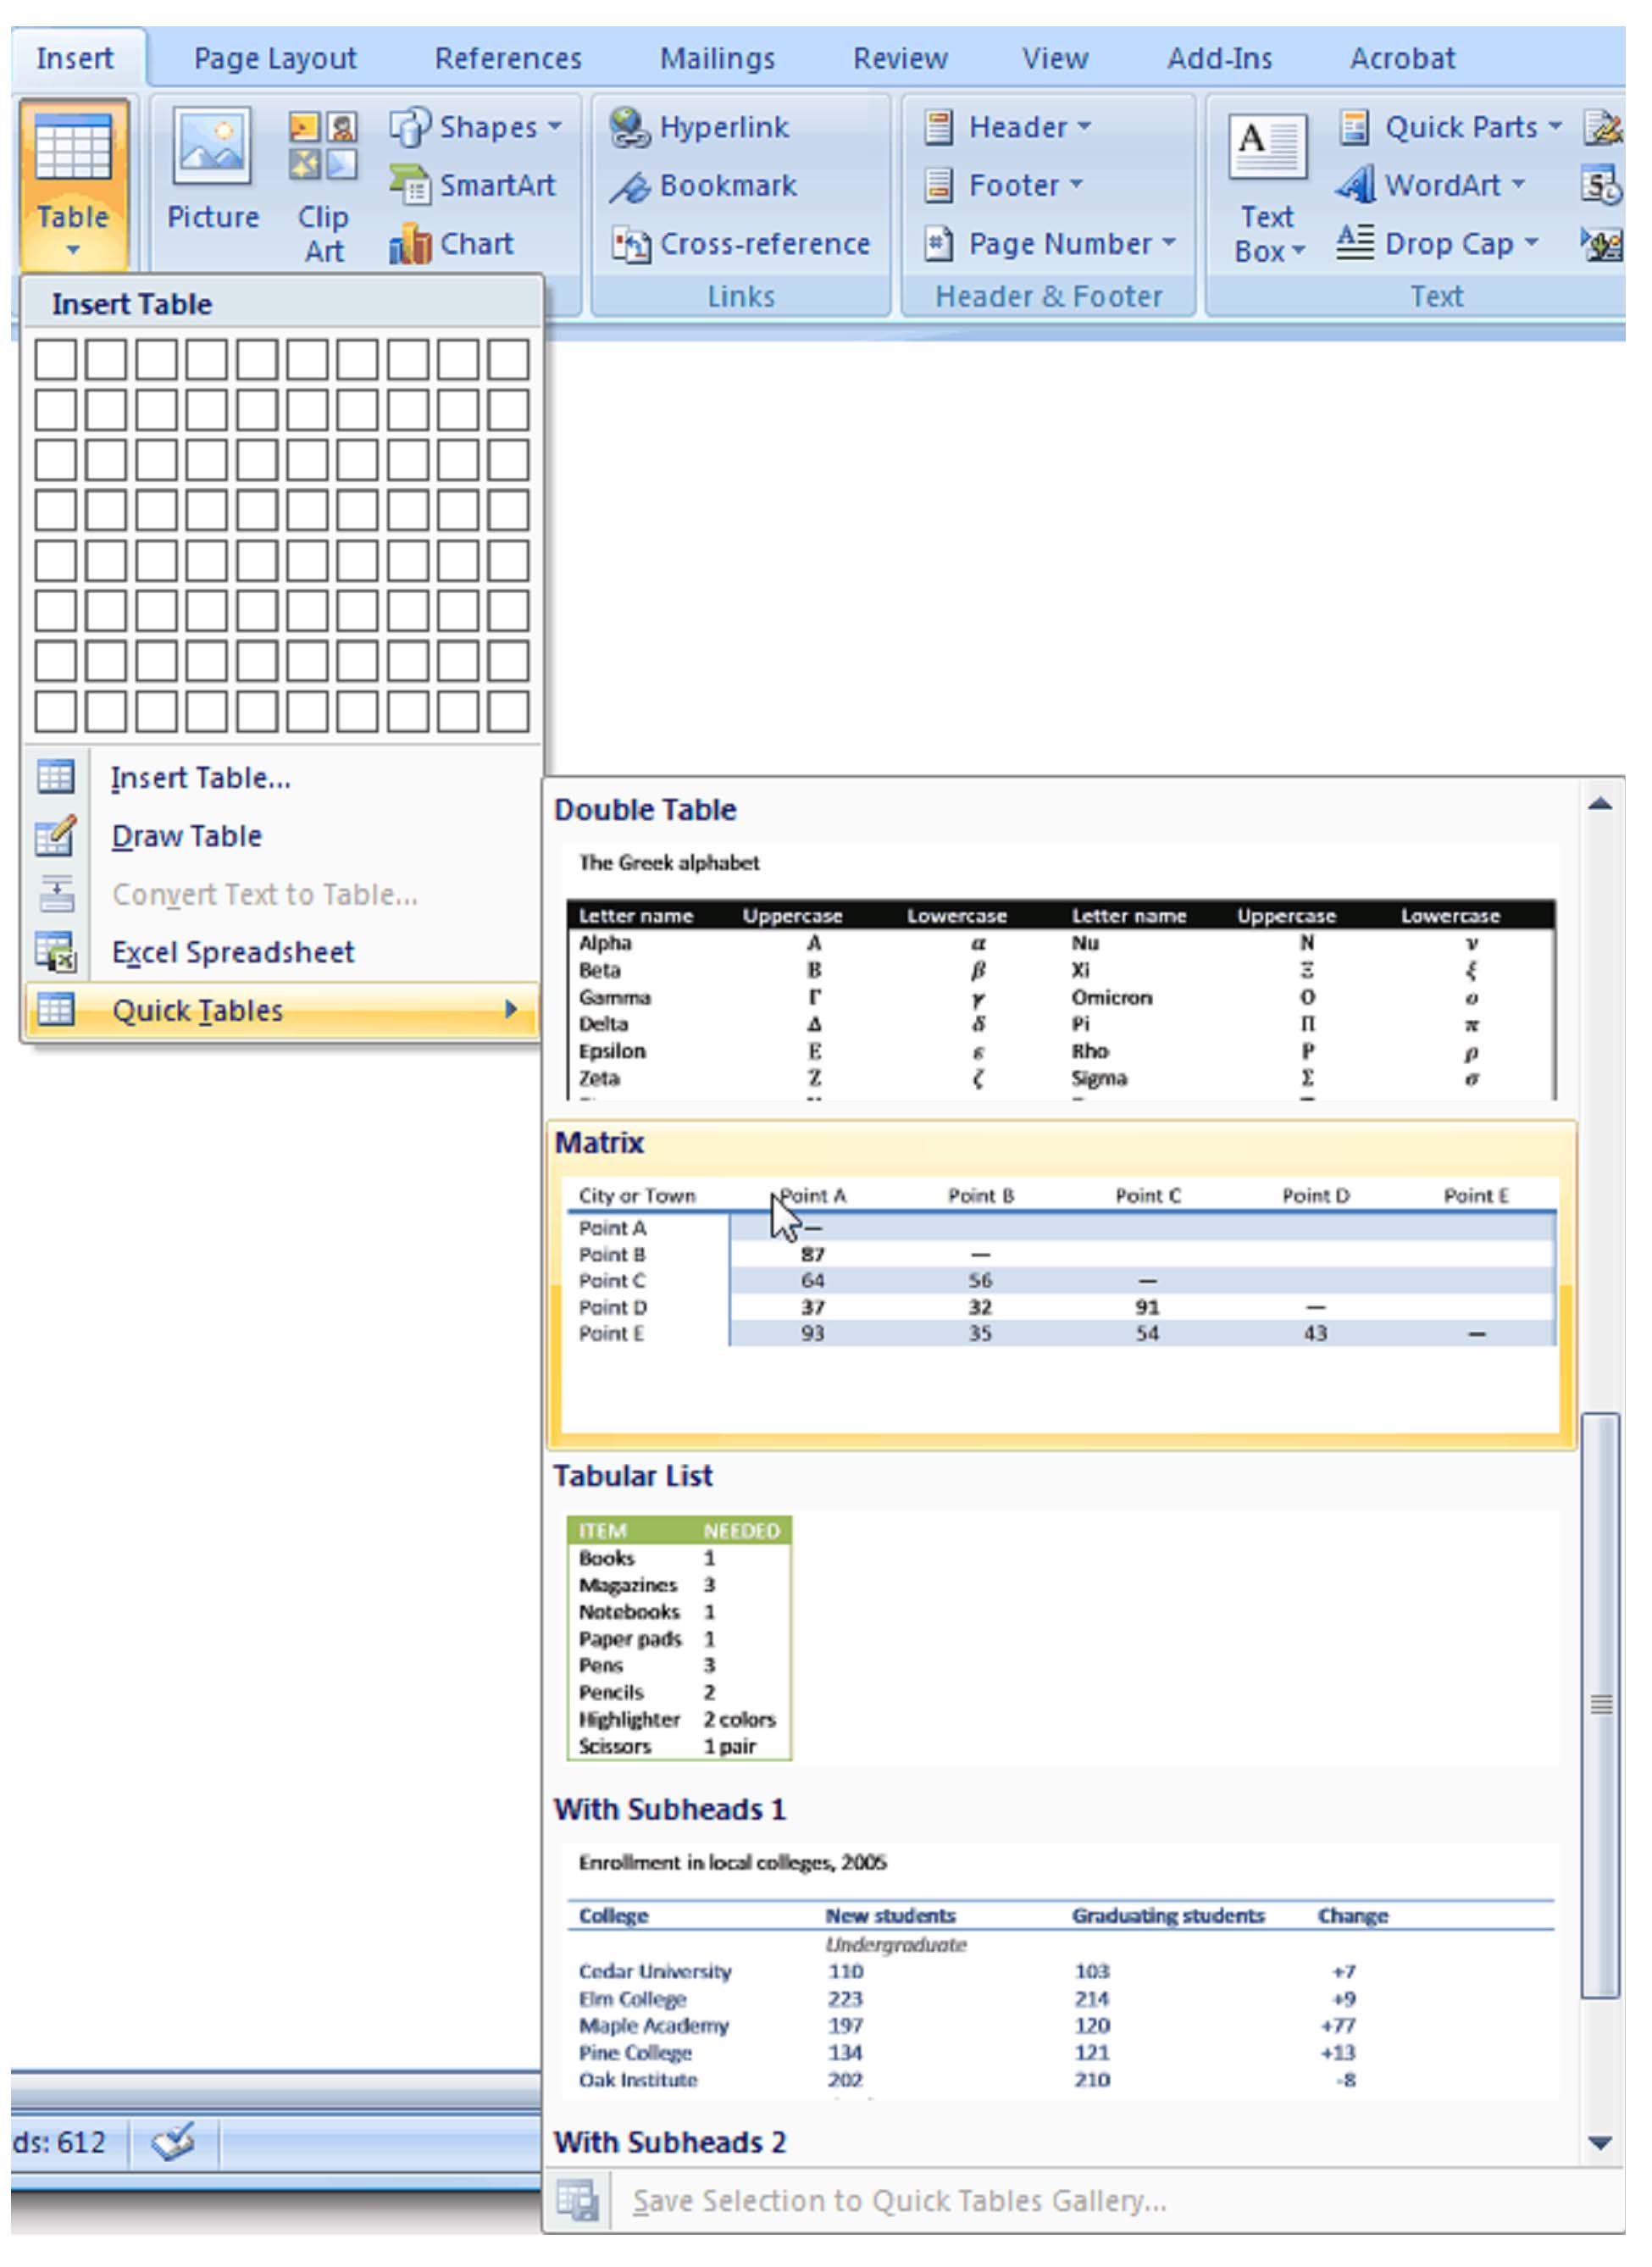
When you click the table icon, a menu will appear that looks like this:
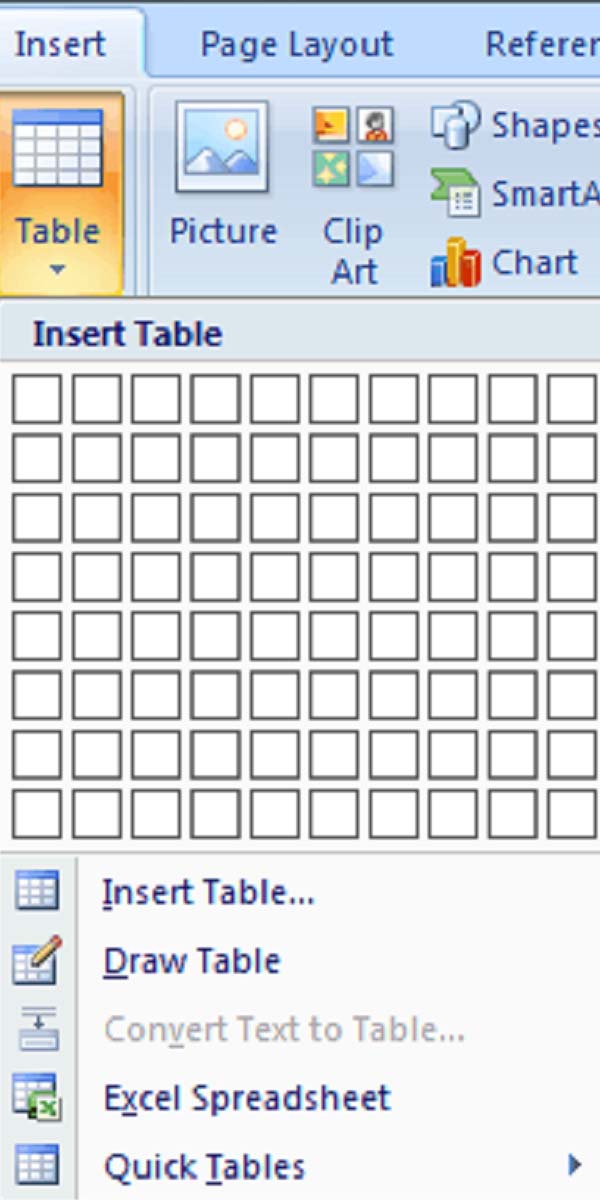
There are five ways to create a table from this menu:
-
� By highlighting the boxes at the top of the menu
-
� By selecting Insert Table
-
� By selecting Draw Table
-
� By Selecting Quick Tables
-
� By converting text into a table
Creating a table by highlighting the boxes
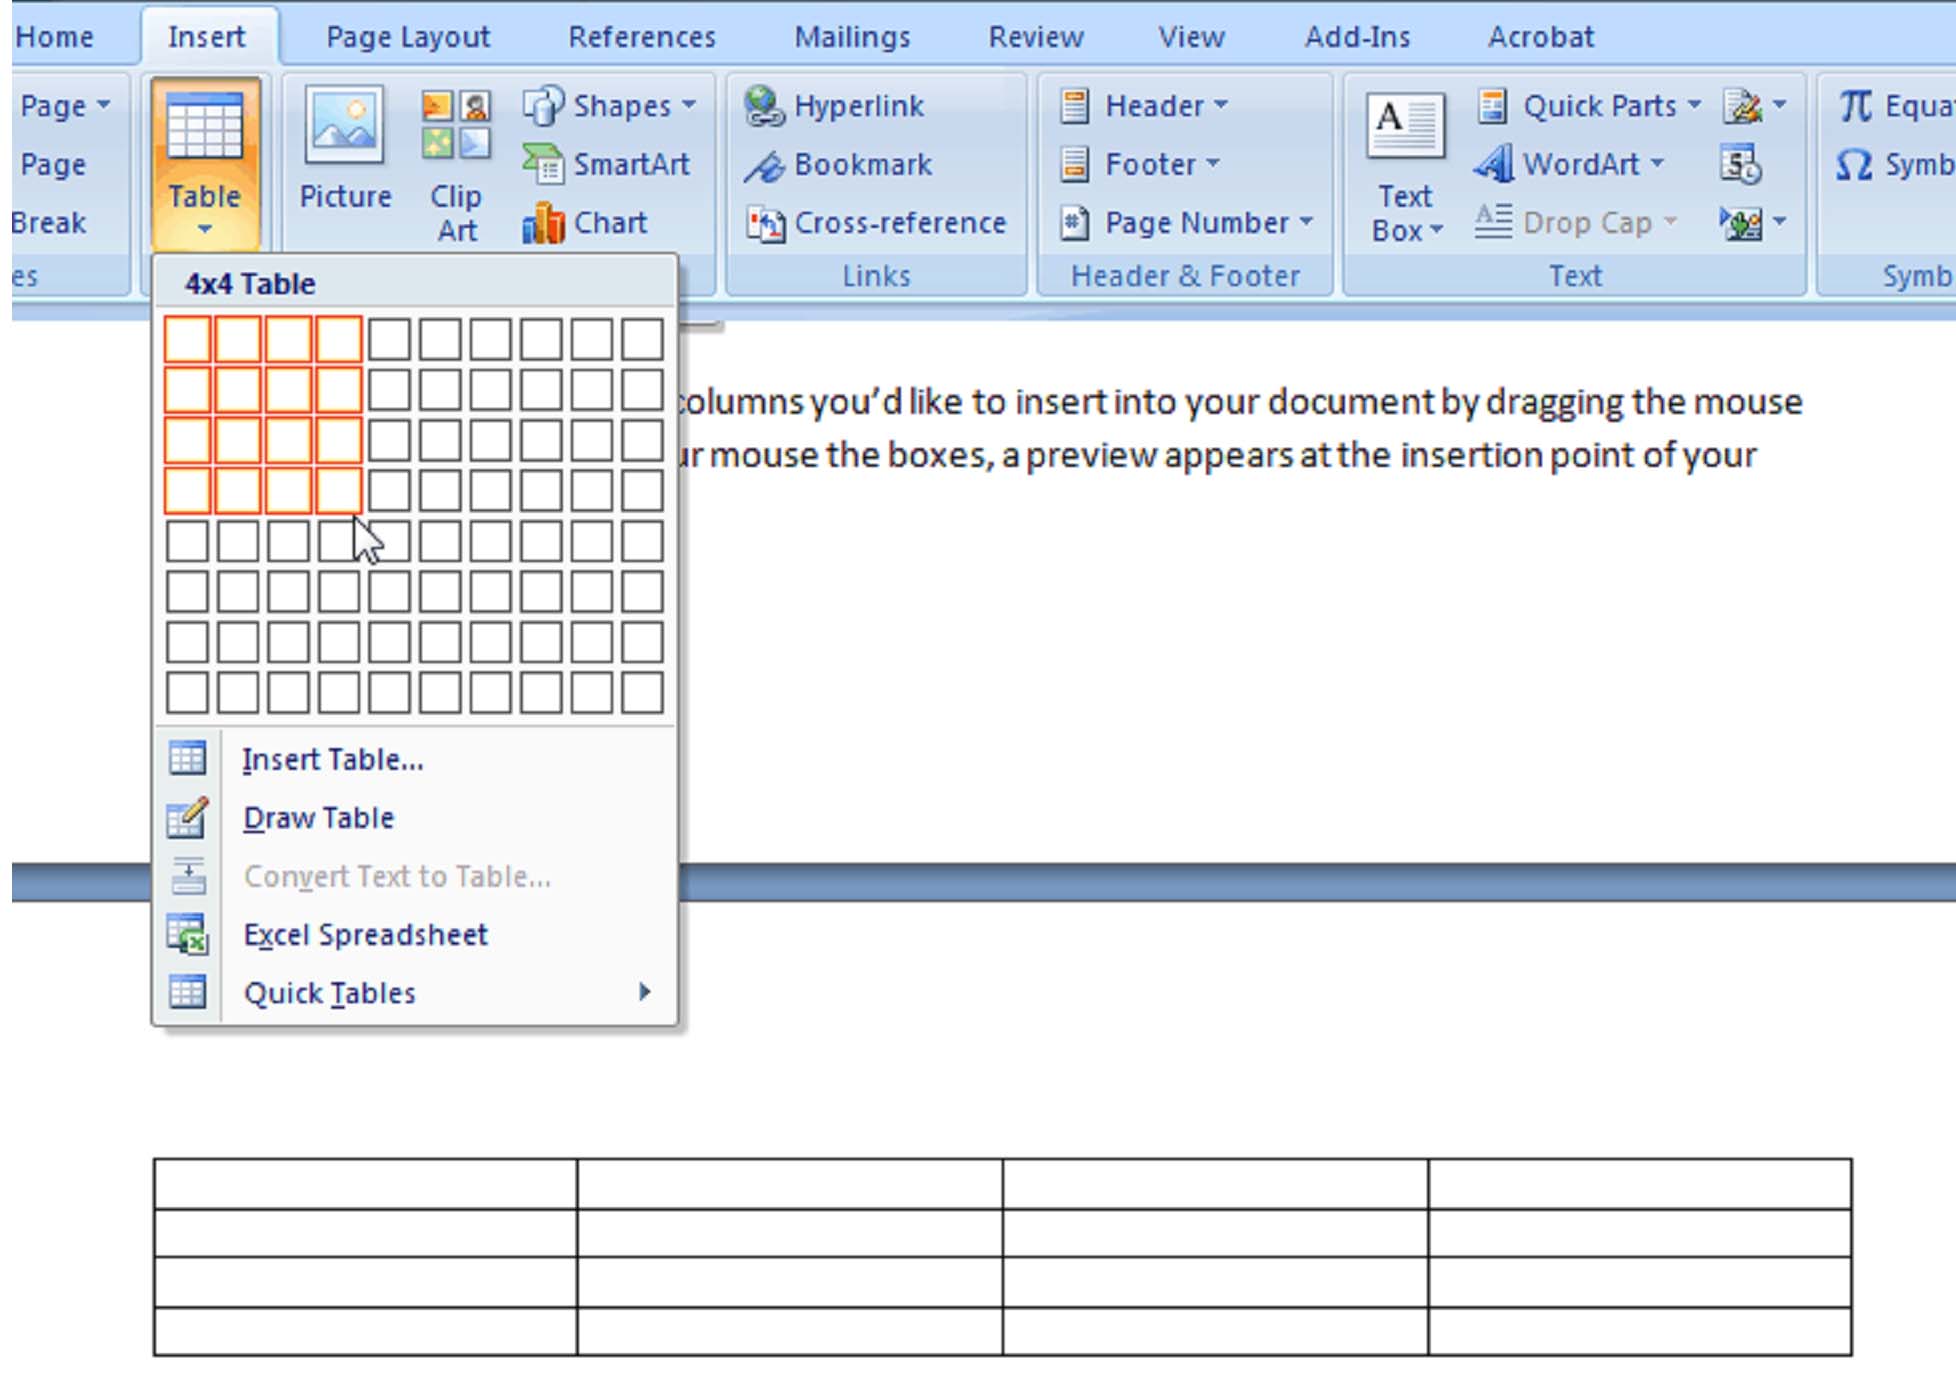
When you have the number of rows and columns you want, click the left mouse button to insert the table into the document.
Create a table by using the Insert Table command
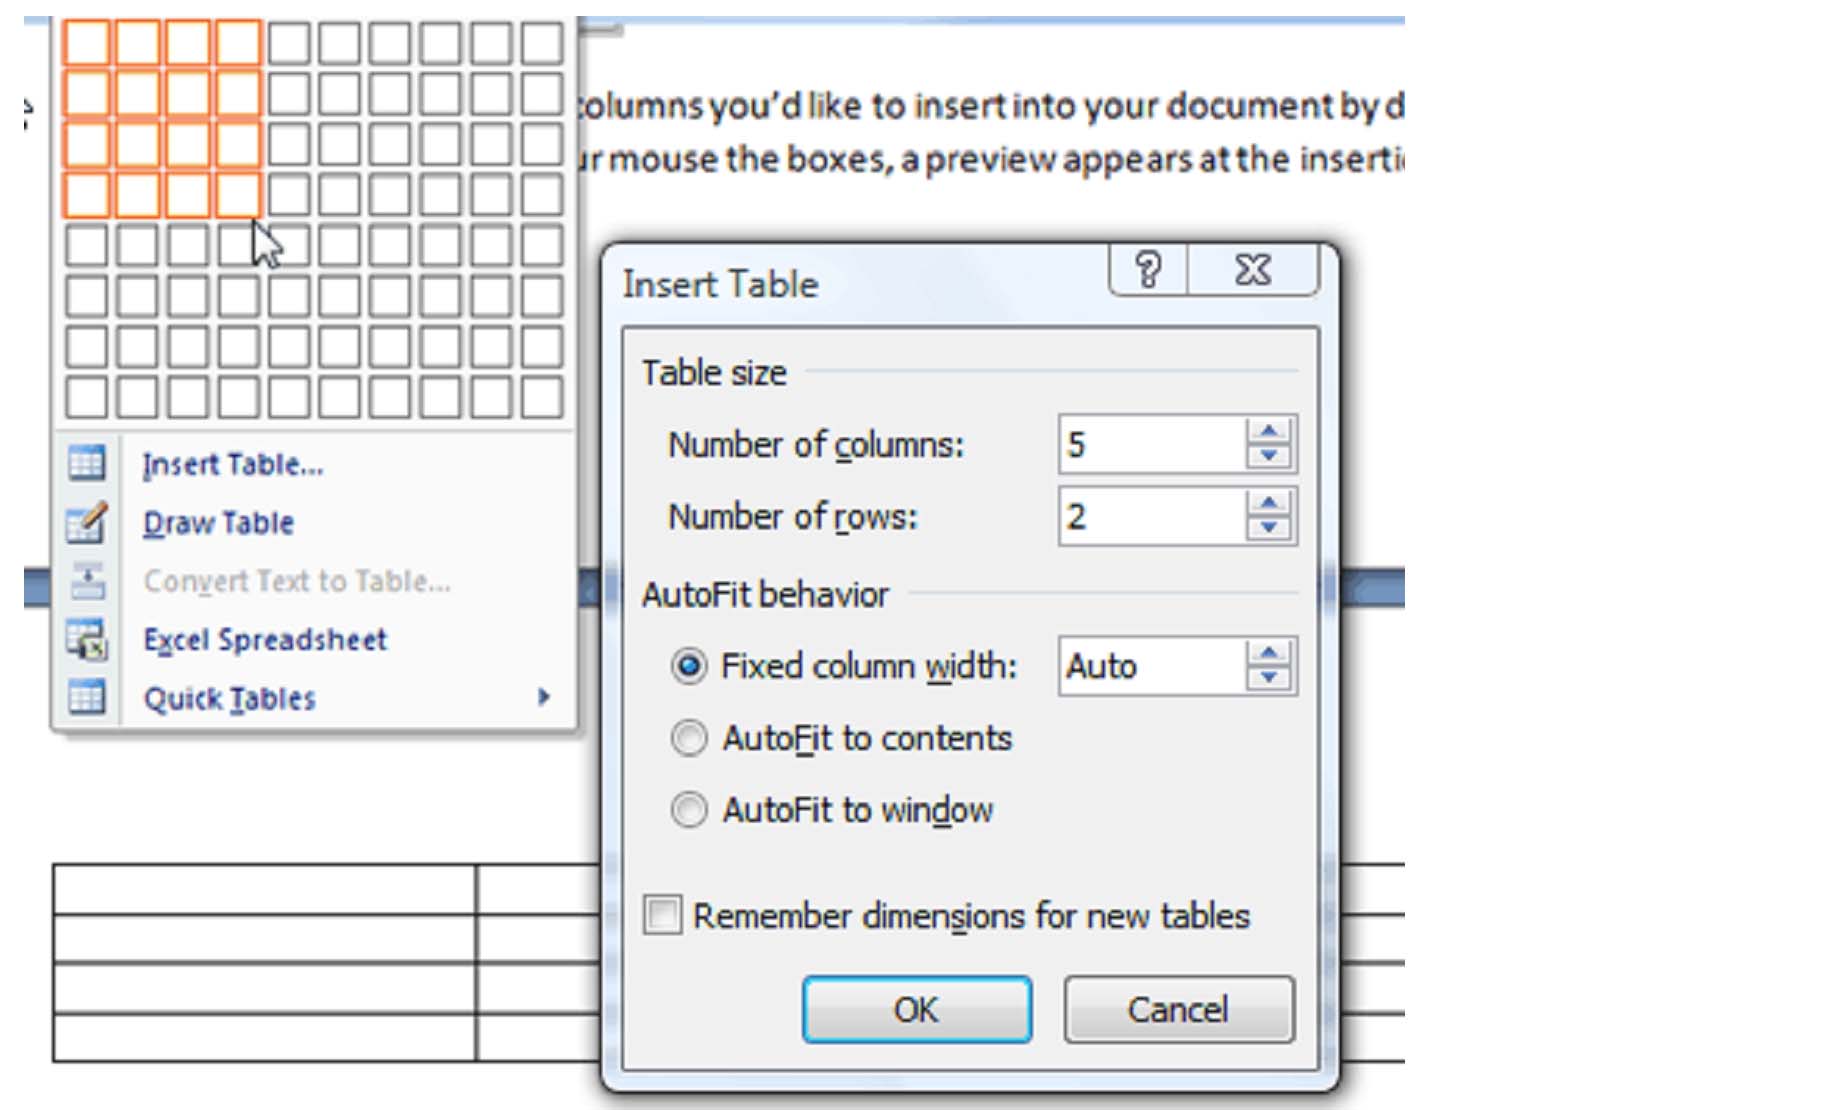
Choose the number of rows and columns you'd like by entering the number into the appropriate boxes. The AutoFit behavior selections determine the size of the table. If you plan on creating a number of tables that share the attributes that you have selected, you can check the Remember dimensions for new tables box. When you do this, the next time you select the Insert Table command, all dimensions will be prefilled. Click okay to create the table.
Drawing a Table
Drawing a table gives you more control over the appearance of the table at the outset. This is particularly helpful if your table will not be uniform in nature.
When you draw a table, the cursor does not need to be positioned at the insertion point in your document. Just select Draw Table from the Table menu and the mouse pointer will turn into a pencil. You can then draw a table anywhere in the document:
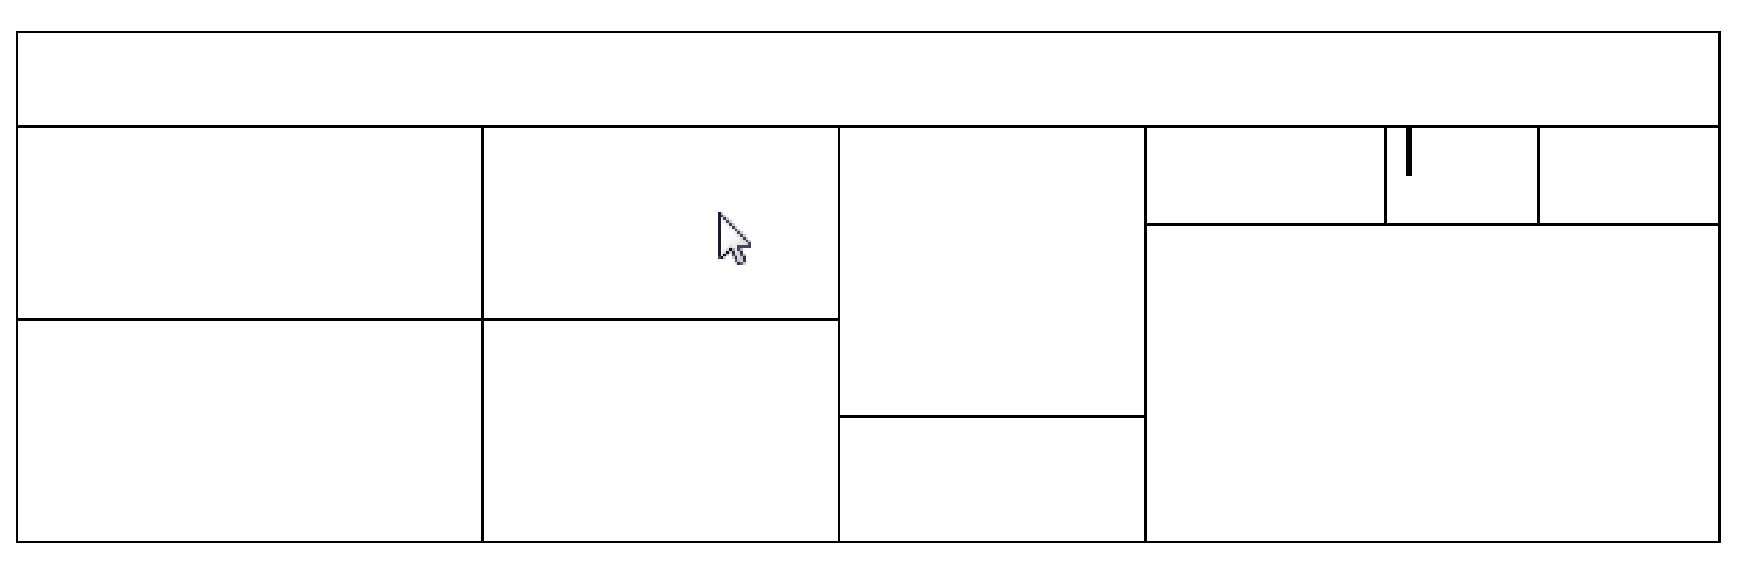
As you can see, when you draw a table, it can be as uniform or as unconventional as you like.
Converting text into a table
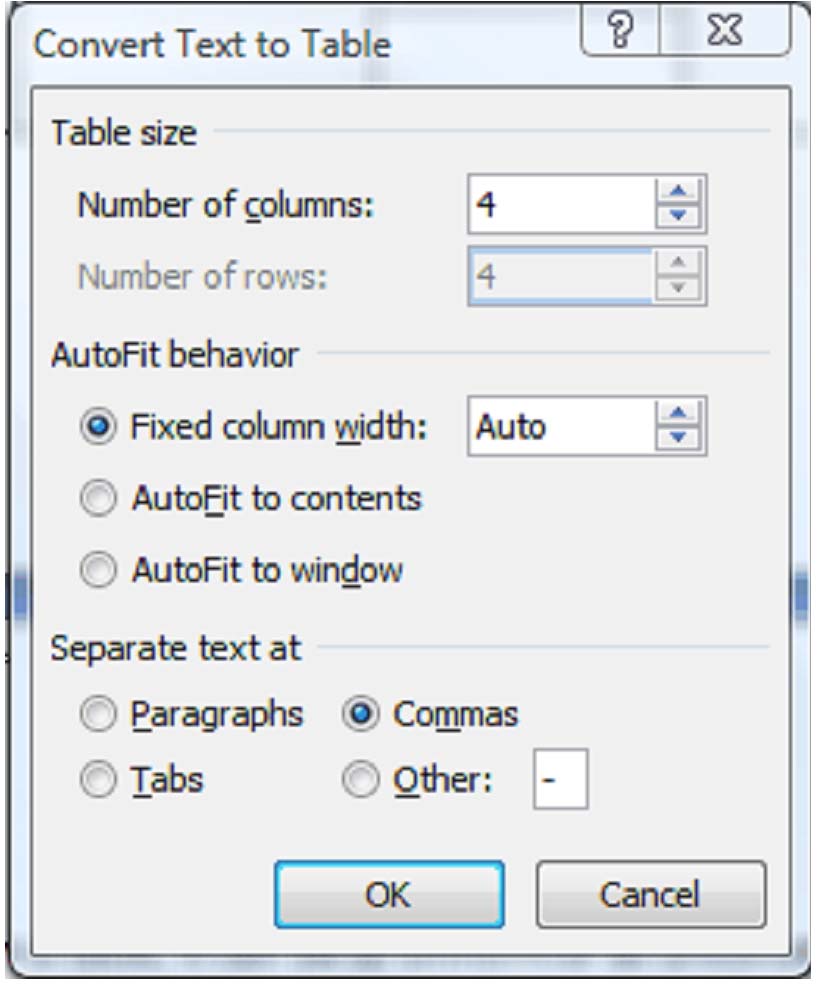
If the number of columns doesn't match your expectations, make sure all of your separator characters (in our case, commas) are in place and be sure to select Separate text at Commas.
Quick Tables
Entering Text
To enter text into a cell, simply select that cell by clicking on it. The cursor will appear in the cell and you can start typing.
Table Tools

You can use these commands to customize your tables, everything from the color of each cell, to the borders, to text alignment.
Inserting rows and columns
You can insert rows and columns anywhere in a table. To do so:
1. select a row or column
2. click the Layout Tab
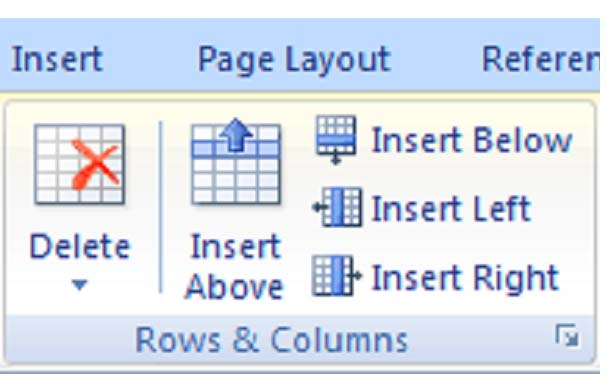
4. use the buttons to insert a row or column. You can insert a row above or below the selected row, and insert a column to left or right of the selected column.
Alternatively, you can quickly insert a row or column by selecting a row or column and right clicking on it. In the menu, click Insert, then use the buttons to insert a row or column.
Deleting Cells, Rows or Columns
To process to delete an individual cell, a row, or a column is the same for all three. Select the cell, row or column to be deleted and find the Rows & Columns group on the Layout tab. Click the Delete button and select the appropriate command.
You can also delete cells, rows and columns by right-clicking inside a cell. In the menu select Delete Cells. Click the appropriate command and click Ok.
Merging Cells and Splitting Cells
To merge cells, drag your mouse over the cells while holding the left mouse button to select them. In the Layout tab, select the Merge Cells button from the ribbon.  It is located in the Merge group on the ribbon. Alternatively, select the cells you'd like to merge and click the right mouse button. Select the Merge Cells from the menu.
To split a cell, select it by clicking on it, then click the Split Cell button on the ribbon.  This button is also found in the Merge group. Choose the number of rows and columns you'd like to split the cell into then click OK.
Split a table by clicking the Split Table button.
Adjusting Column Width
You can manually adjust the width of an entire column or row by positioning the mouse pointer over the border to be adjusted, holding the left mouse button, and dragging it left or right.
You can also adjust the width of columns and height of rows by locating the Cell Size group on the Layout tab. Use the boxes to set the width and height of cells.
To distribute the rows and columns evenly, use the buttons to the right of the width and height windows. Use the button on top to distribute columns evenly, and the button on bottom to distribute rows evenly. You can also set the Autofit rules from this group.
Position Text Within A Cell
Borders and Shading
The way information in a table is presented determines how easily it can be understood. Use the borders and shading features to control the look of a table.
Microsoft Word 2007 provides some customizable templates. Roll your mouse over one of them, and you will see a preview in your selected table.