Whenever you want to list things, whether it's items or points for an outline, adding what's called bullets or numbers to that list can make it look more organized and easier to read. You're going to learn how to create bulleted and numbered lists using MS Word 2007.
Bulleted and Numbered Lists
Note: Above is an example of a bulleted list.
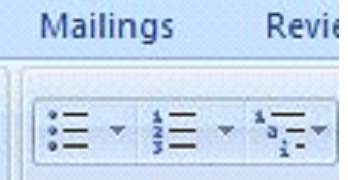
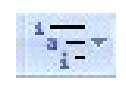
(You'll notice that the first button is for a bulleted list, the second for a numbered, and the third for an outline.)
Note: Above is an example of a numbered list.
Creating a Nested List
A nested list is defined as a list with several indentions in the text. Nested lists are often used for outlines and looks like the example below:
� Creating a list is easy.
o First you decide what kind of list you want.
� Bulleted
� Or Numbered
To create list as the one above, follow the steps to create a list, then use the  to create an indention by placing the cursor at the beginning of the text to be indented, the clicking the bullet button.
Format Your List
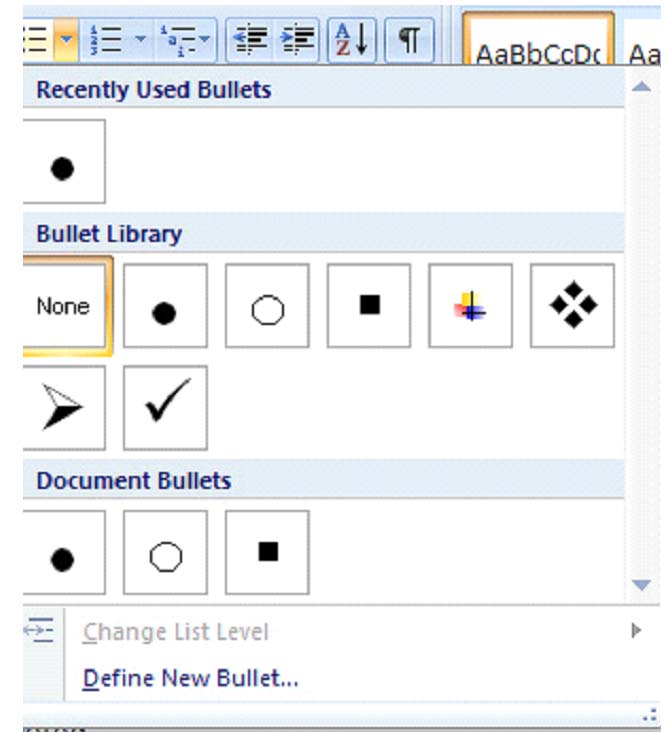
You can change the formatting of the bullets or numbering by using selecting either the arrow beside the bulleted or numbered list button, then making a selection from the drop down box.
Sorting Lists
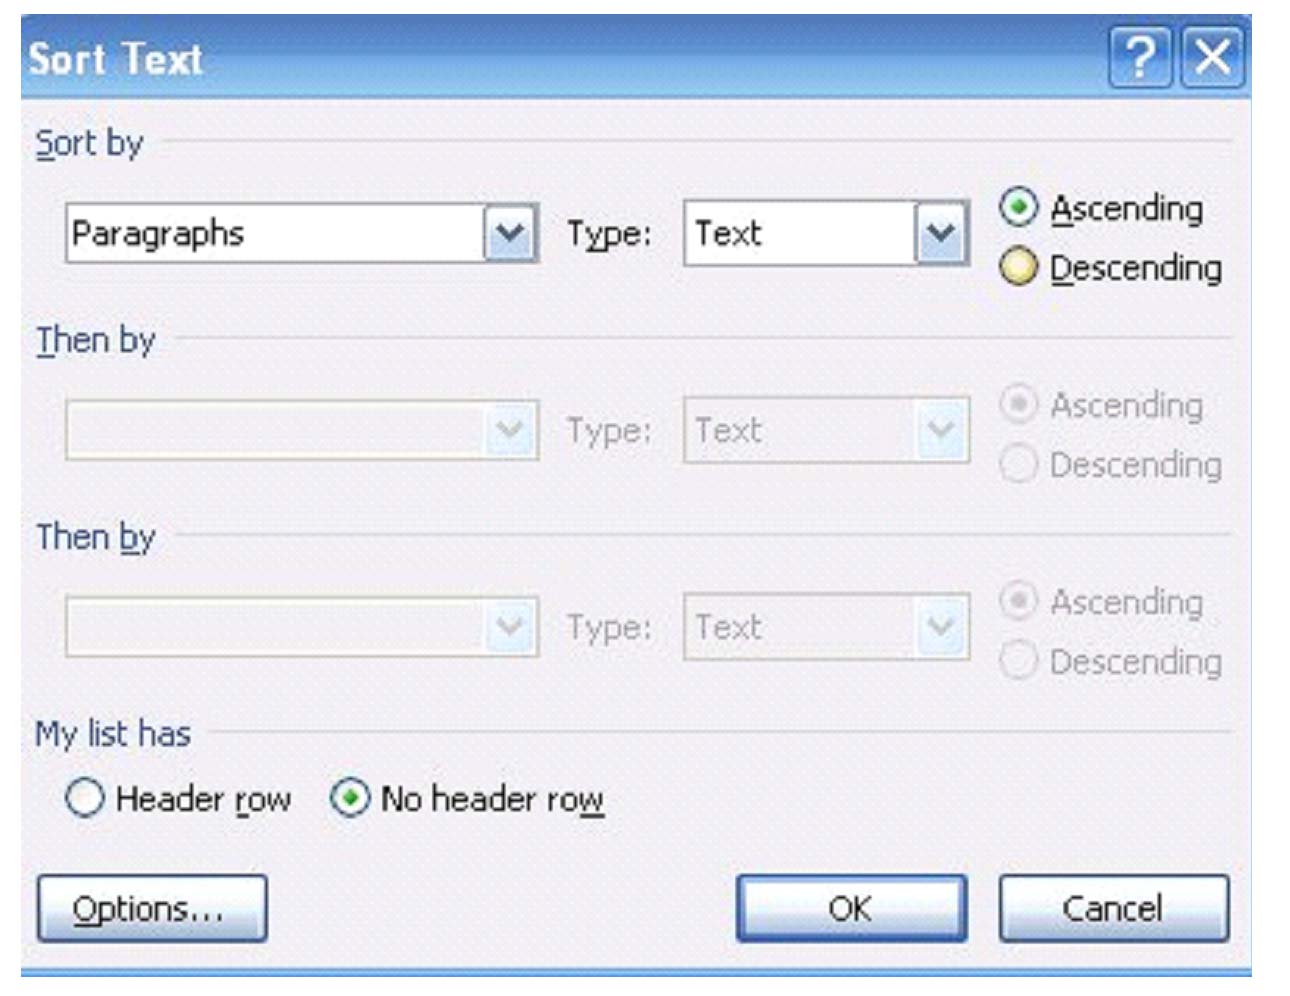
Once you create a list, you can also sort it alphabetically, either ascending or descending. There's no need to worry about putting things it alphabetical order as you type. MS Word 2007 will do it for you.
To do this:
- Create your list as outlined in the steps above.
- Select the list or parts of the list to be alphabetized
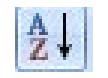
- Click
 and complete the dialogue box. (Default will sort your list descending.)
- It's really that easy, as shown with the example list below.
- The original bulleted list looked like this:
� Mango� Orange� Apple� Fig� Grape � Apricot
But when you select the text in the list, then click  , the list is alphabetized for you.
� Apple� Apricot� Fig� Grape� Mango � Orange
You can sort paragraphs of text or lists using the sort ascending or sort descending button . 
Creating Outlines
 As with the bullets and numbers, clicking the down arrow beside the outline button will provide you with available formats.
Page Formatting
Perhaps one of the most important things you can learn in MS Word is how to format your page. It would be fairly reasonable to go through and edit your own document, without the help of any of the editing features, and to do everything else the old fashioned way--by hand instead of by the click of the mouse. But formatting the page of your document on your own could be tedious and frustrating without the help of the MS Word features. Remember, this isn't your old typewriter and setting margins is now a lot easier!
Page Margins
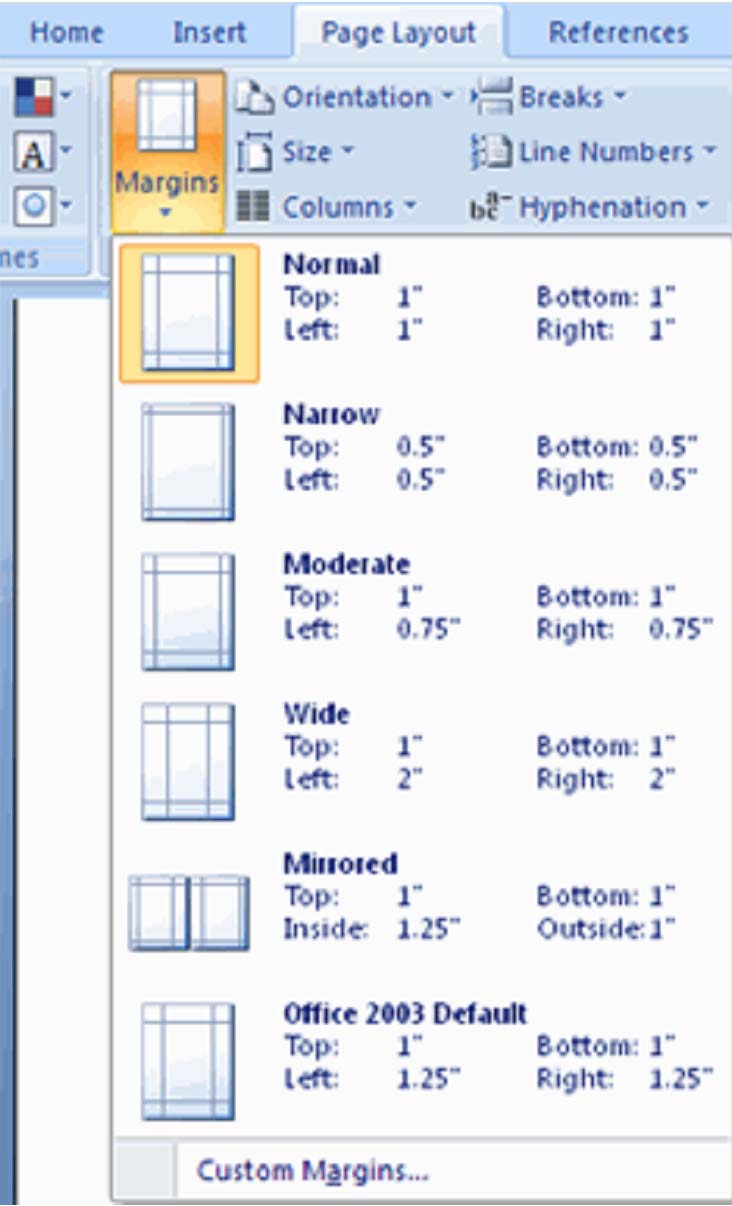
How to Change the Orientation, Size of the Page, or Size of the Columns
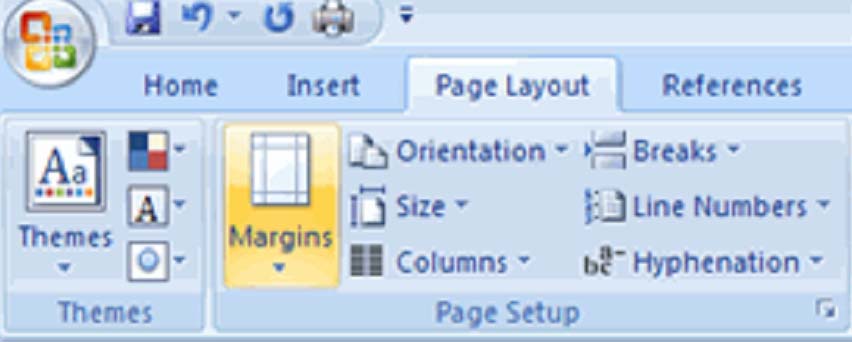
In the 'Page Setup' group, click Orientation, Size, or Columns, whichever you need.
You can see these in the picture below, beside Margins.
Orientation. When you click on Orientation, you will be asked to select between Landscape and Portrait. Landscape and portrait refer to how the document will be printed. Choose Landscape and your document will be printed horizontally. This is the most common orientation. If you select Portrait, it will be printed from top to bottom (vertically). This is best for professional photos of several people. If your document contains several photos, you may want to choose Portrait.
Size. Clicking on this will produce a drop down menu with different sizes that you can choose from. Choose the size of your final document. You can choose legal, A4, credit card size, etc.
Columns. This feature is really simple. Choose how many columns you want in your document page. Remember, columns go up and down and will be placed side by side on your page.
Apply a Page Border and Color
MS Word allows you to put a border around your page or color your page for printing. This is sometimes called shading.
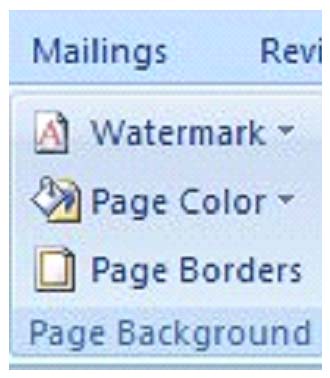
Page Color. You can select one of the colors shown, or click More Colors or Fill Effects. More Colors allows you to easily create your own shade. Fill effects gives patterned or gradient backgrounds that you can add to the page as the background.
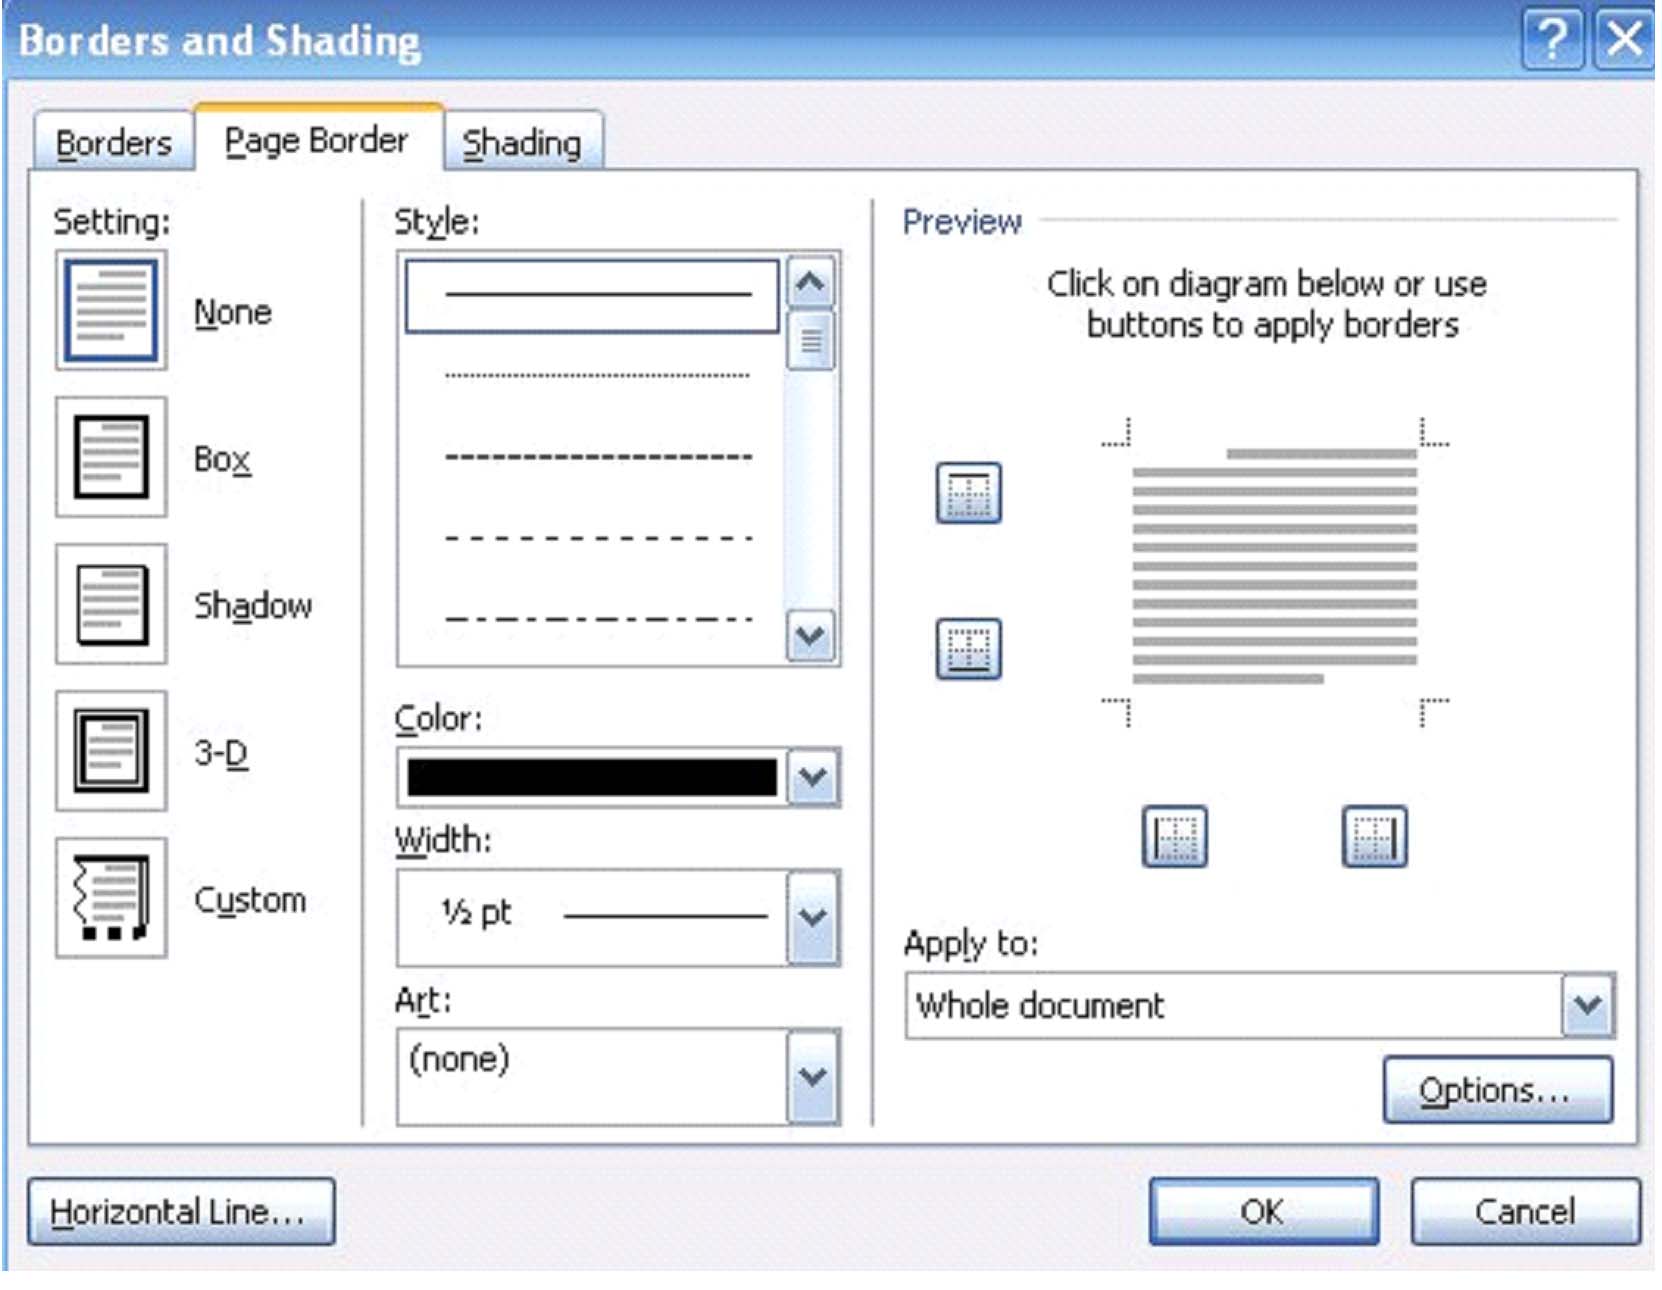
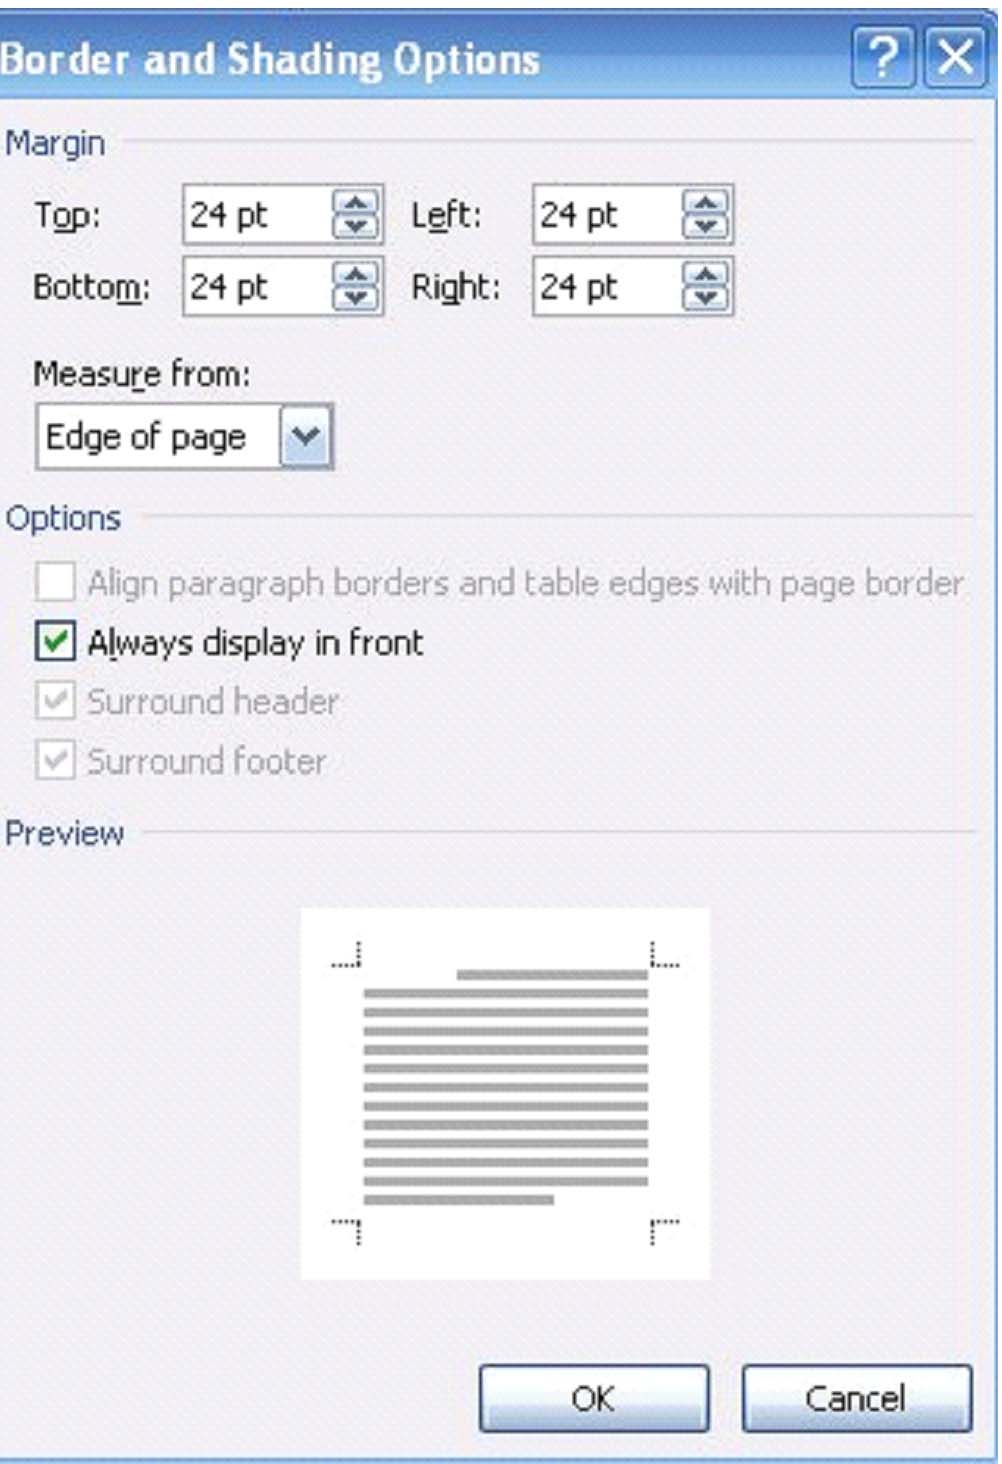
On the right, you'll see a drop down menu that allows you to choose if you want to apply the border to the entire document. Click on Options below the drop down menu to set margins for the border.
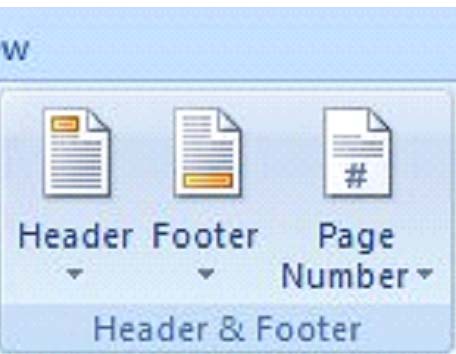
Insert Headers and Footers (Including Page Numbers)
If you want to insert header and footer information (page numbers, title, date, etc), you first have to decide if you want headers or footers. Remember, headers go at the top of the page. Footers go at the bottom.
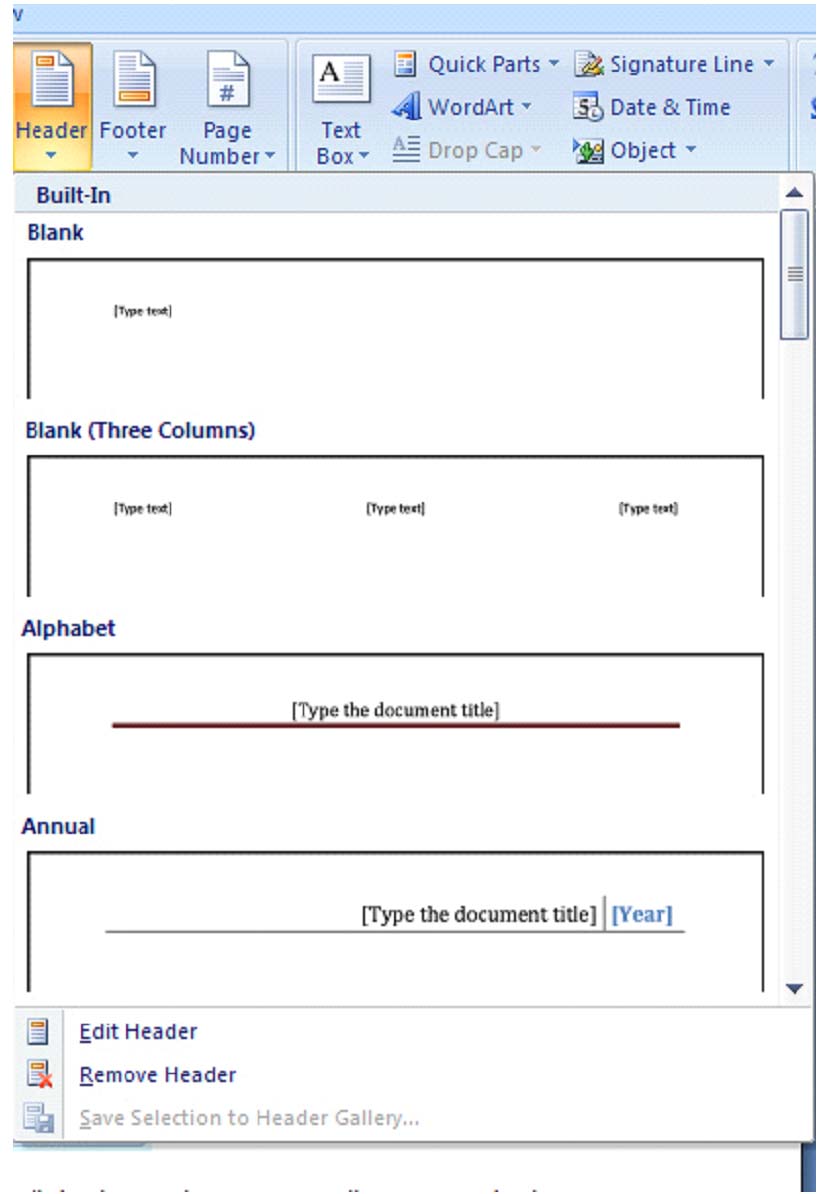
Once you select your style of header, it will take you back to your document where you can then insert the header information, including title, page number, date, etc. The same steps are applied when you click on Footer.
If you simply want to insert page numbers, then click thePage Number button that is to the right of Footer. A drop down box will appear which will allow you to choose where to place the page numbers. If all you want to do is add page numbers, this is quicker and easier to do then going through the Header or Footer dialogue.
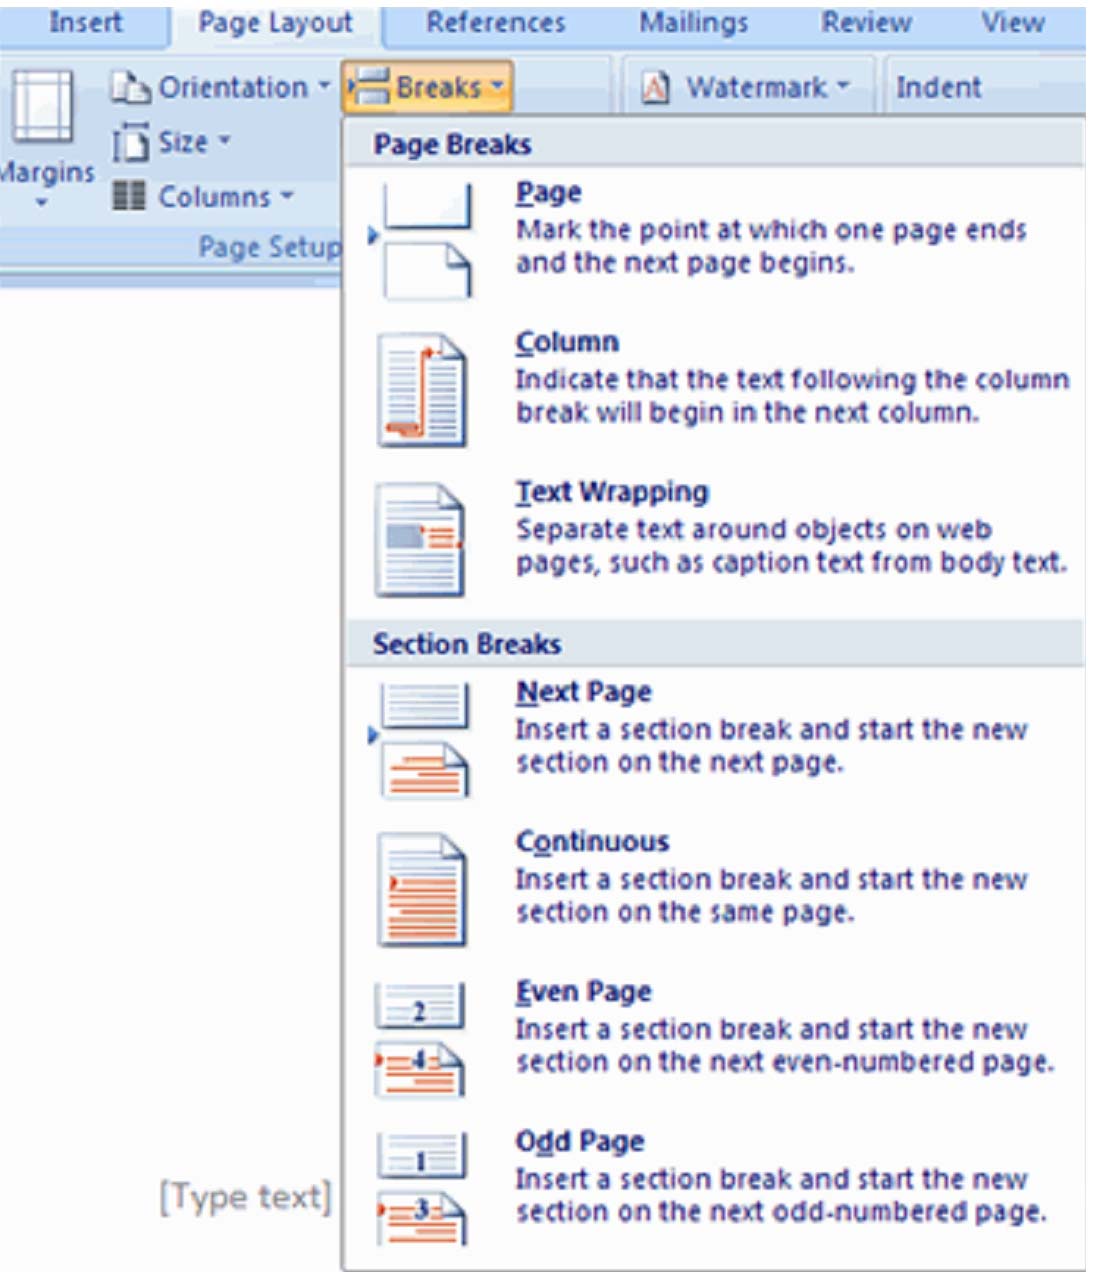
Create a Page Break
A page break is the point where one page ends and another begins.
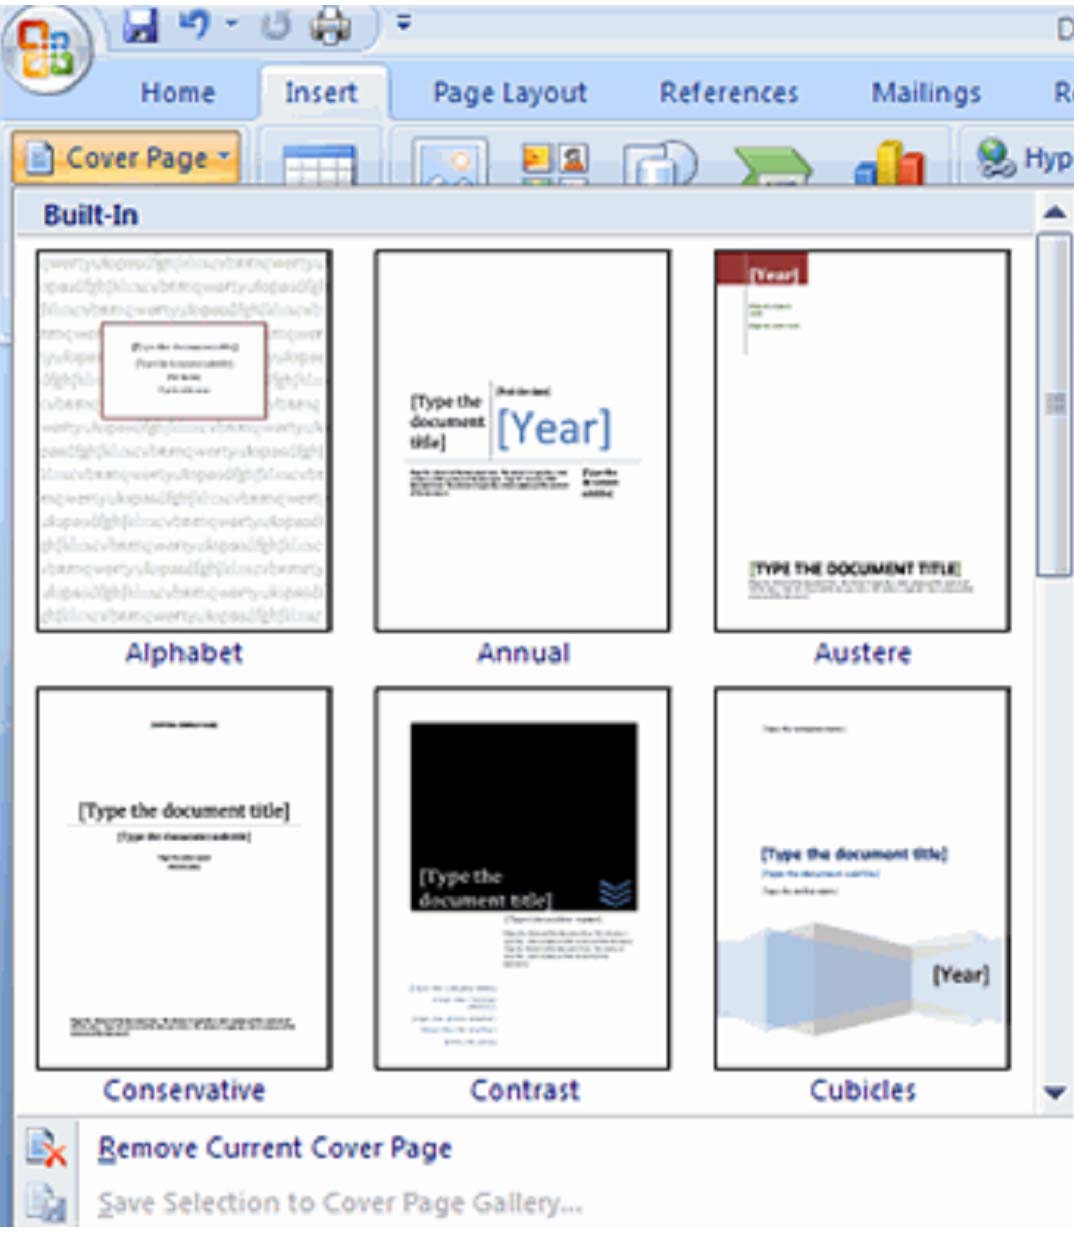
Insert a Cover Page
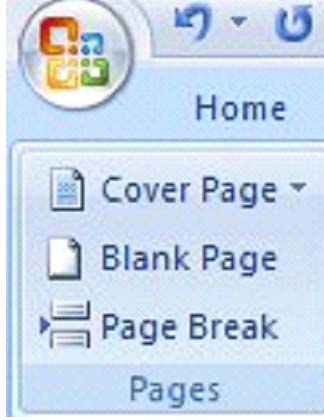
Insert a Blank Page
� Click the 'Insert' tab on the Ribbon.
� Select Blank Page from the 'Page' group. (Blank page is located directly beneath Cover Page.)
Inserting Graphics, Pictures, and Table of Contents
By now, you should be familiar with the navigational menus and toolbars and pretty much know your way around the program.

Inserting Special Characters Into Your Document
 4. Choose the symbol you want.
Inserting Equations
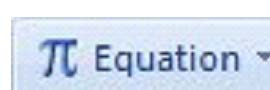
You can create and insert mathematical equations into your document using MS Word 2007.
 (located beneath Symbol) and select your equation. You'll see a box similar to the one below.
To edit an equation, click 'Design' in the Ribbon while the equations dialogue box is open. (See above picture.)
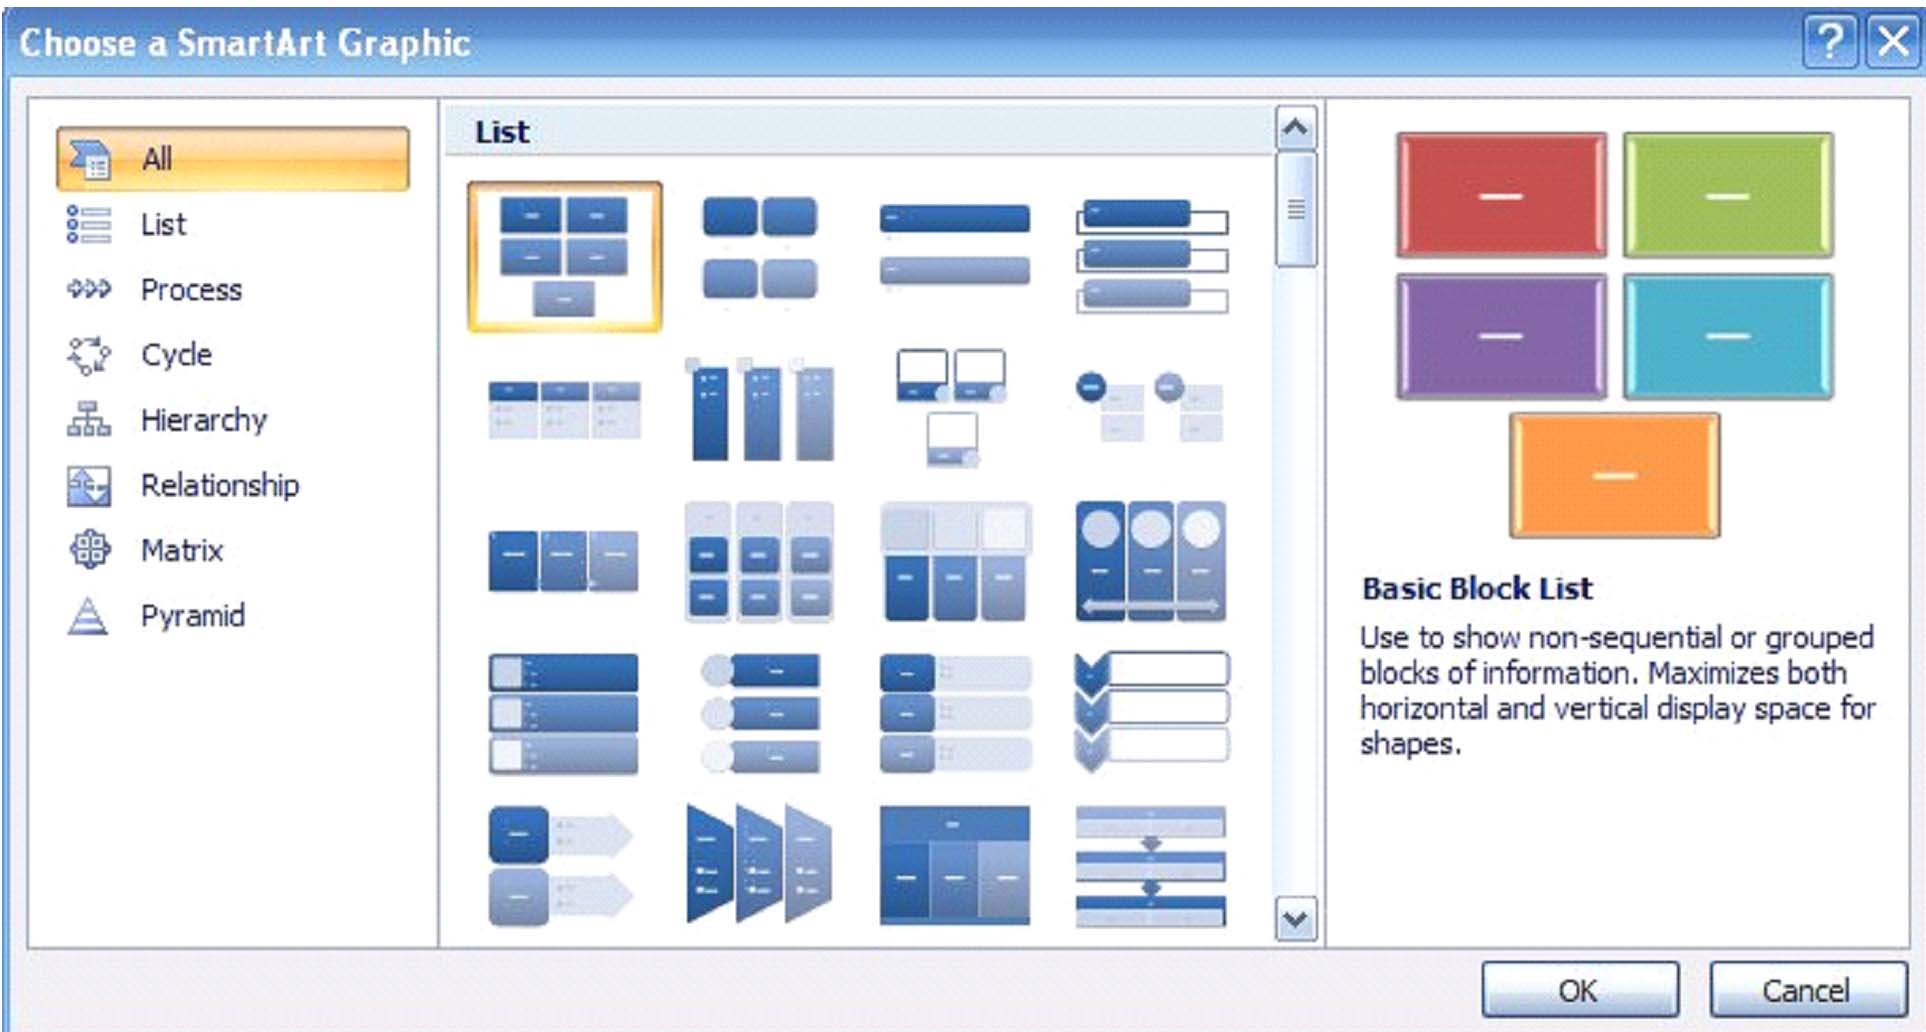
How to Insert Illustrations, Pictures, and SmartArt
Inserting illustrations and pictures are probably two of the easiest things to do in MS Word.
 in the 'Illustrations' group, then locate and select the file that you want to insert in your document.
For SmartArt, which includes timelines, processes and workflows that you can use, select the SmartArt button in the 'Illustrations' group. The dialogue box (pictured below) will appear. Select the SmartArt you want to insert into the body of your document.
Resizing Graphics
Resize graphics by clicking on the graphic, then dragging a corner until you get it the size you want it. You can also resize a graphic by clicking on it, then right clicking and selecting 'Size.'
Watermarks
A watermark is a light image that appears behind all text and images in a document. It can be inserted to authenticate a document, mark it as a sample, etc.
To put a watermark in your documents:
- Go to 'Page Layout'
- Click the Watermark button in the 'Page Background' group.
- Select the watermark you want to use or click 'Custom Watermark' and create your own.
- If you want to remove a watermark, follow the steps above, then click 'Remove Watermark'.
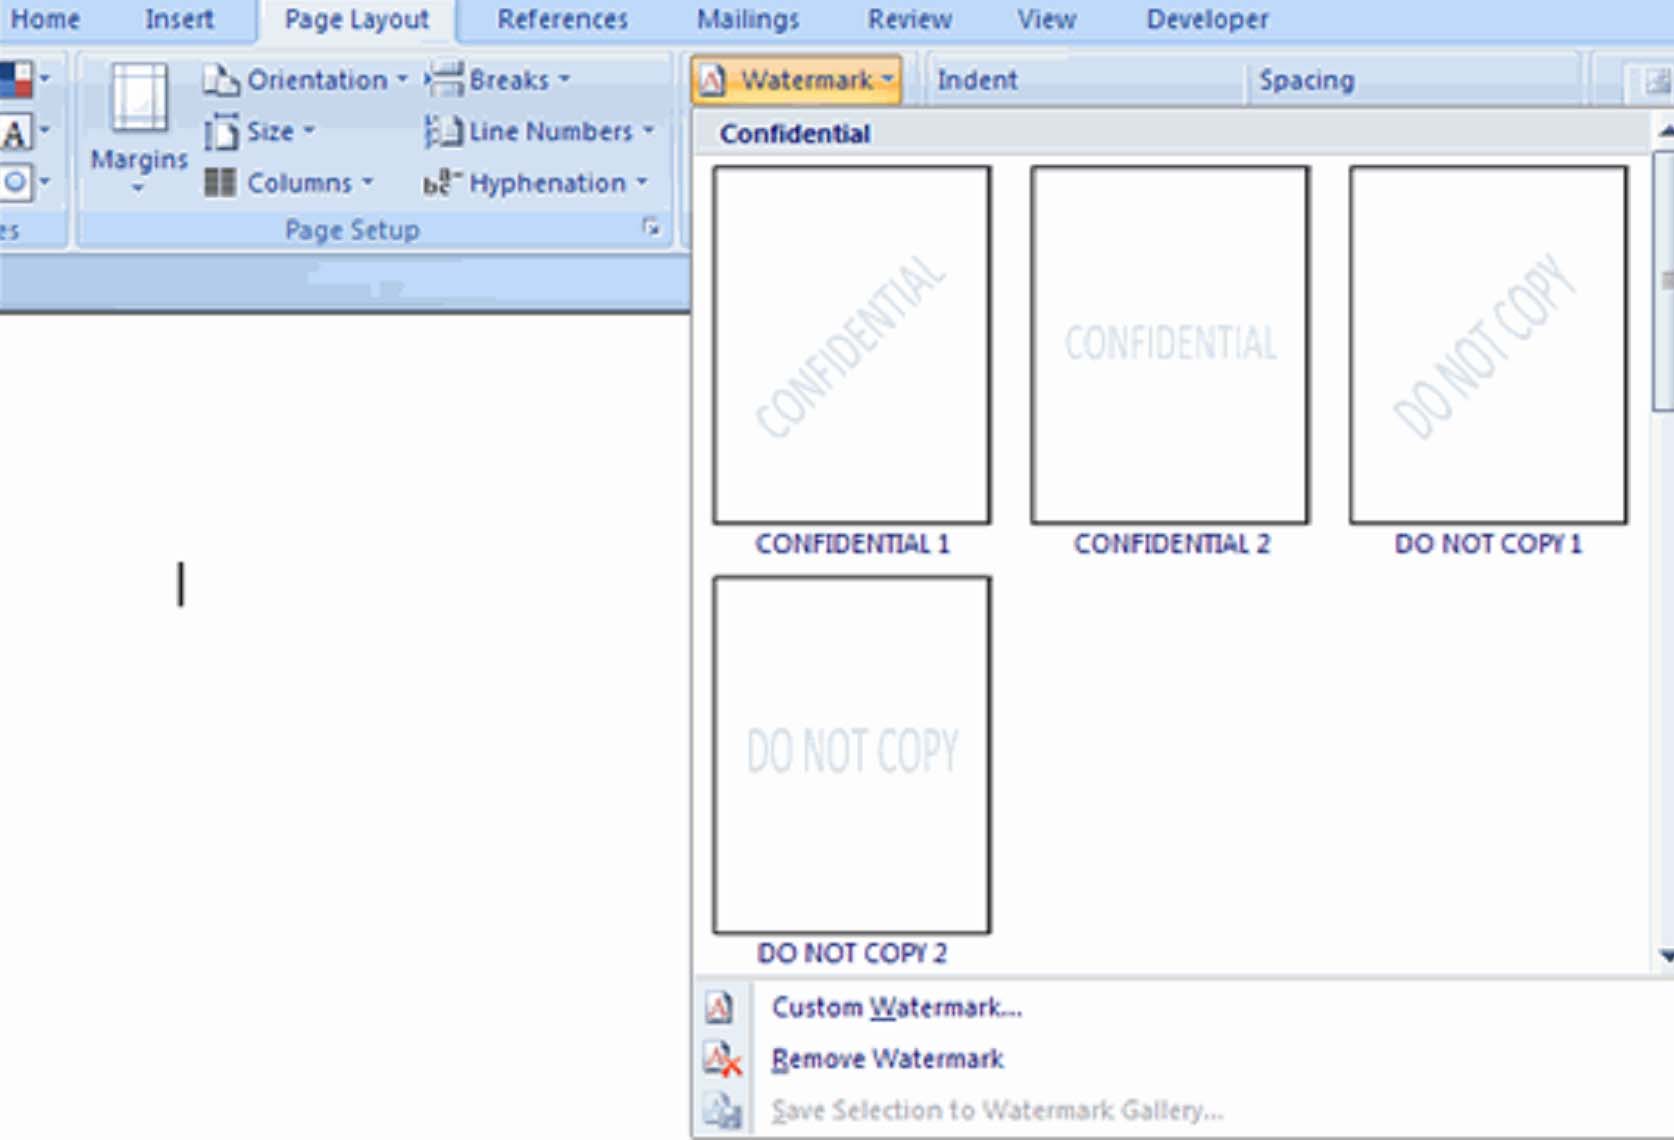
Table of Contents
Creating a Table of Contents for any body of work that you create in MS Word is also very quick and easy.
The quickest way to create a Table of Contents is to put all chapter titles, subtitles, section headings, etc as Headings. Any category that you want listed in a Table of Contents should be listed as Headings.
To list categories, chapter titles, etc as headers:
- Go to the 'Home' tab in the Ribbon
-
Go to the 'Styles' group. Select Heading as the style you want to apply.

The lower the number (ex. Heading 1), the larger the font of the heading. You'd want to use a larger heading for chapter titles and smaller headings for subtitles.
Creating a Table of Contents
When you're finished with your document and ready to add a Table of Contents, or TOC, select the place in the document where you want it to appear and put the cursor there.
� Next, click the 'References' tab in the Ribbon.
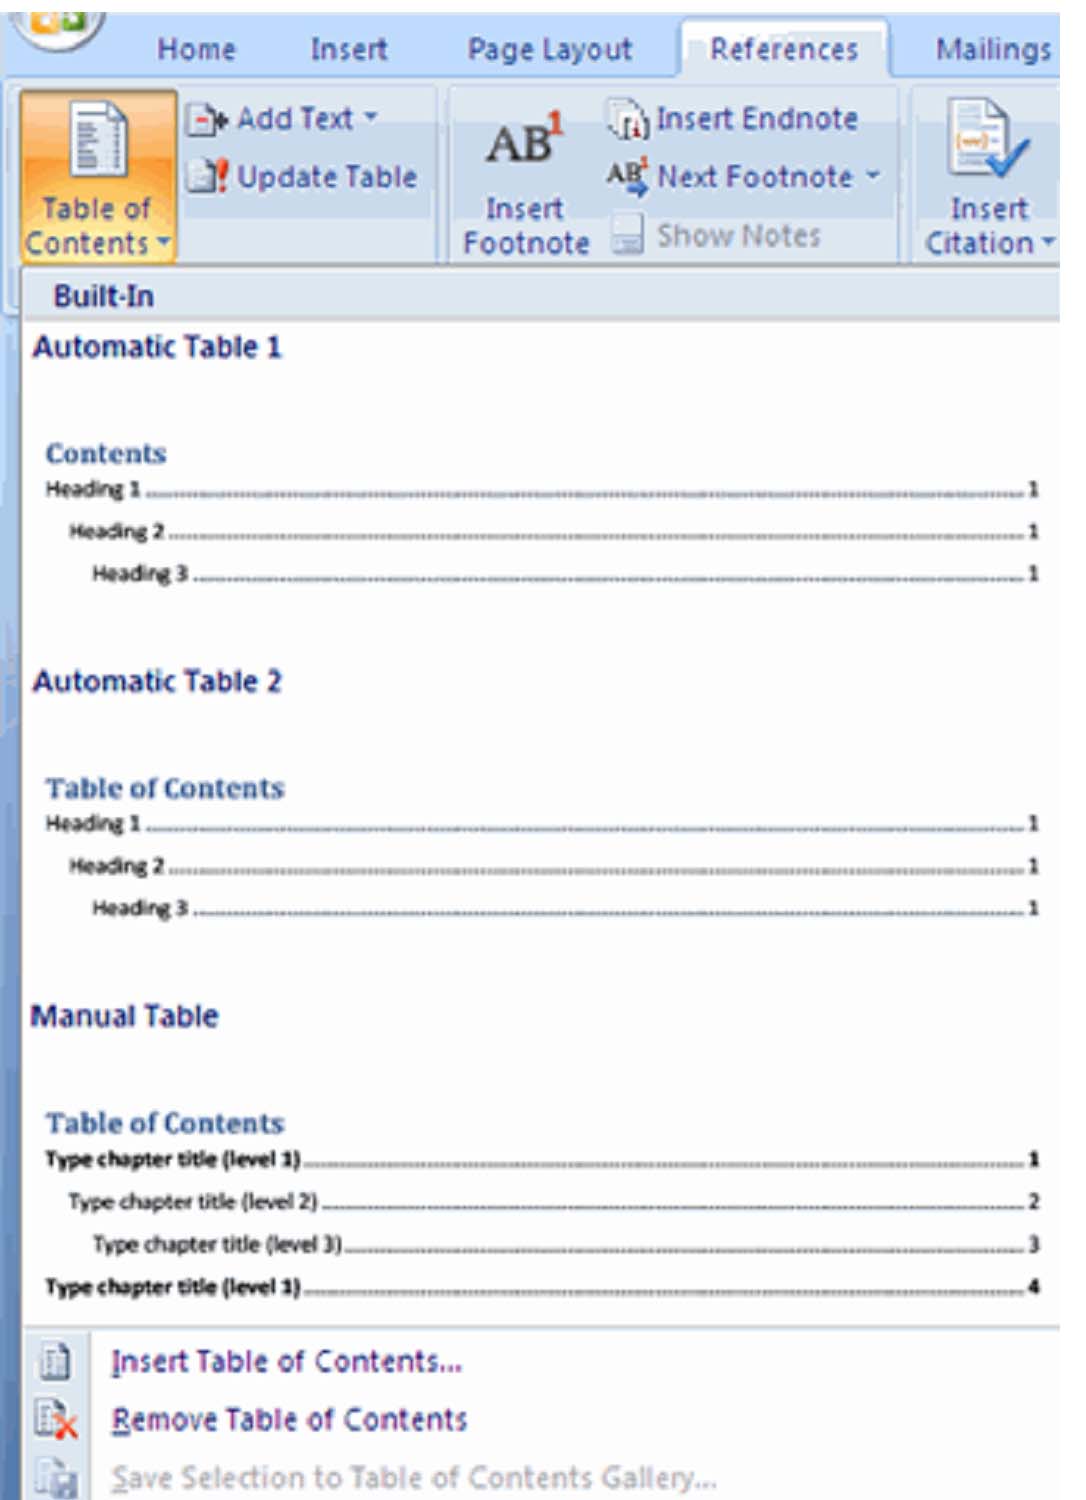
� Select the format you'd like to use for your Table of Contents. (Notice how important Headings are in the format. )
Update a Table of Contents

Delete a Table of Contents
If you should decide you don't want to use a Table of Contents or need to delete it for any reason, that is also as simple as the click of a mouse.
Simply click on the Table of Contents again. Scroll down the drop down menu until you see 'Remove Table of Contents.' Clicking on that will remove the Table of Contents from your document. Be careful doing this, however, Your Table of Contents cannot be recovered once it is deleted.