An Introduction to Microsoft Word 2007
Microsoft offers a bundle of software programs within MS Office, with each offering a different function. Microsoft Word is a word processing program similar (but better than) the antiquated Word Perfect or the Microsoft Works Word processor. Just like any other word processing program, you use MS Word to view and edit formatted text within a document. A formatted text document is defined as a document that contains text which may be in bold, italics, underlined, a different color, or a different font. All word processing programs can do all of this, but Microsoft Word allows you to do a lot more. For that reason, Microsoft Word is the most used word processing program in existence today.
Remember, even if you've never used MS Word before or need to become familiar with the features of Word 2007. For that reason, pay attention even if you think you already know the information. Some features have changed in 2007 and others have been moved. We'll show you how to use and find everything.
Word Processing Versus Desktop Publishing
Before we continue and delve into the particulars, it's important for you to realize that MS Word is not a desktop publishing software program. There are distinct similarities and differences between a word processing program and desktop publishing, so the lines can become blurry. Knowing which software you need to use � and if using MS Word will complete your task for you-- will enable you to use MS Word for the correct reasons and not to waste your time trying to get it to do something it simply cannot.
|
Both MS Word and desktop publishing software allow you to:
|
The differences are:
- When you open a new document in MSWord, you see a blank field in which you input text.
- In desktop publishing software, you must create a text frame in which to add text.
Keep in mind that you can insert text frames into MS Word and use it as a desktop publisher, but it is not as easy as using a desktop publishing software.
Starting Microsoft Word 2007
You open Microsoft Word by clicking on the icon on your desktop (if you have one there) or in the program bar. The icon for  Microsoft Word 2007 looks like this:
When you click on the icon, a blank document will open. This is a new document for which the default name is Document1. For each additional new document that you open, the name increases by one digit: Document2, Document3, etc. If you start MS Word by clicking on an already existing document on your computer, it will open automatically and your document will be displayed in the MS Word window.
Virtual Tour of MS Word 2007

As with any software program or web page that you look at, the line allows you to minimize the page, the box allows you to maximize, and the X closes out the page on your computer. Don't worry. If you should accidentally click the X, MS Word will prompt you to save the document.

The toolbars in MS Word 2007 change depending on whether you click Home, Insert, etc. Above is the toolbar that appears when you click Home. Below is the toolbar you will see when you click Insert.

We'll learn the features of these toolbars later, so do not worry about studying them right now. It's only important that you know what they are and where they are located.
You can also customize your toolbars in MS Word 2007. To do this, click the downward arrow at the very top left of the page. It can be seen in the snapshot below on your far right. This is called the Quick Access Toolbar. You can click on it while using MS Word to preview all you can do with it, including customizing your toolbars. 
Below the toolbars, you have the document area. It takes up the majority of the window and is where you will type or edit text. To type in the document area, just click in it and your cursor will appear.
The Microsoft Office button appears on the left in the picture above. Clicking on it will give you many of the same options as File did in previous versions of MS Windows.
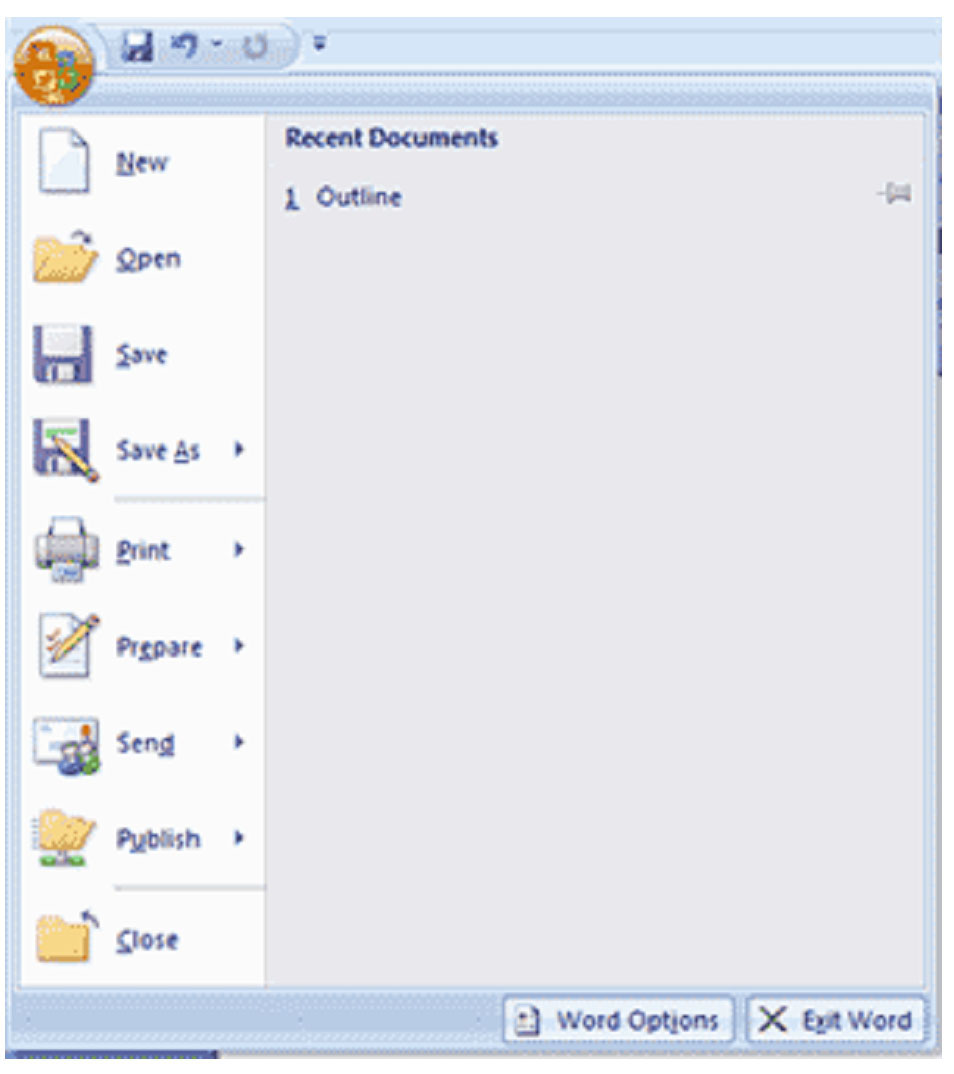
You can create a new document, edit an existing document, save, publish, print, or close.
The Ribbon is an improved feature to MS Word 2007. The Ribbon is tabs you see at the top of the page labeled Home, Insert, Page Layout, etc. There are seven tabs. These tabs are divided into groups which you will see below the tab. These groups are in place to provide the editing features you might need when clicking on that particular tab. The groups are labeled. Those labels are right above your document pane. In the 'Home' tab, the groups are Clipboard, Font, Paragraph, Styles, and Editing. The toolbars for these groups are located just above the labels. The groups in MS Word 2007 are the same as the toolbars in previous versions. They are just much more organized, making it easier for you to find what you need and complete the task. To view additional features, click on the arrow at the bottom right of each group beside the label.

Spend some time clicking the tabs and becoming familiar with the groups within each tab. It is recommended that you do this before continuing to familiarize yourself with the layout of MS Word 2007, especially if you're currently accustomed to previous versions.
Opening a New Document
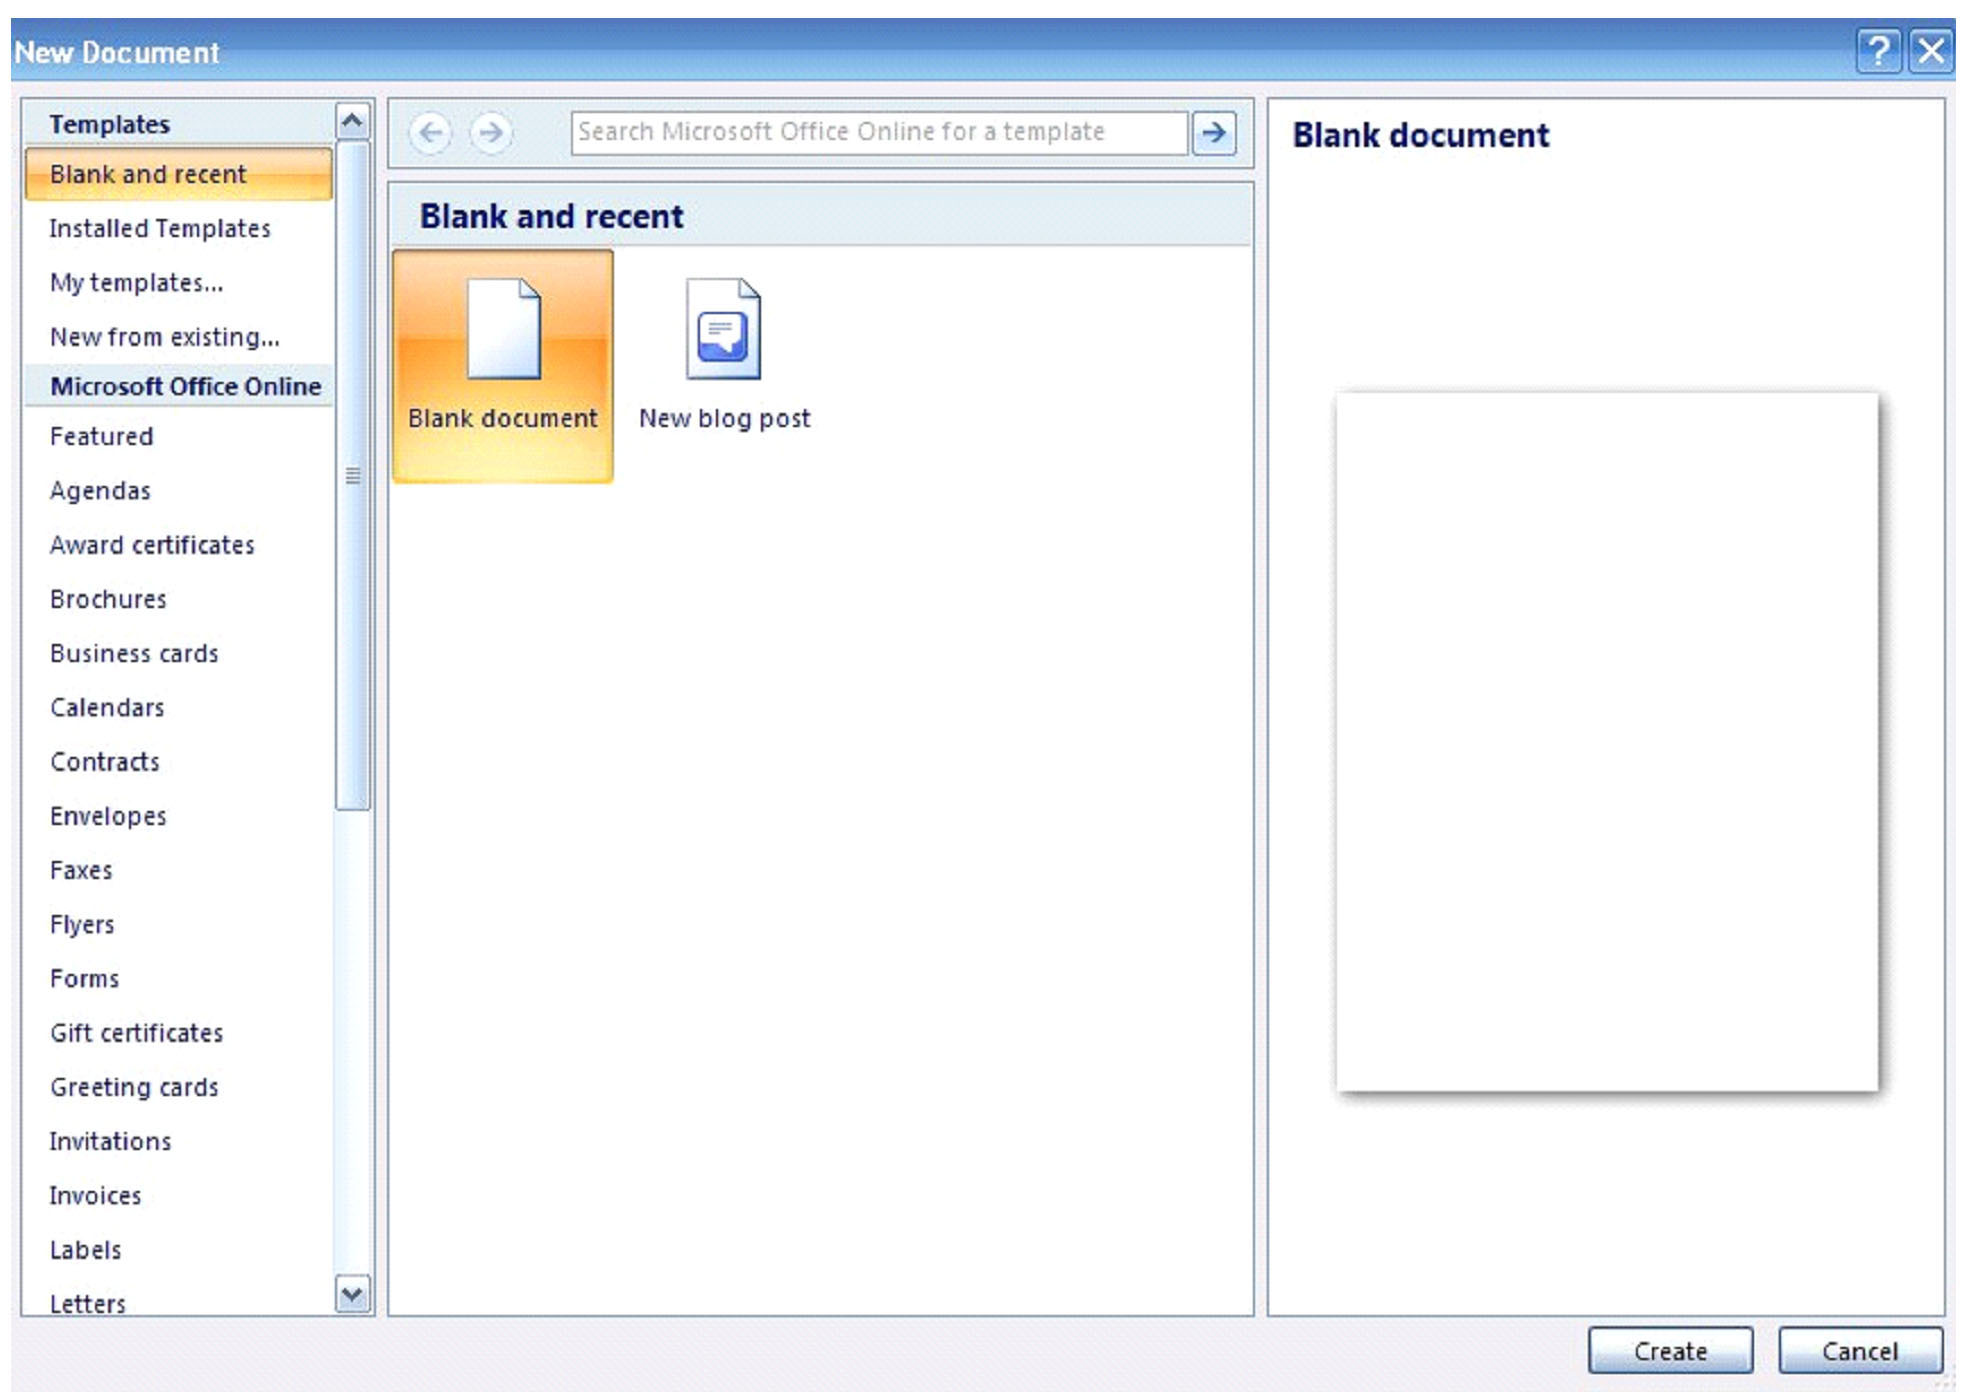
However, to open just a blank MS Word document, you can simply select 'blank document' as highlighted in the former picture, then create. It's as simple and easy as it can be.
Saving a Document
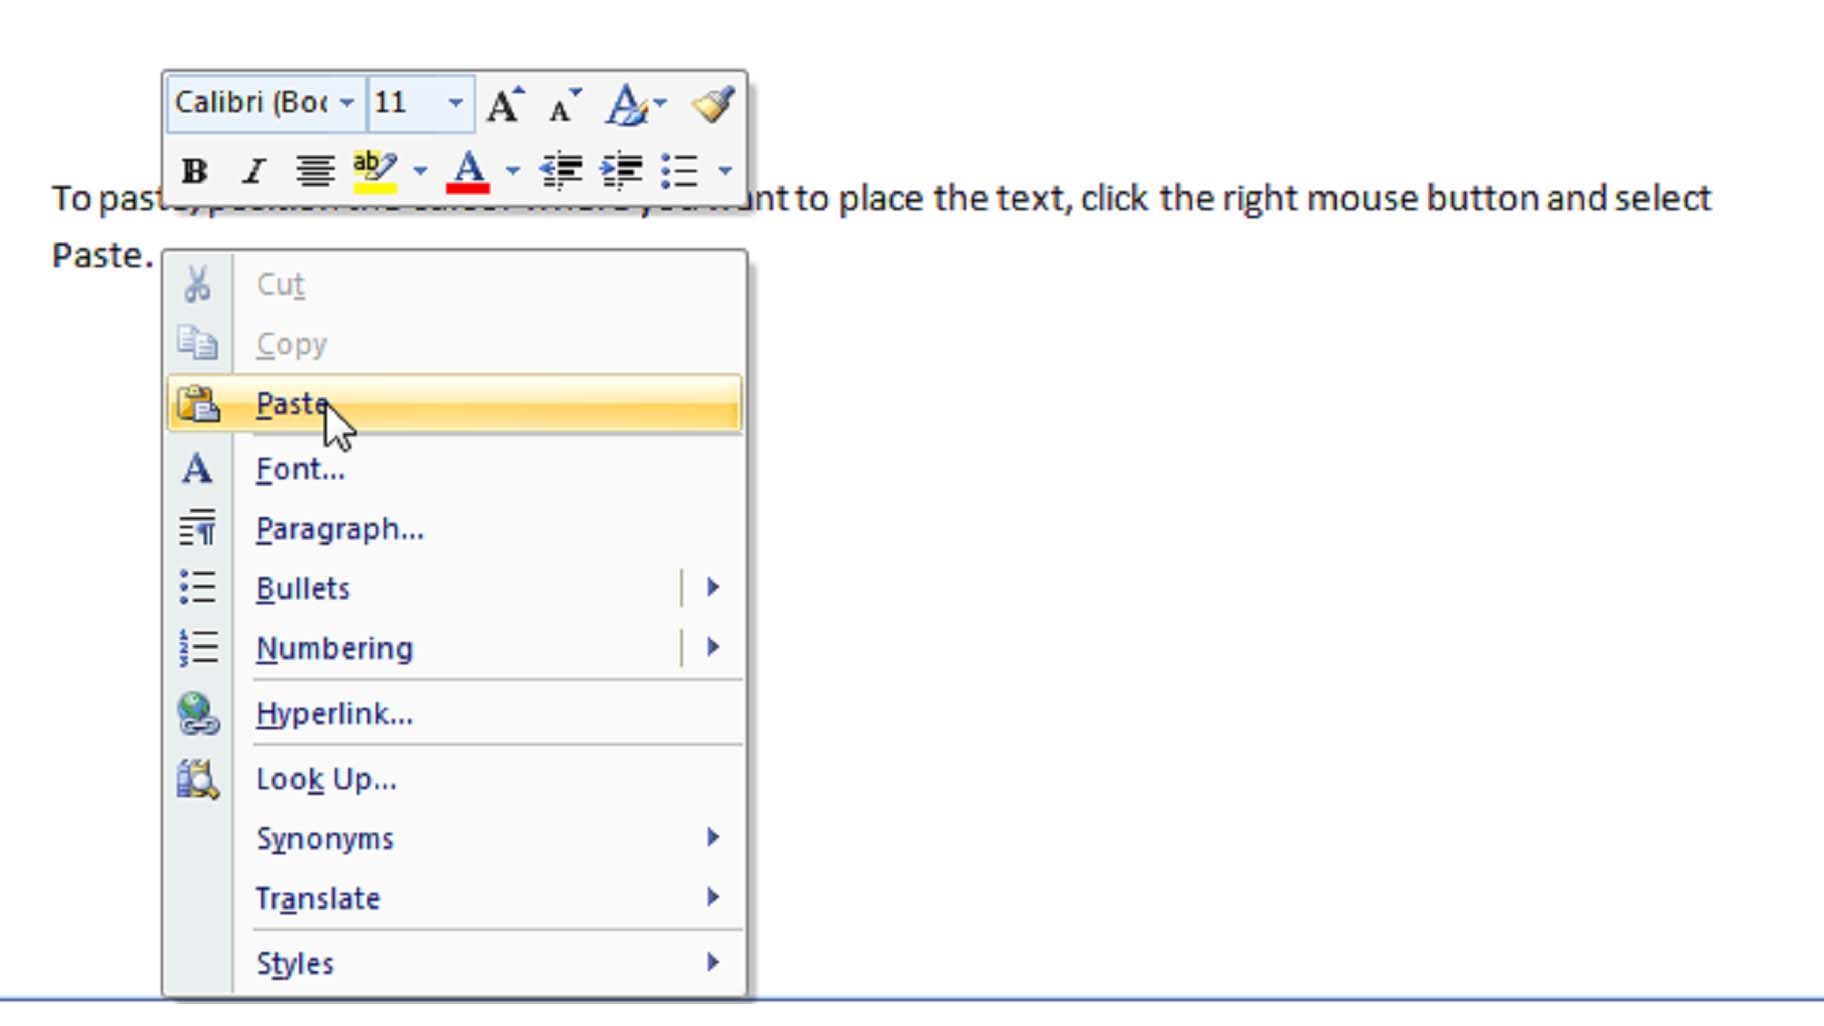
Let's say that you've created a new document and wish to save it to your computer to use again later. You can do this quickly and easily in MS Word 2007 in one of two ways. The first way is to use the Microsoft Office button. Click on it, then scroll down to select either 'Save' or 'Save As'. Clicking 'Save' will enable you to save the file under its current name. Keep in mind that if this is a new document, it will save the file by the default name of Document1. When you click 'Save,' if another file of the same name exists, MS Word will prompt you to either enter a new file name or to replace the existing copy with the new version you are currently saving.
Clicking 'Save As' gives you a lot more options to saving your work. First of all, when you click 'Save As,' you must specify a file name. You must also specify the format that you want to save the file in. MS Word's default file format is .doc or Word Document. This is an acceptable and much-used format that should be satisfactory for most MS Word users, but you can select the format that you need depending on the work you need to save. You can also save your work as a template or in MS Word 97-2003 recognizable format if you'll be forwarding the file to users who may not have MS Word 2007. When you click on 'Save As,' it will present all these options to you in a slide-out window to the right of 'Save As.'
You can also save a document by clicking the picture of the floppy disk that is located to the left of the Quick Access button. However, this will save the file under the current name. You will not be able to name the file or select the format. It's a good idea to click this button every so often while working in a document to save it in case of a power outage, computer freeze, or anything else that may cause you to lose your work.
Warning: Do NOT close MS Word without saving your document. You MUST save your document using one of the methods listed above or your work will be lost forever.
Getting Help with MS Word 2007
If at any time you have a question or need to know exactly how to find or accomplish a task, you can also ask MS Word for help.
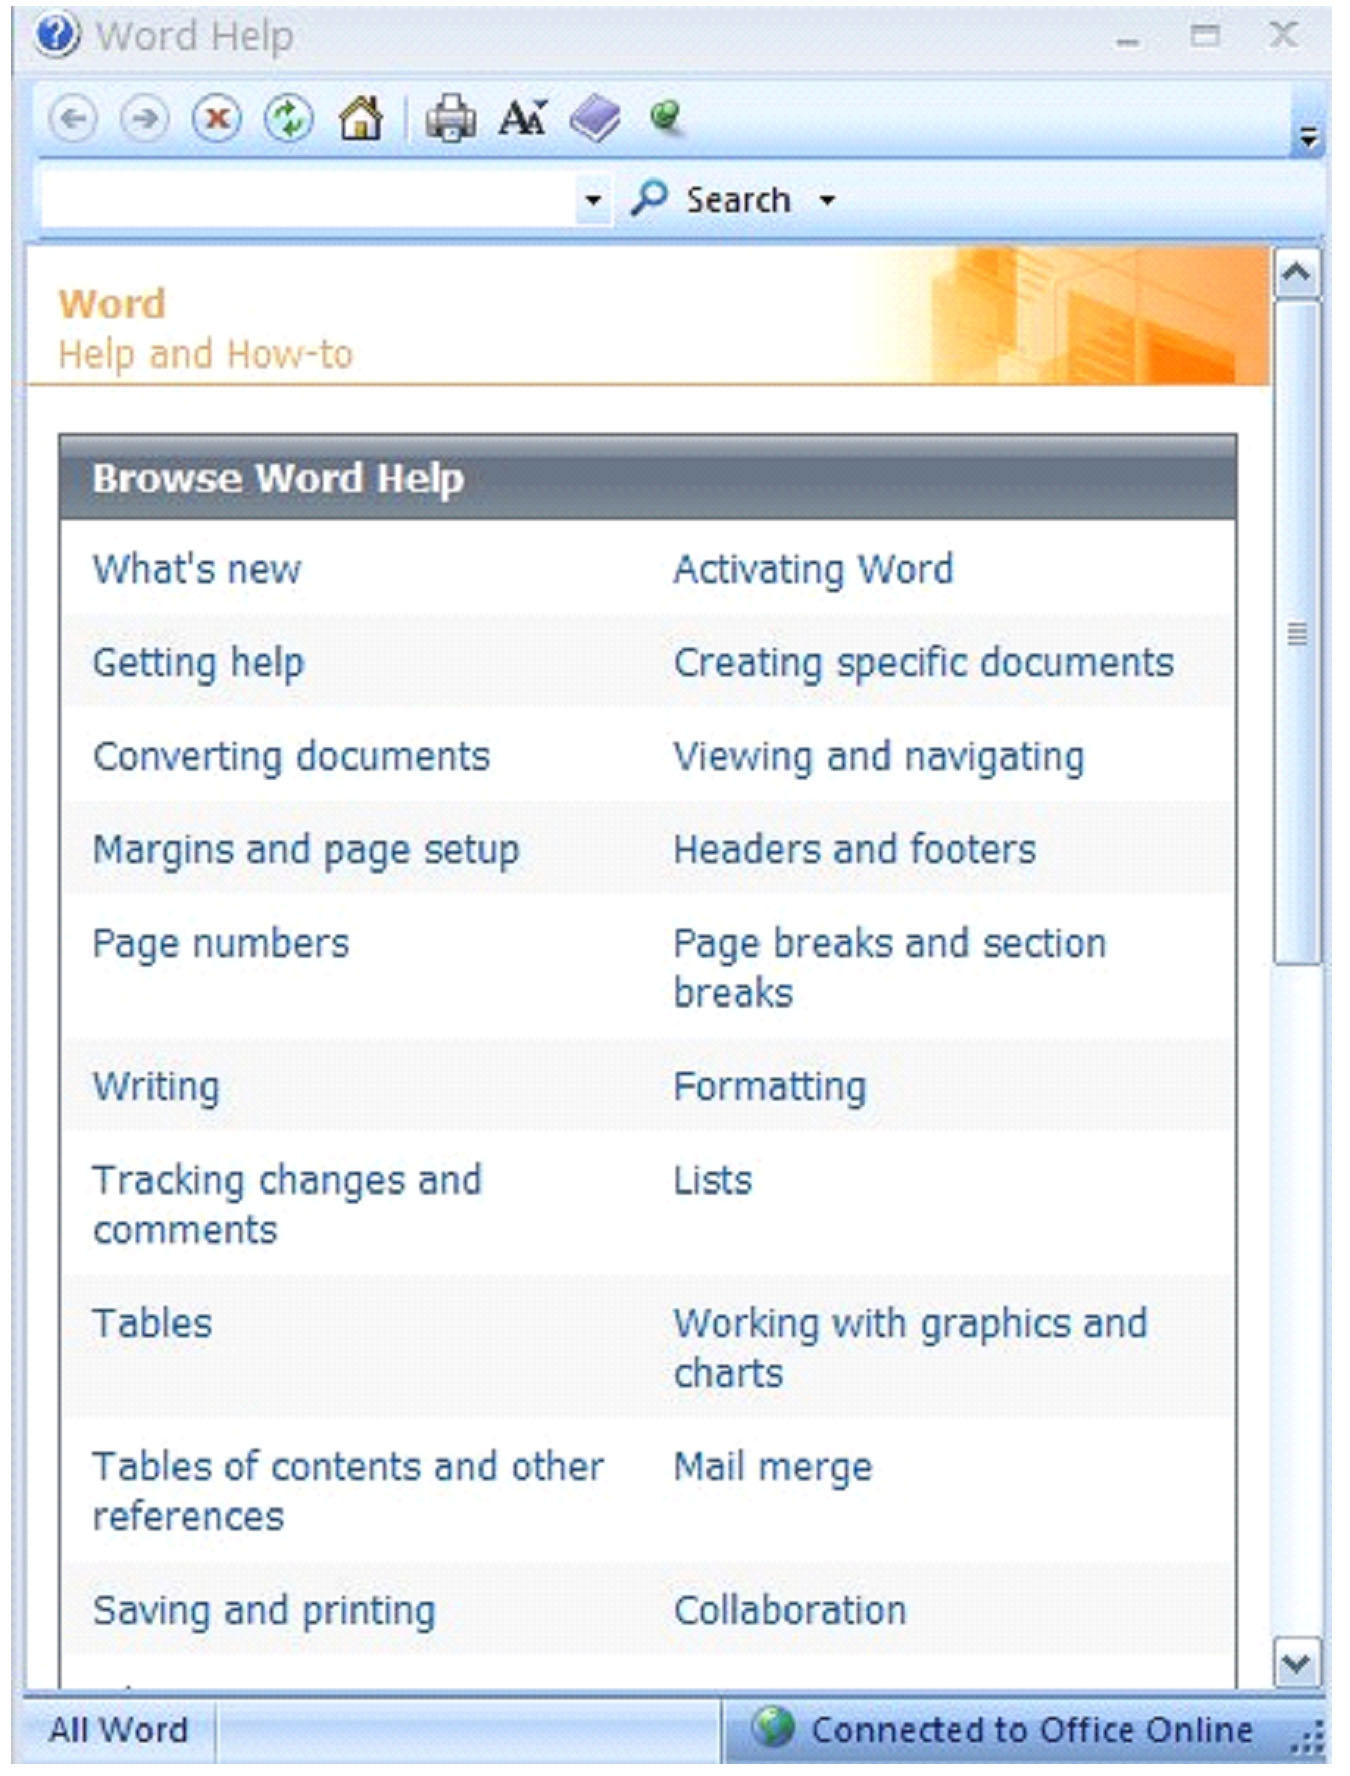
You can use MS Word help to remind you how to complete certain tasks or to refresh your memory. It is always there as a reference tool and is free to use.
Conclusion
Basic Editing
Microsoft Word 2007 is a big step up from the days of old, when we'd roll a sheet of paper into our typewriter and pound away, praying we wouldn't make a mistake. If we did make a mistake, our options were limited--we could either crank a clean sheet into the carriage and start all over or use white-out. Neither option was particularly inviting. On the one hand, we'd have to type most of it all over again and hope we didn't make another mistake or we'd have to use white-out, glopping that foul-smelling elixir onto our mistakes, losing our inspiration or our train of thought while we waited for it to dry.
With Microsoft Word 2007, we leave all of that behind. We can go back and fix an error with a mouse-click and a few simple keystrokes. We can delete and insert words, paragraphs or an entire page anywhere in the document, and even move text from one location to another.
In this article, you'll become familiar with the basic tools Word 2007 uses to edit a document.
The Cursor
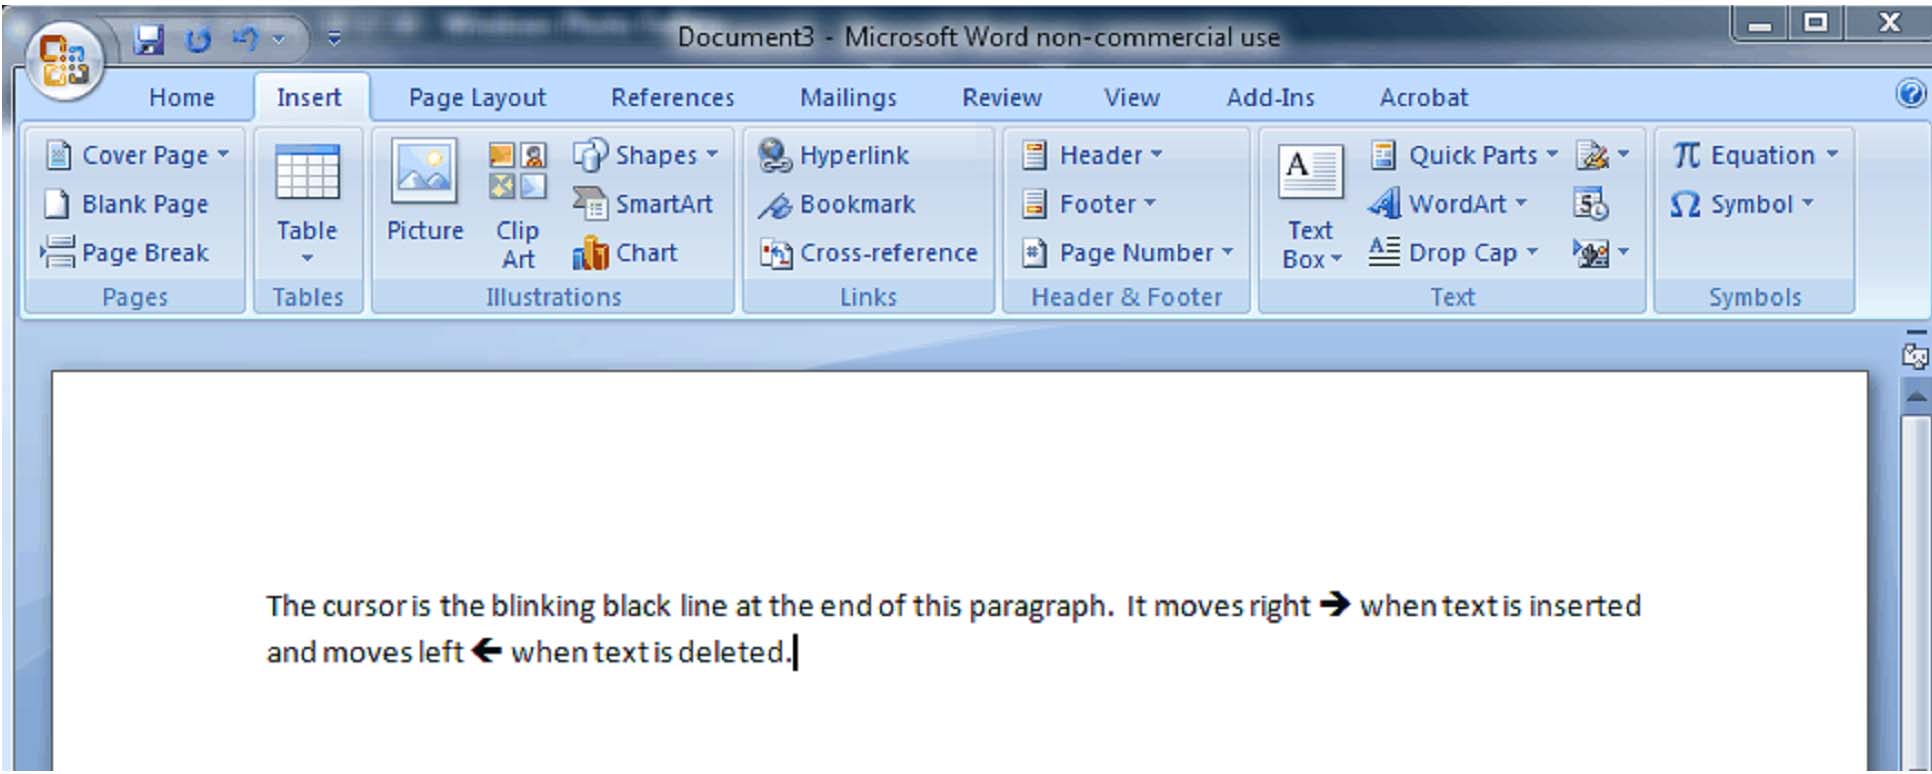
If you've spent any time at all on the computer, you should be familiar with the cursor. In Word, it is a thick blinking black line. It is the line that lets you know where you are in the document and where characters will appear as you type. You can move the cursor anywhere in a document by using the arrow keys on the keyboard or by moving the mouse pointer to the desired location and clicking the left mouse button.
The cursor moves to the right as you type and to the left as you backspace.
The cursor can be quickly repositioned to certain preprogrammed places in the document by using keyboard shortcuts. To move the cursor to the beginning of a line, use the HOME key. To move it to the end of a line, use the END key. To move the cursor to the beginning of the document, use CTRL + HOME and to move it to the end of the document, use CTRL + END.
Inserting Text
You can insert text anywhere in a document simply by moving the cursor to the desired location and typing.
Word automatically moves all text to the right of the cursor as you type. If, however, you'd rather replace the text as you type, Word 2007 gives you two options:
- Select the text you'd like to replace and start typing. This deletes the highlighted text and positions the cursor in its place.
- Use Overtype Mode. To turn on overtype mode, click the Microsoft Office button
 , select Word Options
 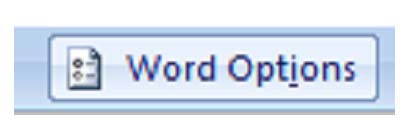 then Advanced. Check "Use the Insert key to control overtype mode" or the "Use overtype mode" box.
If you select the "Use the Insert key to control overtype mode" box, you can toggle overtype mode on or off by pressing the Insert key. If you select only "Use overtype mode" you must manually turn it off by deselecting it.
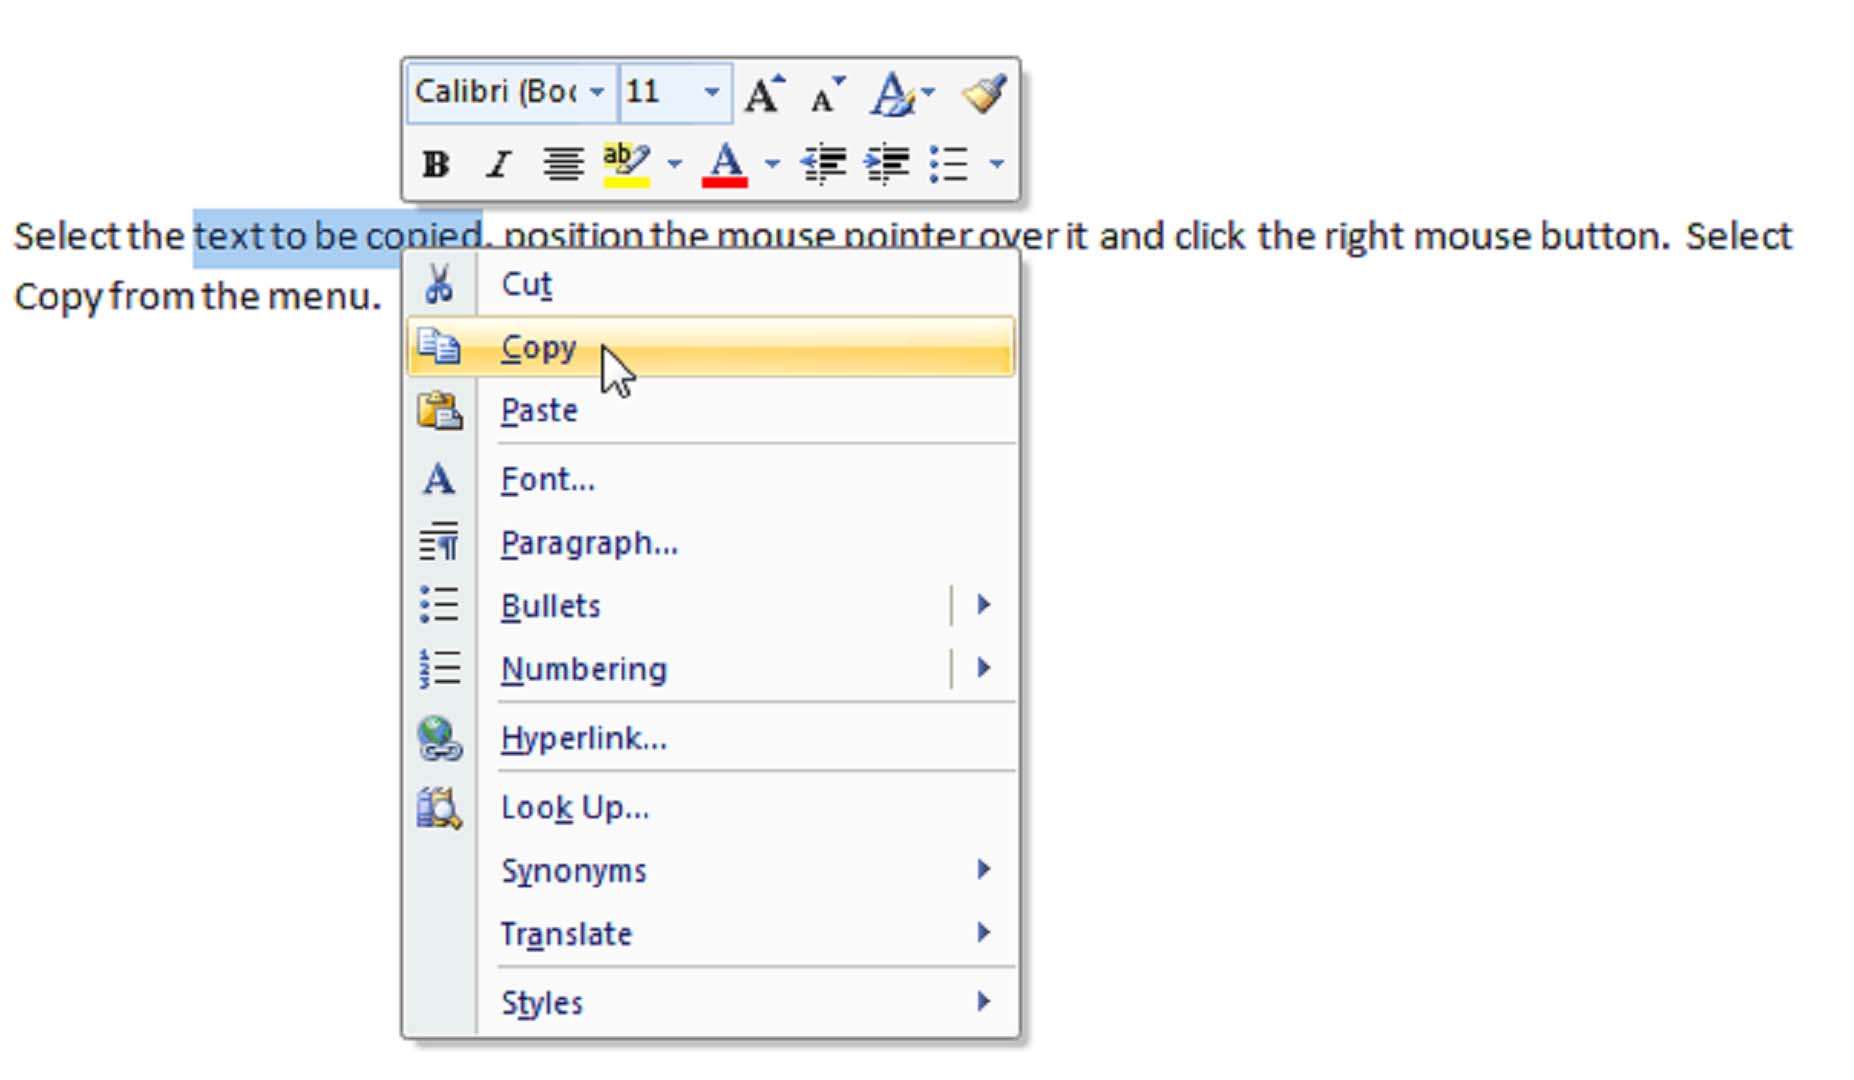
Selecting Cut rather than Copy, removes the selected text but still allows you to paste it where you want it.
Deleting Text
You can delete text by using the Backspace and Delete keys. But you must remember that Backspace removes characters to the left of the cursor, and Delete removes characters to the right.
To delete blocks of text, select the text to be deleted and press either the Backspace or Delete key.
Moving Text


The Undo button can be found in the upper left corner of the program window in what Microsoft calls the "Quick Access Toolbar" The Undo button is the blue arrow shaped like a comma. If you are not sure you've got the right button, you can move your mouse over it and wait and a small box that reads "Undo Typing (Ctrl-z)" will appear. Word allows you to undo up to 100 actions.
The Redo button is to the right of the Undo button.  It looks like the recycle symbol you might see on trashcans at the airport. The redo button allows you redo an action that you just undid or to repeat the last action. If Word cannot redo the last action, the button will be faded.
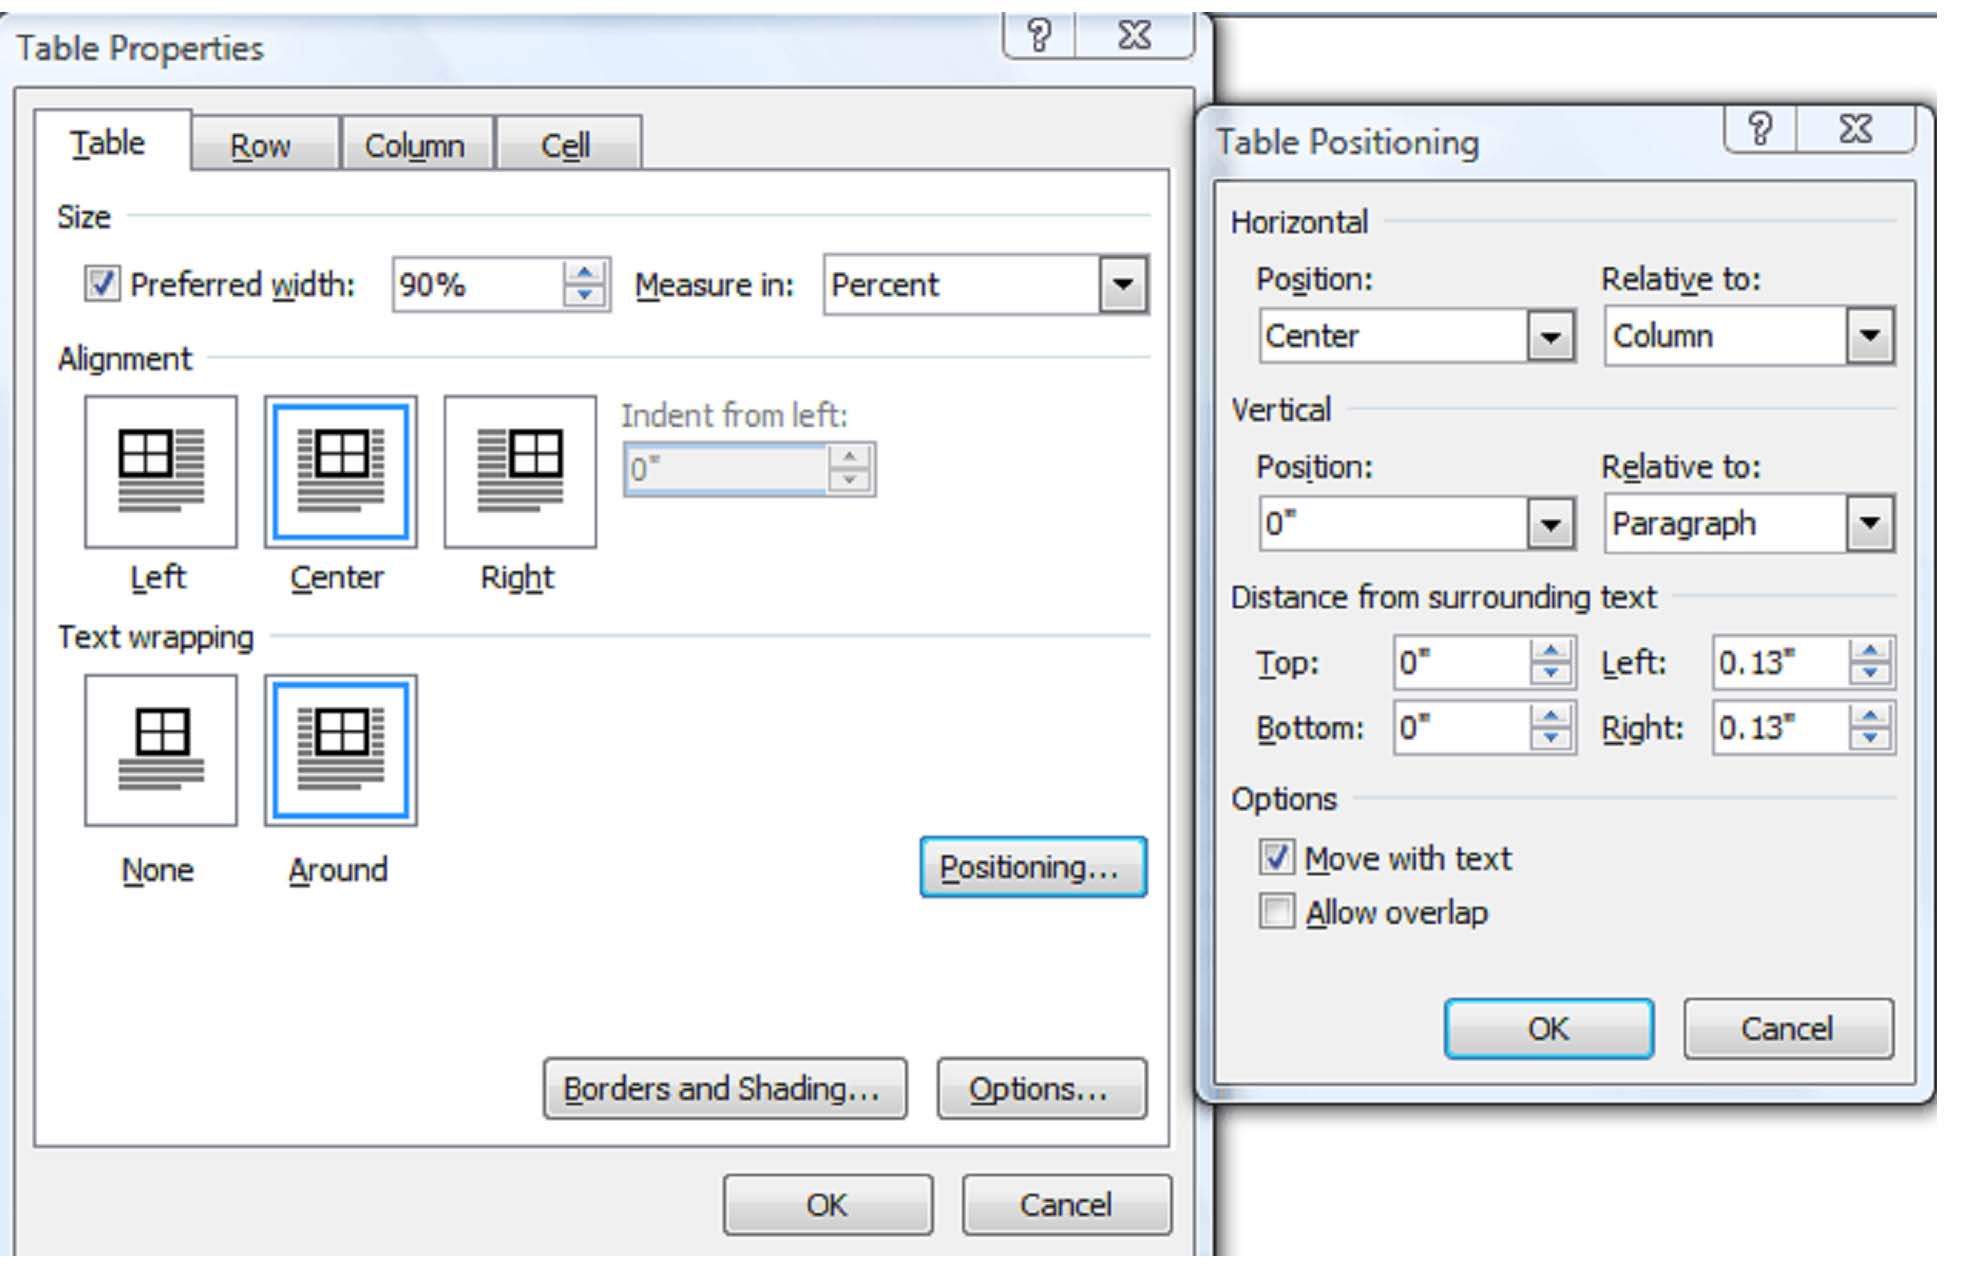
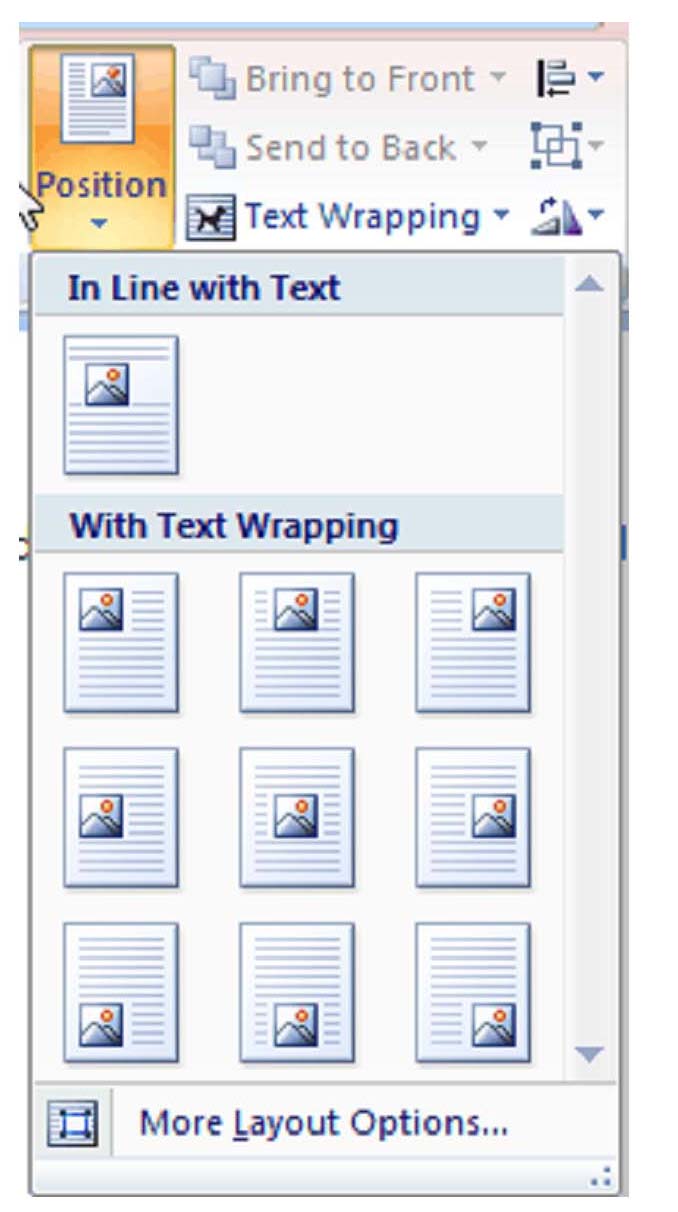
Wrap Text
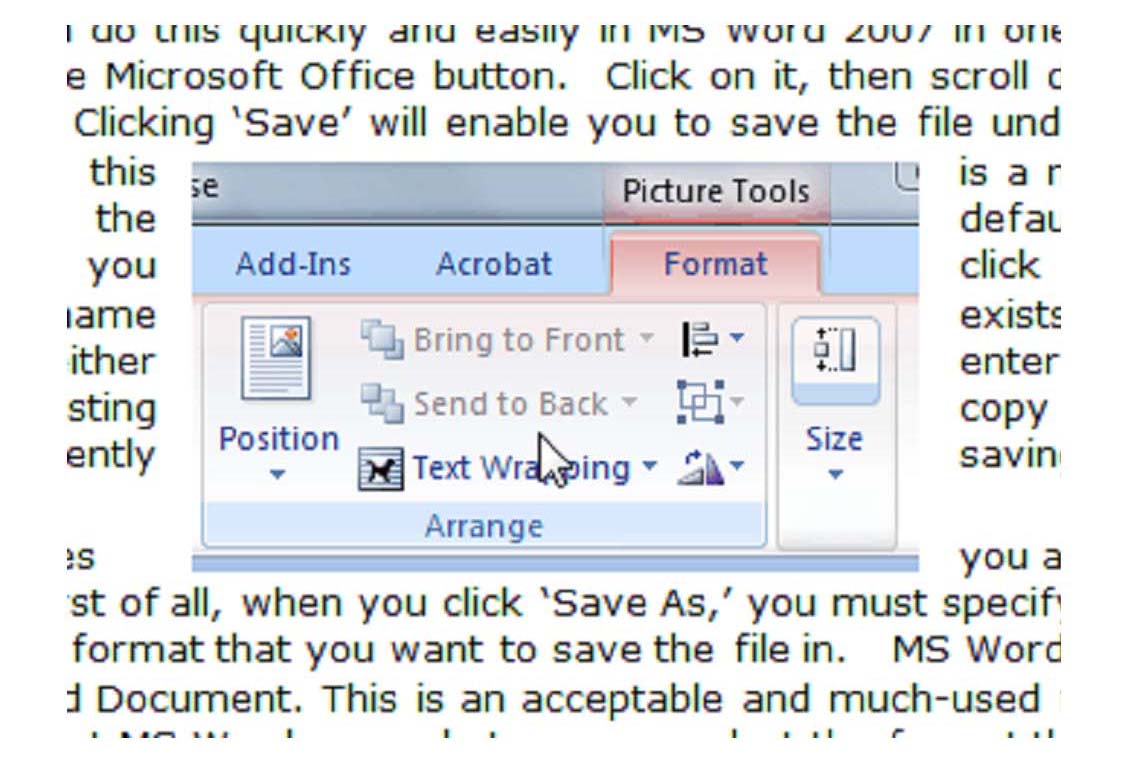
To wrap text around a picture or art object, click on the object. The Format tab will appear in the ribbon. In the Arrange group, click Position. A menu will unfurl. Select the desired position.
To wrap text around a table, click the table, then select the Layout tab in the menu. In the table group, select Properties.