Adding Headers and Footers
A header is text written at the top of the page, above the margin. A footer, of course, falls at the bottom of the page below the lower margin. Headers and footers typically contain information that is to be repeated on every page, such as the title of the work, its author, and the page number. This makes it easier for a reader to navigate through written work. A typical header may look like this:

Many times, the first page of a document, or the first page of every chapter, will have a different header than the rest. Likewise, you may want the odd numbered pages to carry only the author's name while even numbered pages show the title.
MS Word 2003 allows you to create headers and footers, and select the pages you want to apply them to. It will even fill in the appropriate page number automatically. All you have to do is put in the place holder.
MS Word 2003 has also automatically set the tabs to the most commonly used location. For instance, when you first create the header, the cursor begins at the far left of the header box. This is in the position to align text to the left. If you want to center text, simply push the Tab key. The cursor will skip to the center of the header box. When you type your text, it will be centered. If you want to align text to the right, hit the Tab key again. What's more, you can easily align text in each position within a single line without giving yourself a headache.
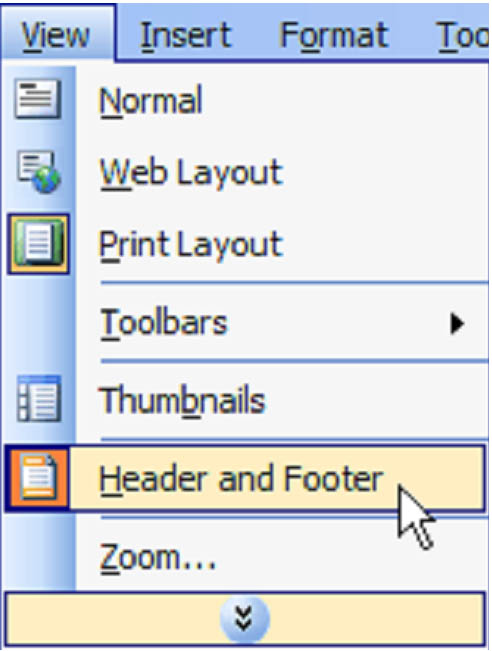
To create a header, click �View' from the menu bar then select �Header and Footer'.
When a header is selected, the text in the body of the document will turn grey, or "dim". Likewise, when you are finished editing a header or footer and return to the document, the information in the header or footer will appear dim.
When you are working within a header or a footer, its dimensions will be identified by a dashed line.
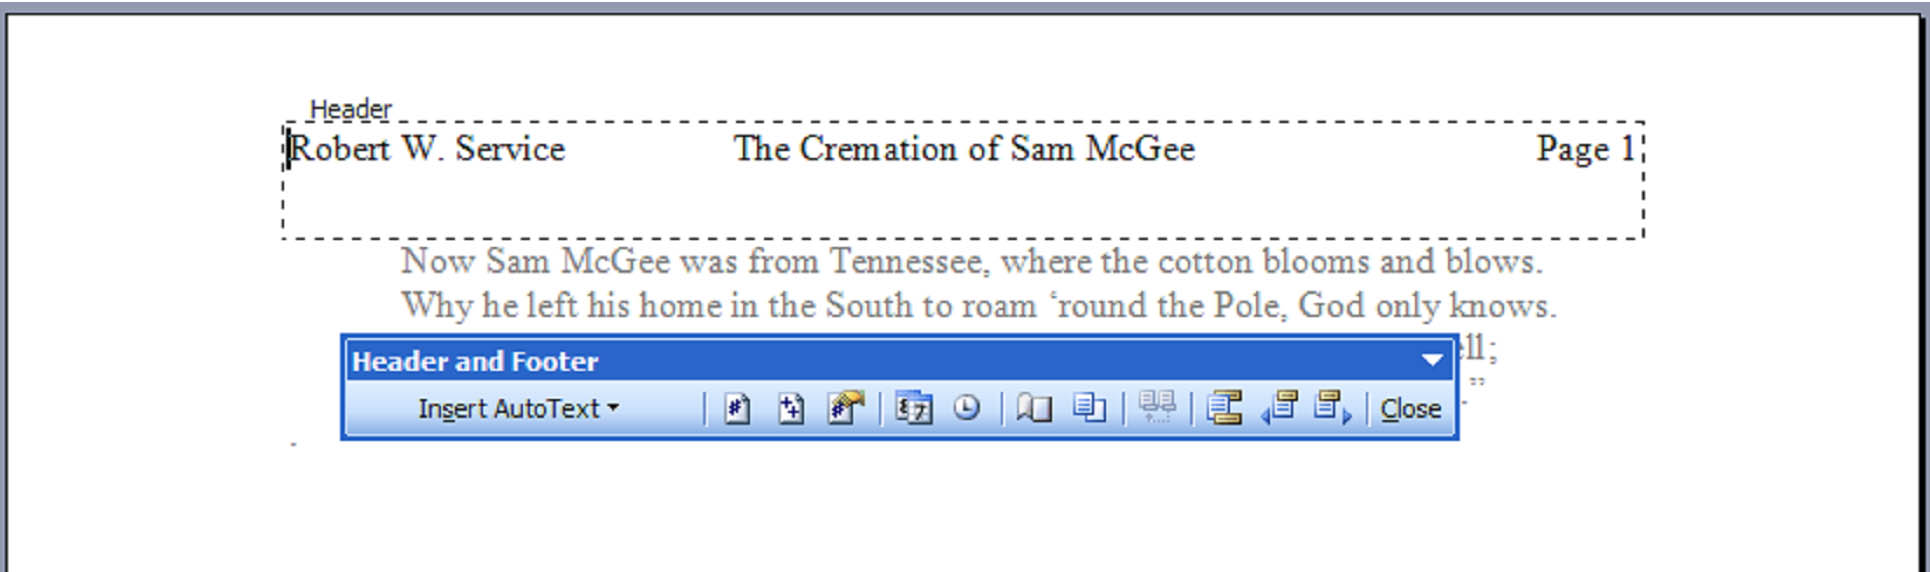
A floating toolbar will also appear. It contains the most commonly used tasks associated with creating a header or a footer. From this toolbar you can insert AutoText (which we'll talk about in a minute), insert the current page number, the number of pages, the date and the time.
You change the character level formatting in a header and footer, the same way you would in the body of a document.
The �Insert AutoText' feature gives you a list of the most common pieces of information found in a header or a footer, and enters it automatically with the click of a button.
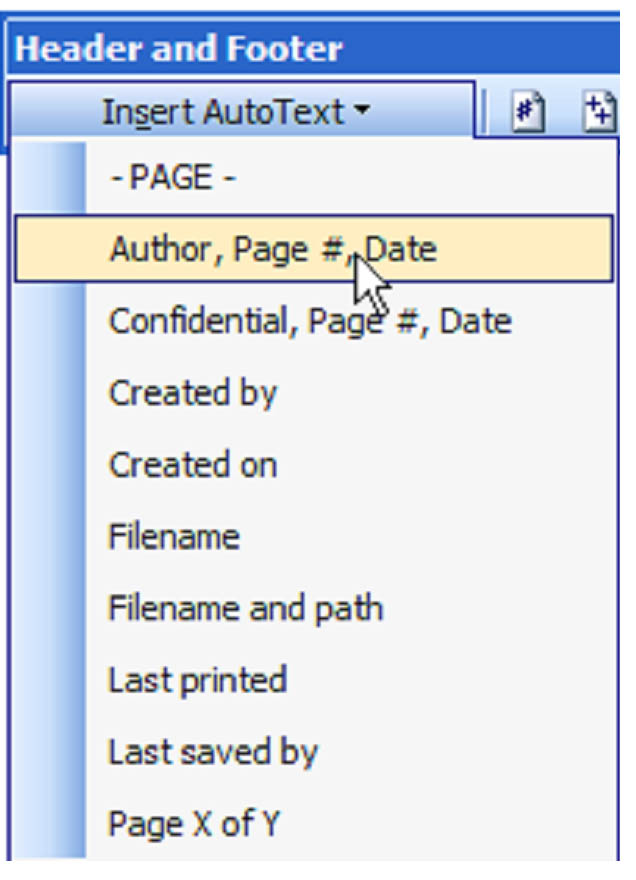
For instance, if you wanted to enter the page number, you'd simply position the cursor where you wanted it to appear, then click �Insert AutoText' and �PAGE-. Word 2003 will automatically enter the appropriate page number.
The name of the Author is entered from the Author field in the Document Properties box, which can be edited by clicking File > Properties, then selecting the �Summary' tab.
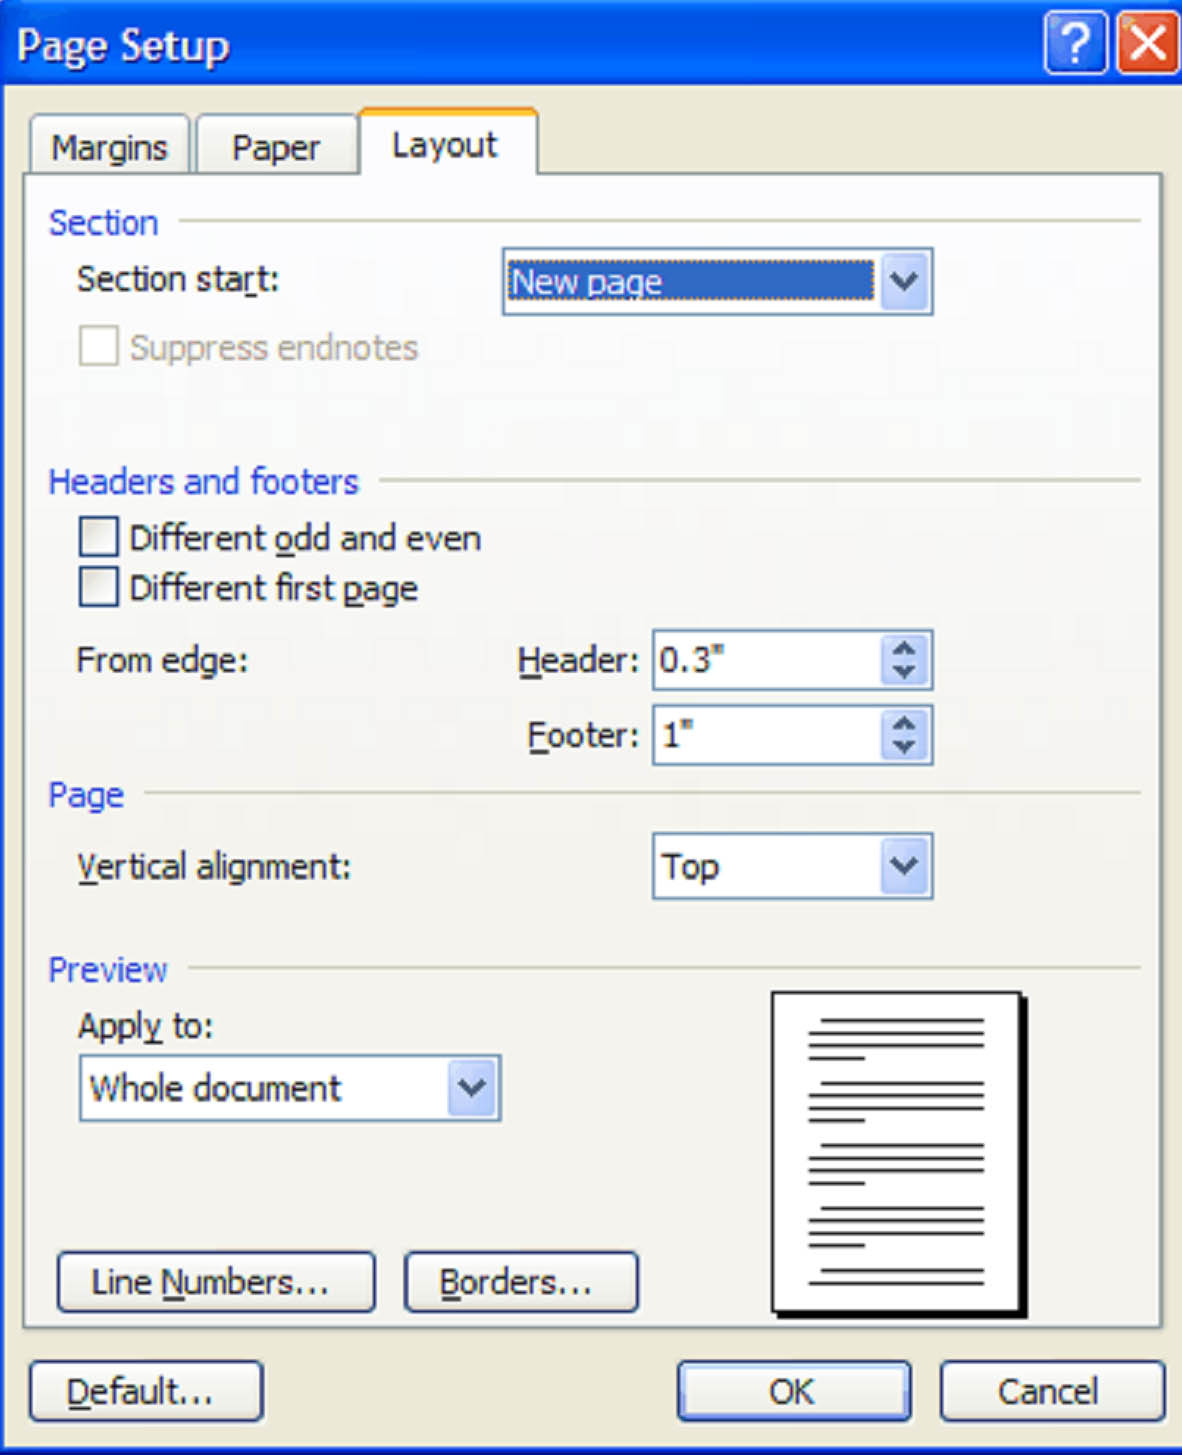
To designate a different header or footer for the first page or for odd and even pages, click the Page Setup icon  in the floating toolbar. (Alternatively, click File > Page Setup > Layout.) Choose whether you want to create a different header and footer for the first page, and odd or even pages. You can also set how far you want to place the header from the top edge of the page and the footer from the bottom edge.
If you selected "Different first page", the header on the first page will be blank. Select the first page, then click �View', then �Header and Footer' to edit the header. The same is true if you chose "Different odd and even."
Page Numbers
We've already shown you one way to insert a page number. Another way is by clicking �Insert' in the menu bar and selecting �Page Numbers.' You will see this dialogue box:
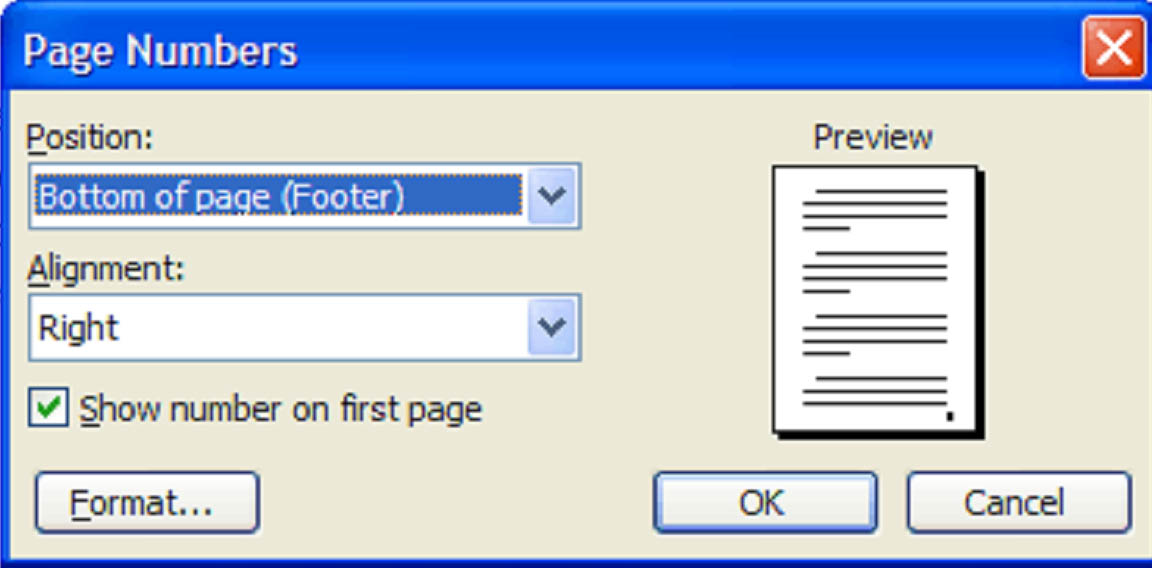
Choose whether you want the page number to appear at the top of the page or the bottom. In this example, we've chosen to place it in the footer. Select the alignment, either Right, Left, or Center and choose whether you want a number printed on the first page.
Sometimes you will want a different format for different sections. For instance, an introduction may be in Roman Numerals, while an index may be A, B, C. To do this, click �Format' from the Page Numbers dialogue.
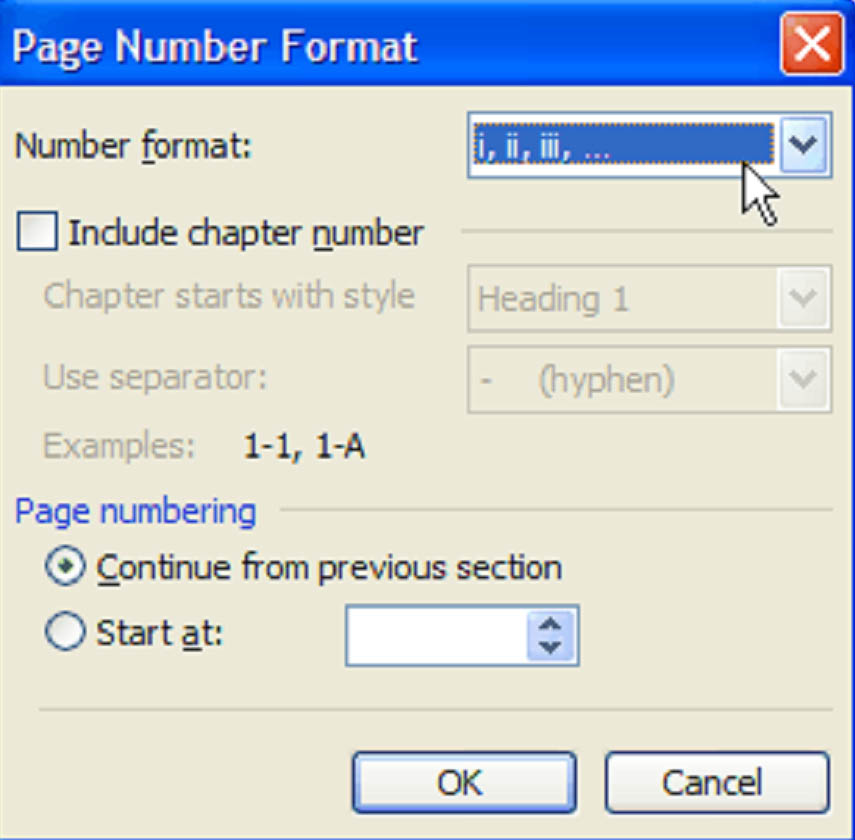
In this example, we've chosen Roman Numerals. If you don't want to start the page numbering from 1, you would set that here as well.
Themes
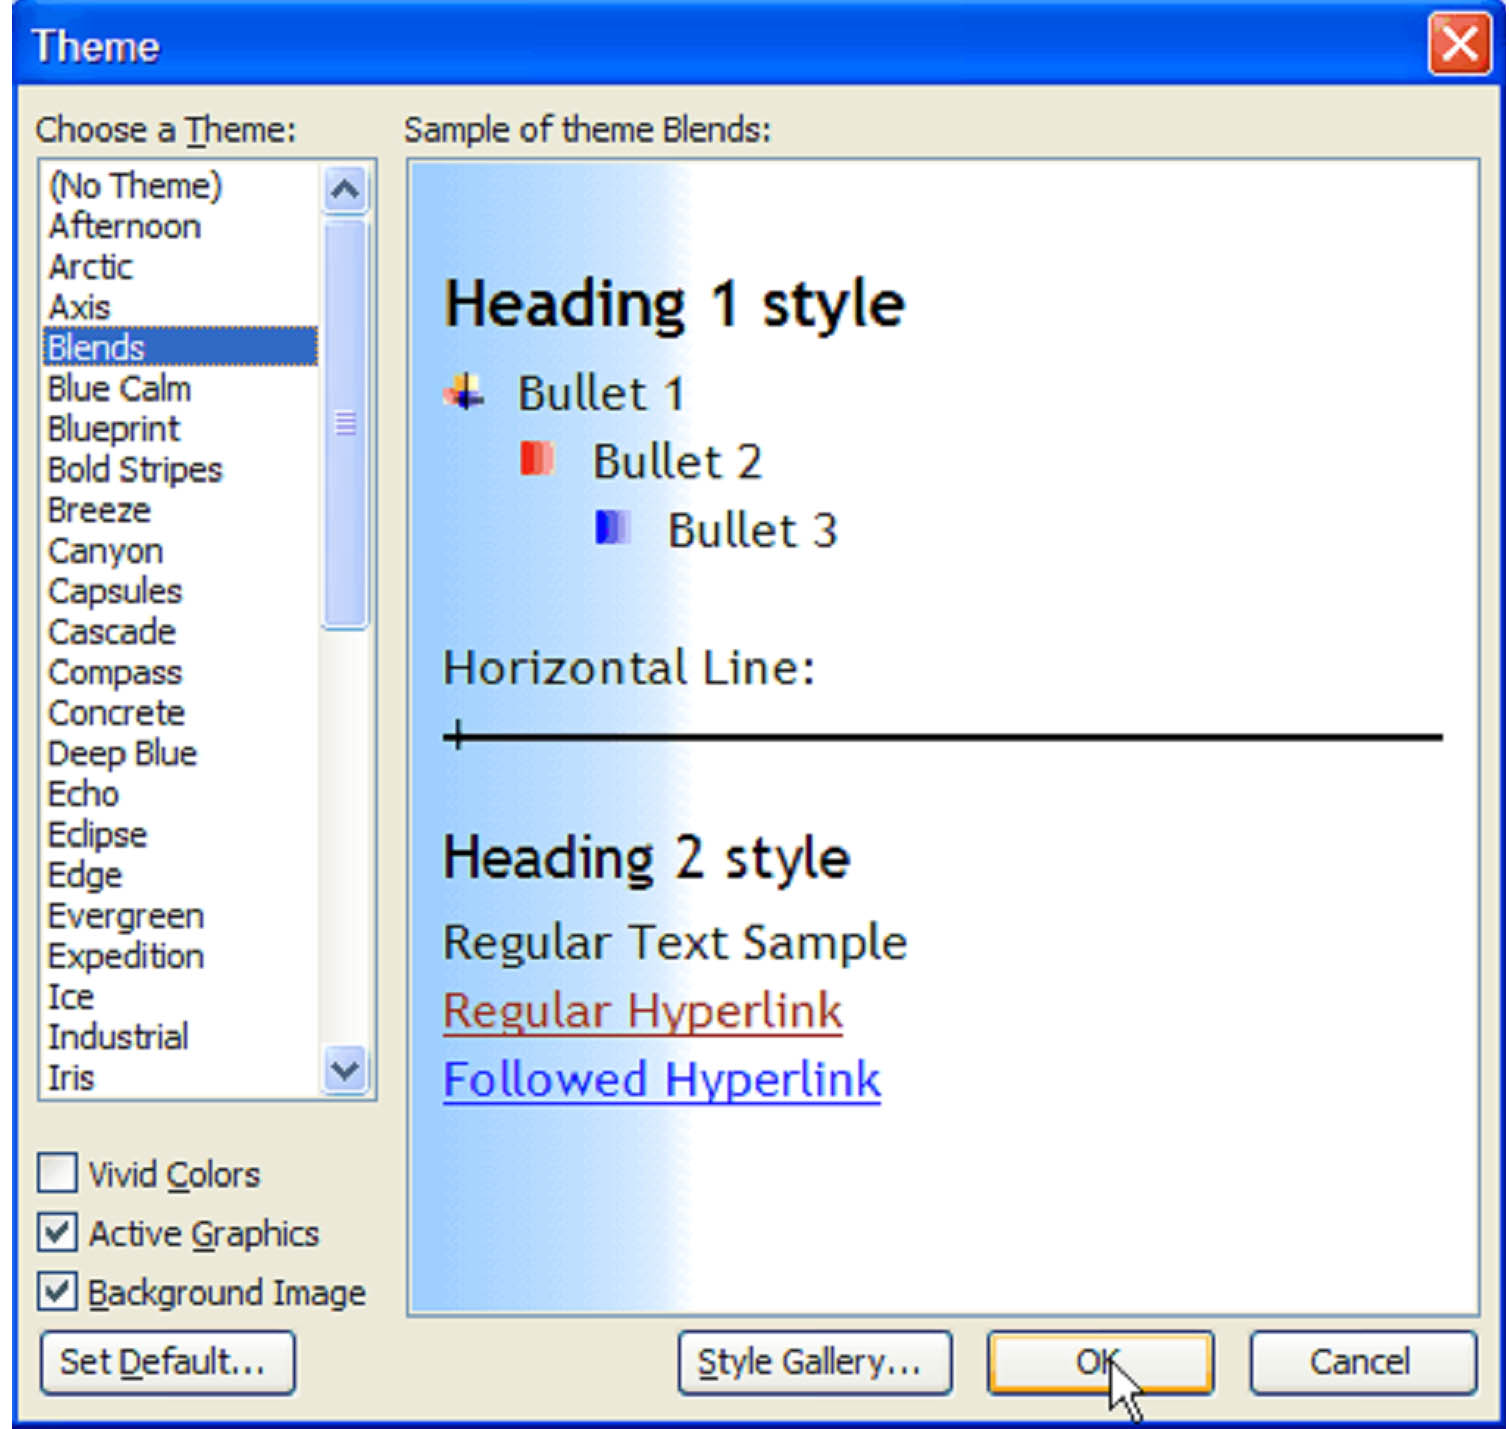
Microsoft defines themes as "a set of unified design elements and color schemes." A theme is not a template. It does not a load pre-designed document where all you have to do is type your text in the places provided. A theme simply loads design elements that graphic artists feel compliment each other. These include heading and text styles, colors, lists, and tables. You can easily change the appearance of these elements by selecting a different theme.
To access themes, click �Format' on the menu bar, then �Theme.' Select your theme from the list and click OK.
Later we will show you how heading styles can be used to set navigation points within your document, in much the way you'd create a way-point in your GPS.
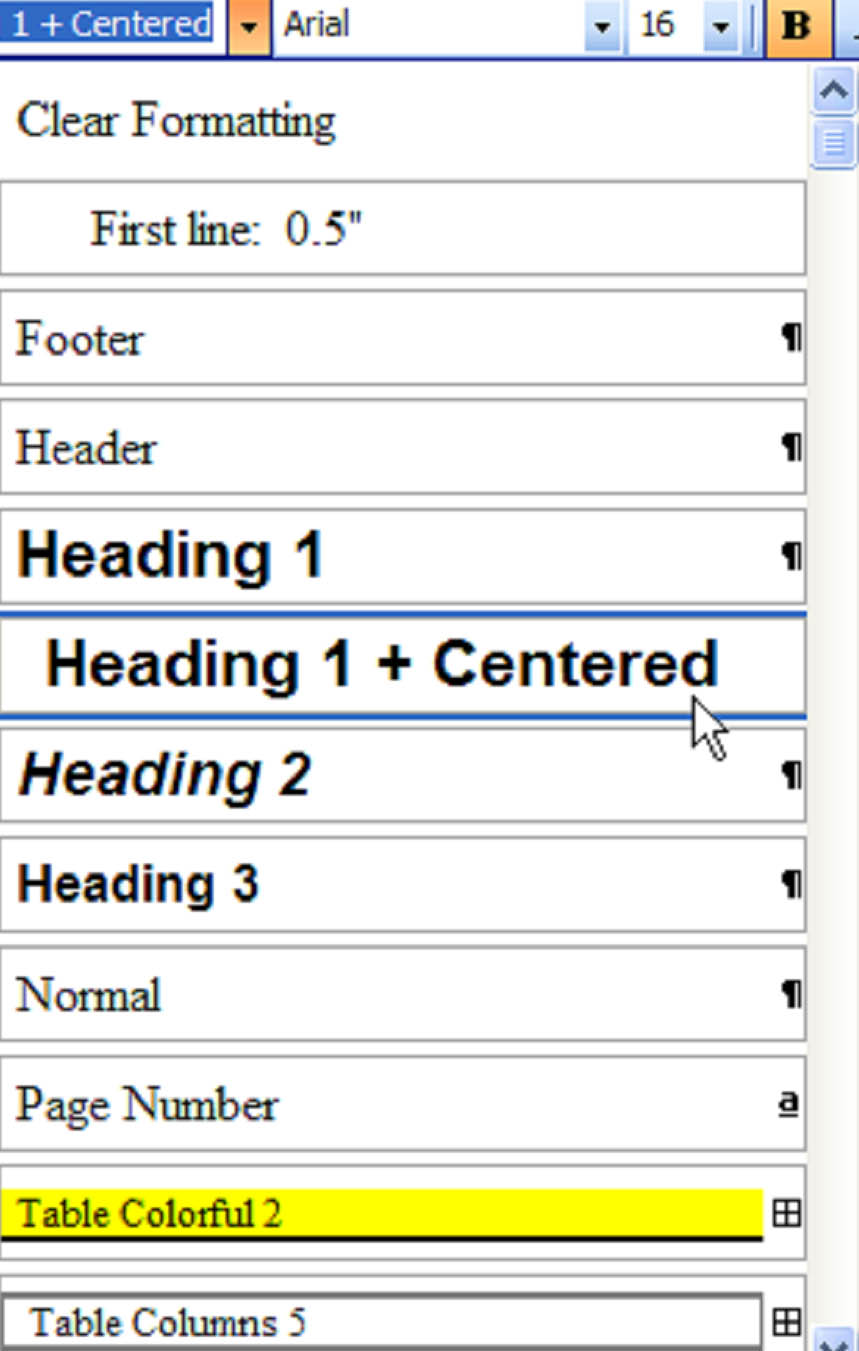
To apply a text style, select your text, then click the style box, which is to the left of the font box in the tool bar. Choose the style you'd like to apply. This box contains all the styles and sub-styles you've used in your document.
Reveal Formatting
The Reveal Formatting feature shows you all the formatting associated with selected text, including its font style and size, its alignment, and its indentation. You can even compare text from one section of the document to another. The Reveal Formatting pane will open to the right of your document. To see this, click �Format', followed by �Reveal Formatting'. The pane that opens will look like this:
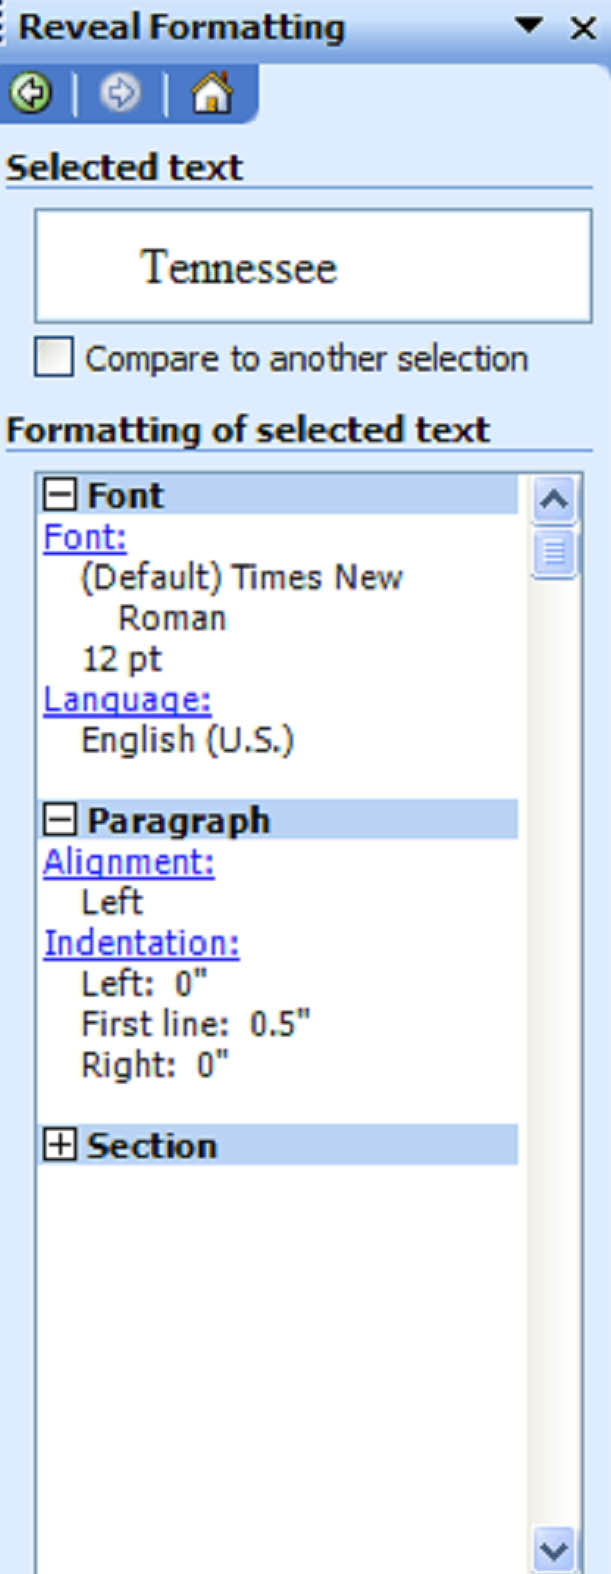
In this example, the selected text is "Tennessee". As you can see, the Font is Times New Roman and its size is 12pt.
Document Maps
This is where we explain how those heading styles can help you set waypoints and skip quickly through long, complex documents. The Document Map feature is how we do it. It basically acts like a table of contents, but it is not a table of contents. It is simply a tool to help you navigate through your document. It cannot be printed.
To use this feature, you must first apply a heading style to text within your document. Lets say you are writing a long technical document with titles and sub-titles. Instead of having to navigate by selecting a page number (which, let's face it, doesn't tell you a whole lot about what is on the page) you can use the Document Map and see the headers. These will give you a better understanding of where you are, or where you want to be.
To access the Document Map, click �View' in the menu bar, and select �Document Map'. The Document Map pane will open to the left of your document.
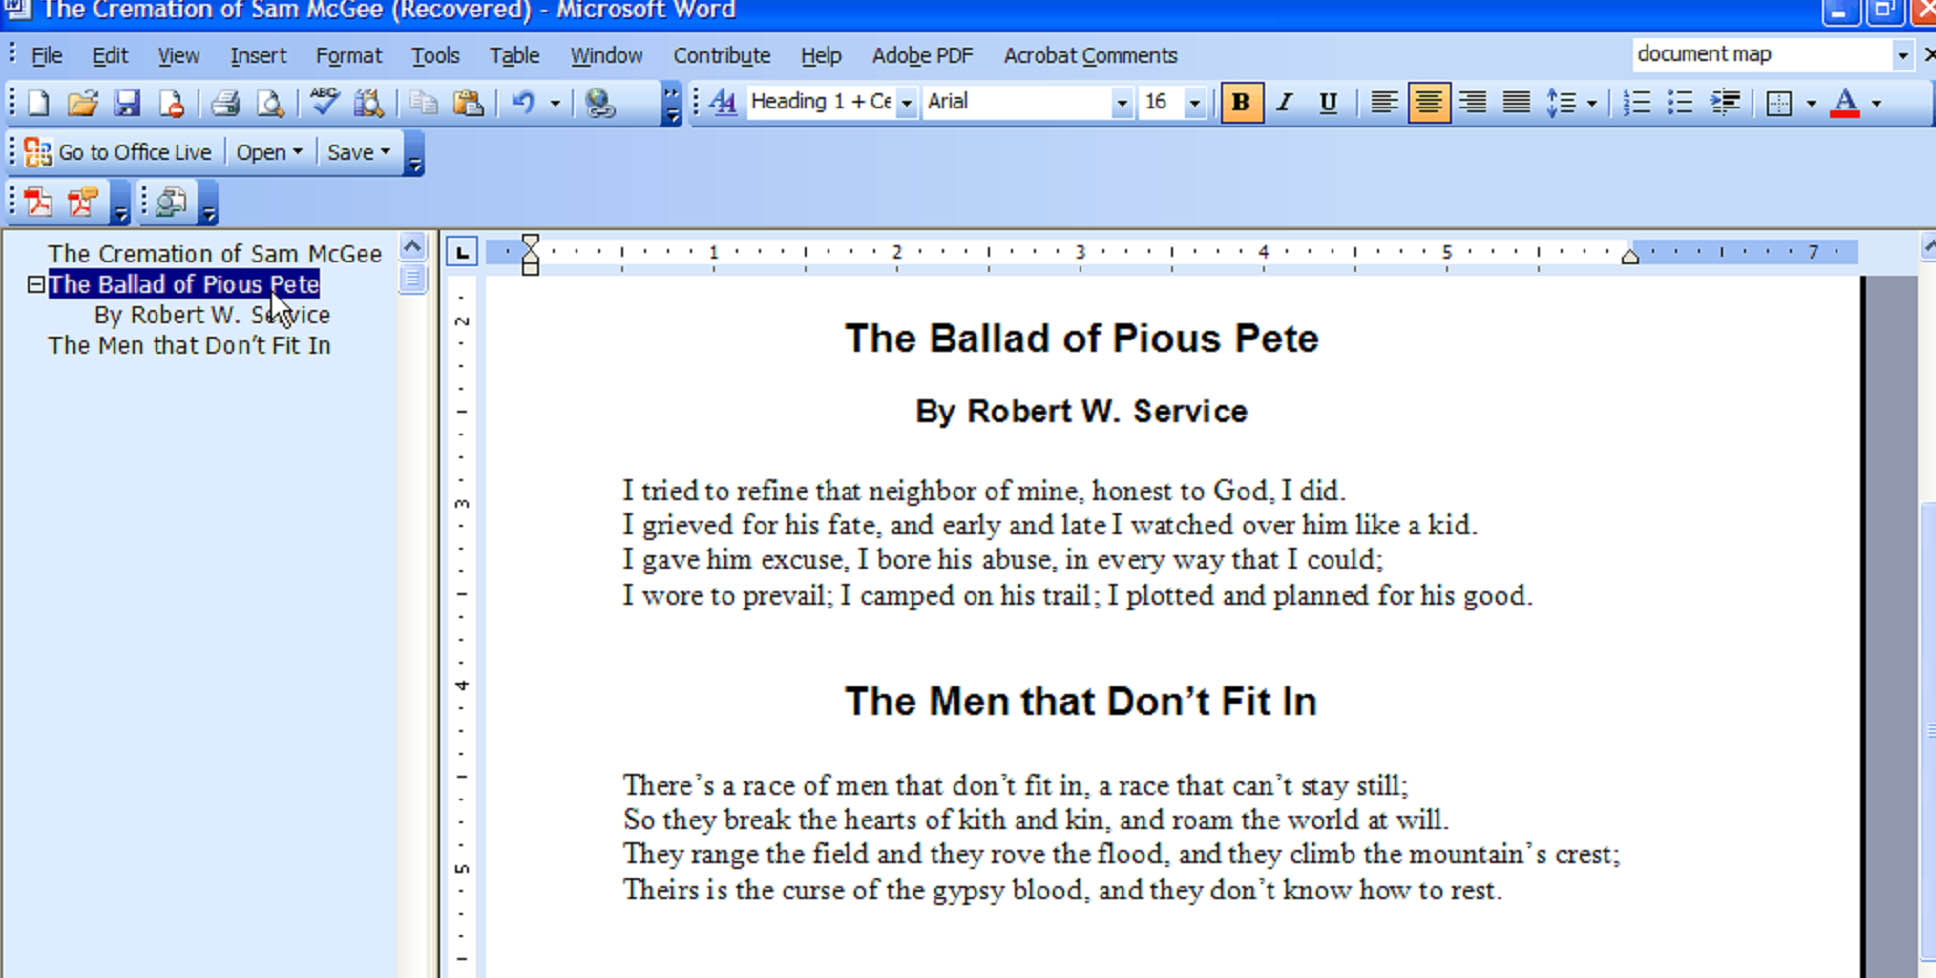
As you can see in the example above, there is a hierarchy of heading styles. The bold titles above each poem have been formatted with a heading style 1 + Center, which you can see in the Style box on the toolbar, and the byline has been formatted with Heading Style 3 + Center. Since heading style 3 is a subhead, it is grouped under the large heading style in the Document Map. You can expand or collapse these groups by clicking the - or + icons that appear to the left of the heading.
When you select a headline or sub-head in the Document Map pane, Word 2003 will automatically jump to that point in your document. Conversely, when you are working with text under a certain headline, that headline will be highlighted in the Document Map pane.