Macros
A macro is a symbol, series of commands, or keystrokes that you create to perform a single action. MS Word 2003 has dozens of examples of macros. The boldfaced icon is essentially a macro. You click that to perform an action: boldfacing text.
MS Word 2003 allows you to create � or record -- your own macros. You can use macros to record a series of actions, so that it makes it as easy as clicking the macro to repeat those actions again later. An example is that you could create a macro to boldface the word "cat" every time that you type it.
To Record a New Macro
- Go to the �Tools' menu on the menu bar and click �Macro.'
- Select �Record New Macro'
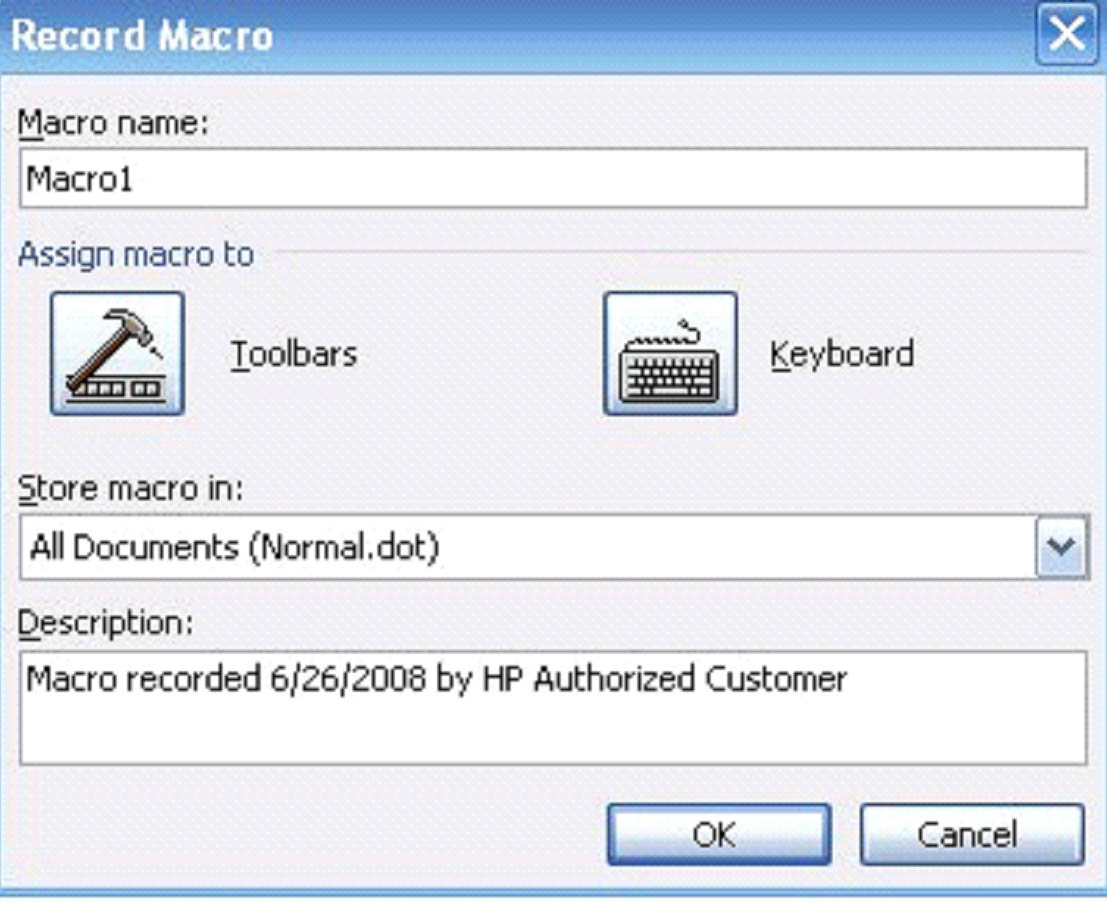
- Type a name for the macro.
- In the �Store macro in box' select a template or document that you want to record the macro in.
- Type a description for the macro in the �Description' box.
- If you don't want to assign the macro a toolbar, menu, or shortcut key, click �OK' to record the macro.
- A toolbar will appear. You will have to click the circle to stop recording the macro.
To Assign a Shortcut to a Macro
To assign a shortcut to the macro, click the �Keyboard' icon. The window below will appear.
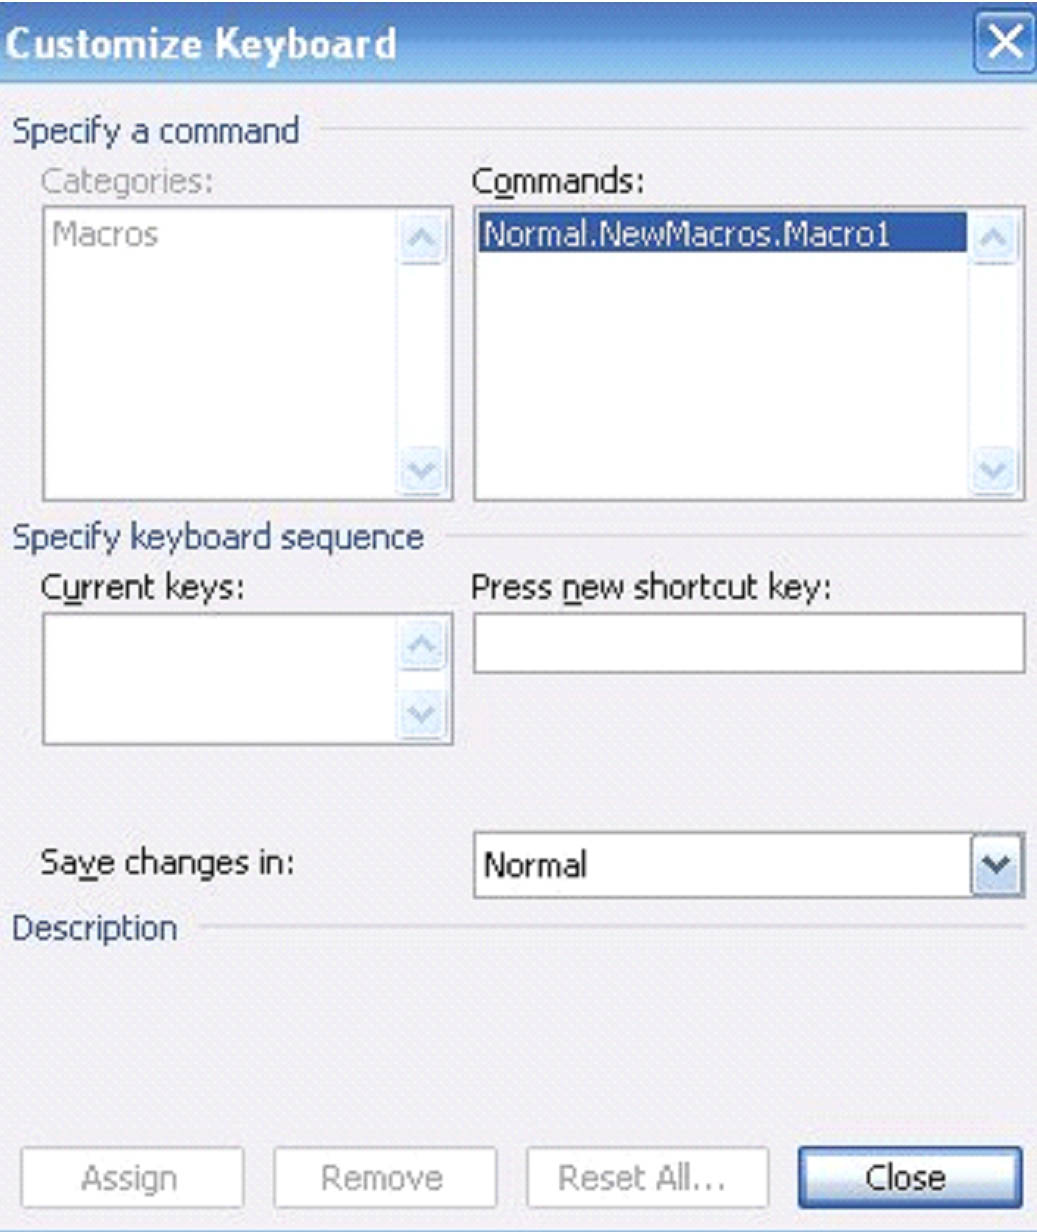
Go to the �Commands' box and click the macro you are recording.
In the �Press New Shortcut Key' box, type the key sequence for the macro, then click �Assign.'
When you click �Close,' you begin recording the macro.
Perform the actions that you want included in your macro.
To Assign a Menu or Toolbar to a Macro
- Click on �Toolbars' in the �Record Macro' window.
- Click the �Commands' tab.
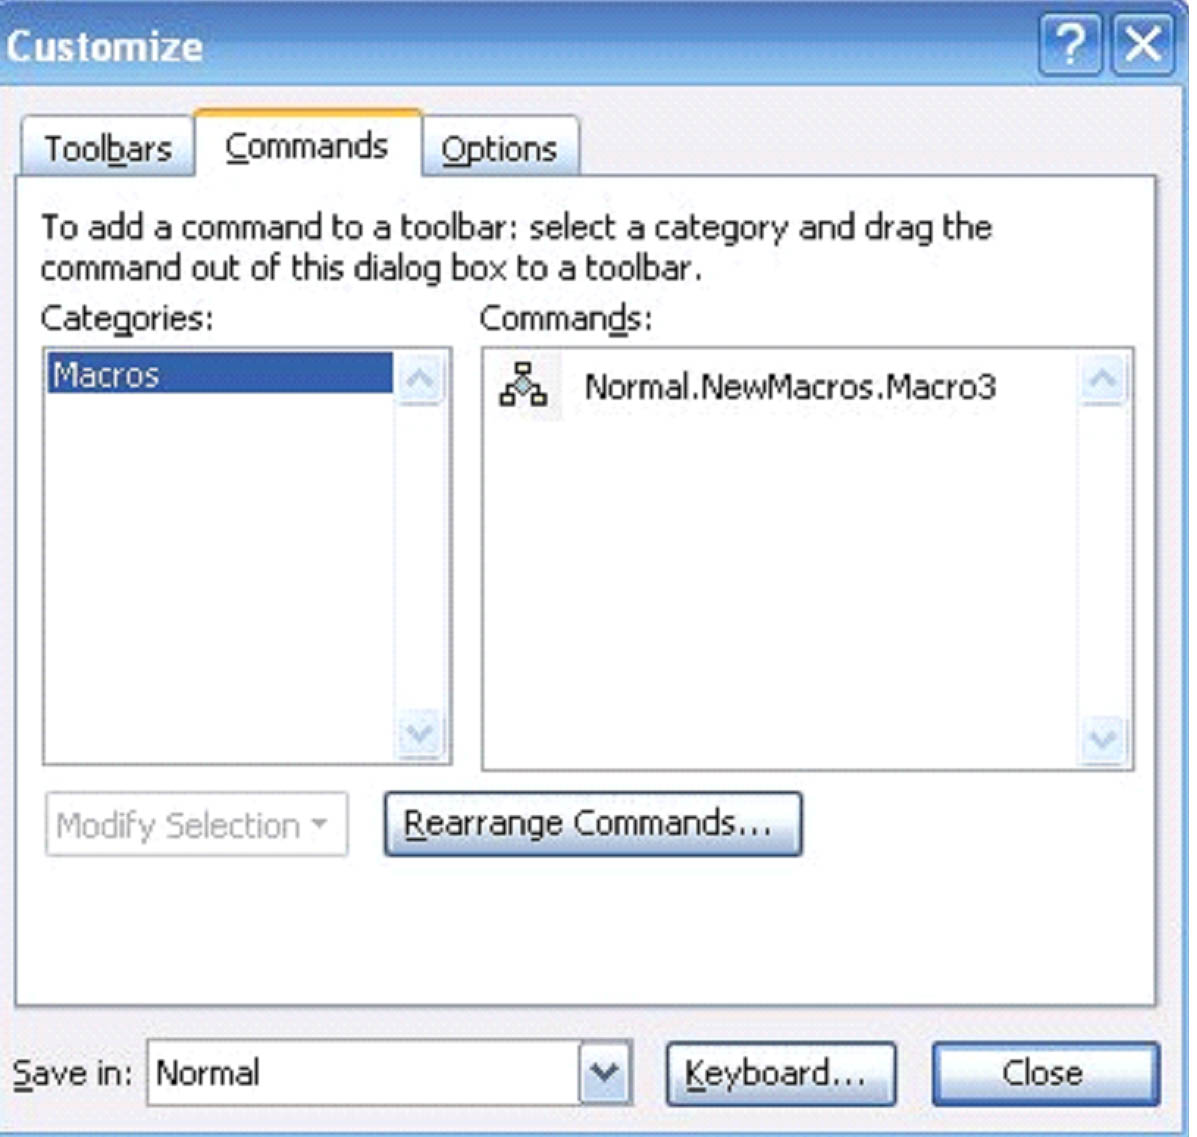
- Select the macro that you are recording, then drag it to the toolbar or menu that you want it assigned to.
- Click close to begin recording.
To Run a Macro
- If you've selected a toolbar or menu, simply click on the icon to run the macro.
- If you've selected a keyboard shortcut, enter the sequence of keys to run the macro.
Protect Document
Protecting a document means that you add security. It doesn't matter how much security you have on your computer, your individual documents don't have any unless you add it. MS Word 2003 allows you to protect your documents to keep them from being edited by unauthorized parties. Even if you send the document out in an email at a later date, it will still be protected. No software on your computer will do that for you. Only MS Word 2003 can.
If you want to protect any document that you create, go to the �Tools' menu on the menu bar and select �Protect Document.' You'll see the following window open to the right of the text area:
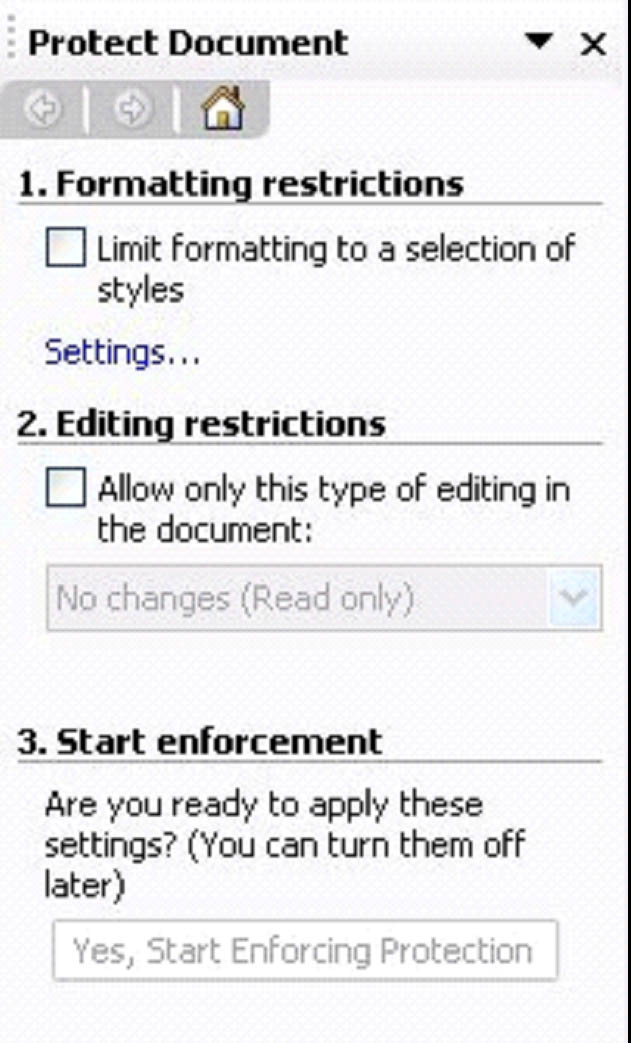
There are three different sections to this window.
- Formatting restrictions. Here you can limit the type of formatting that can be changed within the document.
- Editing restrictions. In this area, you can limit the types of edits to be made to the document, such as read only, track changes, comments, and filling in forms . Below the editing restrictions, you'll see exceptions. MS Word 2003 allows you to specify which users can edit which parts of the document. When you enter in a user name, a drop down window will appear to allow you to add permitted regions of the document that the individual user can edit.
- Start Enforcement. Once you've applied your security measures, click �Yes, Start Enforcing Protection.'
When you click �Yes, Start Enforcing Protection,' a dialogue box like the one below will appear.
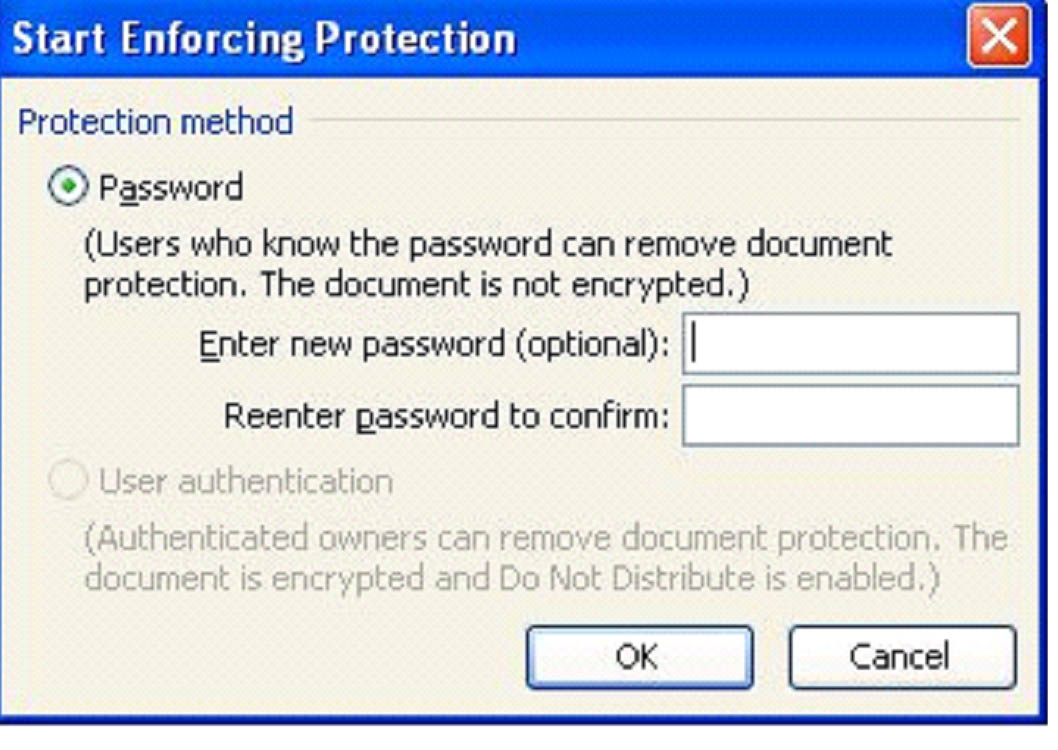
Enter a password, and then reenter it to confirm. Only users with the password can remove the protection from the document.
Remove Protection
On the �Tools' menu, click �Unprotect Document'
Enter the password.
Mailing Lists
To create mailing lists, envelopes, labels, and merge mail lists, you will go to the �Tools' menu, then �Letters and Mailings'
� Select Envelopes and Labels from �Letters and Mailings'.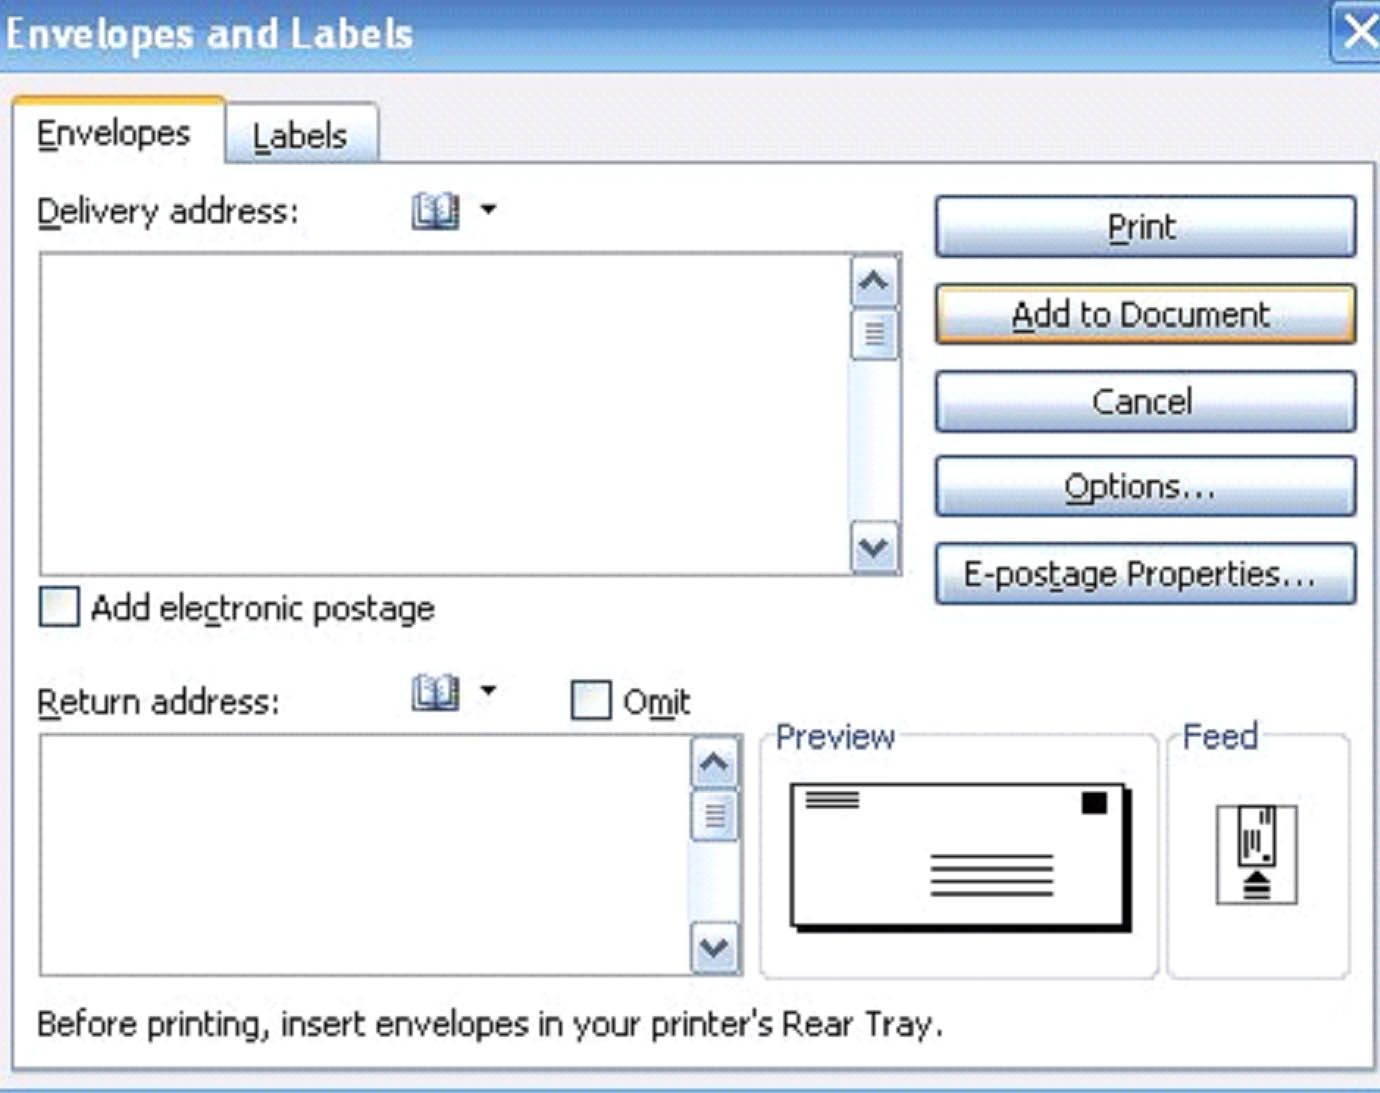
� Enter the information for the envelope.
You will see the same dialogue box when you create labels, except the Labels tab will be on top. Enter the information for your labels and either add it to the document or print it.
Creating a List for Mail Merge
If you need to send out a letter to a bunch of different recipients, as in a form letter, you can use Mail Merge to do this without typing the same letter over and over. Mail merge will use fields in places where you want different information filled in for each recipient.
For example, the field:
City , State
City and State would be filled in with your recipient's City and State when mail merge is executed.
The first thing you need to do is create a list of recipients for mail merge. To do this, go to �Mail Merge.' A window will appear to the right of the text area.
![]()
Select the document type (we've selected letters), then click �Next: Starting Document.'
The next window will ask you how you want to set up your letters: using the current document, starting from a template, or from an existing template. We're going to use the current document.
The third window will have you select recipients. You can use an existing list, select from Outlook contacts, or create a new list.
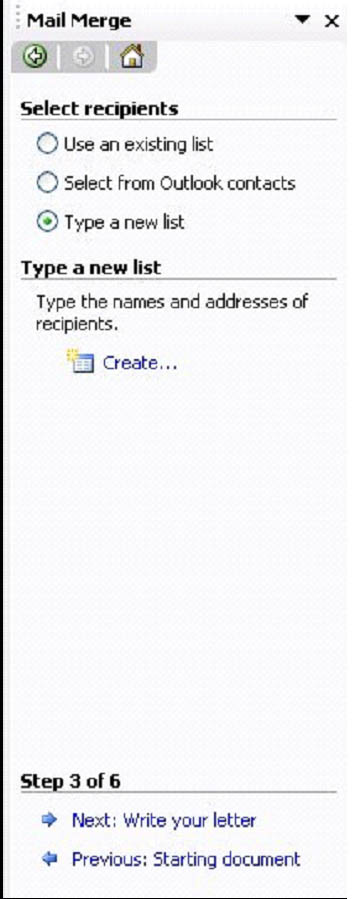
We've chosen to create a new list.
Click �Create." A window like the one below will appear:
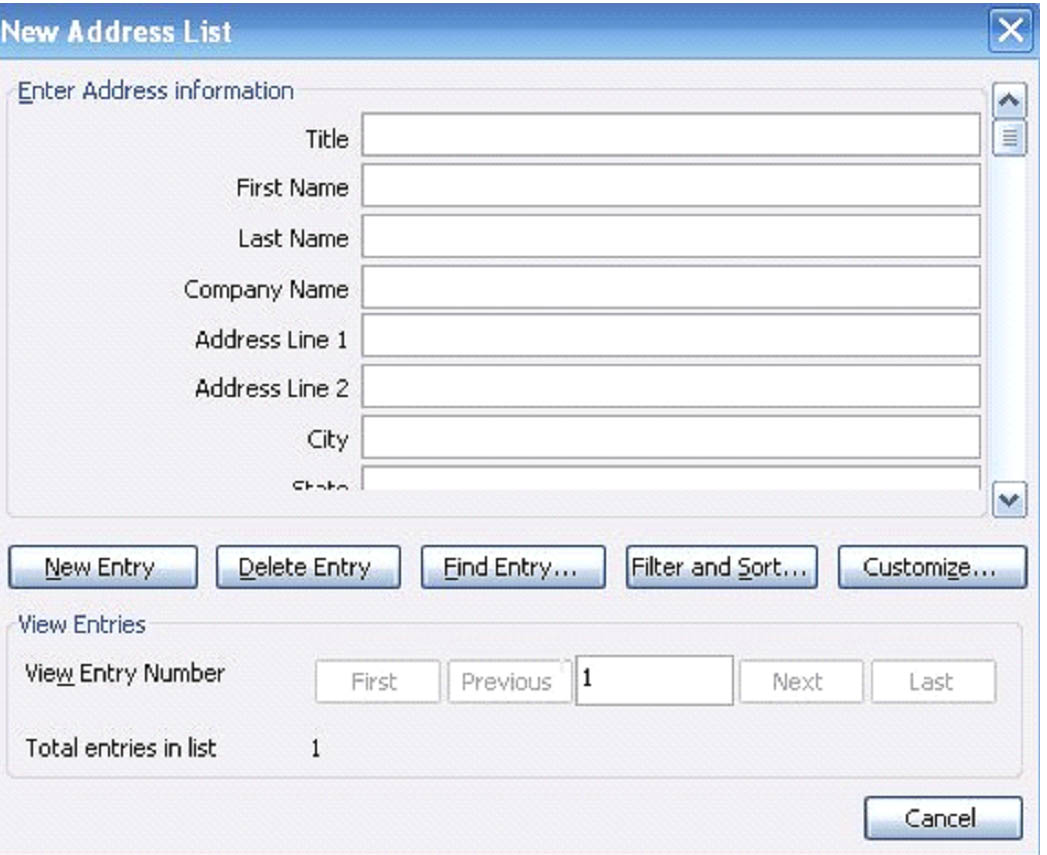
Enter in all names and addresses for your new mailing list or click customize to gather the information that you need.
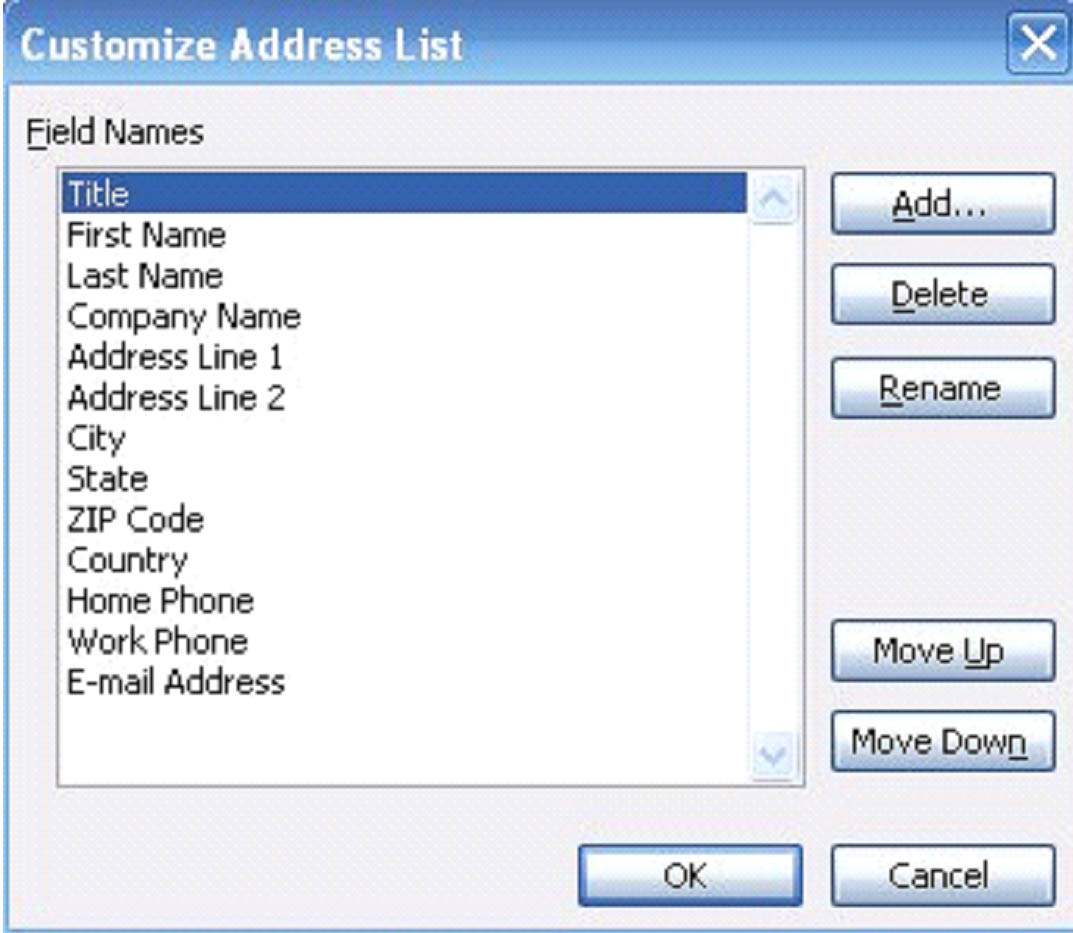
You can use this window to rename fields and add more fields.
Follow the rest of the instructions to create your letters and merge your mailing lists.
Now that you've created a document, edited it, and saved it, you want to email it out to colleagues, bosses, coworkers, or friends. Of course, the easiest way to do that would seemingly be to open your email program, start a new email, add an attachment, then search for the document in your computer to attach to the email. However, that's too time consuming, especially when you can email the document directly from MS Word 2003 if you use Outlook or Outlook Express as your email client.
Just to the �Standard' toolbar and click the  icon. Sign into your email account if you have it password protected. Above the text area (and below the toolbars), a normal email window will appear, as shown below.
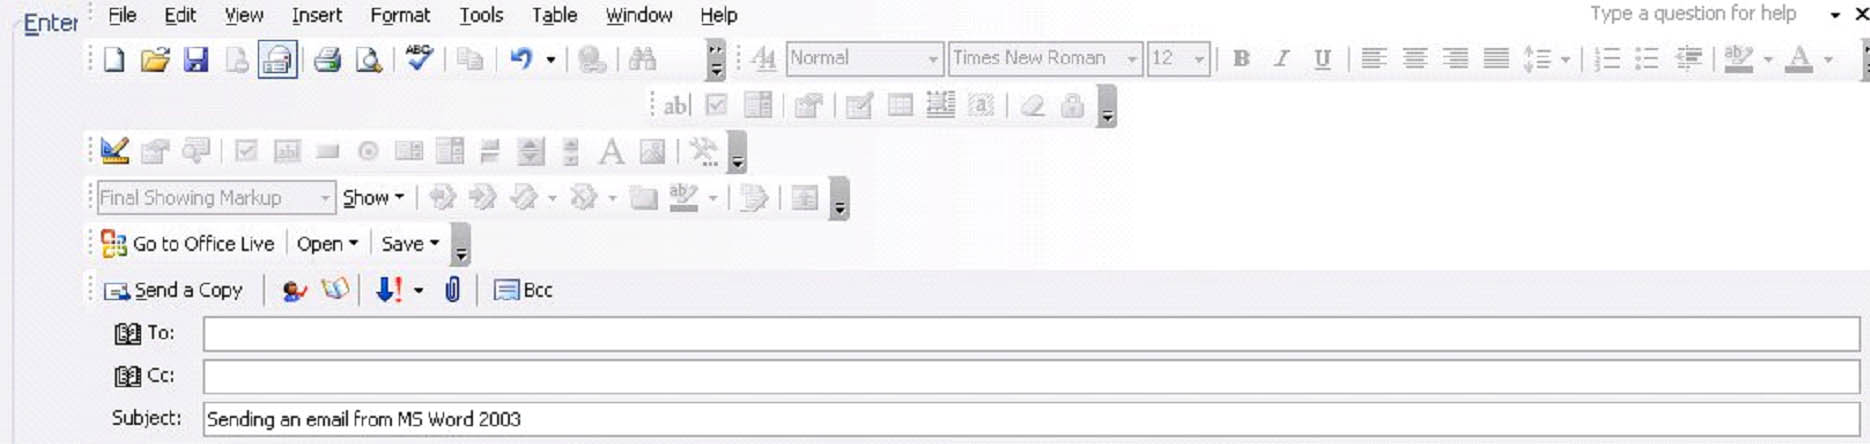
Your document will appear as the body of the email. The text area that you're looking at right now would be what the recipient sees when the email is opened. However, you can send an attachment also � like a picture, Excel spreadsheet, etc. Just click the paperclip .
.
You can go ahead and enter in the recipients email addresses in the To: or CC: lines. If you need to access your Outlook or Outlook Express address book, you can easily do so by clicking on To: or CC:, or by clicking on the  icon.
icon.
If you want to send a blind carbon copy (or Bcc) out as well, simply click on the Bcc icon and it will open that line for you to type in. To set the priority of the email (high priority, etc), click on the downward arrow icon  . When you are ready to send the email, just click
 .
.