There are several objects you can insert into your MS Word 2003 document that make it much more than text. Unlike the typewriters of old, you can quickly add pictures, diagrams, and charts to create reports, presentations, letters, newsletters, and much more.
In this article, you're going to learn how to insert a hyperlink into your documents, add page breaks, insert a Table of Contents, add pictures, charts, and even how to create forms.
Inserting Graphics and Pictures
Inserting graphics and pictures into a document can add additional references or give your document a neat, professional look.
To add graphics or pictures, simply go to �Insert' on the menu bar, then select �Picture.' You can choose to add a picture from a file on your computer or use one of the many pieces of ClipArt that MS Word 2003 provides.
To insert from file, you will see this window:
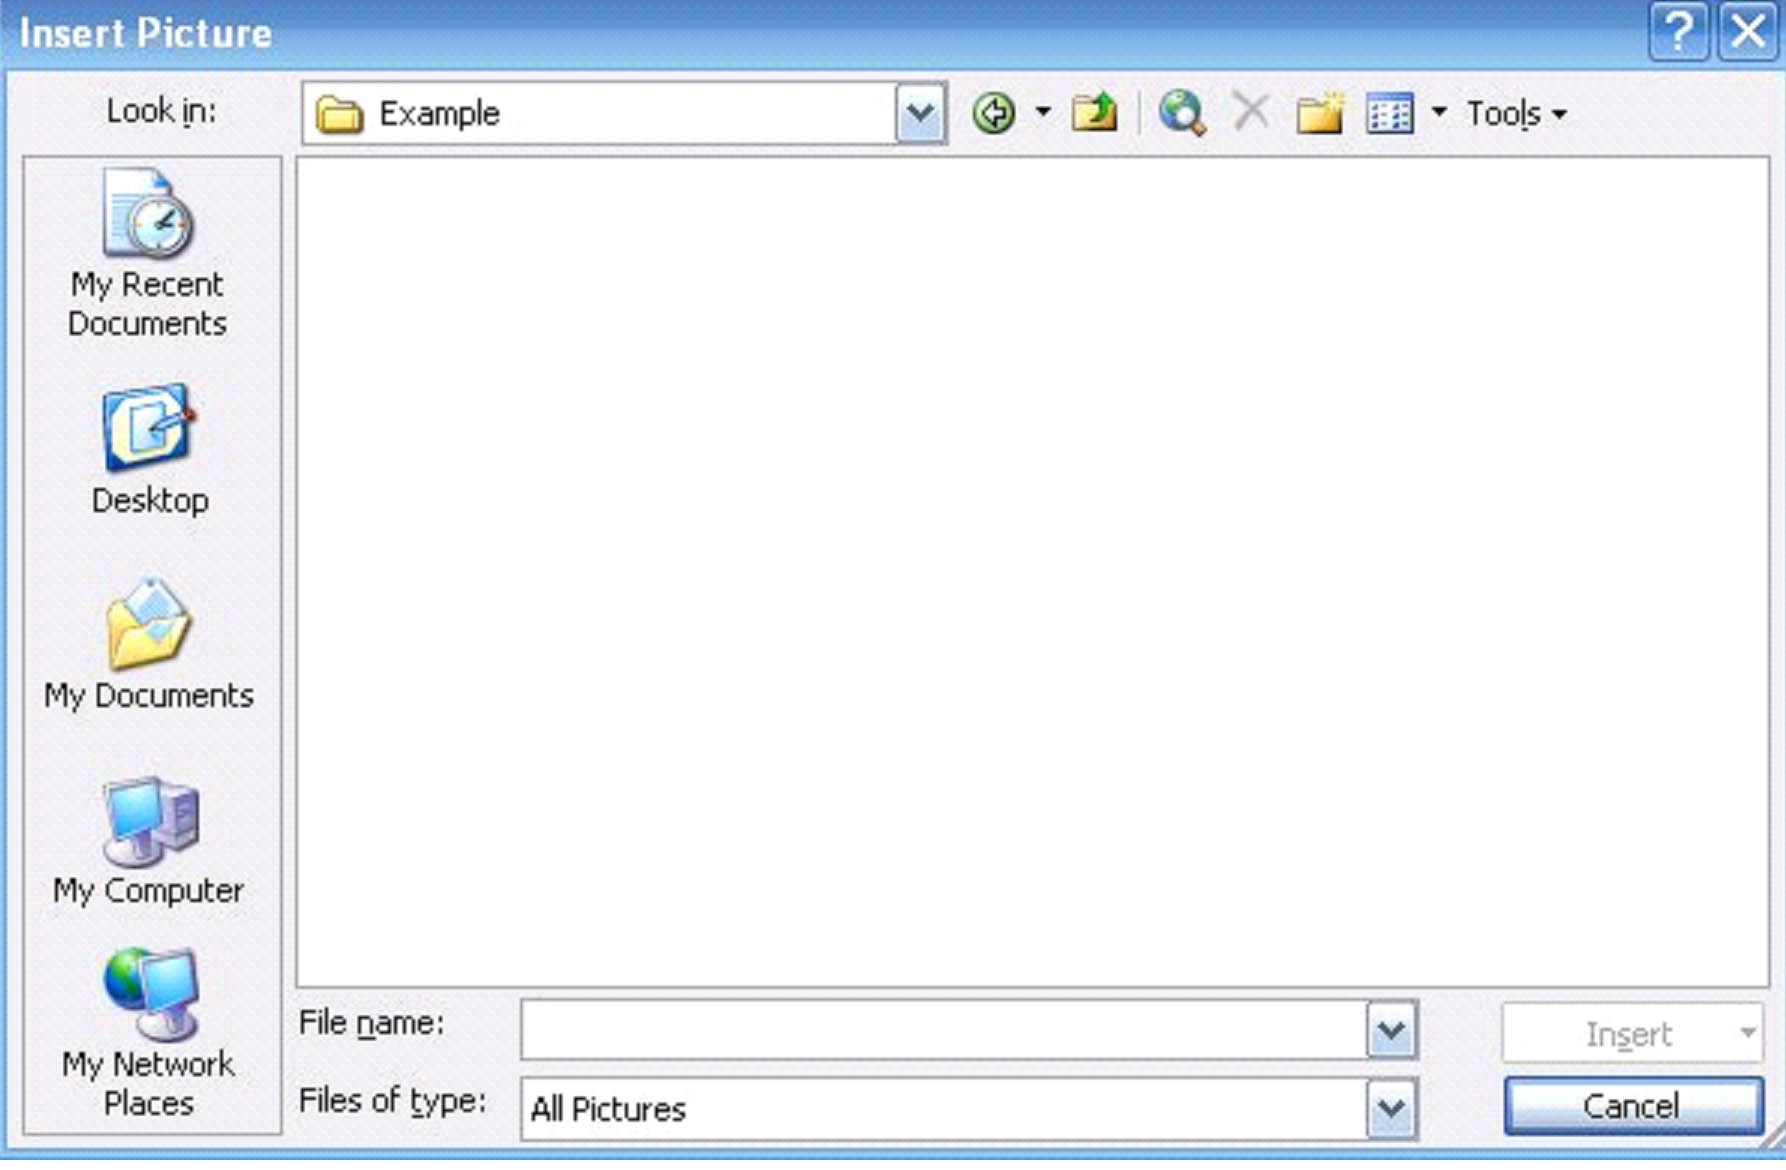
Find the picture that you want in your computer, select it, and click �Insert.' It must be an image file in order for MS Word 2003 to allow you to insert it.
To edit a picture or graphic after you've added it to the document:
Use the �Picture' toolbar.

You can:
- Change the brightness
- Add a border
- Edit the size
- Format the way the text appears around the picture
Creating and Inserting a Chart or Graphs
MS Word 2003 allows you to create professional charts and graphs that you can use in all your documents. You can select from many types of charts and graphs including pie and bar.
To create a chart or graph:
- Move the cursor to the place in your document where you want the chart to appear.
- Go to �Insert' on the menu bar and click �Picture.'
- Click on �Chart'
- A window will pop up like the one below.
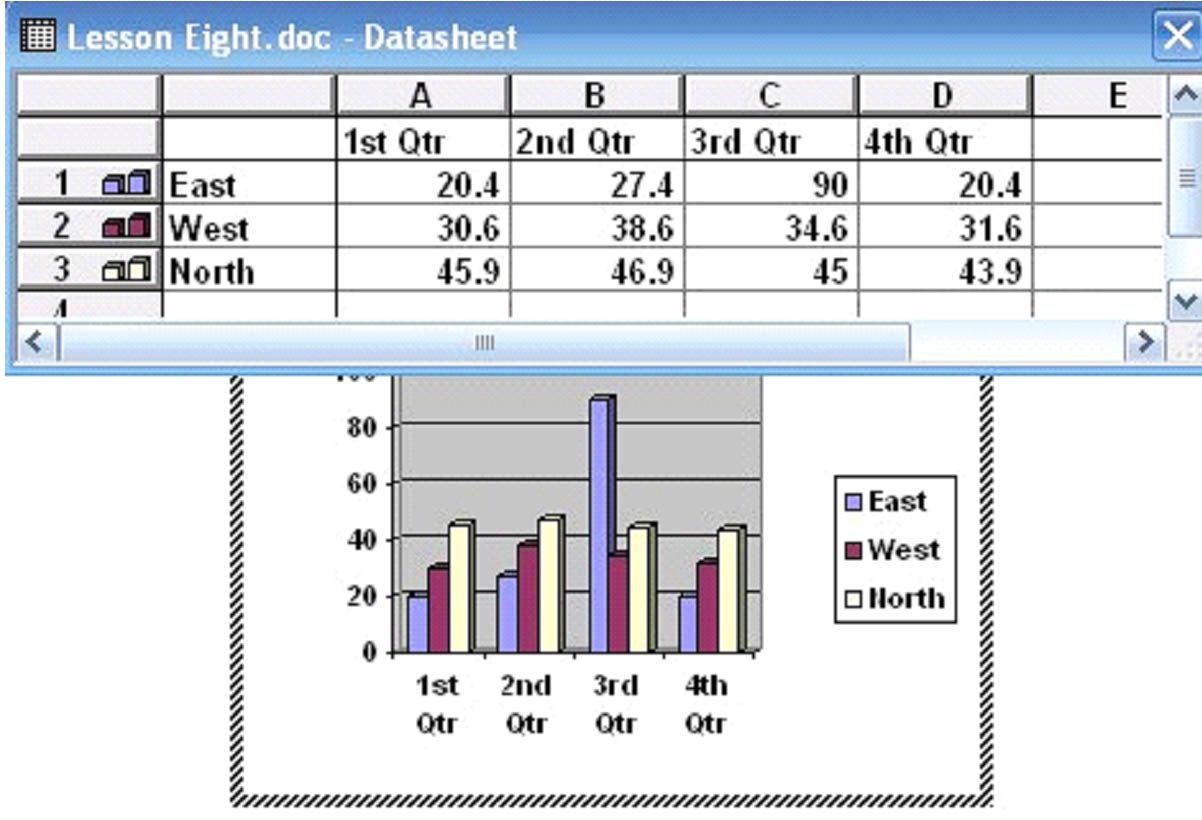
You can edit the text in the spreadsheet box to fit the data for your chart.
To change the appearance or type of chart:
- Right click the white space around the chart.
- Click �Chart Type'
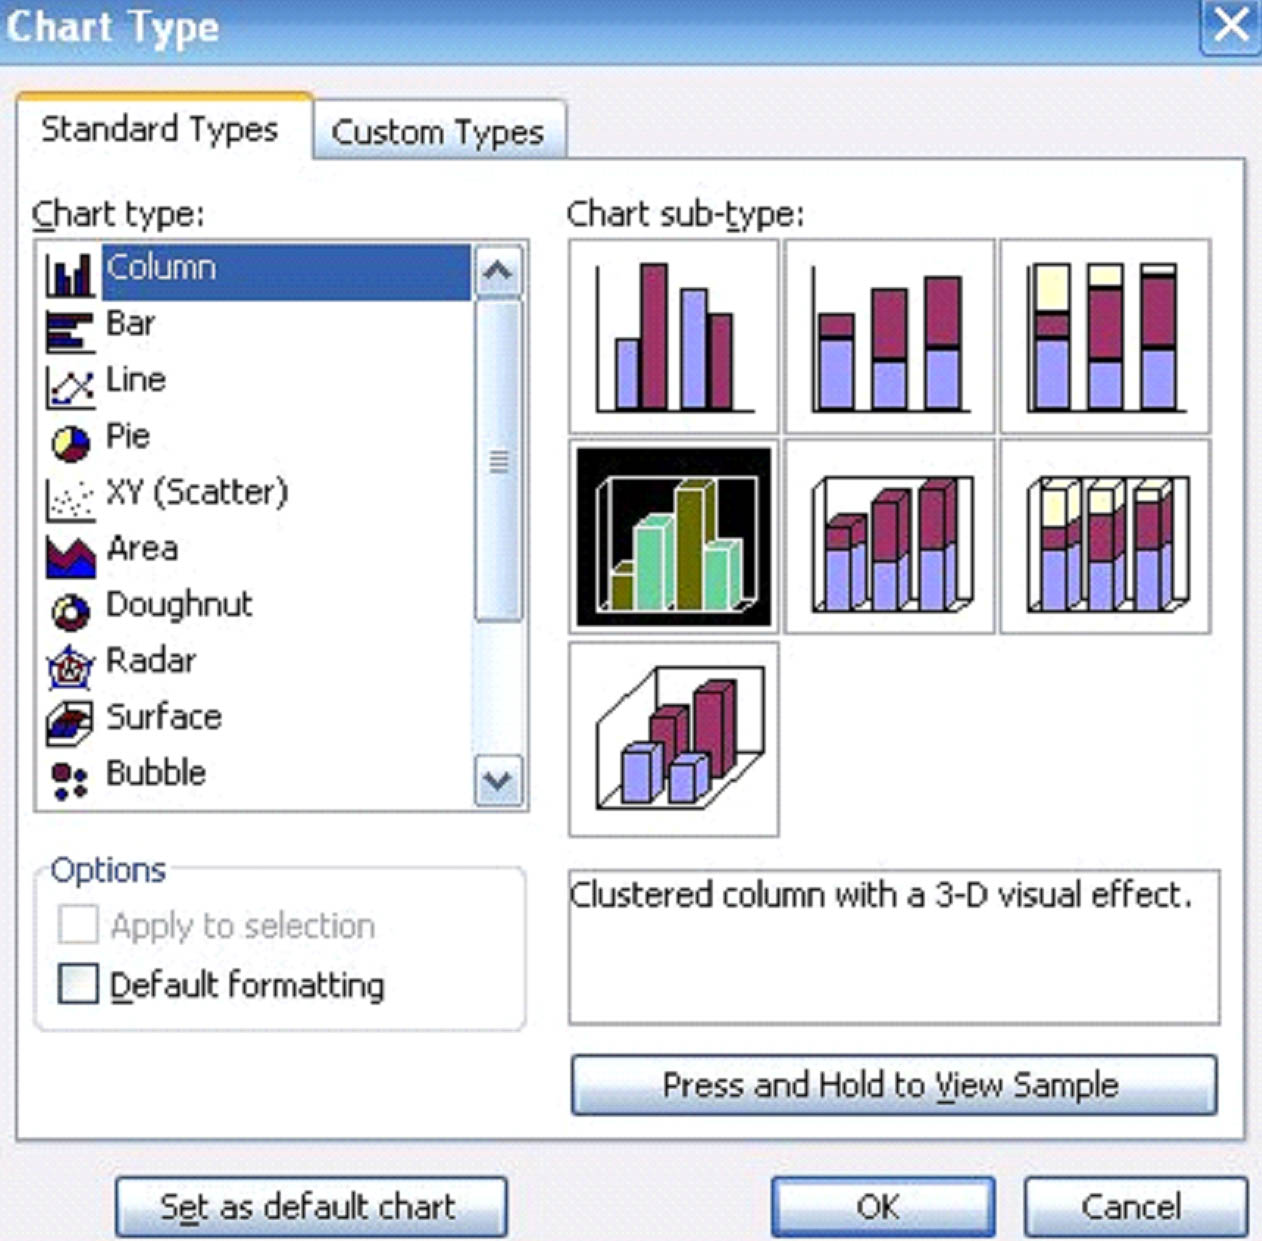
- Select the type of chart that you want to appear.
To change the colors in the chart:
Right click on the actual chart. (Click on the colored bars.)
Select �Format Walls.'
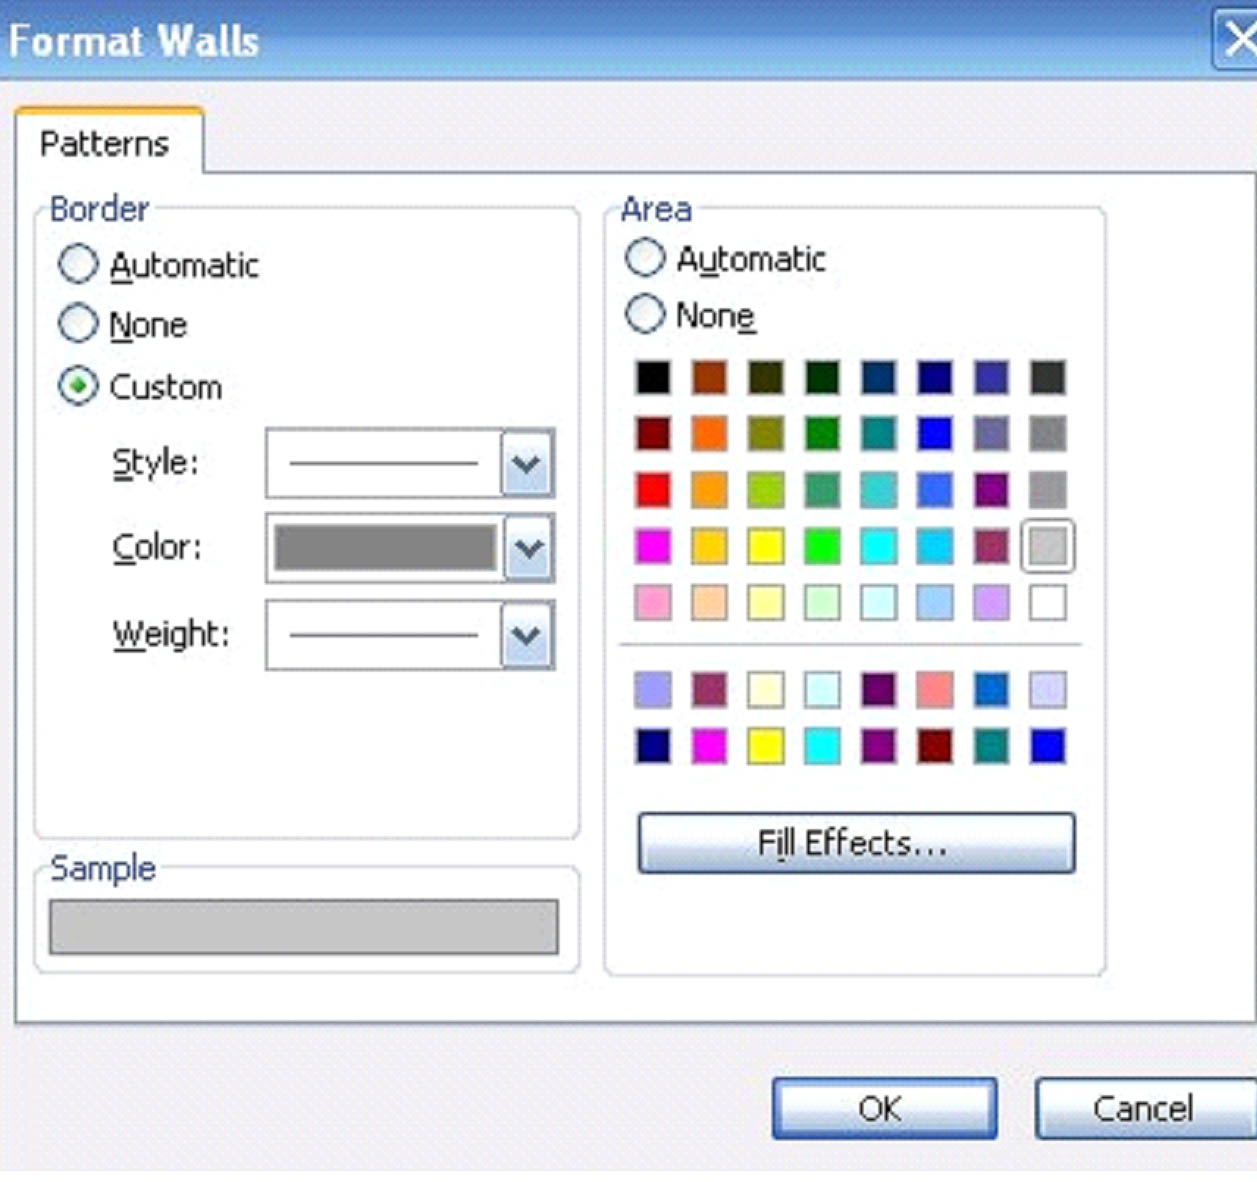
Select the color pattern that you want to use.
When you right click on the chart area, you can edit the chart properties such as:
- Data
- Color
- 3-D or two dimensional appearance
The best way to become familiar with creating and inserting charts is to play around with it, create some charts for fun, and get used to these handy features.
Note: You can also create organizational charts and diagrams. To create an organizational chart, go to �Insert' on the menu bar, click �Picture' and then click �Organizational Chart.' To insert a diagram, simply go to �Insert' on the menu bar, then select �Diagram.'
WordArt
WordArt is a feature of MS Word 2003 that allows you to add three dimensional, curved, slanted, and differently formatted text to your document.
To Use WordArt:
- Select the text that you want to format with WordArt.
- Go to �Insert' and then click �Picture.
- Select �WordArt'
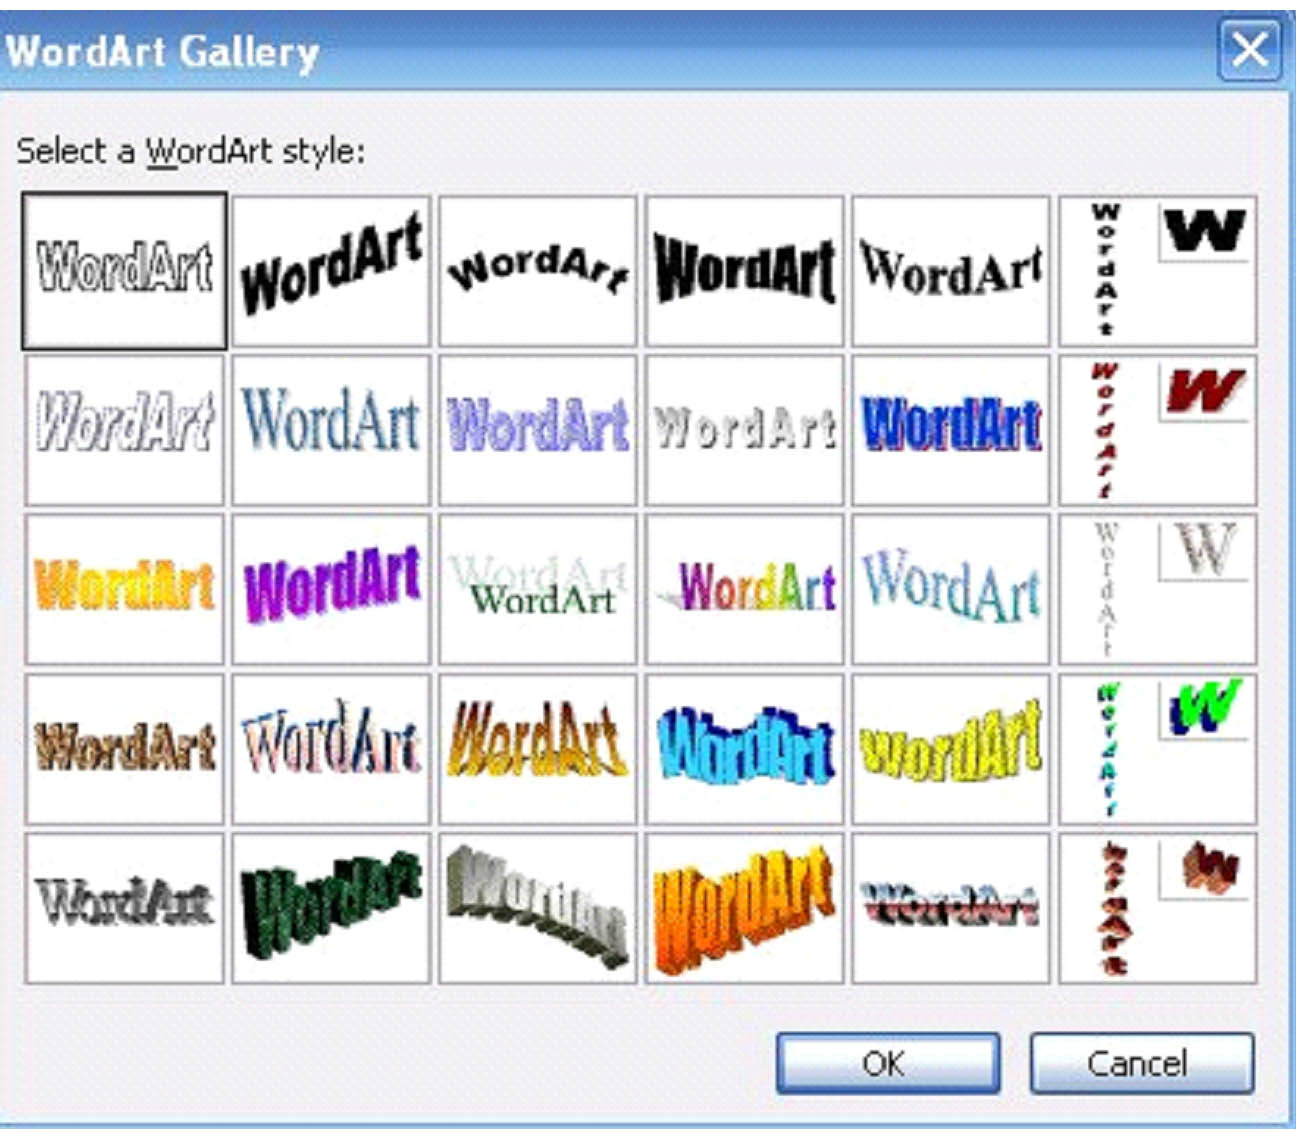
Pick the formatting style that you want to apply to your text and click OK.
This window will appear: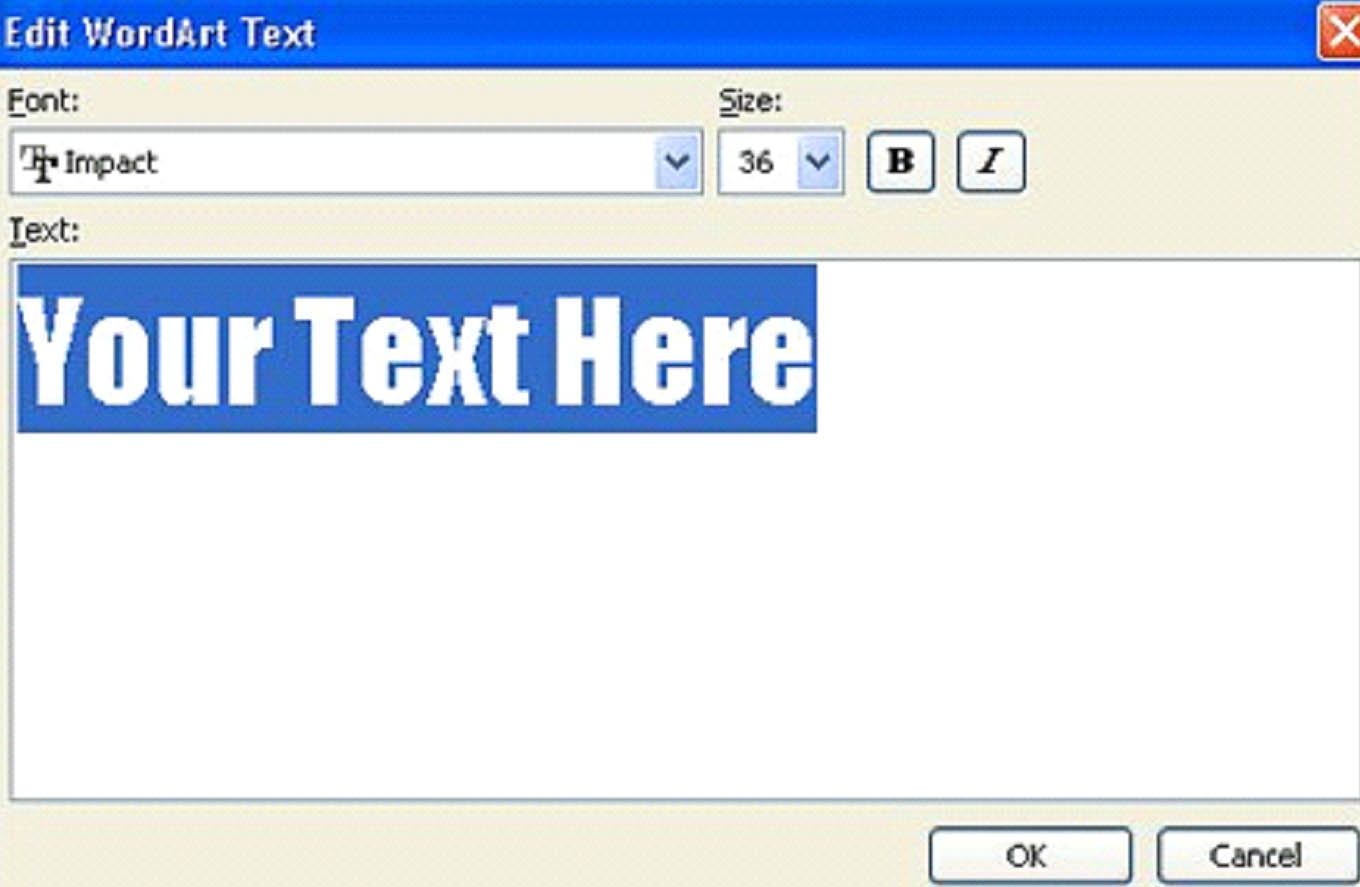
Here, you can add or subtract text, change the font, size, or boldface or italicize. When you are finished, click OK. The text will now appear in your document, and the WordArt toolbar will appear.

How to use the toolbar:
-
Click this icon to insert WordArt
-
Edit your WordArt text
-
Access the WordArt gallery for different formats
-
Format your WordArt including color
-
Edit the shape of your WordArt
-
Wrap text around the WordArt, the same as you would do an inserted picture
-
Make all letters the same height
-
Create vertical text
-
Align WordArt
-
Format spacing between characters
Draw
You can also draw pictures and shapes and insert them into documents. To do this, go to the �Draw' toolbar. It will appear at the bottom of your screen.

Let's take each item on the toolbar one by one and learn how to use the features.
The first thing you see is draw with an arrow beside it. Clicking on this will bring up a menu that allows you to rotate, flip, wrap text, or edit an AutoShape.
 Appears next to draw. You can select objects when you click on this.
If you click on  you can select different shapes to add to your document. You can click and drag on these shapes to edit, enlarge, or shrink them.
- To add a straight line, click

- To add an arrow, click

- To add an oval, click

- To add a text box, click

- Use
 to insert WordArt
 - Use
 to insert a diagram or chart.
  Inserts clip art.
-
 Inserts a picture from your files.
 - If you want to fill in a shape with color, select
 and choose the color.
 -
 The color of the lines.
  Font color.
-
 Thickness of the lines that outline your shapes.
 -
 Dash style
 -
 Arrow style
 - If you want to add a shadow to your shape, click

- If you want to make a shape 3-Dimensional, click

Symbols
Sometimes when using MS Word 2003, you may need to insert symbols into your document. One of the most commonly used simples in documents is the copyright sign: �. However, symbols like these are not on your keyboard and can't be created using the keyboard. That is why MS Word 2003 provides symbols for you to insert into your document.
To insert symbols:
- Move the cursor to the place in the document where you want to place the symbol.
- Go to �Insert' on the menu bar.
- Click �Symbol'
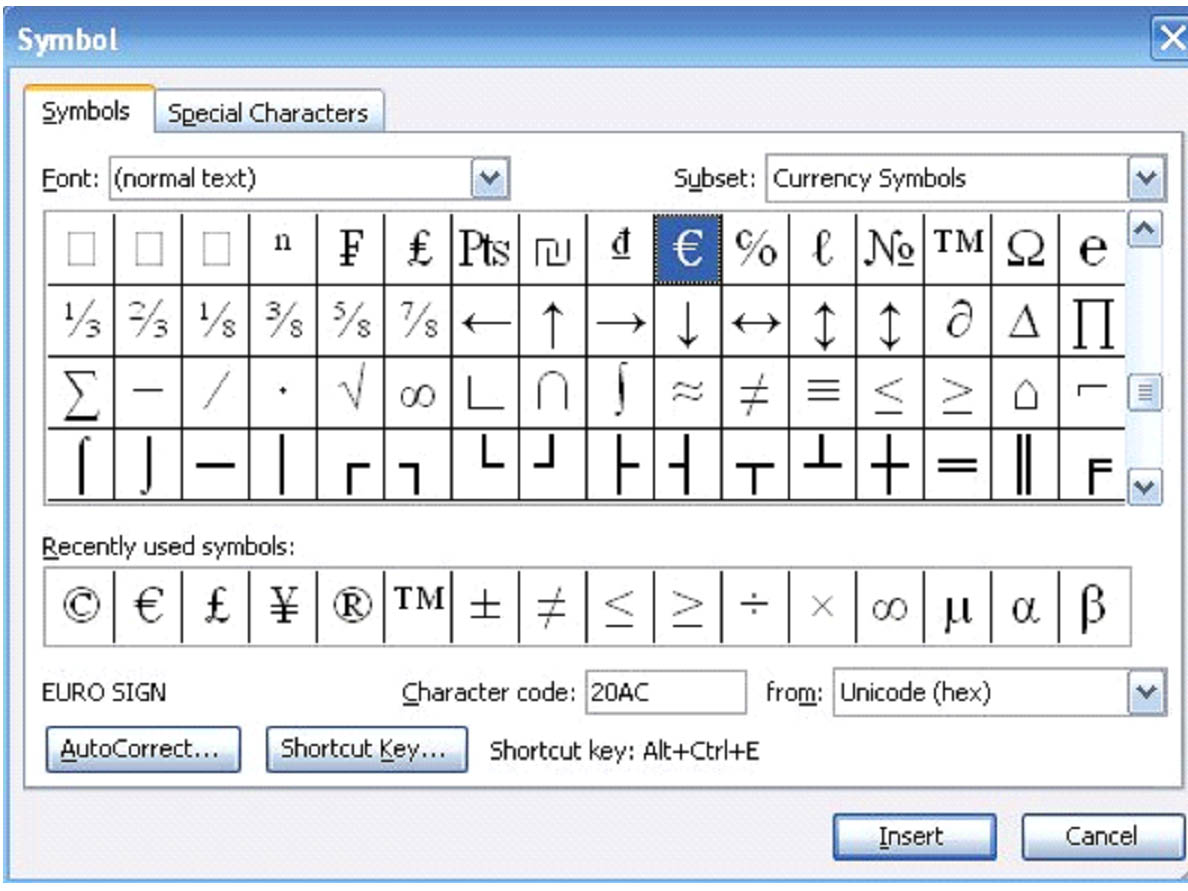
- Choose the font you want, then the subset. �Currency Symbols' is currently showing, but other subsets exist such as punctuation.
- When you find the symbol you want to use, click �insert.' It will be inserted into your document.
Inserting a Hyperlink
A hyperlink is a piece of text in your document that a user can click on. When they click on that text, it will take them to a website on the Internet. An example of a hyperlink is Google. If you click on the word �Google,' you will automatically be taken to the Google website if you're currently connected to the Internet.
Inserting a hyperlink into a document in MS Word 2003 is easy.
Go to the �Standard' toolbar pictured below.
![]()
Click on the globe with the chain link on it. 
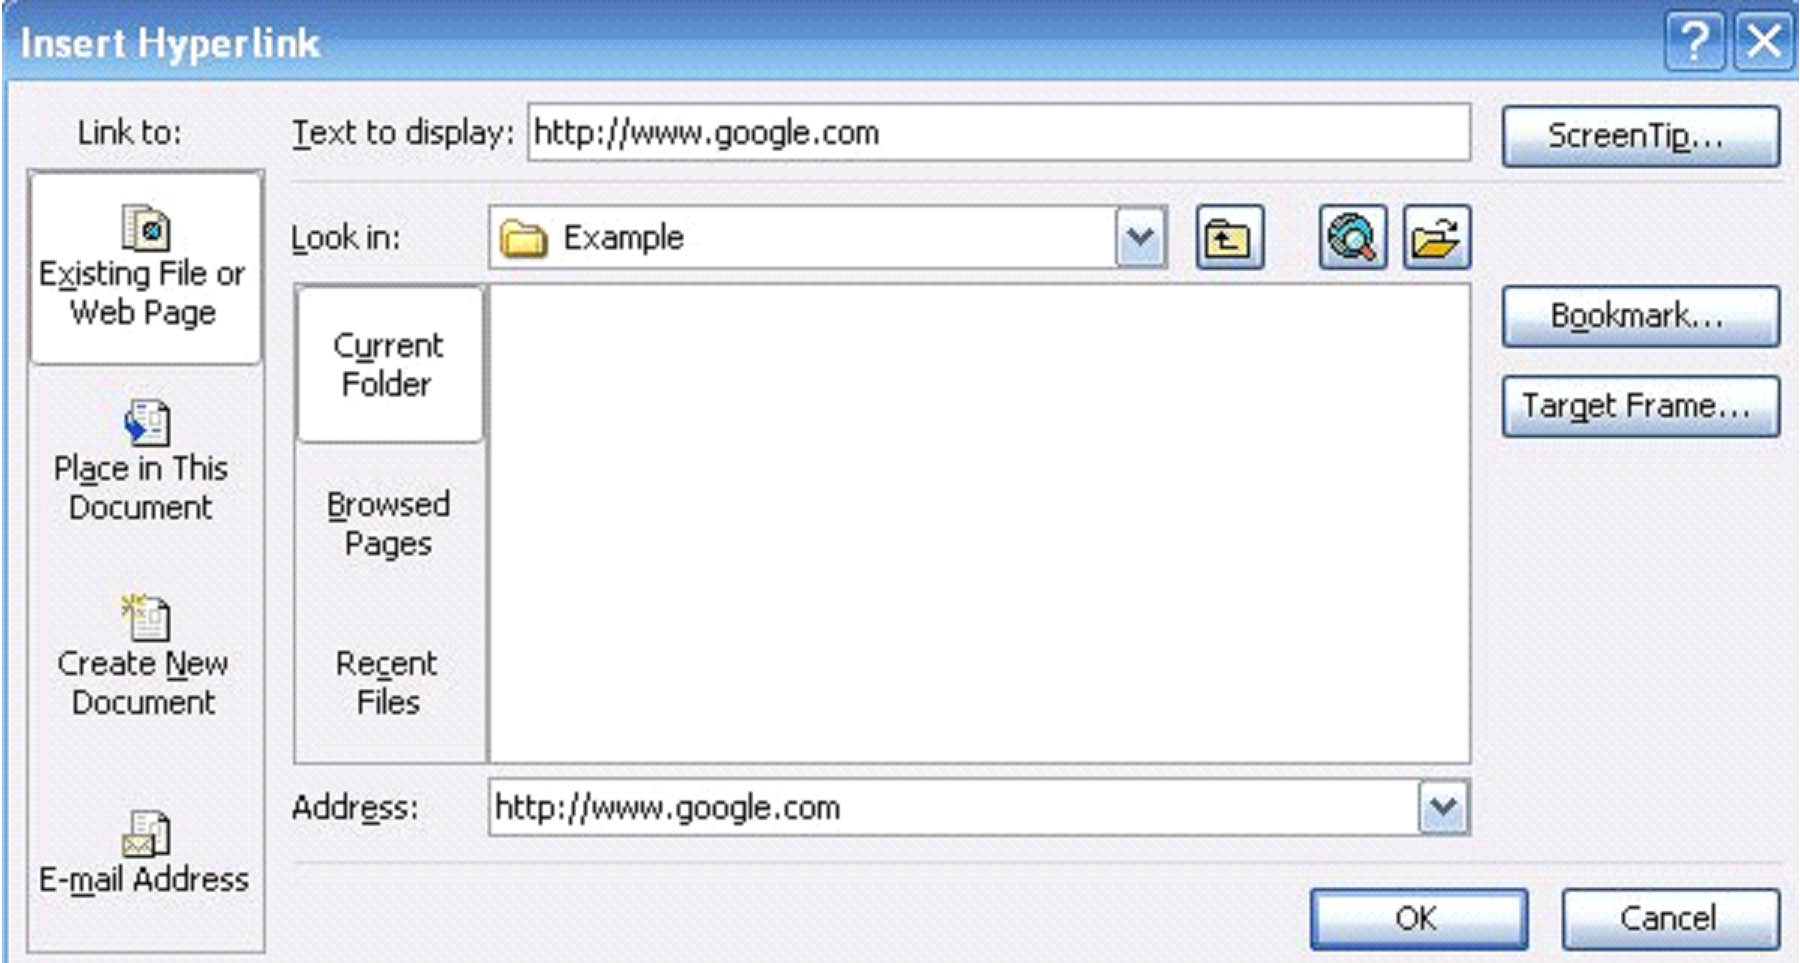
When you click on that icon, this window will open:
![]()
You can link to:
- An existing file or web page.
- A place within the document you're working on.
- A new document.
- An email address
To link to a website, simply type the website's address in the �Address' bar as shown below:
Click �OK'
Adding a hyperlink within a document, a new document, or an email address is just as simple. Just specify the location (or the recipient if it's an email).
Adding a Hyperlink Using the Menu Bar
It's important to know how to use the menu bar as well as the toolbars. To add a hyperlink using the menu bar, simply go to �Insert' and then select �Hyperlink.' You'll see the same window pop up that you see in the screenshot above.
Inserting a Page Break
A page break dictates where one page ends and another begins.
To add a page break, simply go to �Insert' on the menu bar and click �Break.'
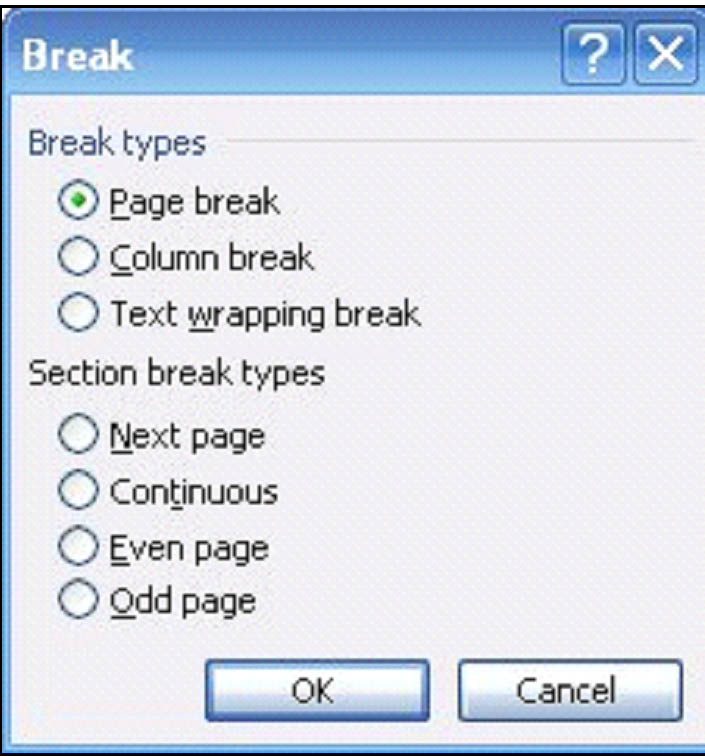
Select �Page Break' and click �OK.' A new page will be started.
Inserting Table of Contents
To insert a Table of Contents into a document, go to �Insert' on the menu bar, then select �Field."
Scroll down on the list until you see TOC.
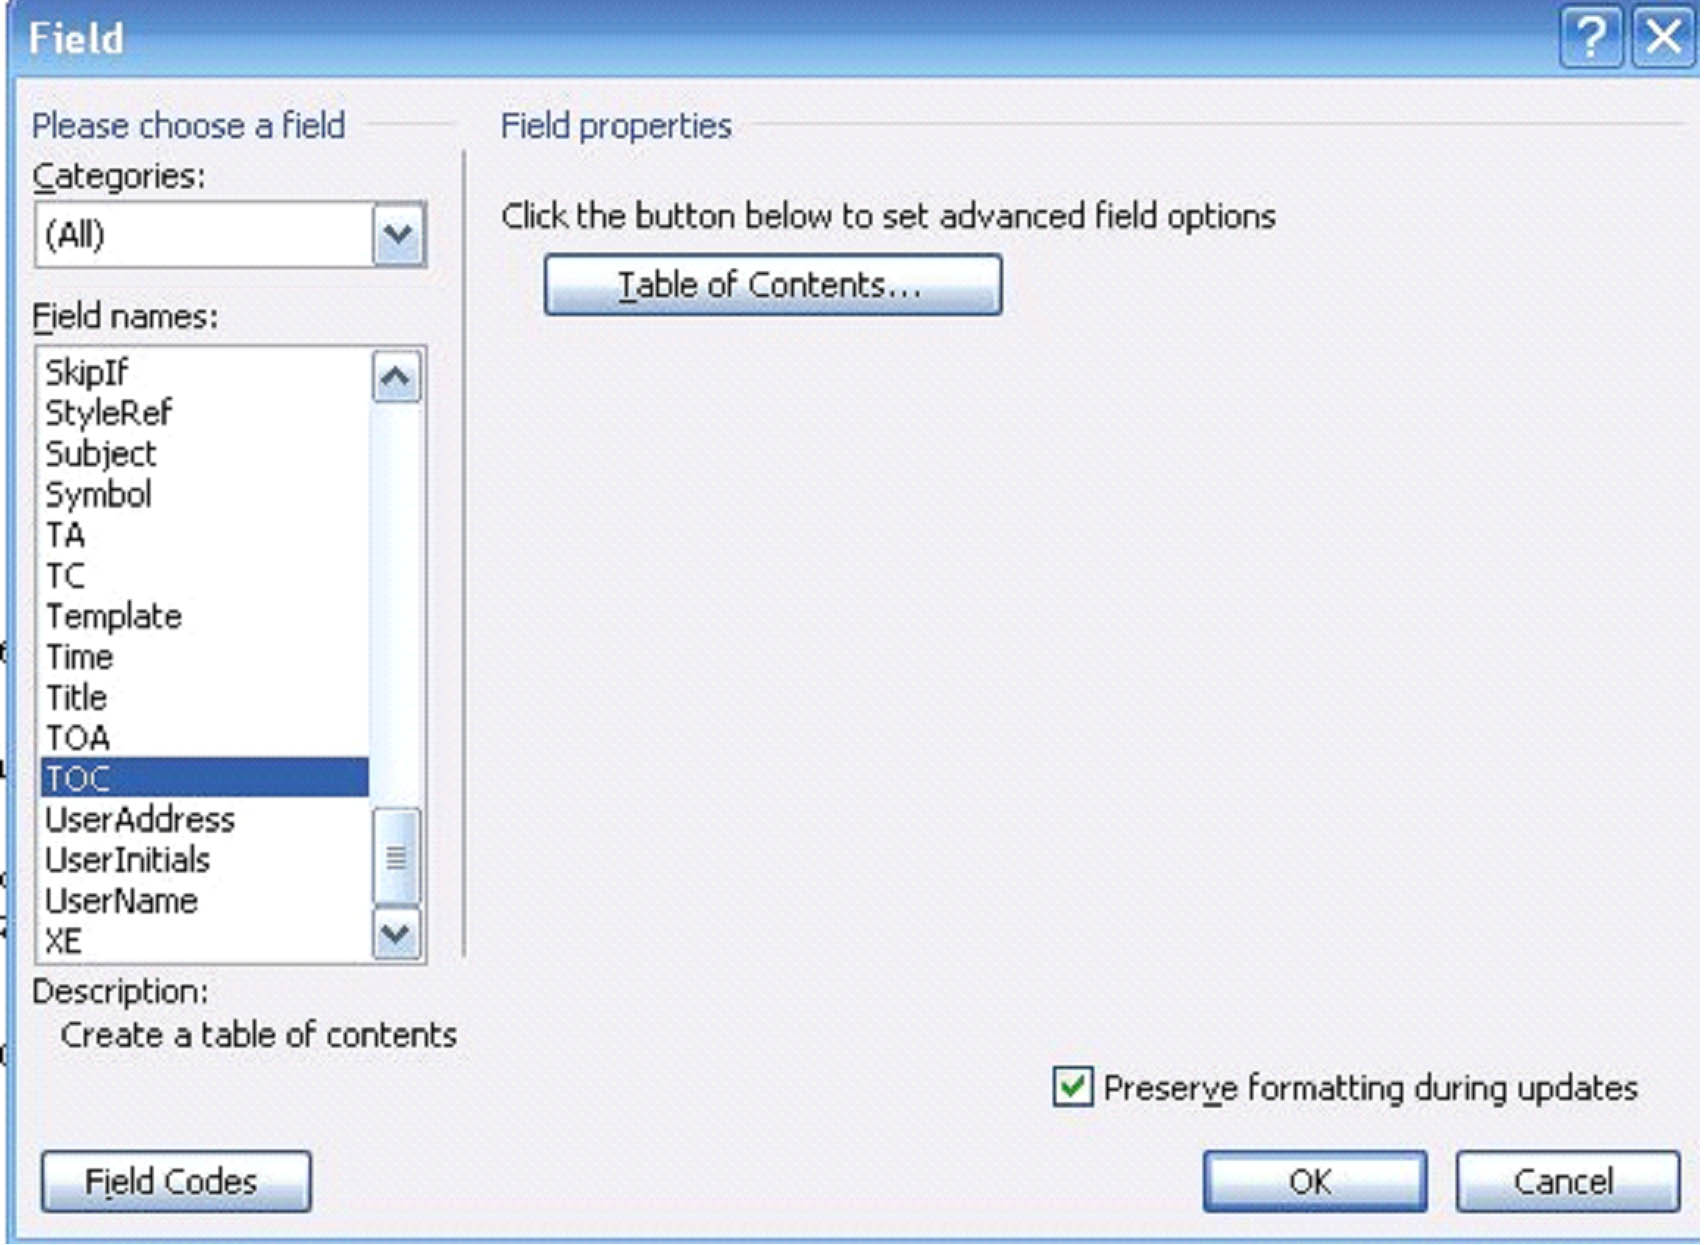
You can click OK at that point, or you can click the �Table of Contents' button to set advanced options.
Another Way to Select Formatting for a TOC
Go to �Insert' on the menu bar. Select �Reference,' then �Index and Tables.'
Click on the Table of Contents tab as pictured below.
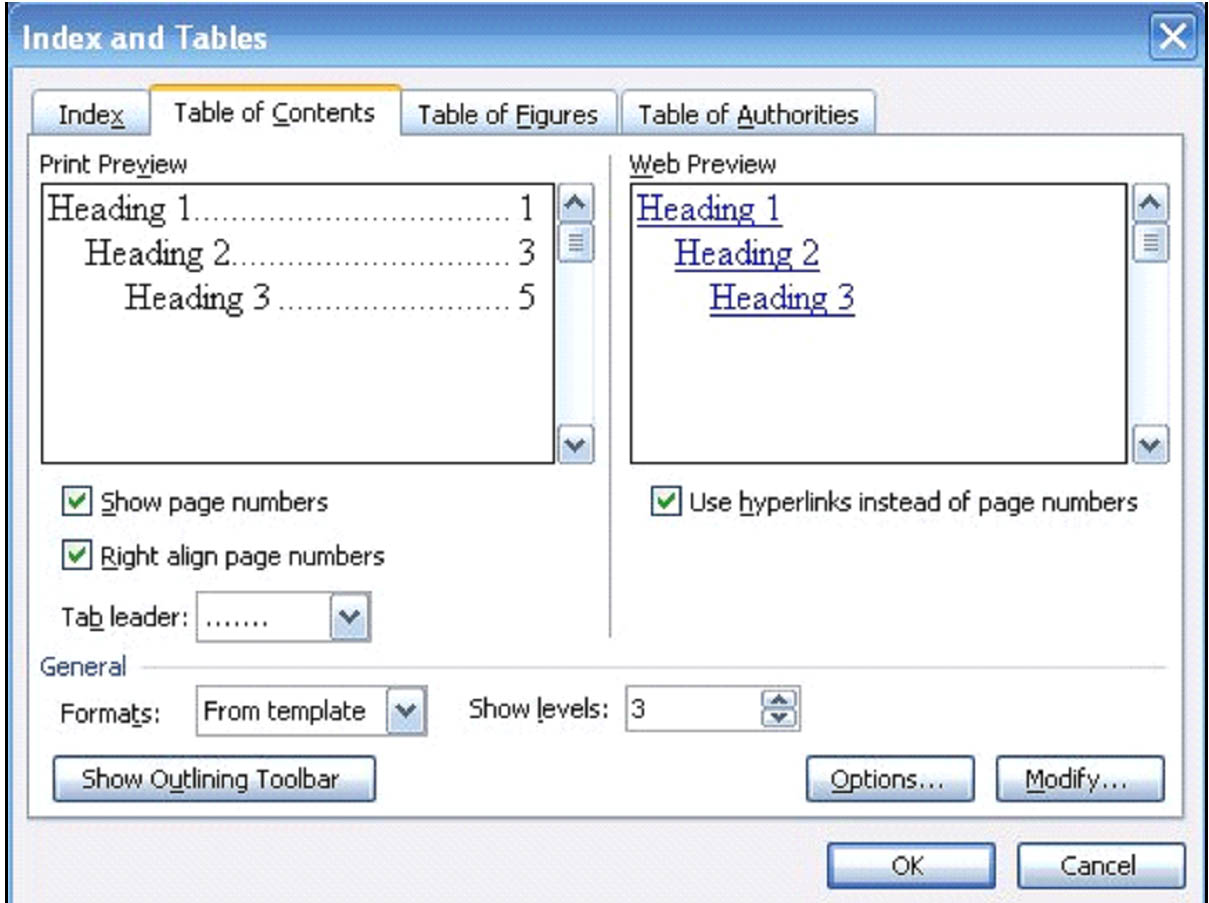
In the General section, you can select the format that you want to use for your Table of Contents.
Update a Table of Contents
You can also update a Table of Contents after making changes to a document by going to the �Outlining' toolbar. Click on the  icon.
icon.
Inserting References
To insert a footnote or endnote in your document, you must first be in Print View.
If you don't remember how to switch page views, go to �View' on the menu bar and select �Print Layout.'
Go to �Insert' on the menu bar and click �Reference' and then �Footnote' on the slide out window.
Click endnote or footnote. You can also add cross references, captions, or an index using �Reference' in the �Insert' menu.
To Add Footnotes or Endnotes
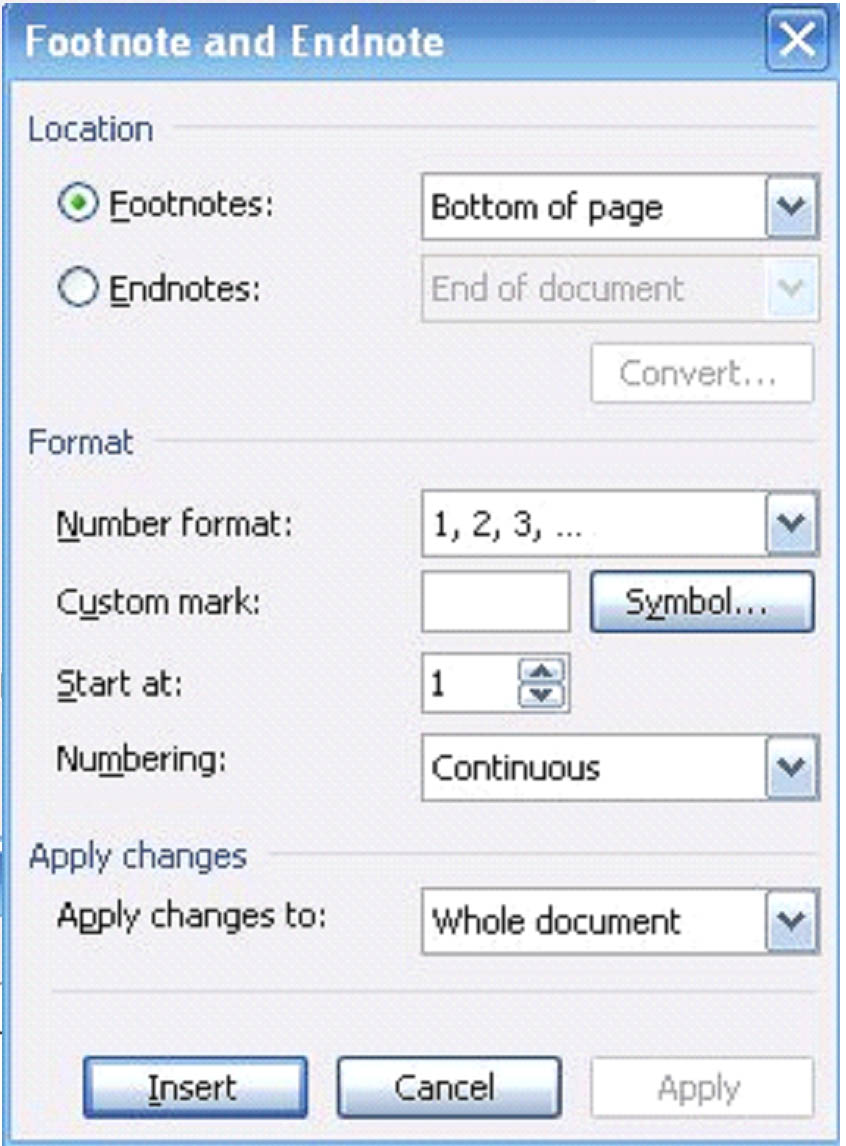
The picture above is the box you'll see to add either footnotes or endnotes.
- Set the location for the footnotes or endnotes. MS Word 2003 adds footnotes at the end of the page and endnotes at the end of the document.
- Select the number format that you want to use.
- Click �Insert.' MS Word 2003 inserts the number and puts the insertion point next to the number.
- Type the text you want to appear in the note.
- Continue typing in your document.
Inserting a Cross Reference
If you want to refer your readers to another part of your document, you may want to insert a cross-reference. This is especially helpful in manuals.
To do this:
- Move the cursor to the place in the document where you want to put the cross reference.
- Select �Insert' on the menu bar, then �Reference,' �Cross Reference.'
- Use the �Reference type' drop down box and select the type of item that you would like to point the cross reference to. For tables, figures, and equations, you'll have to use the Captions feature to insert cross references.
- In the �Insert Reference to' choose the type of material that you want to appear.
- In the �For which numbered item:' box, choose the exact text you want to reference.
How to Create and Insert an Index
Creating an index in MS Word 2003 is a two-step process. The first thing that you must do is mark the words or entries that you want to include in your index. You need these entries marked or an index cannot be created.
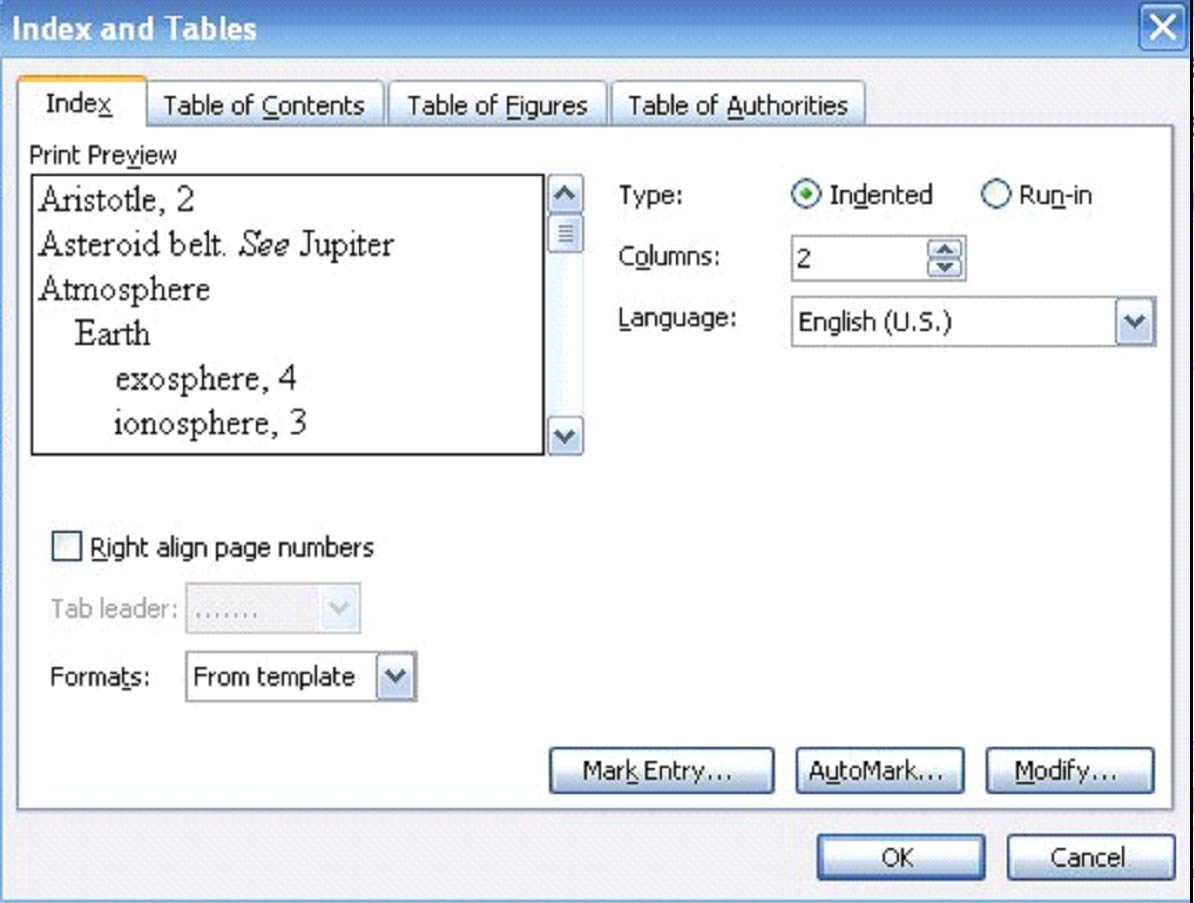
To mark text for the index, follow these steps:
- Select the text that you want in the index.
- Go to �Insert,' �Reference,' �Index and Tables.' This box will appear:
- Click the Mark Entry button.

The �Mark Index Entry' window will appear. Your selected text will be in the main entry box.
![]()
You can choose to only mark this one instance of the main entry for inclusion into the index, or you can mark all instances. (Only significant references should be included in the index.)
Do not close the �Mark Index Entry' box!
Continue adding entries to your index until you're finished building it.
Next is the second step in creating the index.
- Press Control+Shift+8. Make sure you use 8 on the keyboard, not the numeric pad. Pushing this will disable the Show Codes mode.
- Place the cursor where you want the index to appear in the document. Most indexes appear at the end.
- Click the �Index and Tables' option again. (Insert, Reference, Index and Tables.) This box will appear:
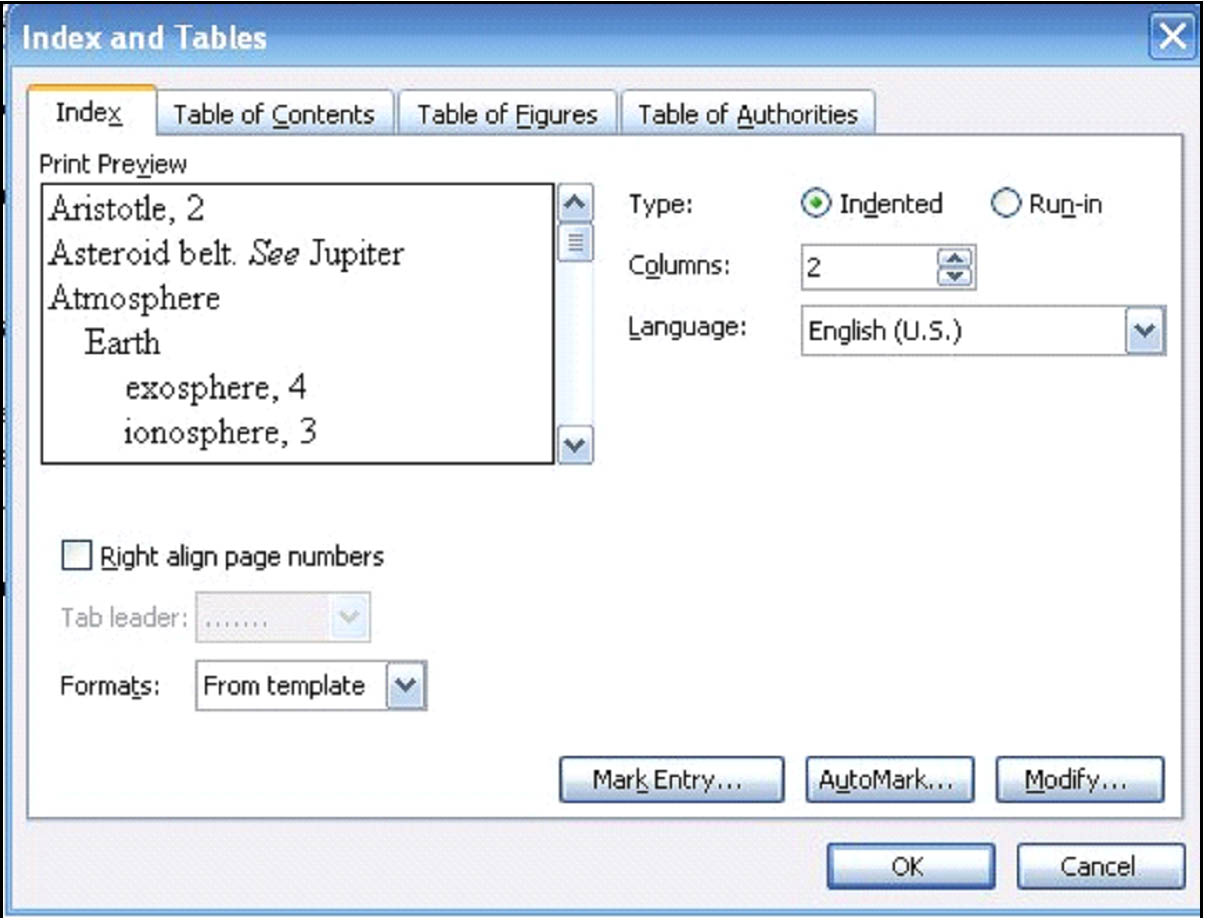
From here, you can either choose a format for your index � or when you're happy with the format --- press �OK'.
Inserting Forms
With MS Word 2003, you can easily create forms that your readers can fill out. This can gather information or simply present questions that they must answer.
Creating forms is easy, but the first thing that you must do is create a template by either opening a new document or one that you want to use as a template for your form, then clicking �Save As' and saving it as a document template.
Next, design your form or use another form as a guide to help you.
When you're ready to start creating your form, go to the �Forms' toolbar. (If you don't remember, to access toolbars, go to �View' on the menu bar, �Toolbars,' then select the toolbar that you want to appear. In this instance, it's �Forms.')

You can then add form fields  for boxes where text will be filled in, check boxes
  , drop down boxes, scroll bars
  , and more. Moving your mouse slowly over the �Forms' toolbar will tell you what each different icon is.
You can edit the appearance of any fields that you add including:
- Removing or adding coloring or shading.
- Change the formatting of form fields.
- Edit the order of a drop down list field.
To set or edit the properties of a form field:
- Double click on the form field that you want to edit.
- Select the options that you want, then click �OK.'
Add Help to a Form
Double click the field where you want to have Help.
Click Add Help Text.
Add Protection to a Form
It's important that you know that your users cannot fill out a form until you add protection to it!
Adding protection is very easy. Simply to the �Forms' toolbar and click Add Protection  .
.