Insert AutoShapes
Instead of importing graphics, you can insert Auto-Shapes into your MS PowerPoint 2003 presentation. An AutoShape is a freehand shape such as a cube, rectangle, circle, or scribble that you place onto a slide.
To insert an AutoShape:
Go to Insert> Picture> AutoShape
On the AutoShapes toolbar (shown below) click on the AutoShape that you want to add.

A drop down menu of AutoShapes belonging to that category will be displayed.
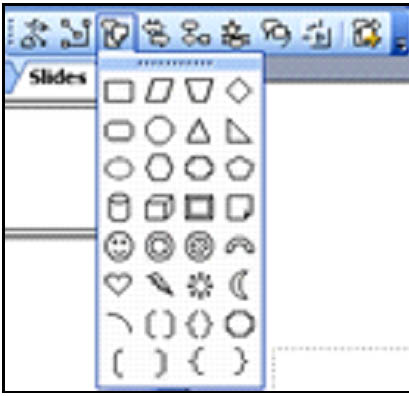
Click the shape that you want to insert. We selected the rectangle.
Click the place on the slide where you want to insert the AutoShape.
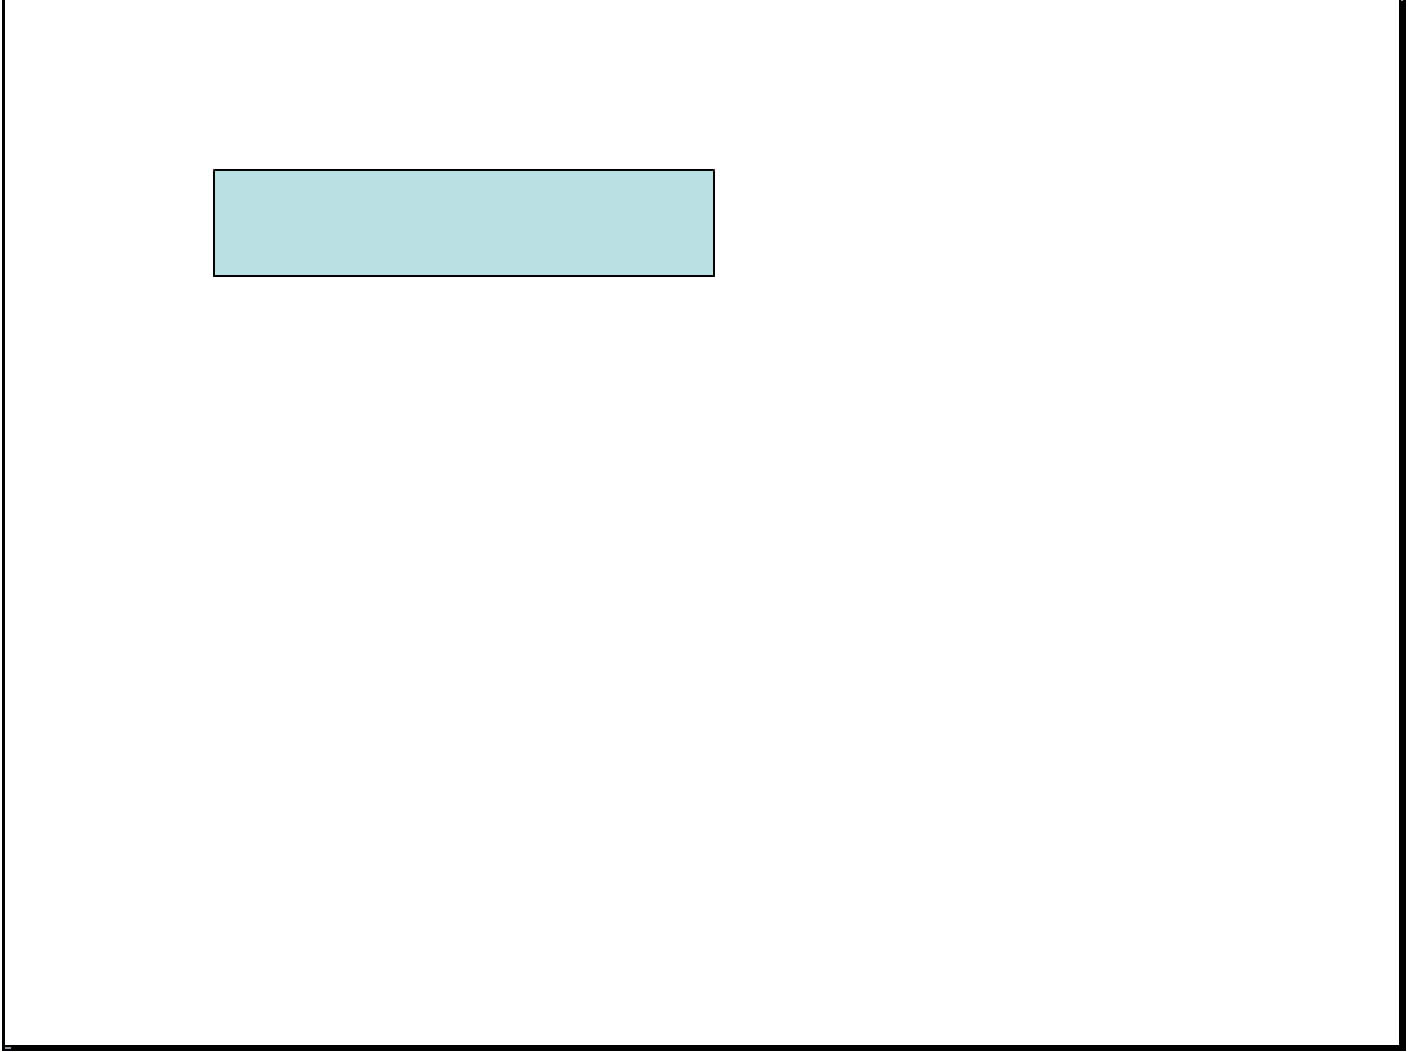
You can then resize it the same way that you would a graphic or picture, by dragging the little circles with your mouse.
Reshaping AutoShapes
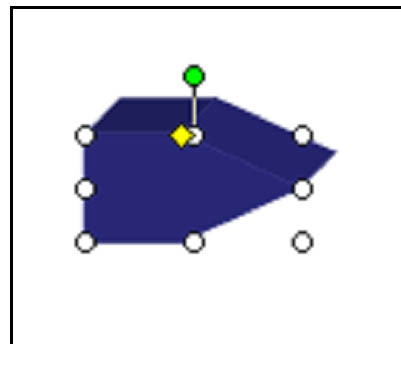
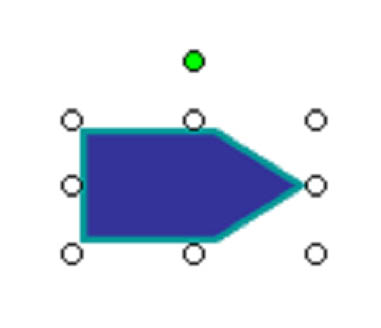
Some AutoShapes, and all Word Art (which we'll cover later in this article), has a little, yellow diamond inside the shape. This is a handle that you can use to reshape the AutoShape.
Take a look at the snapshot below.
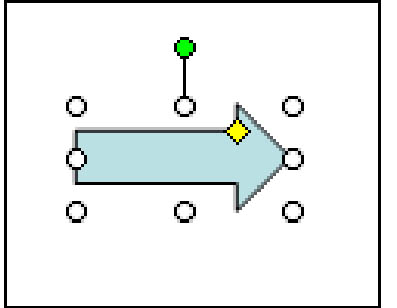
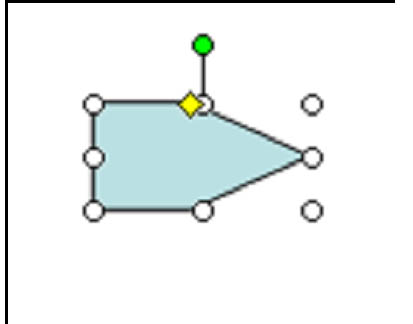
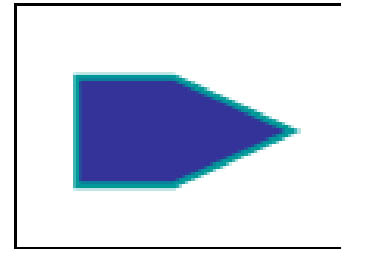
By clicking your mouse on the yellow triangle, you can then change the shape of the arrow, as we've done in the following snapshot.
Using 3D Effects
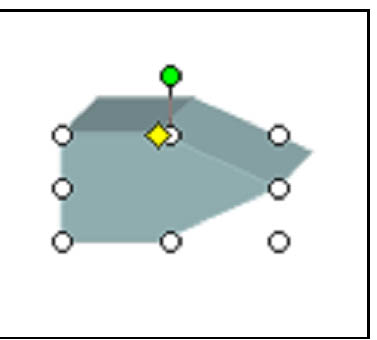
You can also take the modified AutoShape above and turn it into a 3-D object. To do this, locate the Draw toolbar located at the bottom of the PowerPoint window. It looks like this:

If it's not showing, go to View> Toolbars> Drawing and make sure there is a checkmark beside it.
Make sure the AutoShape that you want to use is active.
Click the 3-D  icon on the Drawing toolbar.
A pop up menu will appear. You then get to decide what 3-D effect you want to add to your AutoShape.
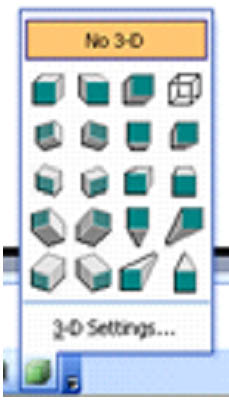
For this example, we'll select the very first one. Look at the 3-D transformation that is instantly done to our AutoShape:
Using Fill Color
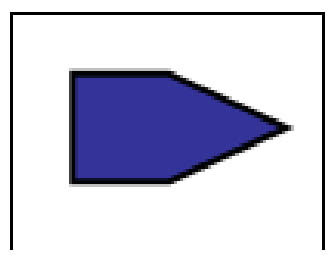
You can also change the color of the shape. Make sure the AutoShape is active, then click the Fill icon  on the Drawing toolbar. A pop up menu will appear that will allow you to choose a color, as seen below.
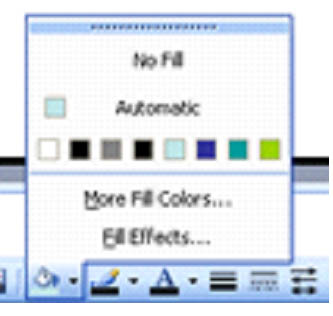
We chose dark blue:
Edit Line Properties
To change the thickness of the line around the AutoShape, click the Line Style icon  on the Drawing toolbar. A pop up menu will appear to let you select the line thickness:
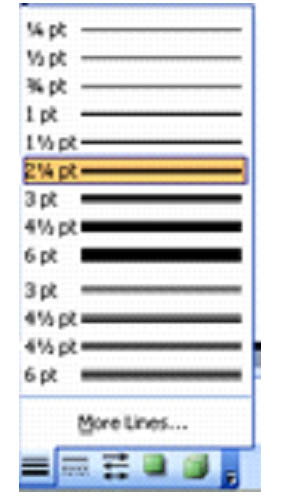
Select the thickness you want.
Note: The AutoShape cannot be in 3-D when you edit the line properties.
You can also change the solid line to dashes by clicking the Dash Style icon  and selecting the dash style you want from the pop-up menu.
To change the color of the line, click the Line Color icon  on the Drawing toolbar, then select a color from the pop up menu pictured below.
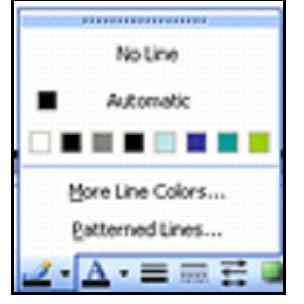
We've chosen green.
Duplicate Shapes
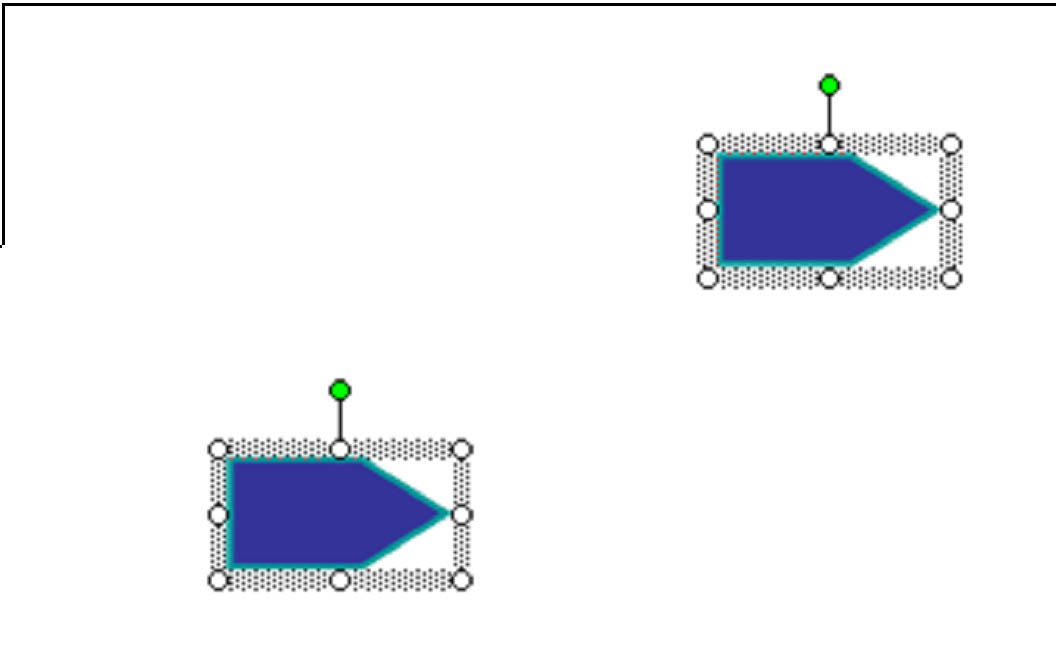
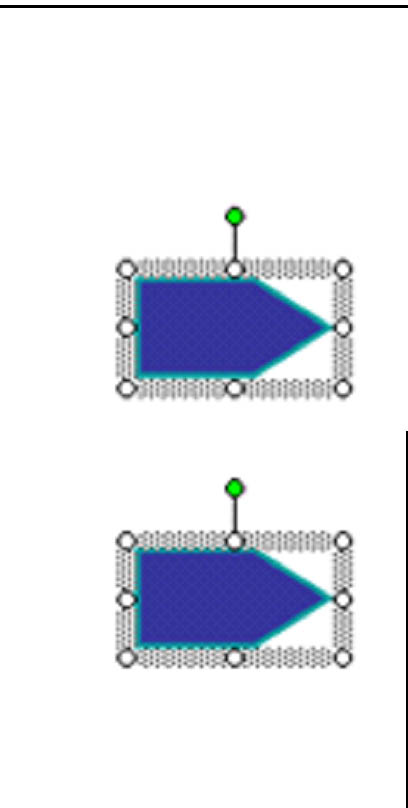
To duplicate a shape and produce an exact replica, make sure your AutoShape is active, then press Ctrl D. This will duplicate the shape as shown below. You can then move it around on the slide.

Align Shapes
If you have more than one shape on a slide, you can align the shapes. To do this, press the left mouse button and drag it until a square appears around the shapes. This will select all the shapes and make them active.
Next, click Draw  on the Drawing toolbar, then select Align or Distribute. A menu will appear to the side that will allow you to make your choices for how you want to align the shapes.
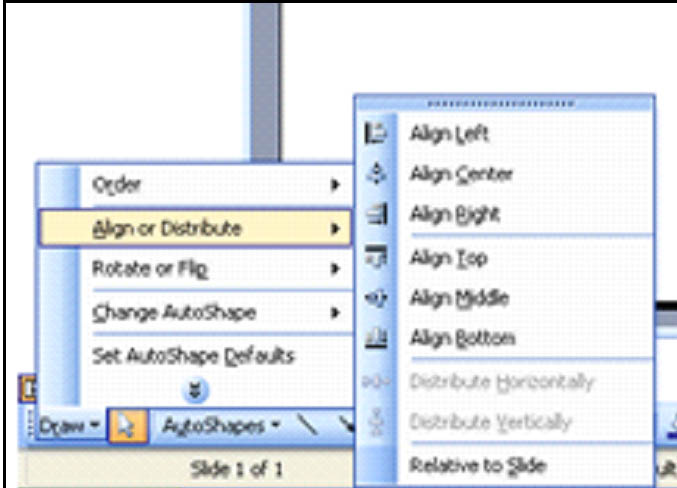
For this example, we're going to select Align Right.
This is how it would look if we aligned them to the top:
Manage Stack Order
MS PowerPoint 2003, along with other MS Office programs, gives you the ability to stack shapes to create different shapes and effects.
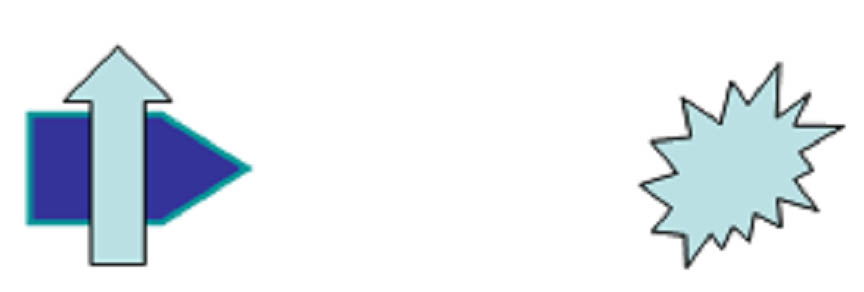
If you want to stack shapes, first you have to decide the order you're going to stack them in. We've illustrated three shapes below as an example. We want to stack them from the left, with the shape on the far left on the bottom of the stack.
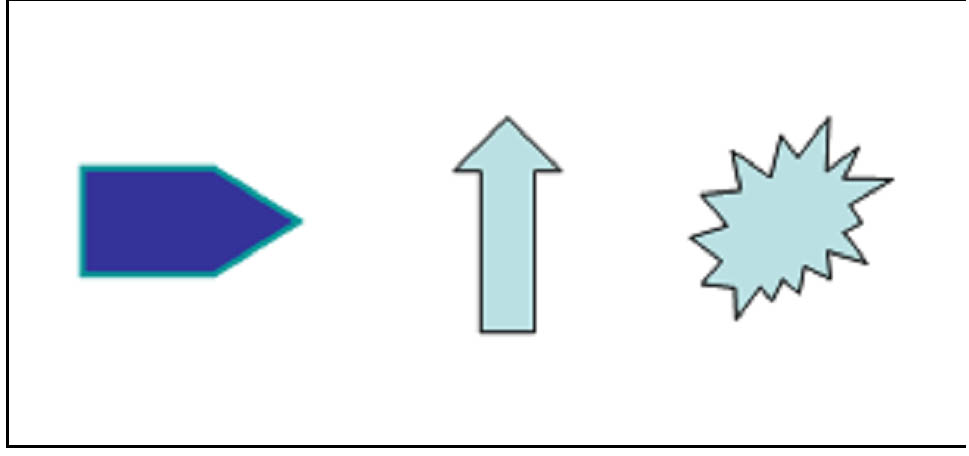
To do that, we need to tell PowerPoint which shapes go on the bottom, etc.
Go to the Drawing toolbar and click Draw. You'll see the menu below:
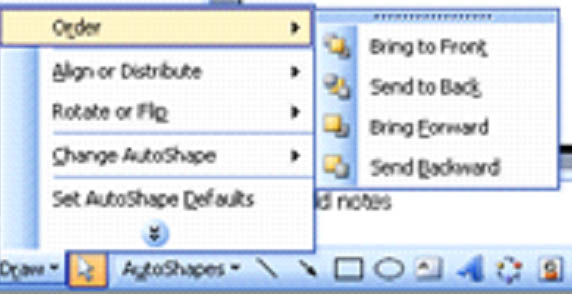
Select Order from the pop-up menu.
We have the first shape (the dark blue arrow) selected. We want this shape to be on the bottom, so we select Send to Back from the menu. By doing this, that shape will be on the bottom of the stack.
The middle shape doesn't need to be put in order. We can simply move it on top of the dark blue shape. Remember, look for the 4-way arrow, then you can move the shape.
Next, select the third shape so it's active. Go back to the Drawing toolbar, then Draw> Sort> Bring to Front. This will tell PowerPoint that this third shape goes on top of the stack. Move the third shape to the top of the stack.

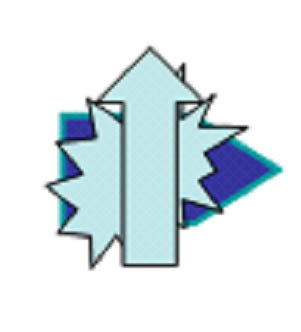
Now that we have the shapes stacked, we can rearrange their order. Let's say, for example, that we want to move the top shape to the middle. First we'd select the shape. Next, we'd simply go to the Drawing toolbar, then Draw> Order> Send Backward.
Drawing Basic Shapes
To draw basic shapes for a MS PowerPoint 2003 presentation, go to the Drawing toolbar and select which shape you'd like to draw. The icons are shown in the snapshot below.
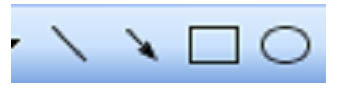
You can draw a line, arrow, rectangle, or oval.
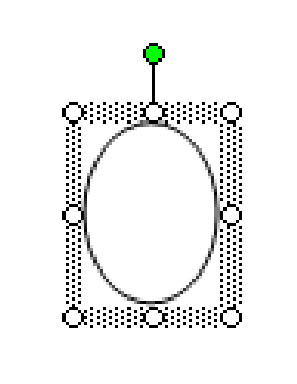
- Select the shape. We're going to pick an oval.
- Click on the oval icon, then place your mouse where you want the shape to appear on your slide.
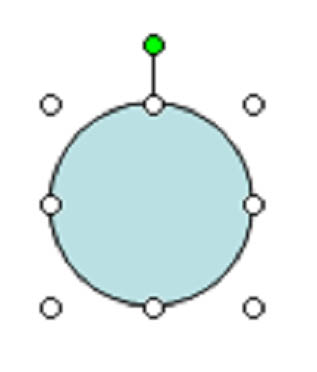
- You can now move or resize the shape.
Drawing an Arc
To draw an arc, go to AutoShapes on the Drawing toolbar. Select Lines from the pop up menu. Then select the curvy line as shown below.
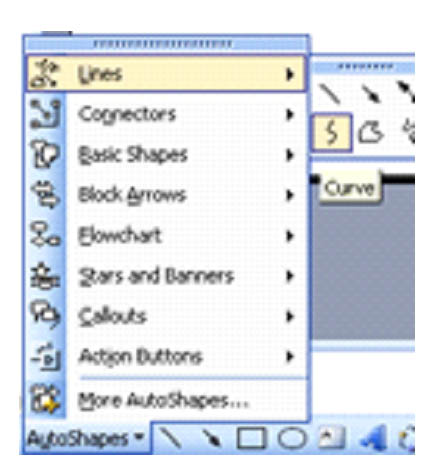
Click a spot on the slide where you want the arc to begin. Left click to start drawing the arc. There's no need to hold the mouse button down. When you're finished drawing the arc, double click to end it.
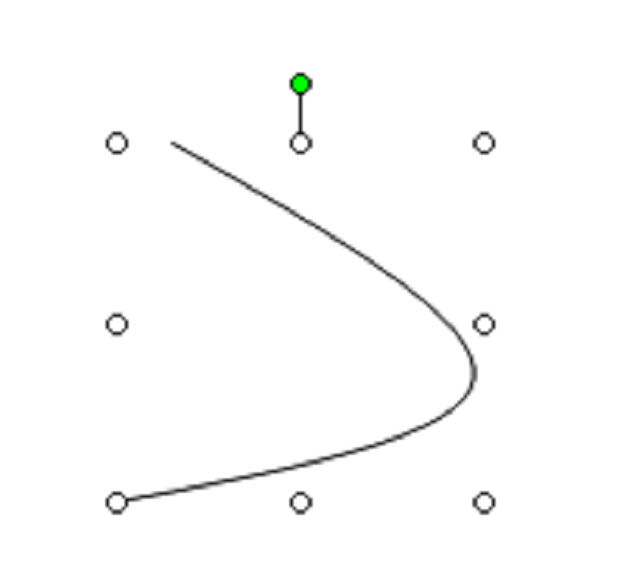
You can then edit the arc's properties by resizing and moving it on the slide.
Grouping Shapes
You can group shapes using MS PowerPoint 2003. When you group shapes, they become part of one graphic, so to speak. If you make one shape active, they all become active. If you move one, you move them all.
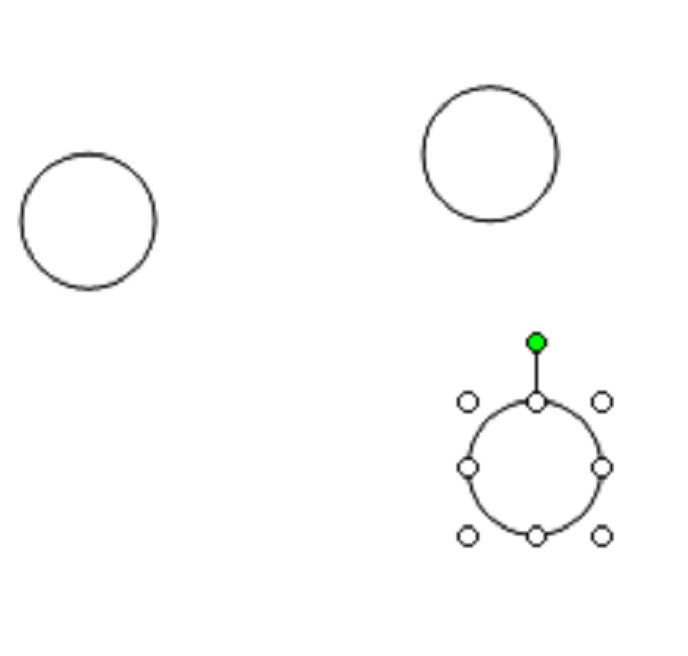
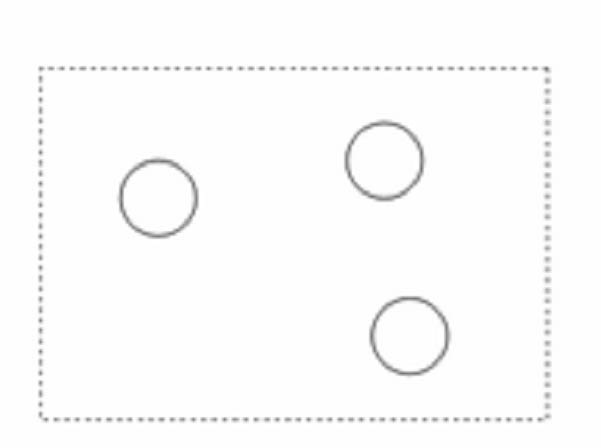
Look at the below snapshot of three circles. Right now, only one circle is active. If we moved it, only that circle would move. The other two would stay in place.
However, we can click the mouse anywhere in the slide and draw a rectangular field around all three circles to select them all.
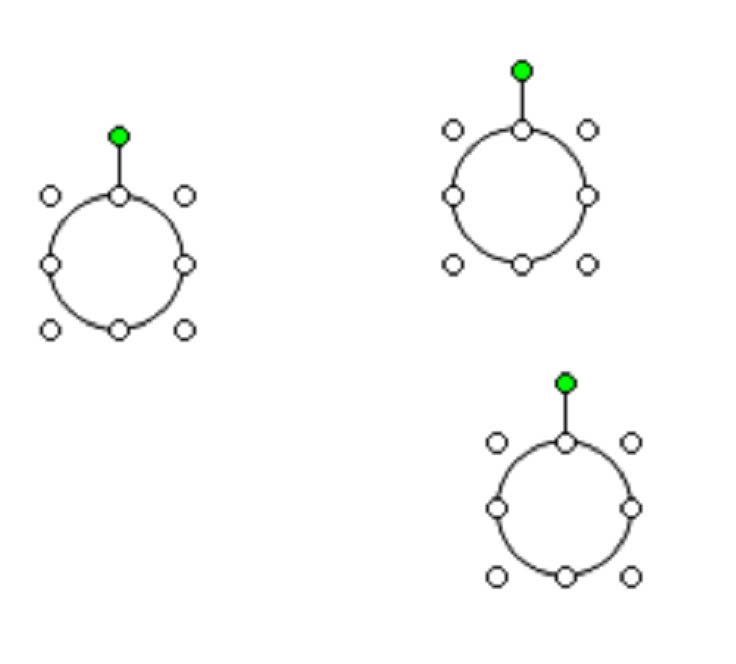
When all three circles are selected, they will look like this:
If we want to place these circles in a group, we then go to Draw on the Drawing toolbar, then select Group from the pop-up menu.
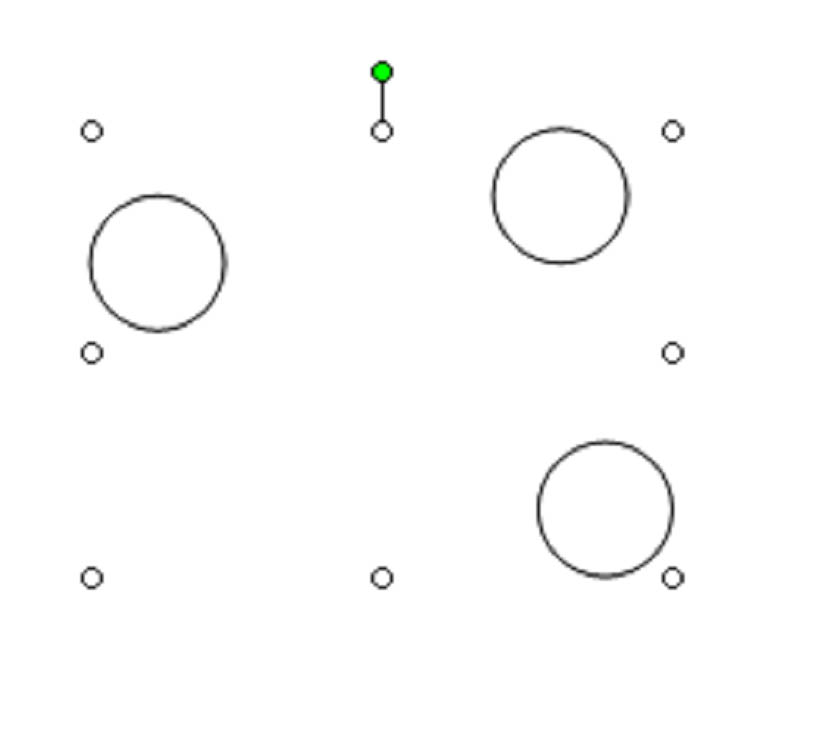
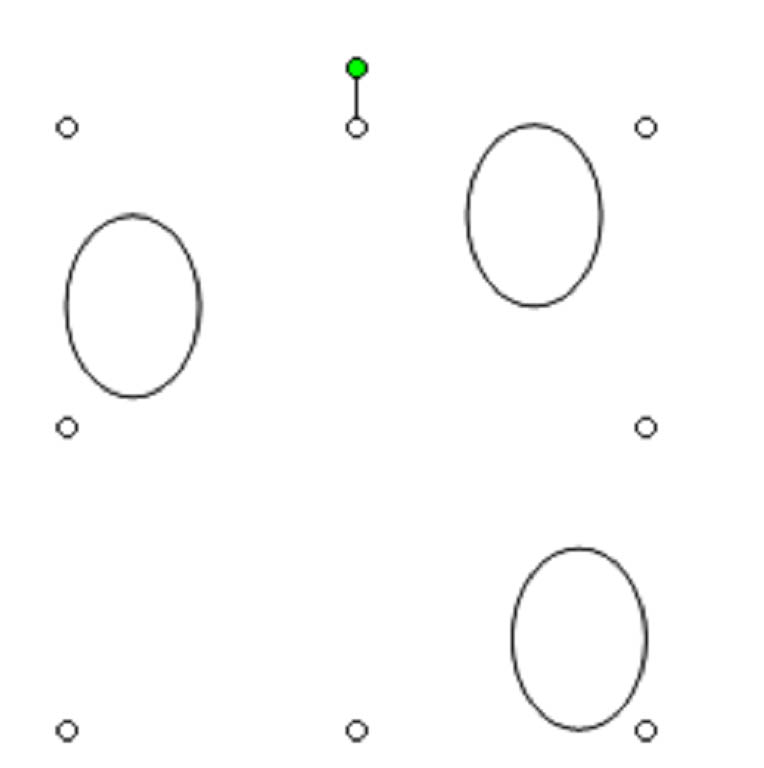
As you can see in the snapshot above, now all circles are part of the same group or field. If you change the shape by dragging the mouse, you will change the shape of all three.
If you copy and paste or cut and paste the circles, they will be cut or copied as a group.
To ungroup them, go to the Drawing toolbar, then select Ungroup.
Placing Text on a Shape
You can add text to most shapes in MS PowerPoint 2003. The only shapes that you cannot add text to are those that are grouped or that use connectors (we'll discuss connectors later in this article).
To add text to a shape, first select the shape and make it active.
Do not click the mouse. Instead, start typing the text that you want to appear in the shape. In the snapshot below, we changed and enlarged the shape to accommodate the text.
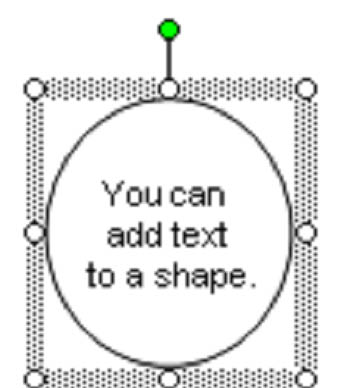
The text then becomes part of the shape. If you move or resize the shape, the text stays with it.
If you want to delete the text, select the shape, then select the text and press Delete.
Using Connectors
Shapes can be used for much more than a decoration on a slide. They are also a very effective organizational tool, just as bullets are. You can also use AutoShapes to clarify information. Take a look at the example below.
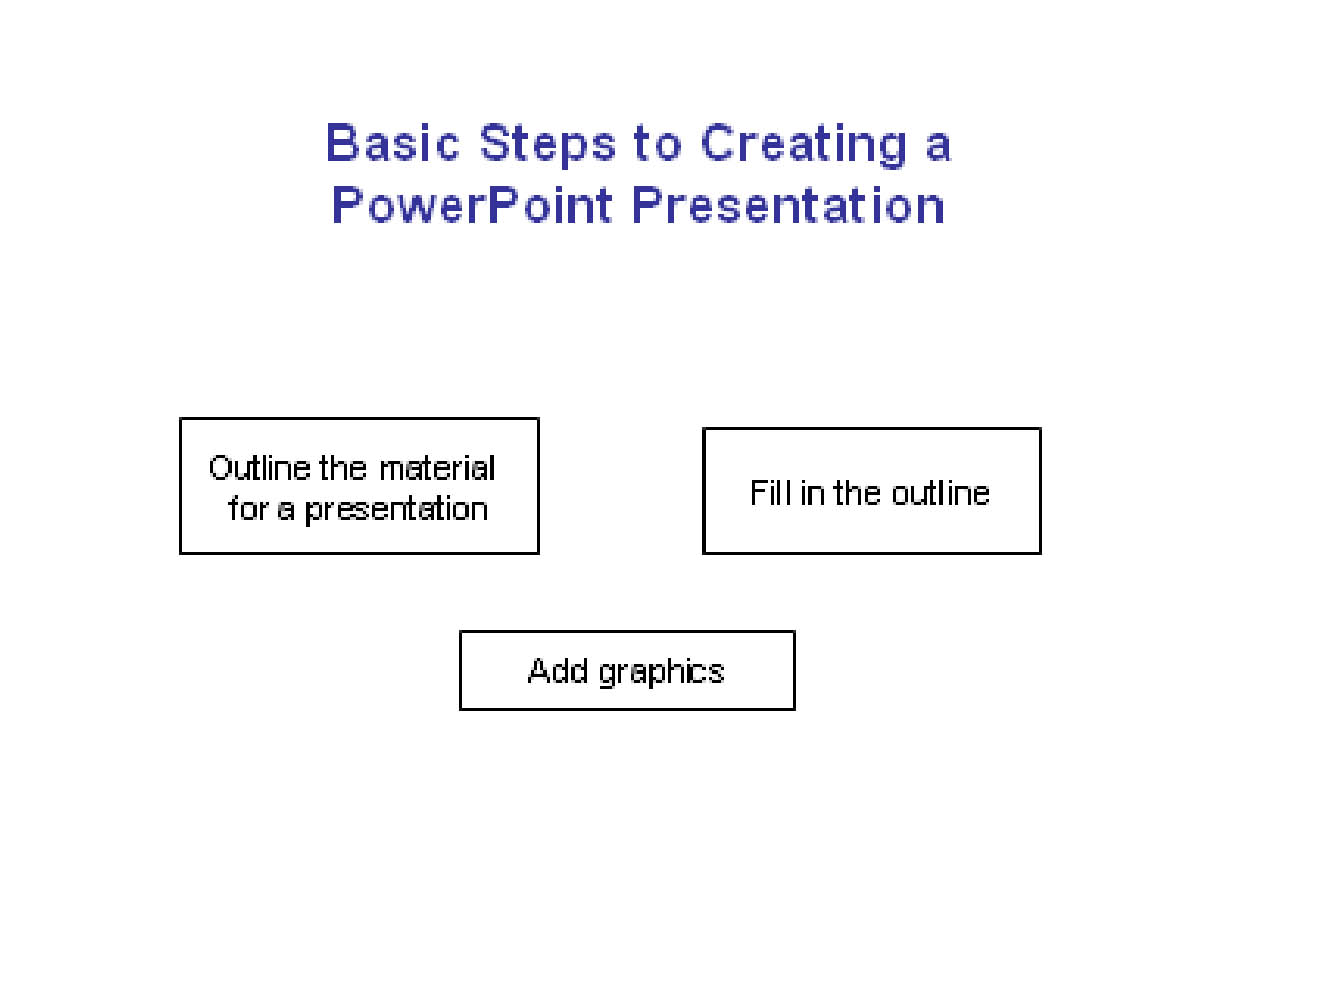
As you can see above, the AutoShape are used to organize information on the slide. It makes it easier to read. However, wouldn't it be nice if we could connect those shapes so that the viewer would know that the shapes and the information inside them are related? We can do this using connectors. Connectors are lines that indicate links between shapes. The shapes above are linked together by the information they contain.
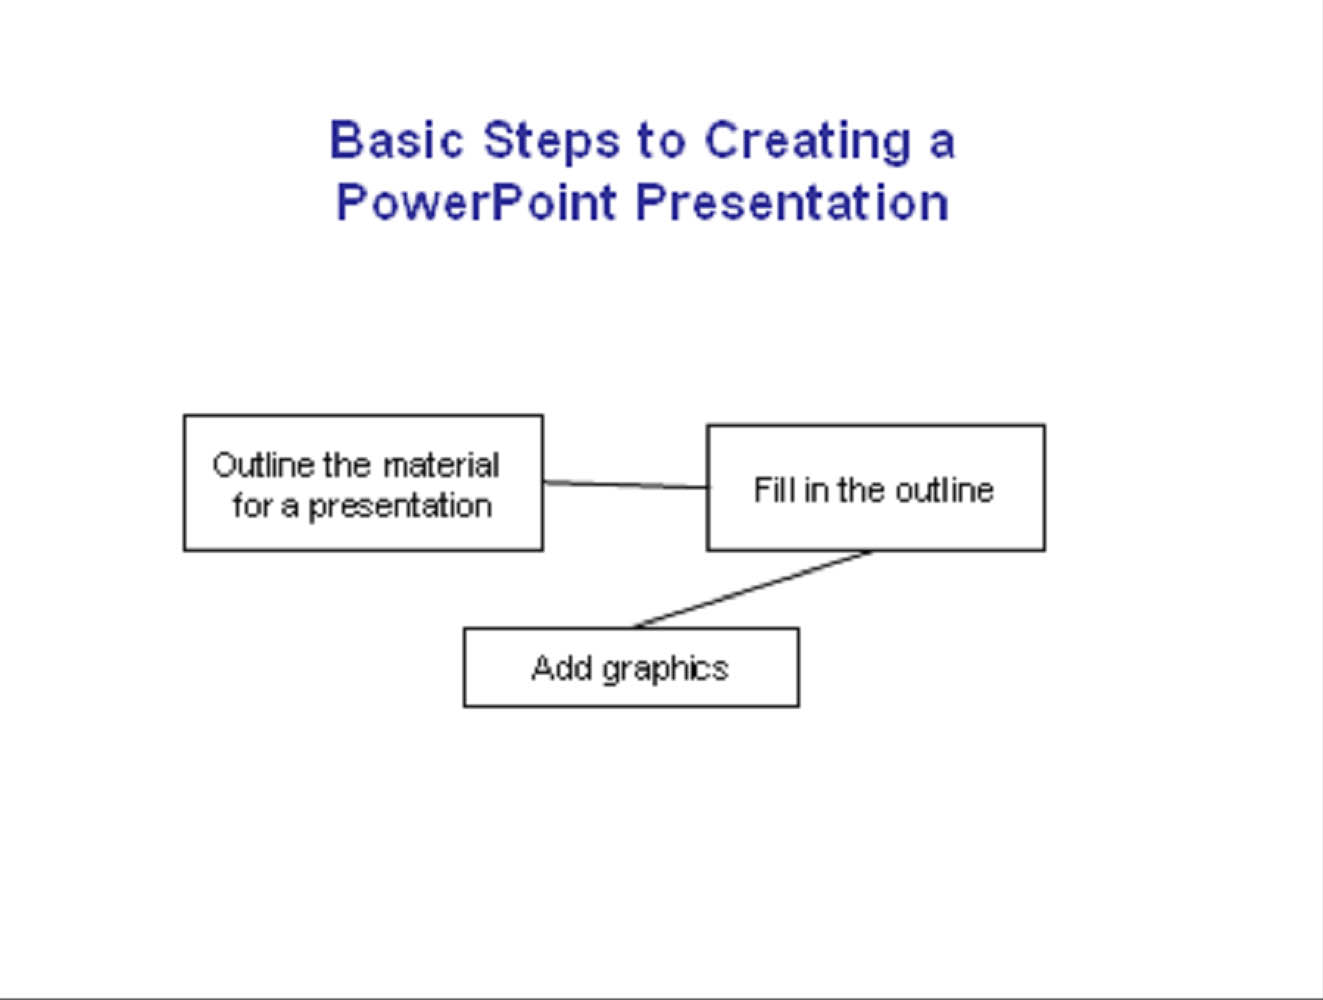
If we added connector lines to the shapes above, this is how it would look:
To add connector lines:
- Go to AutoShapes on the Drawing toolbar.
- Select Connectors.
- You'll see the pop up menu below:
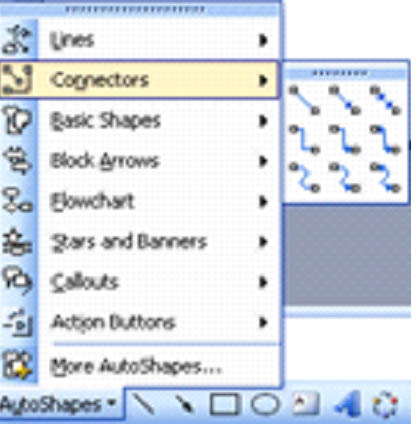
- Select the type of connector line that you want to use.
- Now, go to the shape where you want the line to start. When you pass over that shape with your mouse, tiny blue dots will appear at the locations on the shape where you can start your connector line. Click on the blue dot that represents where you want the line to start and drag the mouse to the place where you want the line to end on the next shape. A little red dot will appear at your starting point, and a green dot at the end. Click outside of the shape to save the connector line.
Note: Add text to the shapes before placing connectors. You cannot add text to a shape with a connector.
Create a Flow Chart
By definition, a flow chart is a chart where symbols are used to represent data, information, and flow. In MS PowerPoint 2003 it is used to show the flow of data.
To create a flow chart:
- Select the location on your slide where you want to insert a flow chart.
- Go to AutoShapes on the Drawing toolbar.
- Select Flow Chart. The menu below will appear:
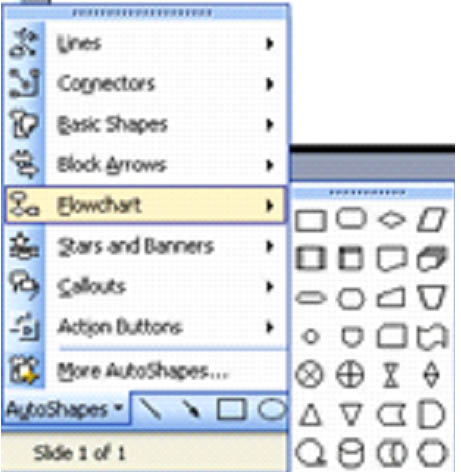
- Click on the shape that you want to use for your first flow chart.
- Drag the shape to the spot where you want it.
- Do the rest with other shapes that you want to use in your flow chart.
- Add any text that you want inside the shapes.
- Go to the Drawing toolbar and select Connectors.
- Choose the type of connector line that you want to use.
- Follow the steps in the section above to add connector lines to your shapes.
Formatting Flow Charts
After you create your flow chart, you can change the color of your AutoShapes, add text, or change the type of connector lines.
We already learned how to add text and change the color of AutoShapes, but we'll review it just in case you have forgotten.
|
Desired Result |
Action |
|
Add text to an AutoShape |
Simply make the shape active and start typing. |
|
Add or change color of an AutoShape |
Make the shape active, then go to Fill |

To change the color of a connector line, select it, then go to the Drawing toolbar and click on Line Color 
To change the type of connector line, select the line you want to change, go to the Drawing toolbar and select Connectors. Click on the new line you want to use. MS PowerPoint will automatically change the line for you.
Using WordArt
As with other MS Office programs, you can also add specially formatted text to your presentation. This includes text that is slanted, curved, or 3 dimensional. You can do this using a feature called WordArt.

To add WordArt, to your presentation, go to the Drawing toolbar and select the WordArt icon  . The WordArt window will then appear on your screen:
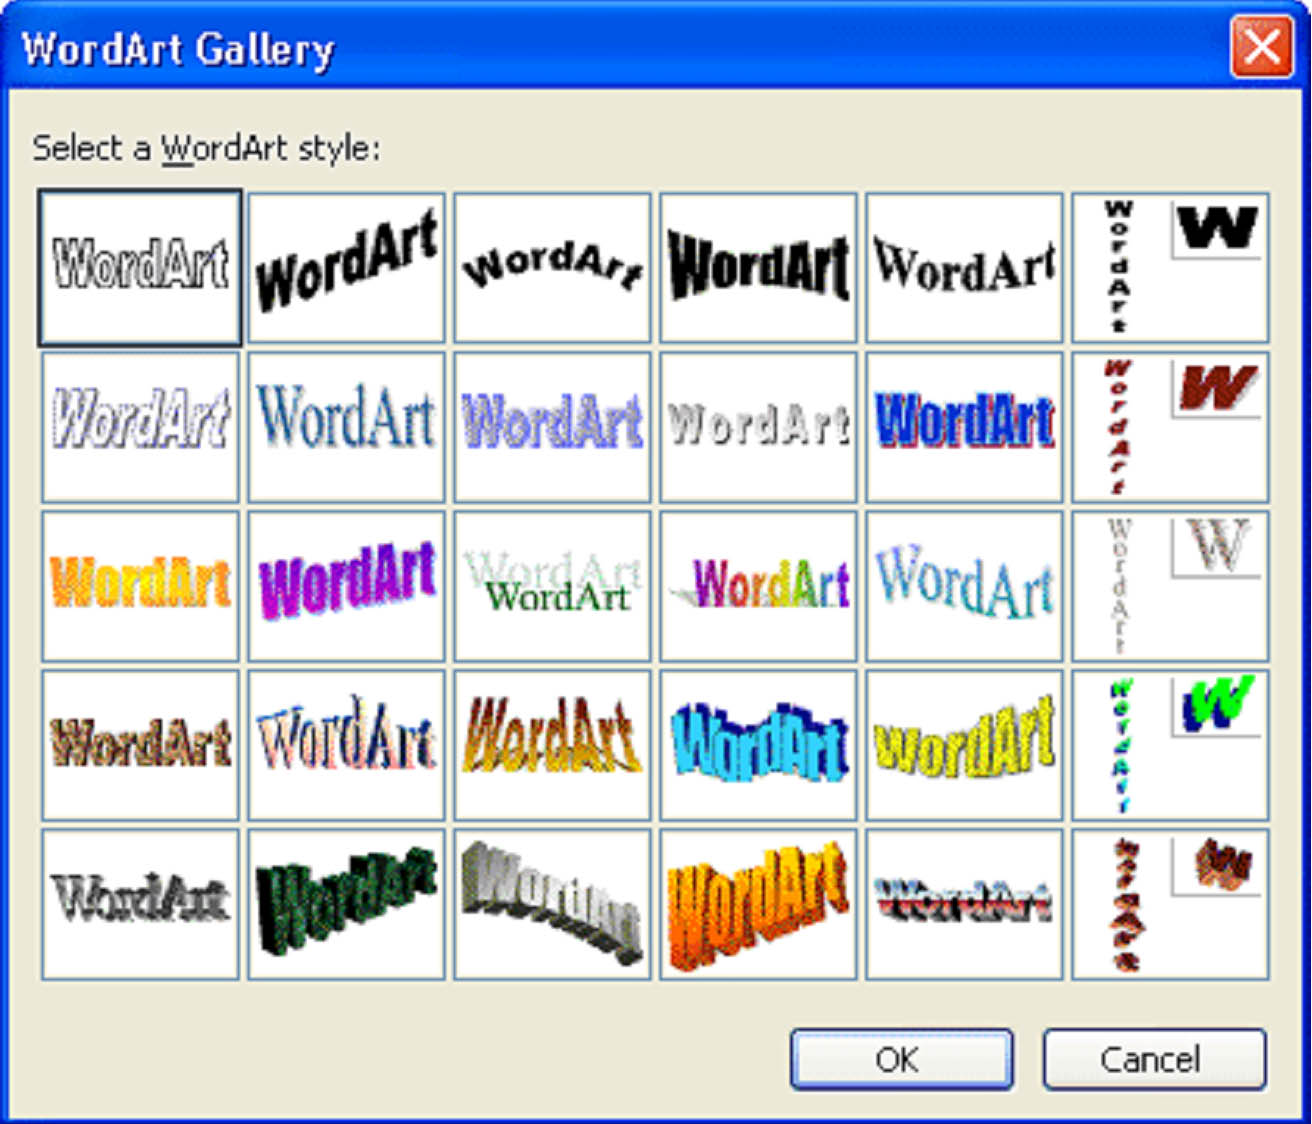
Select the style of WordArt that you want to appear on the slide. Click OK.
You'll then be asked to select the font, font size, and the text that you want to appear, as in the snapshot below.
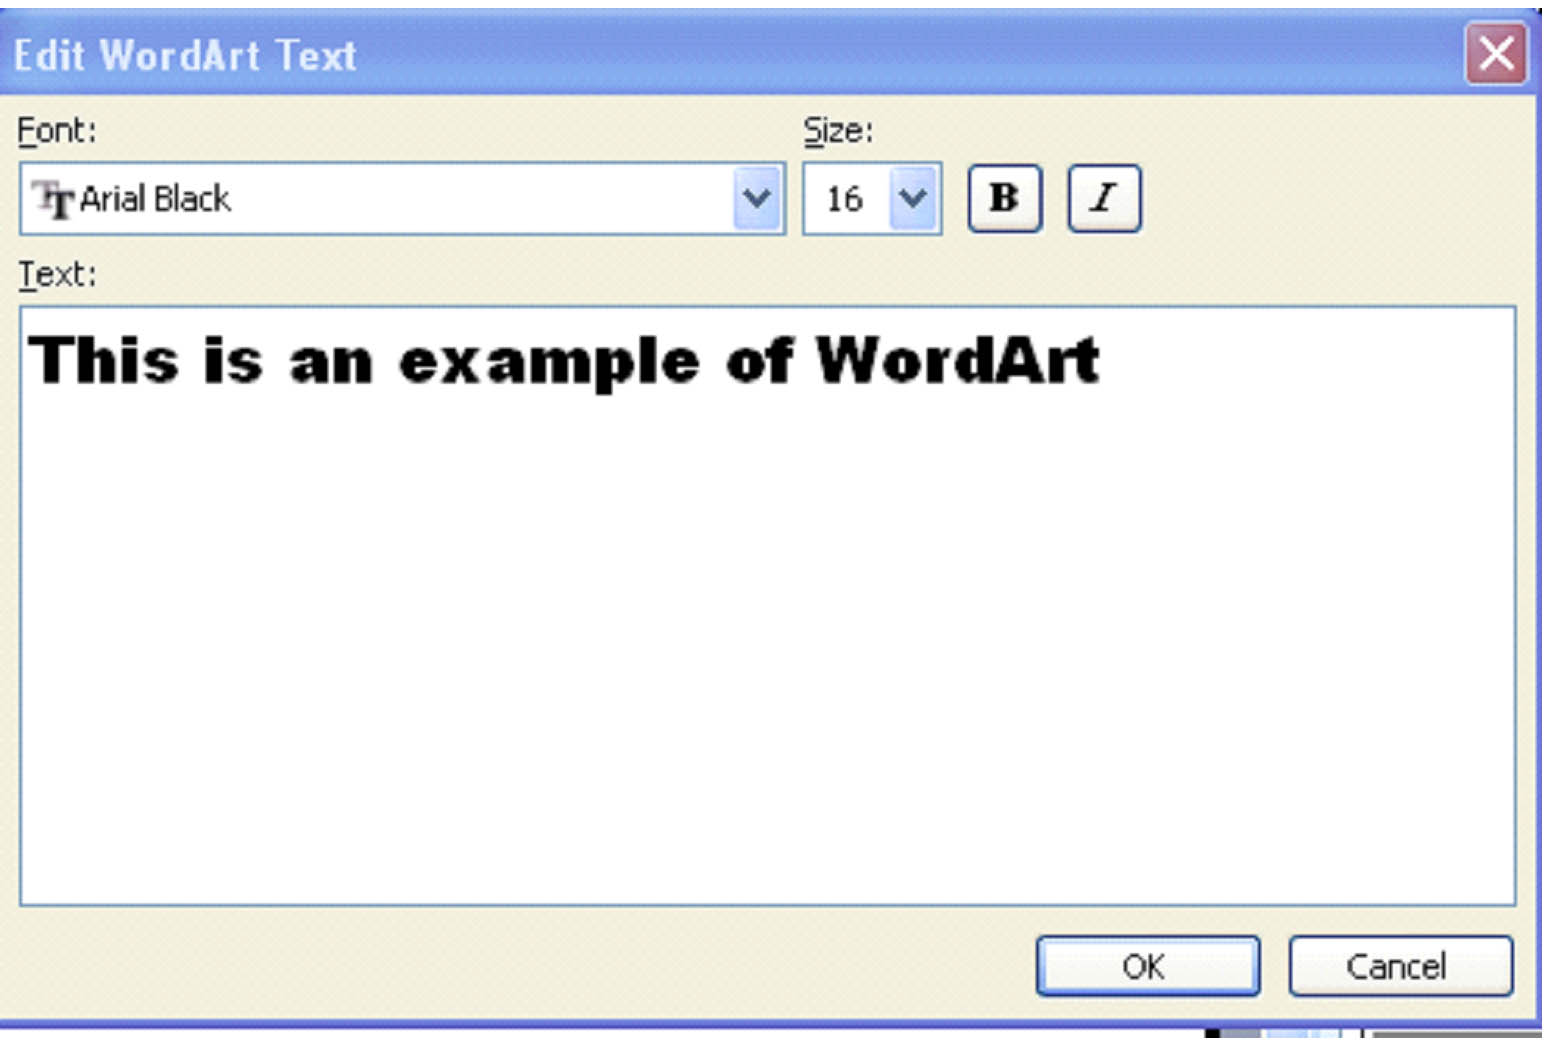
You can also choose to boldface or italicize the text. Click OK when you're finished.
The text now appears on your slide. The floating WordArt toolbar will also appear.
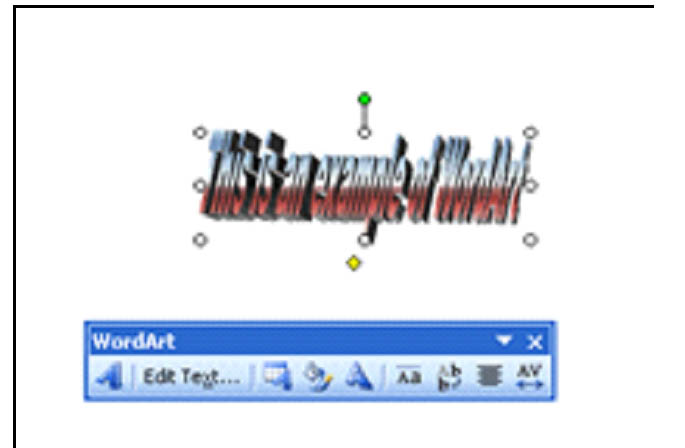
Using the WordArt toolbar, you can insert more WordArt using the WordArt icon, edit the text, or return to the WordArt gallery  to change the style of WordArt.
You can also:
- Format the WordArt. Click on the
 icon. This dialogue box will appear:
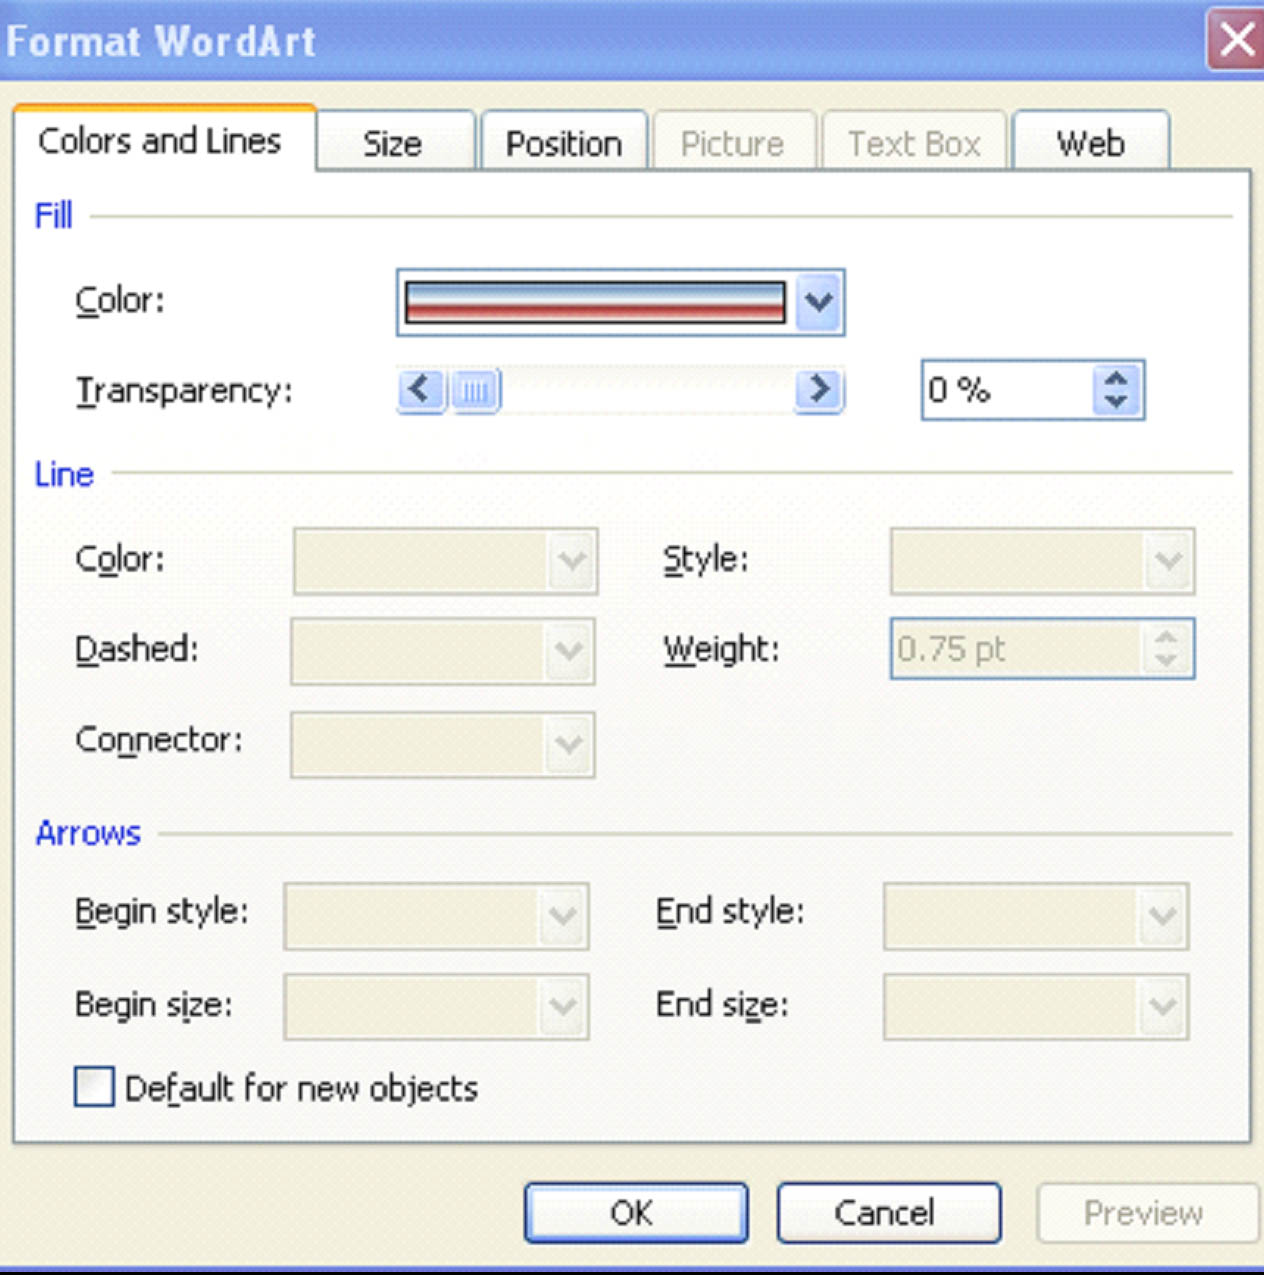
- You can then change the color, line style, size, and position of your WordArt.
- Change the shape of your WordArt by clicking on the WordArt Shape icon
 .
.

- Select the shape you want. It will be applied to your WordArt text.
- You can make all your WordArt letters the same height by clicking the
 icon.
icon.
- To create vertical text from horizontal text, click
 .
.
- Align the WordArt to the left, right, center, or justify it by clicking on the
 icon on the WordArt toolbar.
- To increase or decrease the spacing between WordArt letters, click .

Now that we've covered the WordArt toolbar, let's return to the WordArt that appears on the slide. You can also make adjustments there.
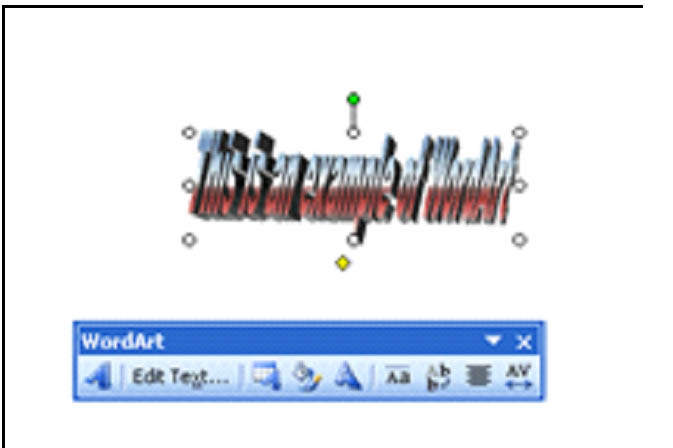
As you can see, the WordArt contains the same editing features as a graphic or picture that you would insert. You can use the black and white circles surrounding it to enlarge or shrink the WordArt.
By dragging the green circle, you can rotate the WordArt on the slide.
Slide the yellow diamond back and forth to adjust the slant of the WordArt.