Under the File tab, click New. You can choose Blank Database or use an Office.com template. We're going to select Blank Database.
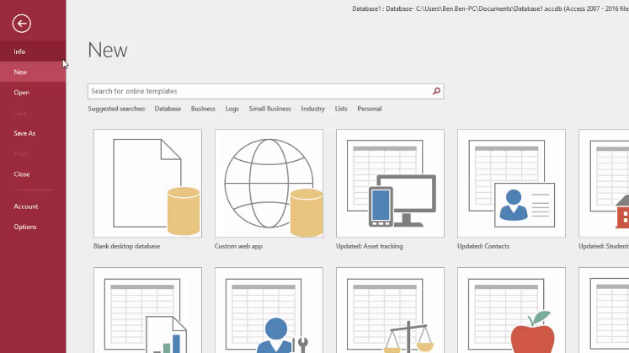
To the right, you'll be asked to create a name for this database, then click Create.
You'll then see this Access screen:
![]()
This is a zoom of the screen above, left section
![]()
What you have now is a blank database. You are ready to start entering data. But remember, to add data, we must first create tables. Let's learn to do that now.
Create a New Table
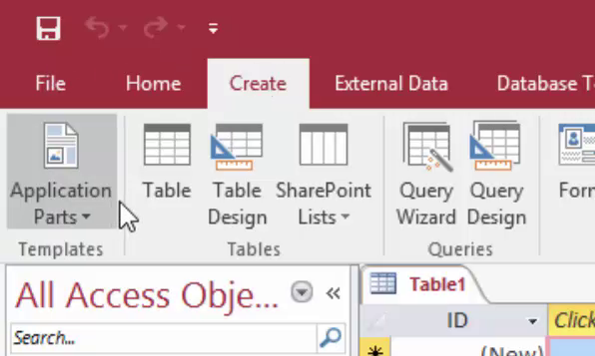
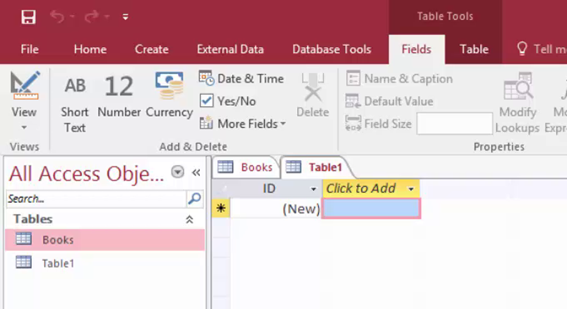
To create a new table, go to the Create tab. You'll see it to the right of the File tab. Click Table to add another table.
Access creates one table for you by default, so when we do this, we'll have two tables, as shown below.
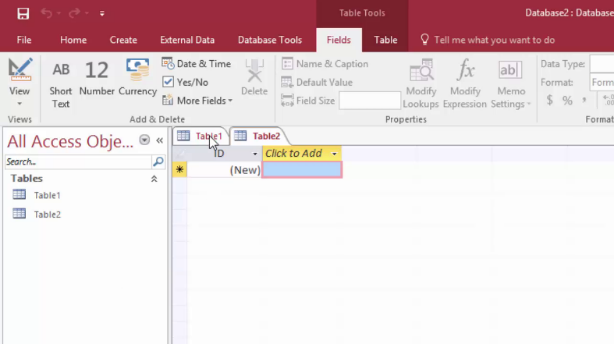
You can click on the Table1 or Table2 tab to navigate between tables.
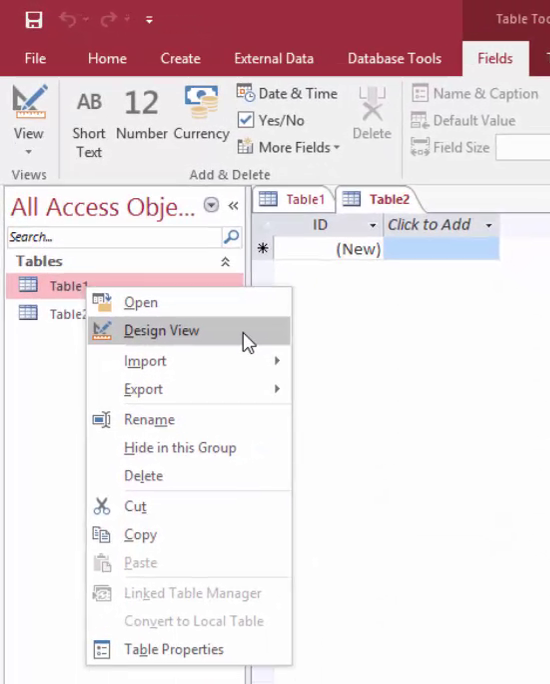
On the left hand side of the screen, right click Table1 and select Design View. There are several different views in Access 2016. For now, open Design View. This is where you can design the table by determining what fields you want to store in the table.
Access will ask you to name the table. Enter a table name, then click OK.
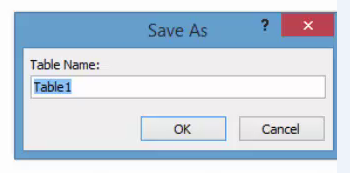
We've named ours Books.
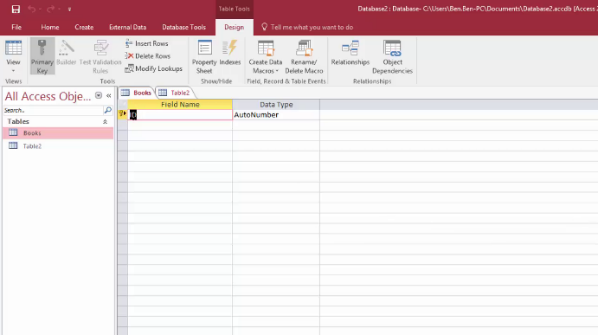
In Design View, you can go ahead and name the table columns and apply constraints over them in the Field Properties at the bottom of the above pictured window. By clicking on ID, you can also add your Primary key.
We're going to make our Primary Key ISBN.
We'll write that in the Field Name. This is the name of the field/column.
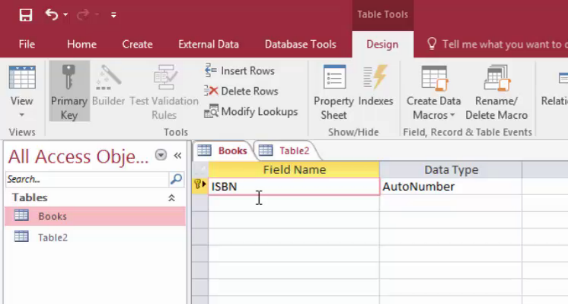
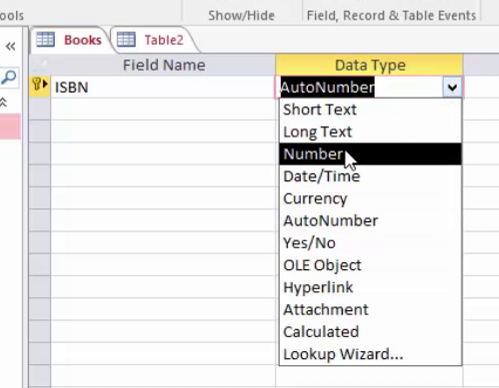
Next, we'll "tab over" to Data Type and specify the type of data to be entered into the ISBN field, by pressing the Tab key. Select "Number".
Next, we'll tab over to Description and type a description of the data entered in the field. To go back to the previous field at any stage, hold Shift and press Tab.
We can enter in information so that this table also has an Author, Title, Publication Date, Price, and Genre fields.
When we're finished entering all fields for this table, this is what we have:
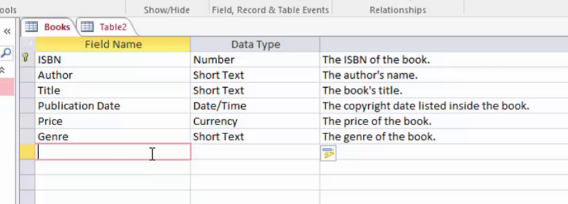
Note the key beside ISBN. This is our primary key.
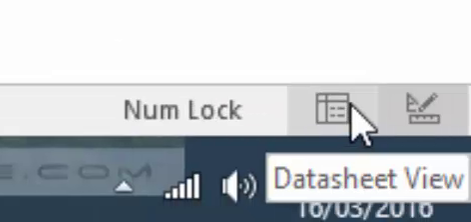
Once you're finished with this, change to the Datasheet View. You can do this by either clicking on the icon on the bottom right hand side of the screen:
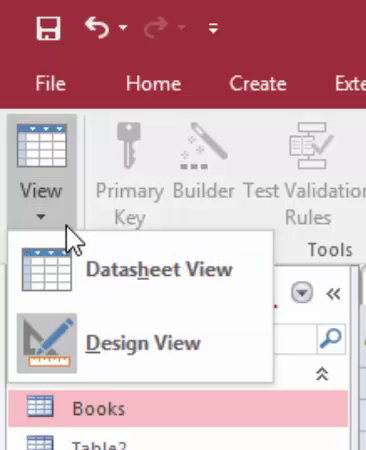
Or, by clicking on the dropdown arrow under the View button on the Design tab.
You'll be prompted to save the table, then you'll be able to enter information into it. Click Yes.

Adding Data to a Table
There are several ways to add data to a table. The easiest way is to enter data into the table when you are in Datasheet view.
This looks and works similar to an Excel spreadsheet file. As we discussed earlier, the columns represent pieces of information and the row is a single record of all of that information.
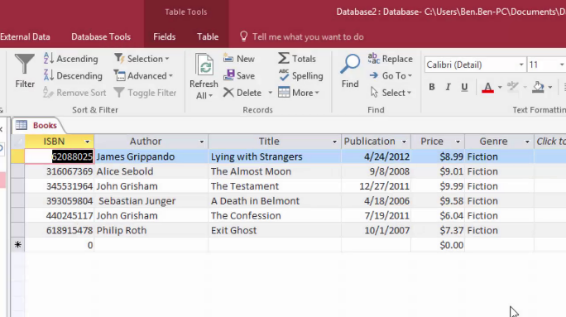
We've entered the following information into our Books table. It's good to enter it now, as the next few lessons involve getting the data from these tables.
ISBN
Author
Title
Publication Year
Price
Genre
0393059804
Sebastian Junger
A Death in Belmont
Apr 18, 2006
9.58
Fiction
0618915478
Philip Roth
Exit Ghost
Oct 1, 2007
7.37
Fiction
0062088025
James Grippando
Lying with Strangers
Apr 24, 2012
8.99
Fiction
0316067369
Alice Sebold
The Almost Moon
Sep 8, 2008
9.01
Fiction
0440245117
John Grisham
The Confession
Jul 19, 2011
6.04
Fiction
0345531964
John Grisham
The Testament
Dec 27, 2011
8.99
Fiction
You can enter this data by typing it into the cell, and pressing Tab or clicking on the next cell. Once you enter data into the blank line, a new blank line will appear.
Your table should now look like this:
Creating a Second Table
Now, we're going to create a second table, and then link it to the first table. This is the main benefit of creating databases. It allows you to create separate sets of data, and link them together, to keep your information organized.
We are going to create a simple Orders table. This table will store some data about orders that have been made for books.
Traditionally, order tables can be quite complicated. Orders can have multiple items, items can belong to multiple orders, and orders can have different prices or discounts. For our example, though, we're going to make it simple.
· One book per order
· No price changes
· Only some information about destinations
Click on the Create tab and then on Table, just as you did earlier. A new table will be created.
Click on the View button and select Design View. This is where we define the fields.
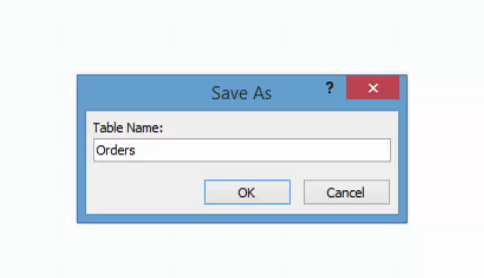
Access will first ask you to save the table. Enter "Orders" and click OK.
Now, enter the following fields into the Design view:
Field Name
Data Type
Description
Order ID
Autonumber
The order's ID number
ISBN
Number
The ISBN number of the book attached to this order
Order Date
Date/Time
The date the order was made
Destination Country
Short Text
The country where the order is being sent to
An Autonumber field is a special type of field in Microsoft Access. It is a number field, and each value is unique and is automatically generated by Microsoft Access. It's good for ID numbers and for primary keys, which, as we learnt earlier, need to be unique.
Your Design View should look like this:
![]()
Save your database, and then click on the View button to change to Datasheet view.
Your table starts like this:

Enter in these values for the orders. You can just press Tab when you select the Order ID field, as you don't need to type anything in.
ISBN
Order Date
Destination
393059804
Jan 21, 2014
United States
62088025
Feb 10, 2014
England
618915478
Feb 25, 2014
United States
393059804
April 4, 2014
Australia
316067369
May 11, 2014
United States
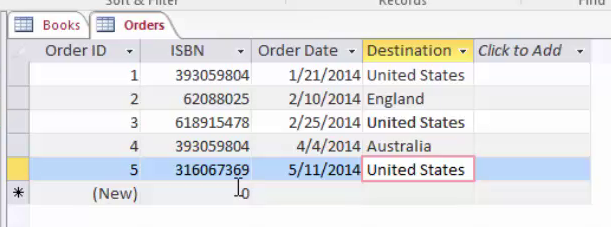
Your table should now look like this:
Linking Two Tables
We have two tables: Books, and Orders. Now it's time to link them together.
To be able to link them together, we need a field in both tables that match. They don't need to be the same name, they just need to contain the same data.
Normally, you would use some kind of ID number, whether it's a real number (social security number, phone number) or a made up number (employee ID, author ID). This is good database design, as you want the field that links the tables (the ID) to be different to the label for those fields (book title, order destination, etc.), in case the labels change.
In this example, we'll be using the ISBN to link the two tables. Save the table, and then click on the Table tab.
Click Relationships.

If you have no relationships created, this form will be displayed.
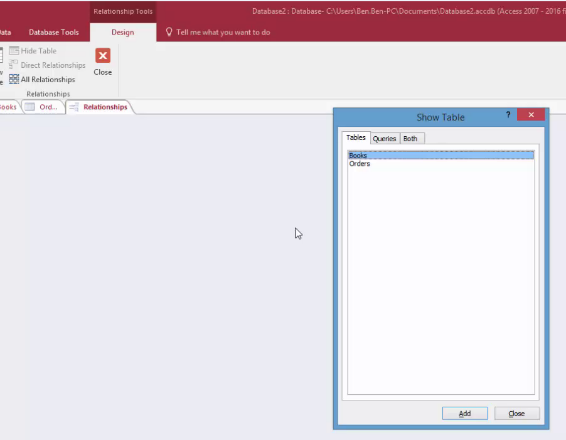
This view will show each of the tables you have and how they relate to each other. First, we need to specify what tables to show.
In this window (pictured above), you see all of the tables and queries available in your database. If you want to see just Tables, click the Tables tab, if you want to see just queries, click the Queries tab, but if you want to see both, click the Both tab.
Select the tables or queries you want to create relationships for, then click Add. You may have to press the CTRL key to be able to select more than one.
In this list, we have both tables. Click Add after selecting each table to add them to the Relationship View.
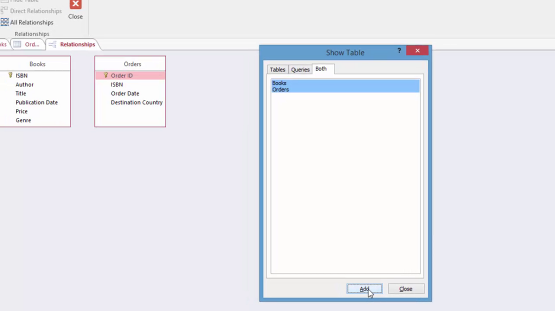
Now, click Close.
The Relationship View is now shown.
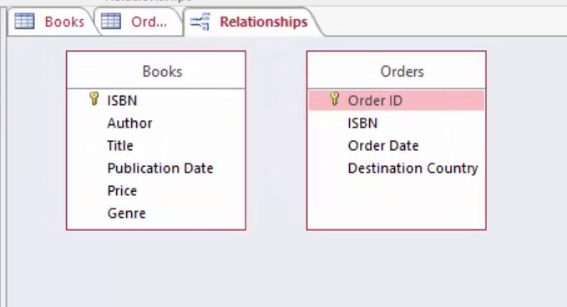
This shows our two tables, Books and Orders. In each table are the fields. It also shows a small key icon next to the primary key, which is the unique identifier for the table.
We need to join these two tables together so that they are related. To do this, first work out what fields we want to join on. In this example, we will use the ISBN as it exists in both tables.
Because the ISBN field is being used for our relationship, it can be called a primary key and a foreign key (which we learnt earlier).
The primary key is the field that defines the record. The foreign key is the field that identifies the record in the related table. It's important that we get these around the right way.
In most cases, the primary key in one table (the Books table) is the foreign key in another table (the Orders table). This is what we will use.
If you're not sure, here's a way I use to work it out (sometimes I forget as well). I ask myself two questions to work out which is the primary table and which is the foreign table.
"Does (table1) have many (table2)s, or does a (table2) have many (table1)s?"
So, in this example, I would ask:
"Does a book have many orders, or does an order have many books?"
We've stated that an order can only have one book, for this example. So, it means that the first question is correct. This also means that the Book is the primary table and the Orders is the foreign table.
Click on the ISBN field in the Books table.
Click and drag the word ISBN in the Books table onto the word ISBN in the Orders table

The Edit Relationships dialog box will appear.
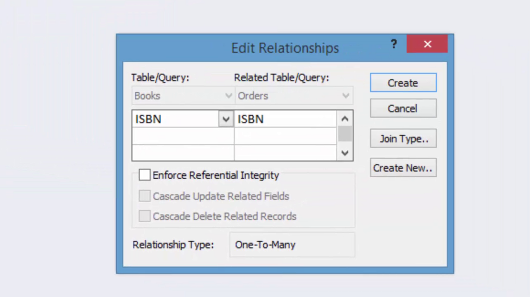
This means that the ISBN field in the Books table will be related to the ISBN field in the Orders table. If you've dragged the field onto the wrong spot, you can change the fields in this list to match what is shown.
There are a few options on the bottom of this screen:
· Enforce Referential Integrity: This means you must select a value in the primary table (Books) that exists in the related table (Authors). For example, if you enter a new book and need to specify an author, the value must exist in the Author Name field in one of the records in the Authors table. It's a good idea to check this option.
· Cascade Update Related Fields: This means that when you update the value in the Author Name field in the Authors table, any related records in the Books table get updated.
· Cascade Delete Related Records: This means that if you delete a record in the Authors table, any records that have that author in the Books table will also be deleted.
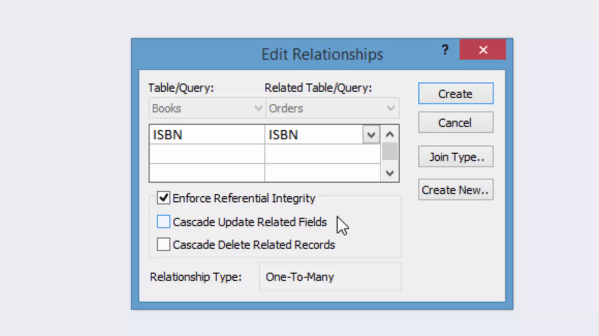
Click Create when you're done.
If you get this message when you click Create, it means that you can't make the changes because the table is already open. Click Cancel, close the table, and create the relationship again using these steps.
Once the relationship is created, the Relationship View will look like this:
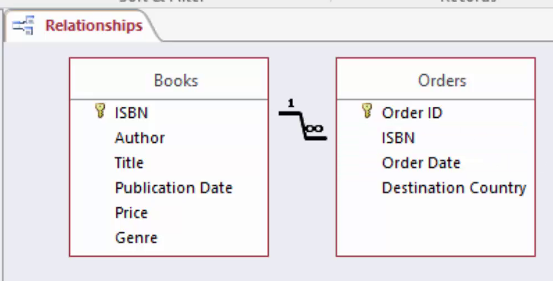
You will have a line between the two tables, which match to the two fields you've linked. At each end of the line will be a symbol.
The "1" and the infinity symbol (∞) indicate what's called a "one-to-many relationship". It means that one record in one table relates to many records in the other table. In this example, it means that "one book record has many order records". So, a book can be in multiple orders (it can be ordered more than once), but an order can't have more than one book.
Viewing Related Data
A helpful feature of Access 2016 is the ability to easily view related data once the relationship is set up. We can go into our Books table and see what orders relate to that book.
Open the Books table.
![]()
You can see on the far left of each record is a plus symbol.
This indicates that the record can be expanded.
Click on the plus symbol for a record.
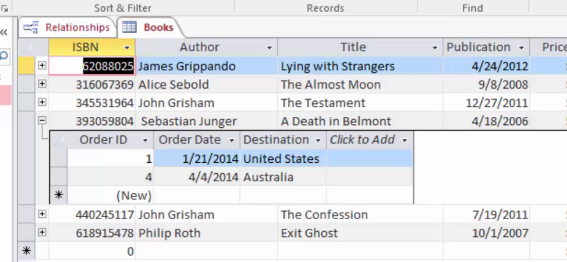
Access will show a smaller table underneath, which displays all of the records in the Order table that have that book. You can also enter new data in here too, which may be easier than remembering the ISBN and adding it into the other table!
Save a Database
Now that we've started to create our first database, we'll want to make sure we save it if we leave Access to work on something else – or just want to make sure we Save every so often as we work.
To save a database, click the File tab again. On the left side, you'll see your options:
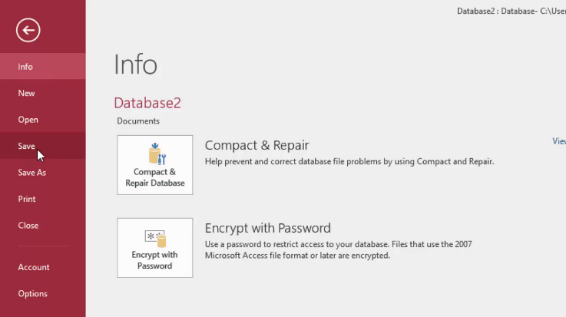
Click Save to save the database as the current file name (example). Or, if you want to save it under a different name, click Save Database As.
You may see this message:
If you've saved your table, click Yes.
If you haven't saved your database yet, or wish to save it as a different filename by using the Save As option, you may be asked for a location.
Choose the location where you want to save your database on your computer, enter a name for the database, then click Save.
To save a table, click Save Object As under the File tab.

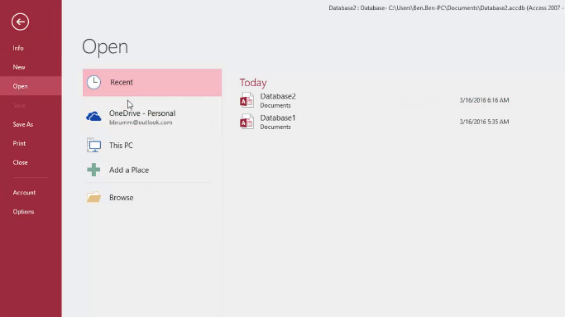
Open an Existing Database
To open an existing database, go to the File tab and click Open. Search for the database on your computer. Select the database you want to open, then click Open.