All About Online Banking and Bill Pay with Quicken
Quicken is much more than just a software program that stores and organizes your financial data. You can also use Quicken to connect to your bank account through the Internet, then use that bank account (through Quicken) to pay your bills. This is made possible through Online Bill Payment and Online Account Access. These features make managing your bank account and bills easier than ever before.
About Online Bill Payment
Online Bill Payment allows you to tell your bank to pay your bills for you. Instead of paying those bills the old fashioned way by writing a check, you give the bank that information and the bank pays the bill for you (using your money, of course). You can also tell the make to pay recurring bills for you, such as your mortgage.
About Online Account Access
Online Account Access provides transaction information from your bank account. You can also transfer money from one account to another. Earlier in this course, we learned how to note transfers in the register. This is different. This is actually transferring the money from one account to another. However, your bank must support Quicken Online Account Access in order for you to be able to use it. Check with your bank to find out if yours does.
NOTE: Both Online Account Access and Online Bill Payment services are premium services, meaning your bank will probably charge you a monthly fee. Again, check with your bank before getting started.
Setting Up an Online Account Access
Once you determine that your bank offers Online Account Access through Quicken, setting it up within the Quicken program is easy.
First, make sure you've set up your bank account in Quicken. You can look at the Account Bar, and find the account.
Next, click on the account in the Account Bar to open the register.
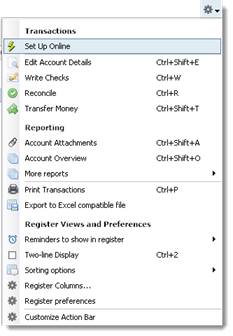
Click on the dropdown arrow next to the gear icon (as pictured below), and select Set Up Online from the dropdown menu.
Next, you'll be asked to choose the name of your financial institution.

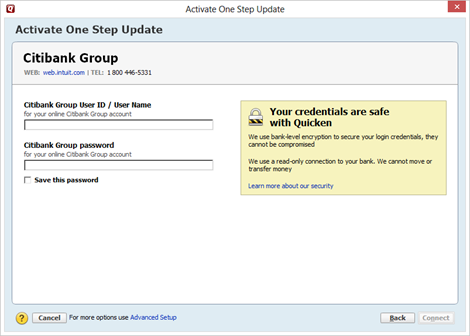
Sign into your online account, then click Connect.
You may have to answer more questions or prove your identity to either Quicken or the bank, such as a cancelled check or your signature. You must respond to these requests if you want to use Online Account Access or Online Bill Payment.
Setting Up Online Bill Payment
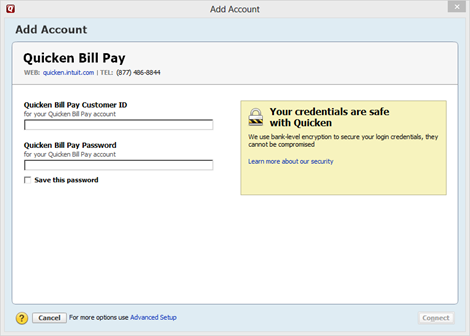
To get started with Online Bill Payment, go to Tools>Quicken Bill Pay>Learn About Quicken Bill Pay.
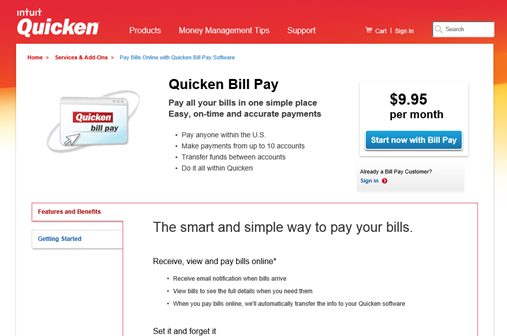
Click the blue Start Now With Bill pay button to enroll through Quicken. However, the form you will fill out is for Quicken. You will still have to work with your bank to get this set up on their end as well.
Once you're enrolled and have things set up with your bank, you can go to Tools>Quicken Bill Pay>Set Up Quicken Bill Pay Account.
Once you have it set up, you can go to Tools>Online Payee list to enter the people you will be paying using this service. This will save you time later. (If you wait, you'll have to fill out information for each payee as you pay the bill).
Pay your bills in Quicken by writing checks as we already learned to do. Follow the same steps. The only difference is you'll want to be sure that you check the "Online Payment" box. This is located in the lower right corner of the check form. However, it only appears if you have online banking setup for the account.
Once you record the payment in Quicken, you'll send it to your bank by going to Tools>One Step Update.
Download Online Transactions
When you go to Tools>One Step Update, Quicken sends your bills to your bank for your bank to pay. In addition, when you go to Tools>One Step Update, your bank sends a list of your transactions to your computer (and your Quicken program).
When this happens, Quicken matches the transactions from your bank with the transactions you have listed in your register. If the transactions match, you're good to go. However, if there is a transaction from your bank that doesn't match a transaction in your register, Quicken will store that transaction under the Downloaded Transactions tab in the account register window. To add those transactions to your register, click the transaction, then click the Add to Register button.
Reviewing One Step Update
We've already talked about One Step Update in this lesson, but we want to mention it again because it's such an important feature when you use Online Account Access and Online Bill Payment. Using One Step Update allows you to update all of your online activated accounts by just using one step. This includes all transactions and balances. This information is loaded into Quicken and you can use it to compare your financial institution's records to your own.
Using One Step Update, you can:
- Update cleared transactions and balances for online activated accounts in Quicken. This includes bank accounts, credit cards, investments, and 401(k).
- Send pending and recurring payments. It also allows you to cancel payments and update payment status instructions.
- Easily reconcile monthly statements.
- Send pending online transfers between accounts that are at the same financial institution.
To use One Step Update, go to Tools>One Step Update.
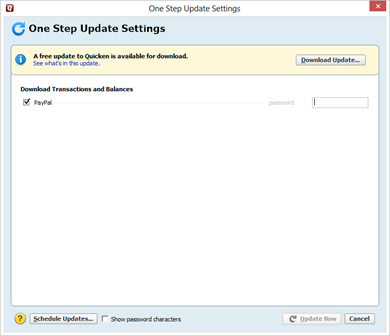
You may have to enter your password at this time, or even individual passwords for different institutions.
Select the accounts that you want to include in the update, then click Update Now.
The update may take a while, so you can continue to work in Quicken while you wait.
Scheduling Online Updates
To make things easier on you, you can schedule your updates so they happen automatically. You can schedule updates to get stock quotes, update your Quicken portfolio, and track your online activated accounts with financial institutions.
To schedule online updates, go to Tools>Schedule Updates.
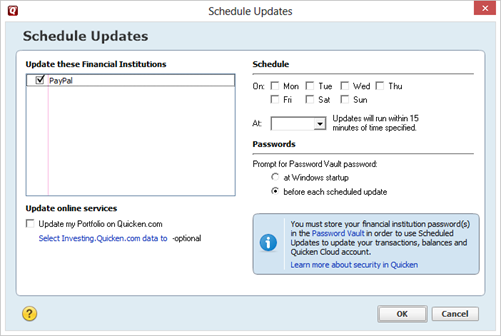
In the dialogue box pictured above:
- Select the items you would like to update in the Update These Financial Institutions field.
- Then, you can decide what day of the week and what time in the Schedule section.
- In the Passwords section, you'll need to establish when you want to be asked for your Password Vault password.
- You can also choose to update your portfolio by checking the box.
When you have everything set, click OK.
You will see this message that lets you know you've successfully scheduled your updates.
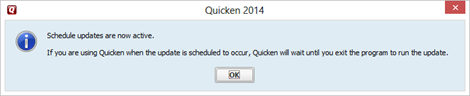
Click OK.
Transfer Money Between Accounts Online
You just won't believe how easy it is to transfer money from one online account to another using Quicken! Follow the same steps that we used to record transfers. However, this time, activate the Num dropdown list and select Online Transfer.
Using the Password Vault
The Password Vault is a feature of Quicken that allows you to safely store your passwords for different financial institutions. It uses industry-standard encryption so that your passwords are kept safe and never revealed to hackers.
To set up your Password Vault, go to Tools>Password Vault>Set Up New Password Vault.
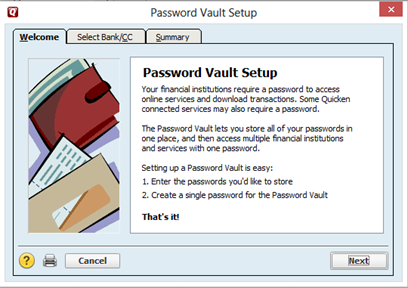
Click Next.
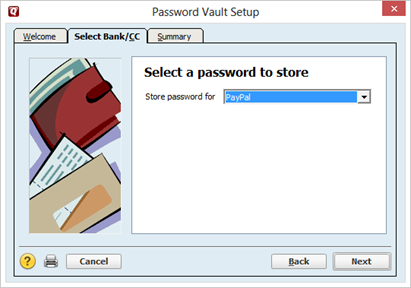
Select the account whose password you want to store, then click Next.
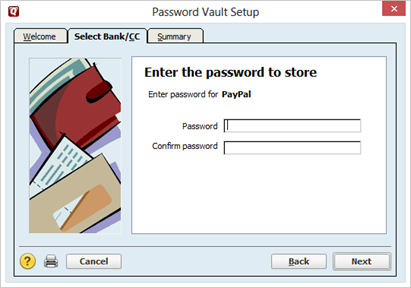
Enter the password for that account, then enter it again to confirm it. Click Next.
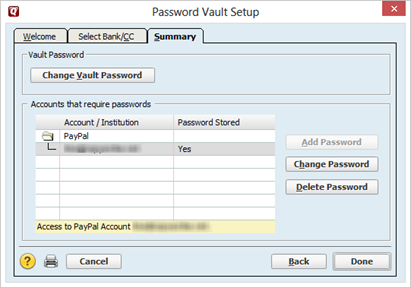
Next, create a password for your password vault (as shown below), then click Next.
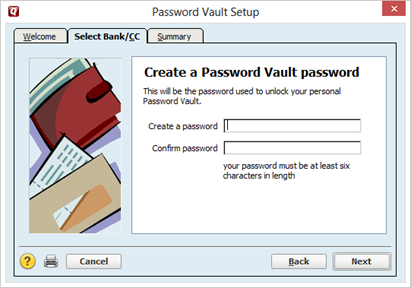
Your password for that account is now stored in the vault, as shown below.
Click the Done button.
-
Creating and Managing a Budget Using QuickenA budget is simply a list of how you spend and earn money. Not everyone needs a budget. Not everyone finds that they can successfully stick to a budget. However, creating one can help you make wiser spending choices and, in turn, save more money.
How to Create a Budget
It goes without saying that you're not taking a course on Quicken to learn how to create a budget. Instead, you're probably more interested on how to enter your budget into Quicken. Even with that said, we want to include a few tips on creating your budget to help you get started putting yours into place using Quicken.
1. The first step in creating a budget is remembering that a budget affects everyone in your household, not just you. This means that everyone who spends the household money should be in agreement on the household budget. The budget should reflect the priorities and feelings of you and your partner. You don't want to limit your partner's clothing budget and not touch your golf budget, etc. It's going to be a give and take, and both of you need to be willing to give and take. Discuss the budget before you officially create one.
2. Don't budget every cent you make. Unexpected expenses will come up, and you want to have the money for those.
3. Compare your actual income and spending to your budgeted income and spending. In other words, sometimes what looks reasonable on paper isn't actually reasonable. Look back at bank statements, credit card receipts, etc. Don't just figure out what you should be spending. Figure out what you are spending. The last thing you want to do is short change yourself with your budget.
4. Be prepared to adjust your budget. If the budget you create isn't working, be prepared to adjust it.
The Budgets Window in Quicken
To work with and/or create a budget in Quicken, click on the Planning tab. In the action bar (the area directly below the Quicken tabs), click Budgets.
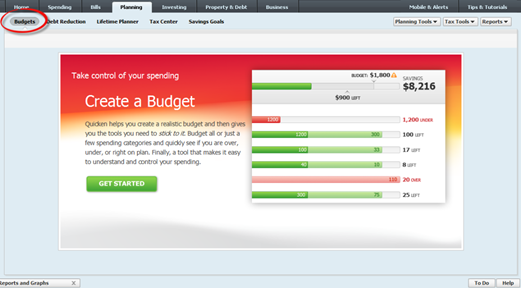
To create a budget in Quicken, click the green Get Started button in the Budgets window (as shown above).
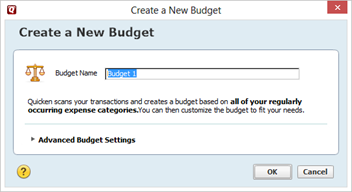
You will then see the Create a New Budget dialogue box:
Creating an Automatic Budget
Quicken is an amazing program. It's so amazing that it will nearly create a budget for you by scanning through all of your expenses. However, you must have financial data entered into Quicken for this work.
In the dialogue box above, enter a name for your budget, then click OK to let Quicken start to help you create a budget.
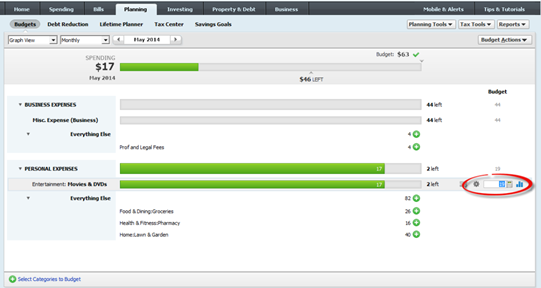
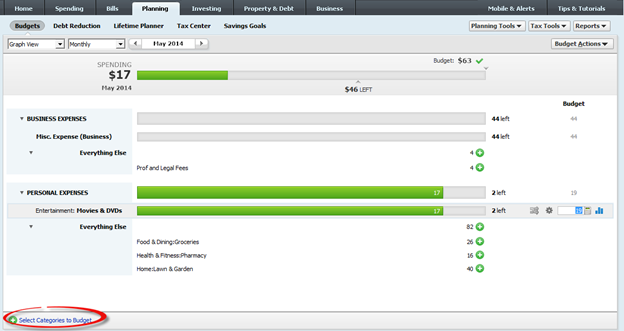
You will then see this graph open in the Budgets window:
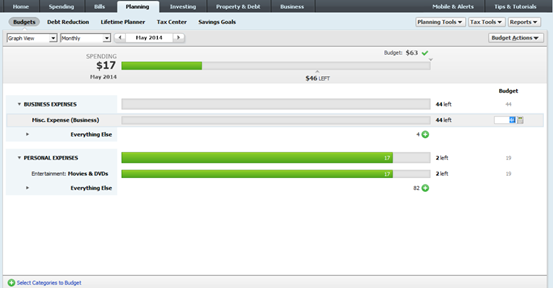
In the Budgets window (shown above), you will see the budgeted amounts for the five categories where you spend the most money.
If you want to change a budgeted amount, click the budget value to change it.
We have circled the value we want to change in the image below.
In addition, when you go to change a value, you'll see little buttons appear. You can use buttons to do things with the budgeted amount, such as:
--Rollover Unused Amounts. Unused amounts from your budget can get rolled over - or not - into the next budgeting period. The Rollover button looks like two entwined arrows:
 . When you click on it, you'll see a menu from which you can select an option:
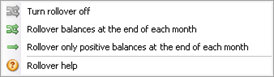
--Apply Amounts. The Apply Amounts button looks like a gear:
 . If you click on it, you'll see the Apply Amounts menu:
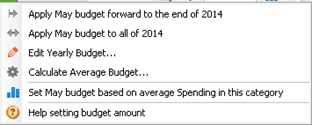
--History and Transactions. The History and Transactions button looks like this:
 . When you click on the button, you'll see a box with two tabs: History and Transactions. By looking at the History tab, you'll see your monthly spending for the category over the past year. Under the Transactions tab, you'll see the transactions that make up the total you see in History.
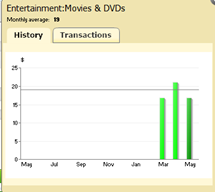
--Calculator. The calculator button looks like this:
 . Click on it to display a calculator that you can use as you work with your budget.
Advanced Budget Settings
Budgets typically go by calendar year. However, if you want your budget to go by a non-calendar year, click the Advanced Budget Settings in the New Budget dialogue box, as pictured below.

Here you can specify the calendar for the budget by determining what month your budget will start on. Since budgets in Quicken start in January and run the calendar year, you'll pick another month.
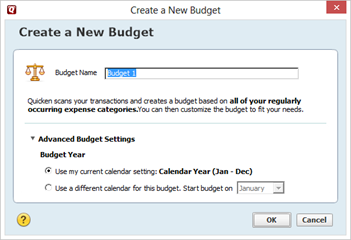
Click OK when you're finished.
Budgeting by Category
You can also add categories to the budget window. Simply select the Categories to Budget link in the lower left side of the window, as circled below.
You will then see this dialogue box:
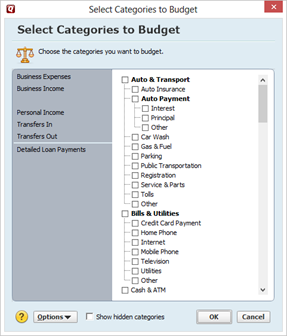
Select the categories you want to add to your budget, then click OK.
Budgeting Different Monthly Amounts
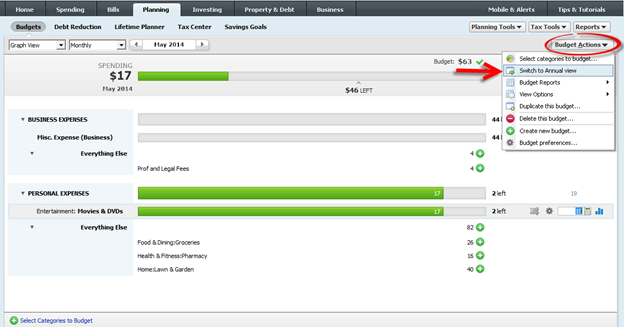
Click on the Budget Actions button in the Budgets window to set specific budget amounts for each month of the year.
Once you click on the button, choose Switch to Annual View.
The Budget window then looks like this:
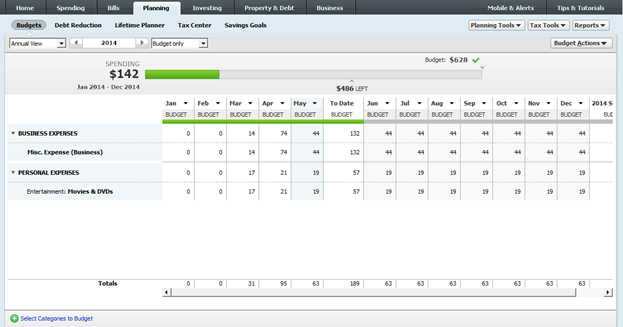
You can then enter the budget amount for each month by clicking on the monthly values.
Other Helpful Budget Tools and Commands
The Budget Actions button contains a menu full of tools and commands that will be useful when working with your budget.
These tools and commands include:
- Select Categories to Budget, which we discussed earlier in this lesson.
- Switch to Graph View/Annual View. This toggles the view between the budgeted month and the month-to-month spreadsheet for the entire year.
- Budget Reports. The Budget Report and Monthly Budget Report are found here.
- View Options. This displays formatting options for the budget.
- Duplicate this Budget, which creates a copy of the current budget. You will have to create a unique name for the copy.
- Delete this Budget. This will delete the displayed budget.
- Create New Budget creates a new budget from scratch.
- Budget Preferences. This will display the Budget Preferences dialogue box. You can use this to specify how Quicken should treat transfers between savings accounts.
-