Adding text to your images gives you the chance to be a little creative – or to add instruction or explanation. In this article, we're going to spend time learning how to add text to your images, as well as the different options that you have when you add text.
Entering Text
When you enter text onto an image, you can choose to add horizontal text – text that goes across the picture – or vertical text that goes from top to bottom.
To add text, you use the Text tool. It's located in the Tools panel and looks like this:  .
.
The Horizontal Text tool is shown by default.
To use the Vertical Text tool, go to the Tool Options panel, then click on the Vertical Text tool, as shown below.

Let's work with the Horizontal Text tool for the time being.
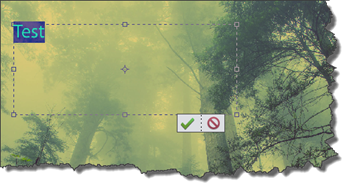
To create a line of text in your image, first click on the place in the image where you want to insert the text.
You will see a blinking cursor and a box with a green checkmark and a red circle in it.
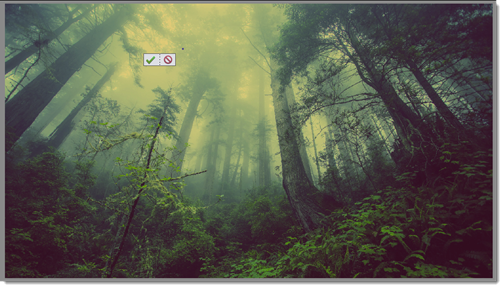
Simply start typing. The text will appear on your image.
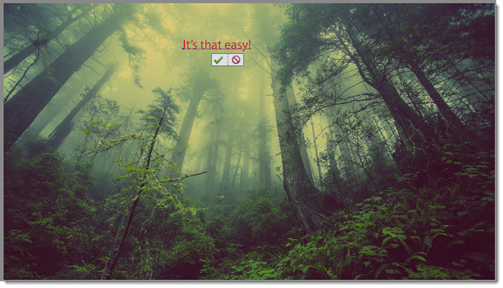
Click the green checkmark when you're finished entering and formatting the text. We'll talk about formatting later in this article.
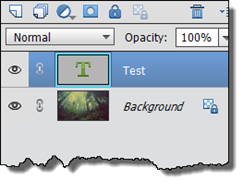
When you add text to an image, the text you add appears on its own layer.
Creating Text Boxes for Text
You can also create a text box to enter text. If you want to create a paragraph of text, simply drag a rectangle across the screen in the place where you want the paragraph to go. This will create a text box.
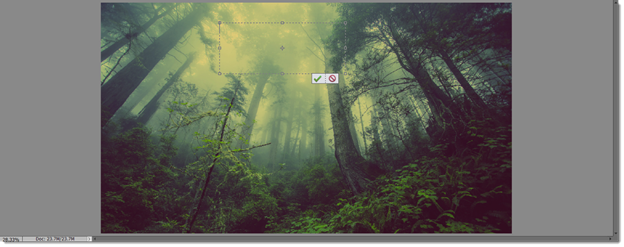
Now, just click inside the text box to start typing.
Click the green checkmark when you're finished entering and formatting text.
Formatting Text
Formatting Text is as easy as going to the Tool Options panel and using the standard formatting tools offered there.
Take a look at the Horizontal Text Tool Options panel below.

You can change the font type.

You can also set the font style or change the size of the font.

Click the Color dropdown list to select a font color.

Click the Leading dropdown list to set the leading.

Make the text boldfaced, italicized, or underlined. You can even select to strikethrough text.

In addition, you can align text to the left, center, or right.

Click the first button below to toggle the text orientation. This converts horizontal text to vertical text – and vice versa. Click the second button to warp text.

In the Tool Options panel, set your options, including font, color, and size. You can warp text and create other effects in the options bar too.
To format text, simply hold down your mouse and drag it over the text that appears on your image. This selects the text, as pictured below.
Apply any formatting you want to the text, then press the green checkmark (as shown above) when finished.
Selecting and Moving Text
Once you add text on an image, you may want to move it to another place in the image. Remember, your text is its own layer. That said, in order to move the text, we're going to move the layer.
To move a layer, we select the layer in the Layers panel, then click on the Move tool in the Tools panel. It looks like this:  .
.
In the following snapshot, you can see our text layer in the Layers panel.
To move the text, lick on the small little circle in the middle of your text box (as shown below).
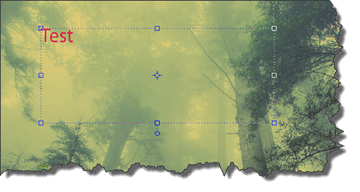
Drag the text box to its new location.
NOTE: If you don't want to move the text, but simply want to select it so that you can delete or edit it, just double click your mouse inside the text box. This will select the text. Next, click in the text at the place where you want to start editing or deleting.
Create a Type Mask
If you go to the Text Tool Options panel, you'll notice that there is also a Horizontal Type Mask Tool  and a Vertical Type Mask tool
  . These allow you to create a selection out of text.
To create a type mask:
- Select the layer in which you want the selection to appear. Don't use a text layer.
- Choose either the Horizontal Type Mask Tool or the Vertical Type Mask Tool.
- Select any additional options from the Tool Options panel.
- Type your text.
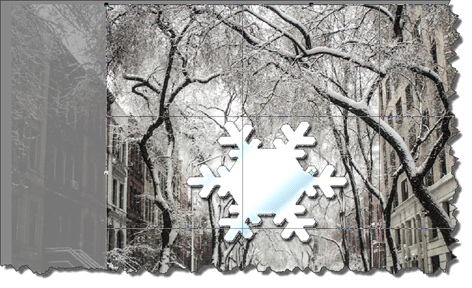
- The type mask now appears over the active layer.
You can see the type mask in the image below.
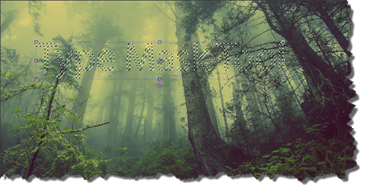
You can use the type mask too to let a background image show through in the text by going to Edit>Cut. You can also use the text selection as you would any other selection in Elements.
Text on Shape Tool
The Text on Shape tool allows you to type text on a shape. To do this, select the Text on Shape tool from the Tool Options panel. It looks like this:  .
.
Next, select the shape you want from the Tool Options panel:

We're going to choose the butterfly.
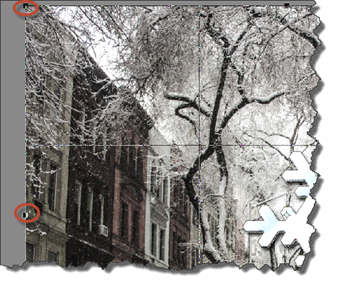
Drag on your image where you want to add the shape.
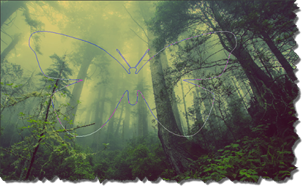
After you add the shape, move your mouse over the edge of the shape until your cursor turns into an I-beam.
Type your text.
Click the green checkmark button when you're finished.
Text on Selection Tool
The Text on Selection tool is in the preset panel of the Text tool. It looks like this: 
The Text on Selection tool allows you to type text on a selection.
To type on a selection, click on the Text on Selection tool, then drag your mouse over your intended selection.
Click the green checkmark when you're finished making your selection.
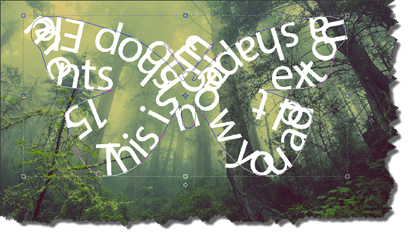
Now, move your mouse over the selected area (the dotted line) until you see your cursor turn into an I-beam. Start to type your text. The text will flow along the selection.
Text on Custom Path Tool
Every shape in an image contains a path. A path is a series of dots that connect the image together. If you ever played connect the dots when you were a kid, then you can imagine exactly what we're talking about. That said, you can also type text along a custom path.
Let's learn how.
Click on the Text on a Custom Path tool in the Tool Options panel. It looks like this: 
Next, drag a path on your image. Drawing a path is just like using a pen.
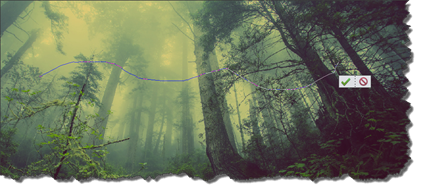
Click the green checkmark when you're finished drawing the path.
To add text, move your cursor over the path until your cursor turns into an I-beam. Then, start typing your text.
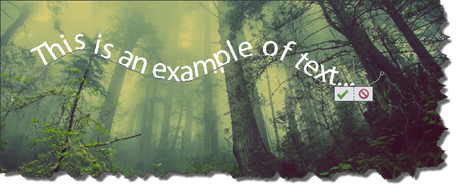
Click the green checkmark again when you're finished adding text.
Working with Images
Rotating and Flipping Images
Rotating an image moves the image's position in the work area. When you flip an image, you can flip it horizontally or vertically.
To rotate an image:
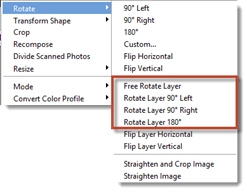
- Go to Image>Rotate.
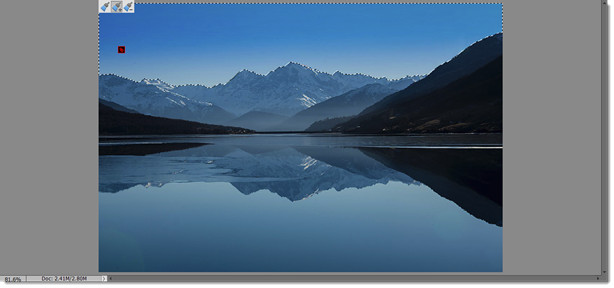
- Select how you want to rotate it from the menu. You can rotate the entire image – or just the layer that's selected in the Layers panel. The menu options to rotate a layer are inside the red box in the following snapshot.
To flip an image, go to Image>Rotate and choose if you want to flip the image horizontally or vertically. Again, you can flip the entire image or just the layer selected in the Layers panel.
Crop an Image
When you crop an image, you reduce the image's size by cutting away the edges. You can crop away one side or multiple sides of an image. For example, you can crop the right side of an image and leave the rest of the sides intact. In addition, you can crop a small portion of an image or a large portion.
To crop an image, you can either go to Image>Crop or select the Crop tool from the Tools panel. It looks like this:
In the Tools Options panel, you can see crop suggestions.

You can click on one of these suggestions, and Photoshop Elements will crop the image for you. Simply press the green checkmark on the image to commit to the changes.
You can also crop the image yourself. To do so, drag one of the black crop marks located in the corners and on the side of the image, as pictured below.
Dragging on the crop marks will not resize your image. Instead, you are dragging over the parts of the image you want to crop away.
Look at the snapshot below.
We dragged on the crop mark that appeared on the left side of the image. We dragged it to the right. The area that we dragged our mouse over now has a grey film on it. It is the area that will be cropped away.
Next, we can drag more black crop marks, or we can click the green checkmark to commit to the changes.
The Blur Tool
The Blur tool allows you to soften the focus of all or part of your image.
The Blur tool is located in the Tools panel. It looks like this: .
.
To use the Blur tool, click on it in the Tools panel, then go to the Tool Options panel to set options.

-
Mode. Select the blending mode.
-
Brush. Select the brush type.
-
Size. Select the brush size.
-
Strength. Specify the strength of the blur.
To use the Blur tool, drag it over the parts of your image where you want to soften the focus.
The Smudge Tool
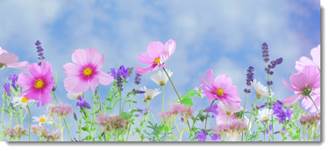
The Smudge tool simulates the look of dragging your finger through wet paint. You can see the look demonstrated in the image below.
The Smudge tool took our image from this:
To this:
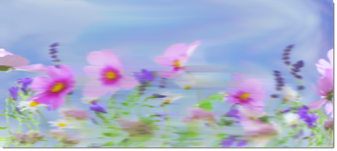
The Smudge tool works by "pushing" your pixels around. It shifts the color that's under your cursor when you drag your mouse while using the tool. You can use the tool to create a warped effect or to soften the edges of objects. You can also use it to create the painterly effect – or that makes photographs look like paintings.
The Smudge tool is located with the Blur tool in the Tool Options panel.
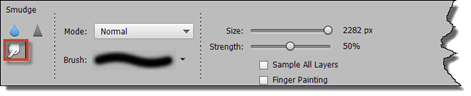
Before you use the Smudge tool on your image, set the options for the tool:
-
Mode. Select the blending mode.
-
Brush. Select the brush type.
-
Size. Select the brush size.
-
Strength. Specify the strength of the smudge.
Now drag the Smudge tool across your image until you achieve the desired effect.
The Sharpen Tool
The Sharpen tool is used much the same way as the Blur tool except that it sharpens the focus in images.
The Sharpen tool is located with the Blur tool in the Tool Options panel. It looks like this:

Before you use the Sharpen tool on your image, set the options for the tool:
-
Mode. Select the blending mode.
-
Brush. Select the brush type.
-
Size. Select the brush size.
-
Strength. Specify the strength.
To use the tool, drag it over the parts of your image that you want to sharpen.
Sponge Tool
The Sponge tool is used to bring out or mute the color of an object or an area of an image by saturating or desaturating it.
The Sponge tool is found in the Tools panel. It looks like this:
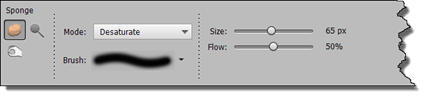
To use the Sponge tool, click on it in the Tools panel, then set your options in the Tool Options panel, pictured below.
-
Mode. Select the blending mode.
-
Brush. Select the brush type.
-
Size. Select the brush size.
-
Flow. Specify the flow. The flow determines the strength. The higher the number, the greater the strength.
The Dodge Tool and the Burn Tool
The Dodge and Burn tools lighten or darken areas of an image, respectively. The Dodge tool brings out details that are in shadows while the Burn tool brings out details that are in highlights.
The Dodge and Burn tools are both located in the Tool Options panel with the Sponge tool.
The Dodge tool looks like this:

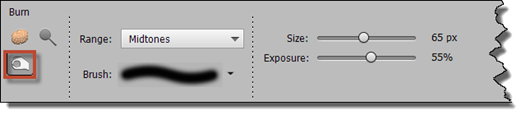
To set the options for the Burn tool, select the:
-
Range. This sets the image tonal range that the tool will adjust. Midtones changes the middle range of grays, Shadows changes the dark areas, and Highlights changes the light areas.
-
Brush. Sets the brush size.
-
Size. Sets the size of the brush.
-
Exposure. This determines the effect of each stroke. A high percentage will increase the effect.
To use the tool, drag your mouse over the image with the tool selected.
We used the tool on our image. You can see the before and after effect below.
Before:
After:
That is the Dodge tool. The Burn Tool is also grouped with the Sponge tool in the Tool Options panel. You can see it in the following snapshot.
Before using the tool on an image, set your options:
-
Range. This sets the image tonal range that the tool will adjust. Midtones changes the middle range of grays, Shadows changes the dark areas, and Highlights changes the light areas.
-
Brush. Sets the brush size.
-
Size. Sets the size of the brush.
-
Exposure. This determines the effect of each stroke. A high percentage will increase the effect.
Drag your mouse over the parts the image where you want to apply the Dodge tool's effect.
The Smart Brush Tool
The Smart Brush tool allows you to quickly repair a picture. You can brighten it, whiten teeth, make a sky bluer, and utilize many other options.
The Smart Brush tool is located in the Tools panel. It looks like this: .
.
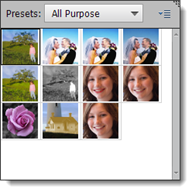
Click on the tool, then set your options in the Tool Options panel.

Select what effect you want to achieve with the Smart Brush tool.

Choose a preset category, then an effect, such as making a sky bluer or whitening teeth.
Next, set the brush size.

When you're finished, click and drag on the area in the image that you want the Smart Brush to correct.
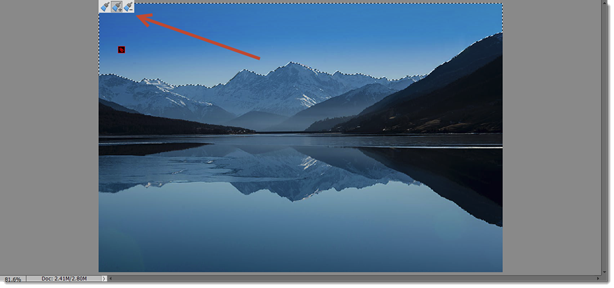
The Smart Brush will make a selection for you, as you can see below in the top part of our image.
Click the brush with the plus (+) sign to expand the selection area.
Click the brush with the minus (-) sign to reduce the selection area.
When you're finished, go to Select>Deselect.